
I think most of you have a good handle on this, but I know there are a few of you who have voiced your dislike for the little zipper tab. I assure you it is better than dented in corners on zipper pouches. :P
Several of my zipper installation techniques center around the same idea: Don’t sew zipper teeth into seams, especially top corners, if you can avoid it. This makes for a much cleaner, more professional finish. I don’t even like the metal zipper stops – I cut them right off – because there is too much of a chance of a broken needle. Let’s avoid that, yes?
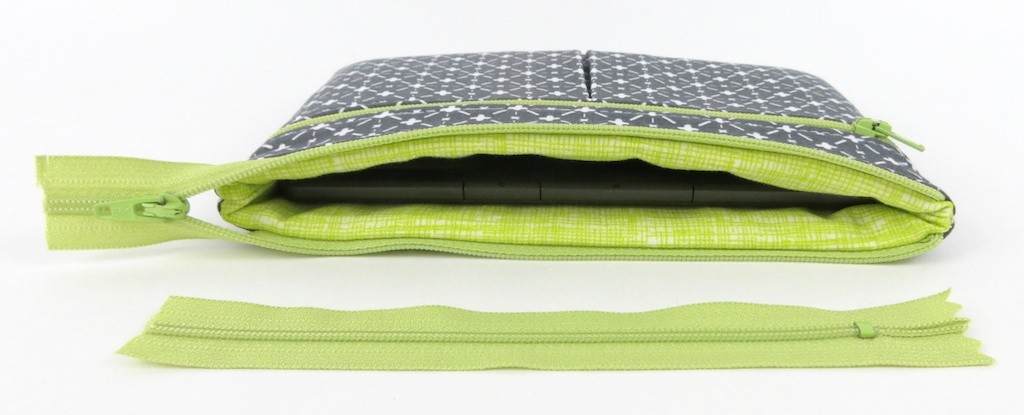
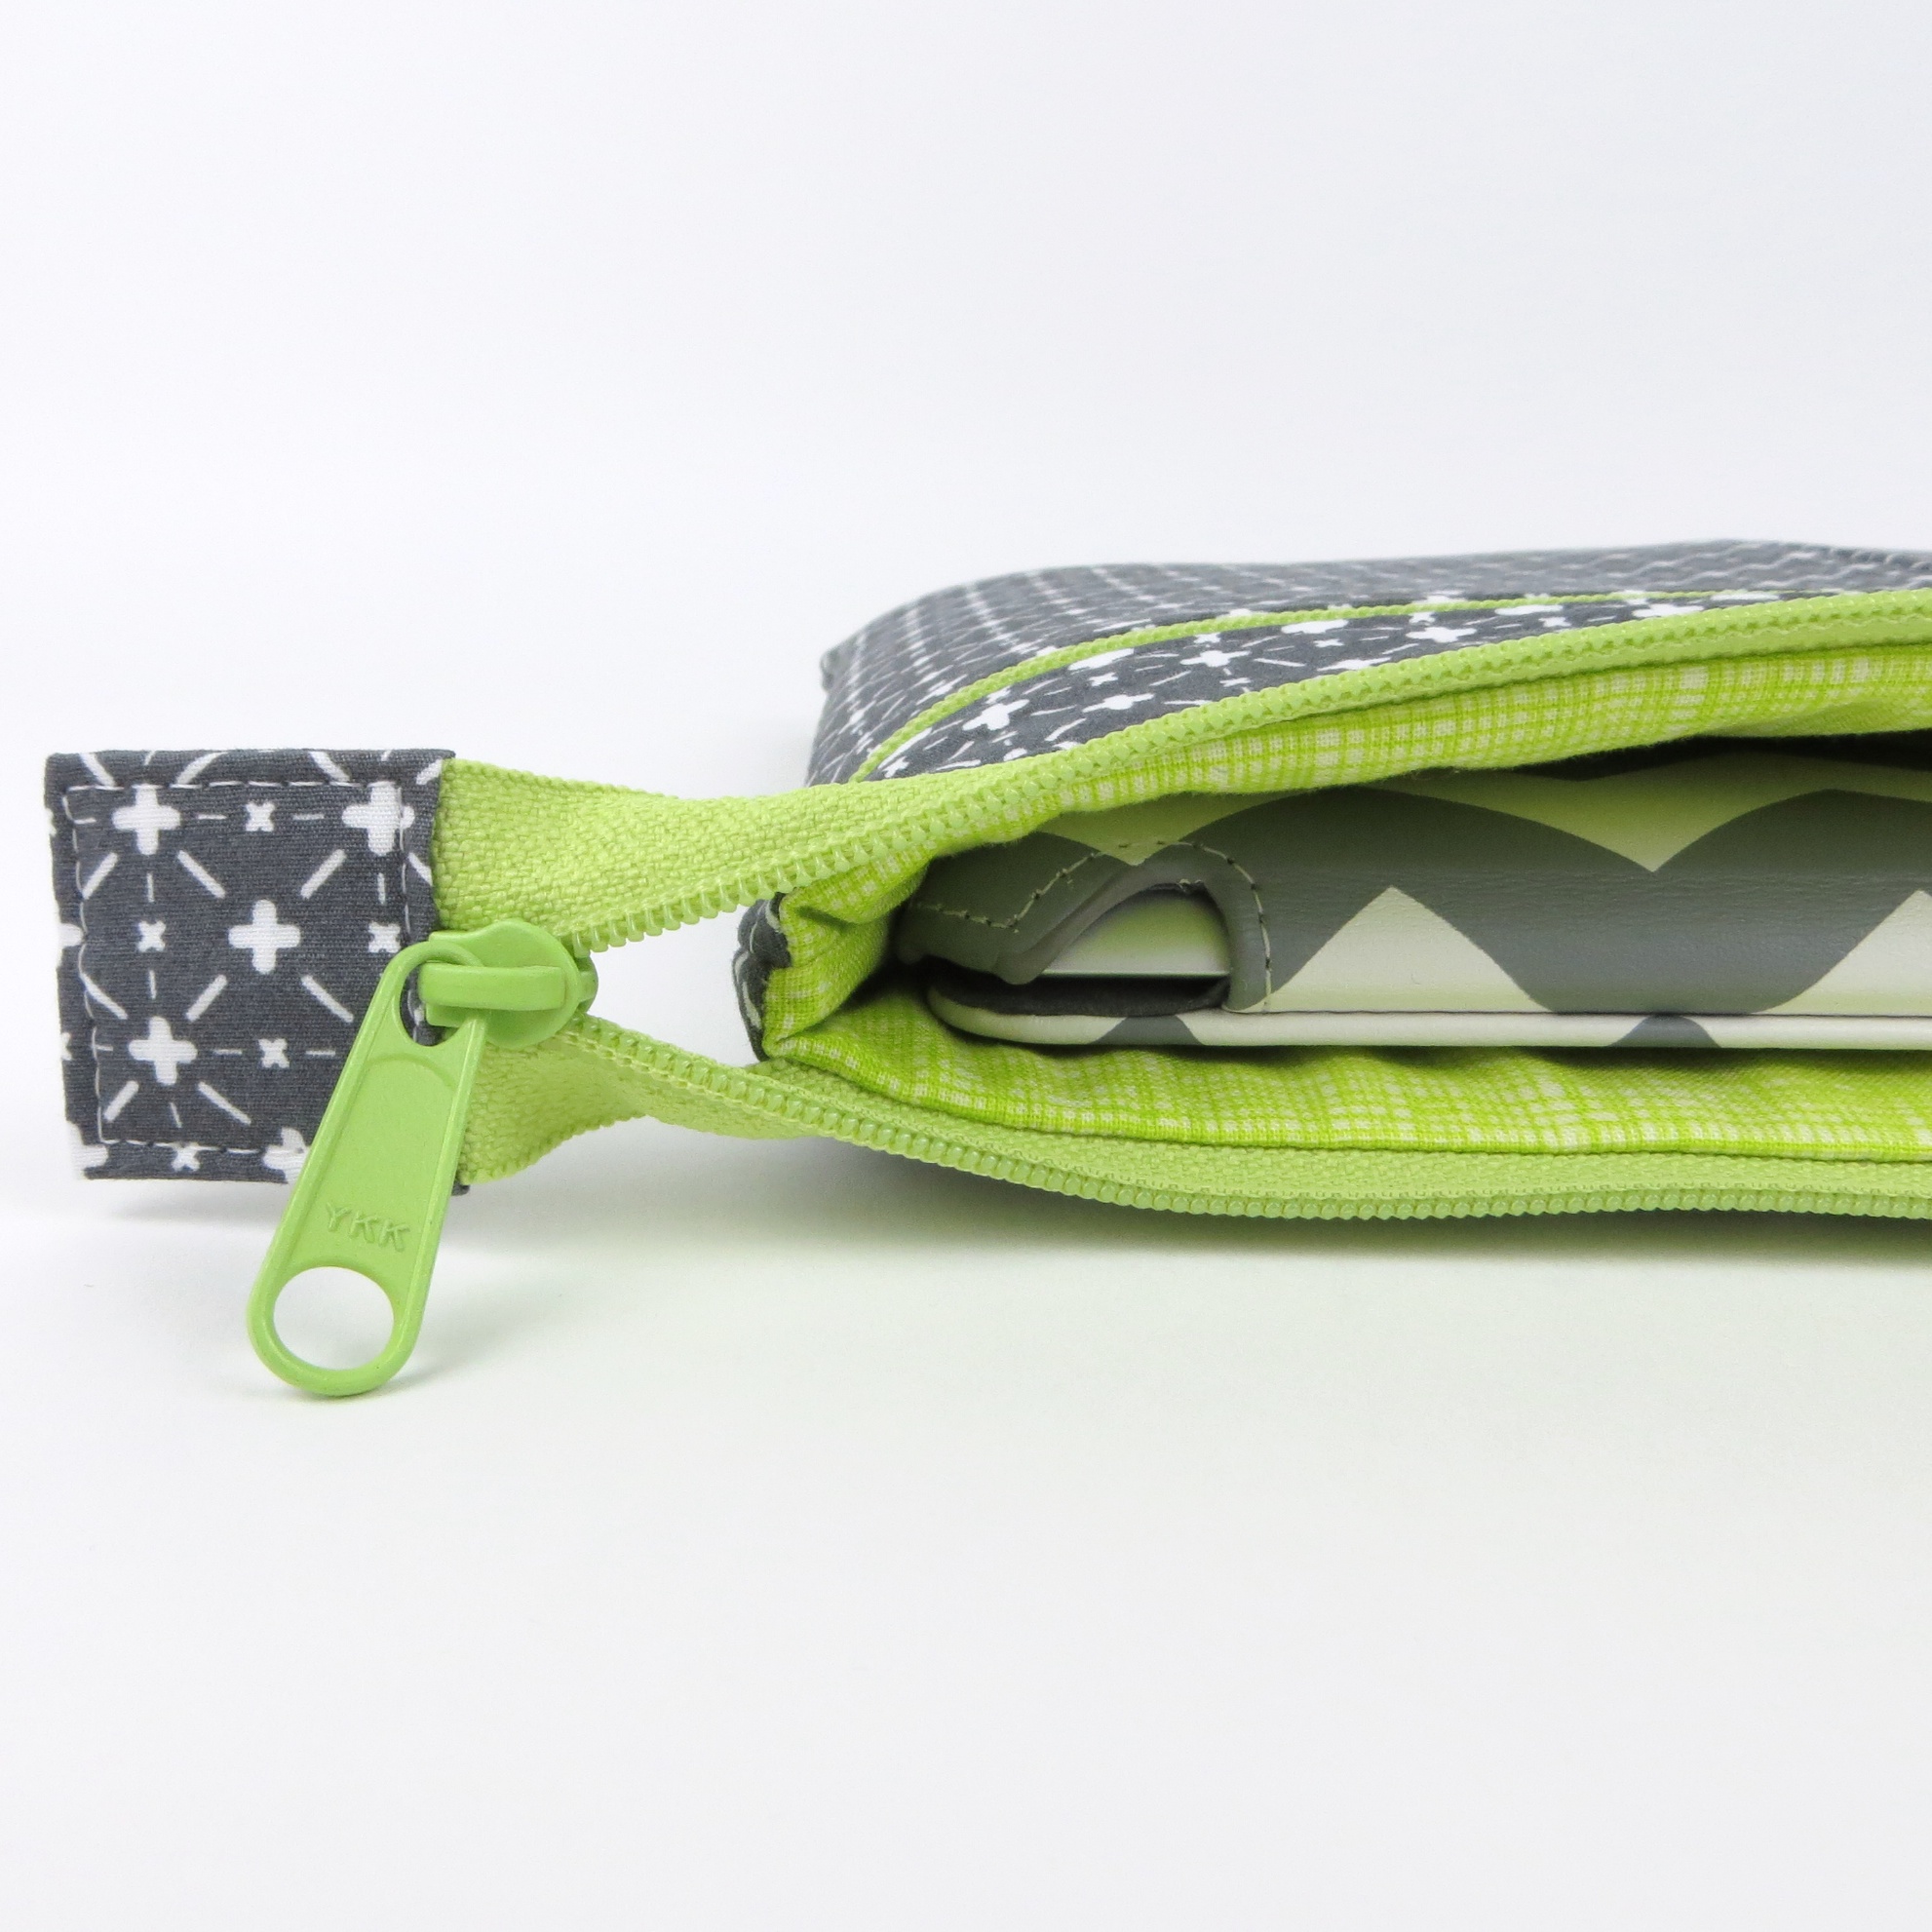
So, that leaves a folded zipper tab either sewn into the top seams like on The Essential Wristlet or you can extend the zipper tape like on the Two Zip Hipster, Daytripper, Quick Zip Lunch Bag, Make Me Up, and the Gadget Guard. The reason that I chose to extend the zips on those is for one good reason: You want the zipper to open wide. If you had a zipper tab sewn into the top seam of the Gadget Guard, like it is the wristlet, you would need to add AT LEAST another inch of to the width, which defeats the purpose of a snug fit and makes your device flop around inside. On the purses, it’s so you can open them all the way and actually see into it and find things.
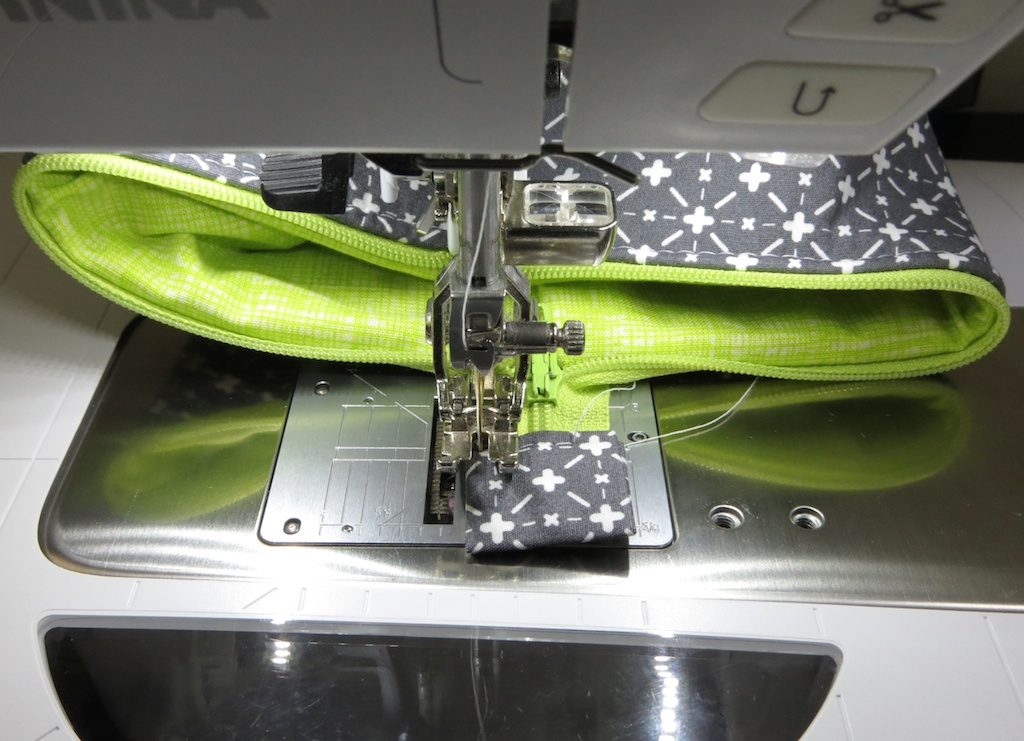
While making the Gadget Guard, I documented the process I’ve been using lately to make them super easy to sew. It kind of has to be the last step, which can be tricky, but I promise it’s doable. So, here is the last step of the Gadget Guard, in a bit more detail. Let me know if I need to draw the arrows for you.
You will need a scrap of fabric for your zipper tab, some paper backed *sewable* fusible web (the kind that comes on a roll or a sheet – like Wonder Under) and some fray block.
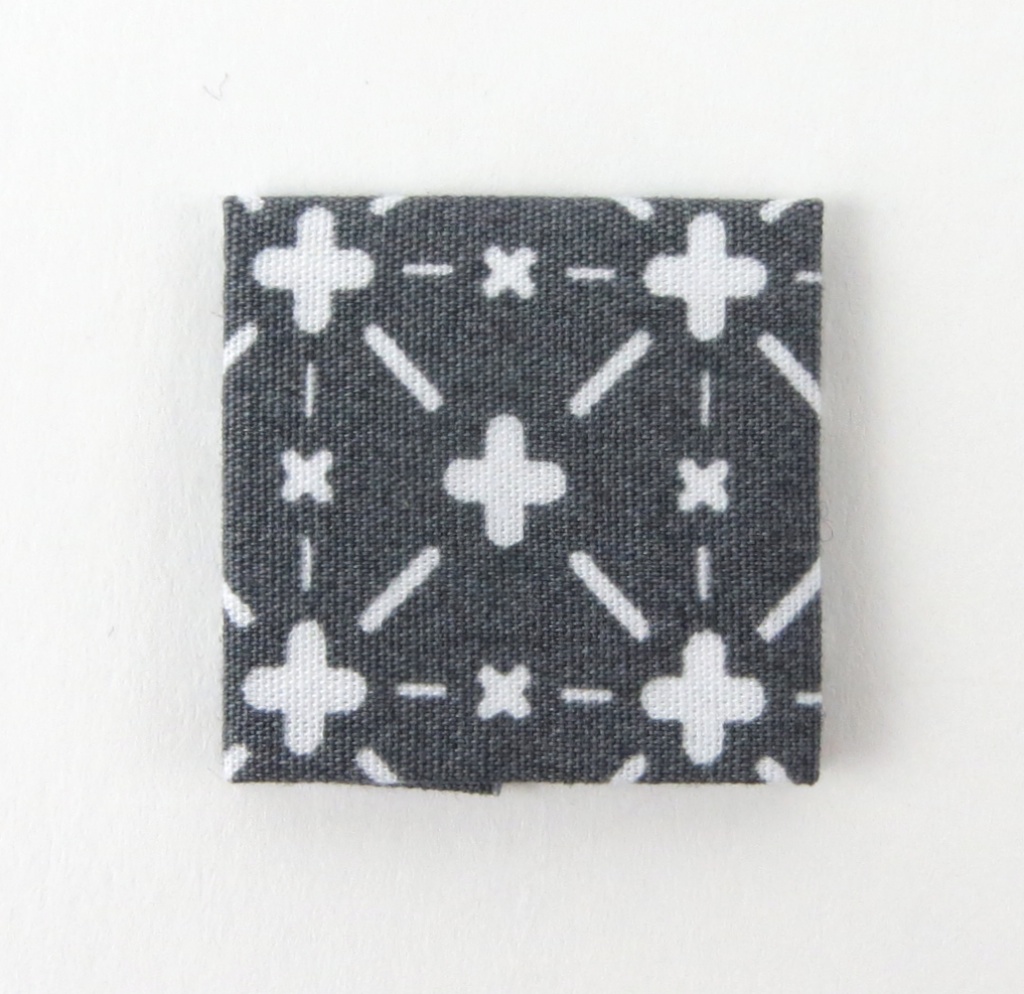
Cut your zipper tab 2” x 4” for 1” wide zippers or 2.5” x 5” for 1.25” wide (long pull) zippers.
(The makeup bag is different, use the dimensions specified in the pattern.)

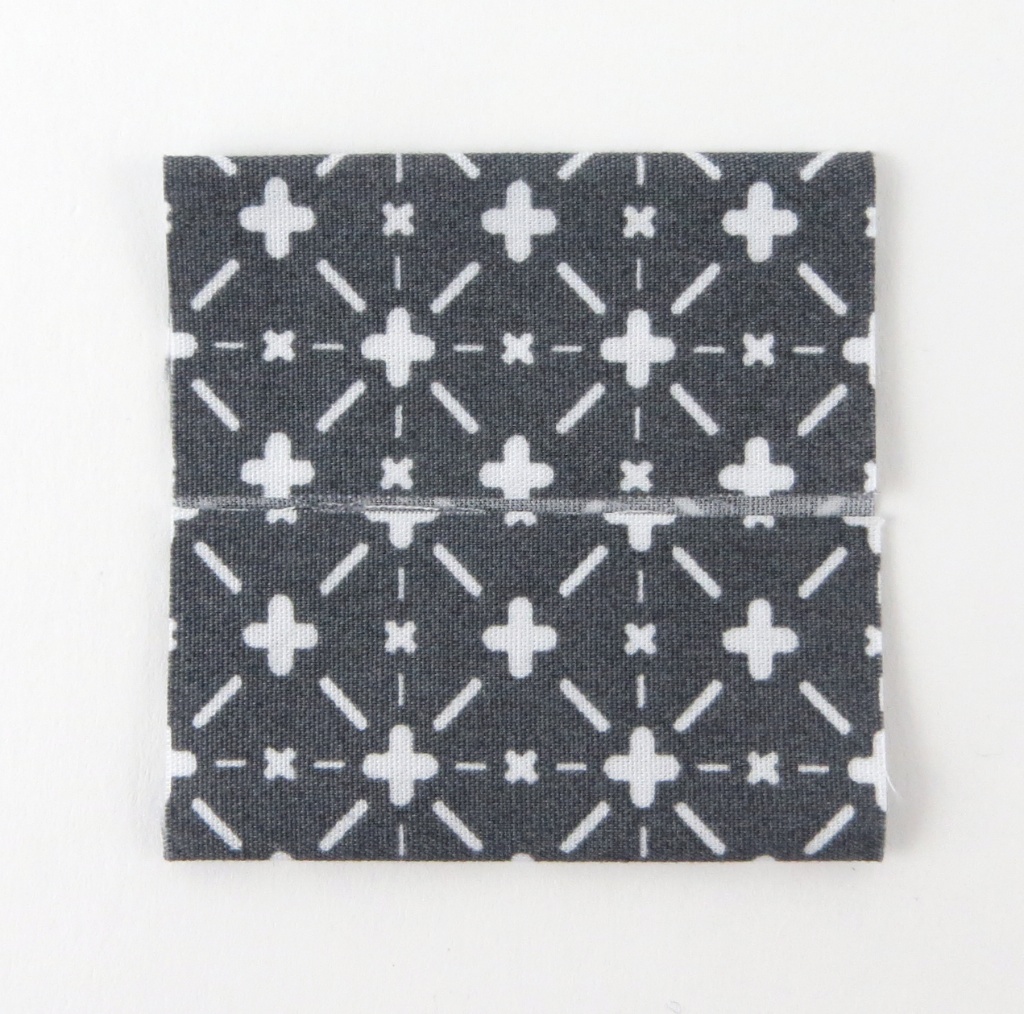
Fold the top and bottom of the zipper tab to the center, wrong sides together, and press.
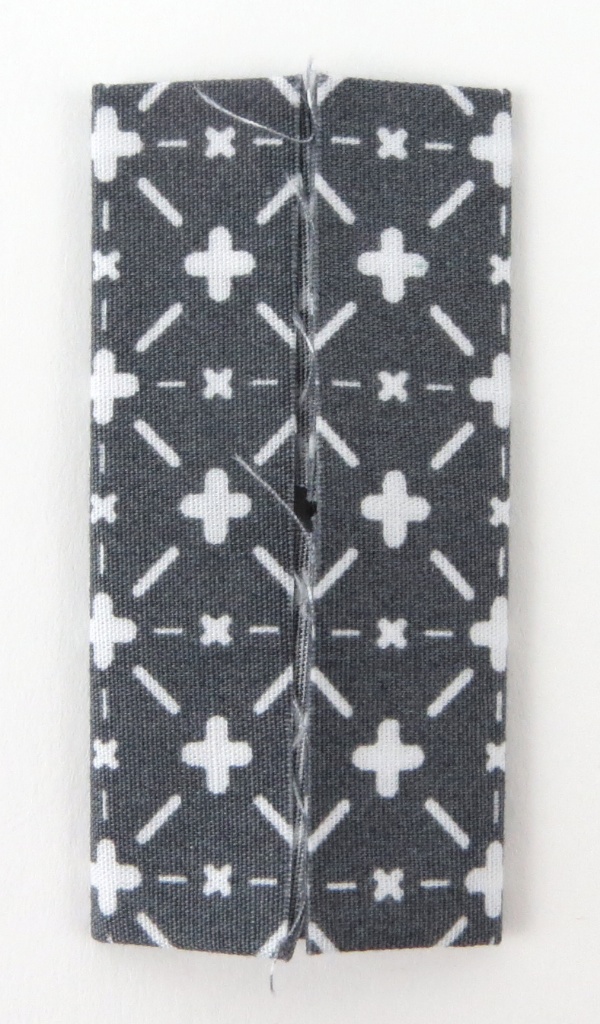
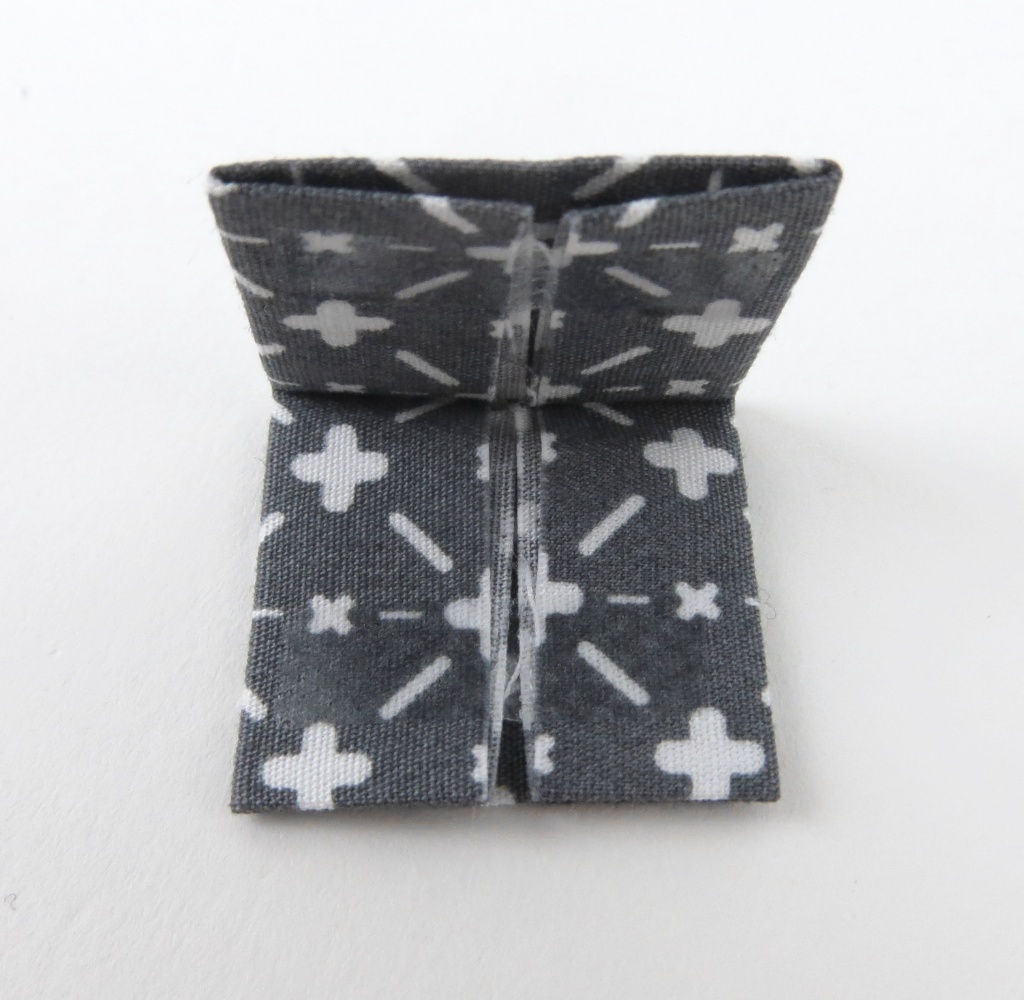
 Fold the sides to the center and press.


Unfold, remove the paper, fold back together, and press to fuse. Use steam to get a good fuse! This will keep the tab from unfolding on you while you slide it onto the end of the zipper tape.
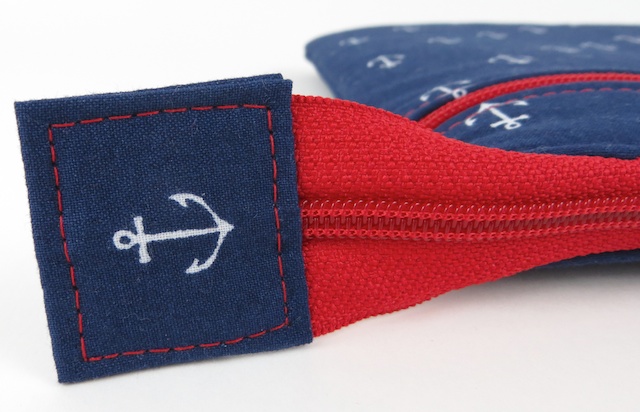
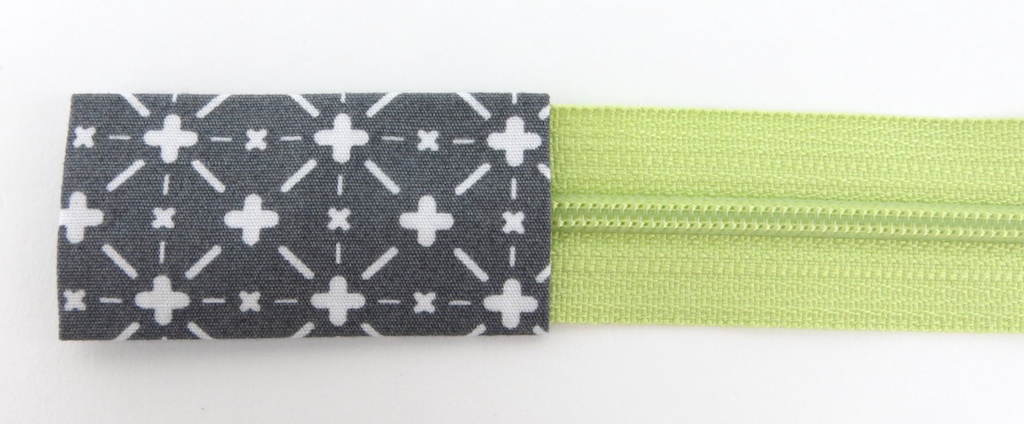
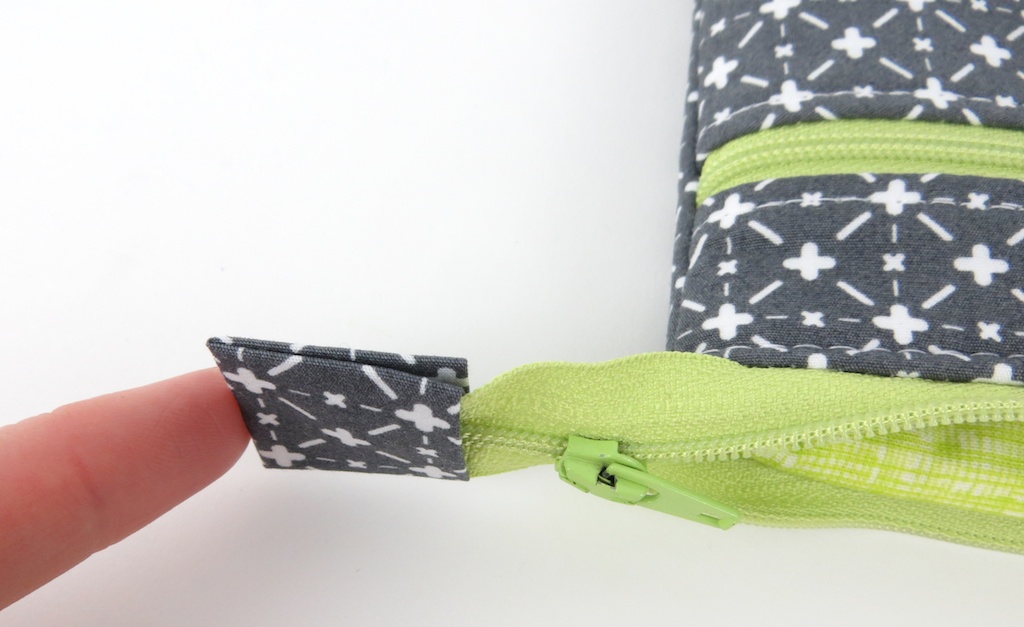
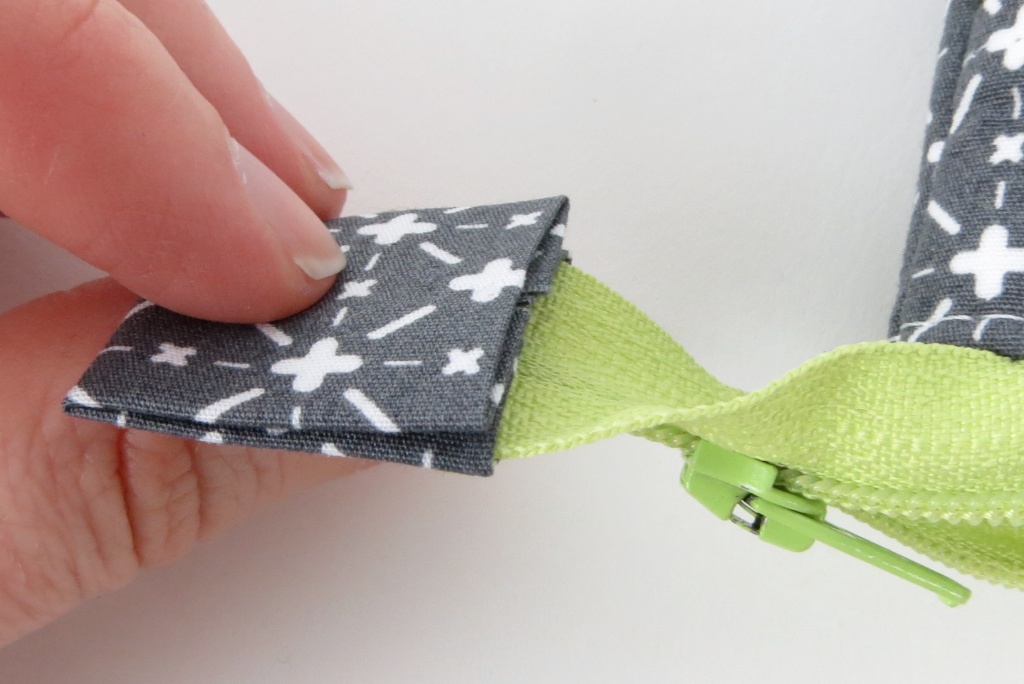
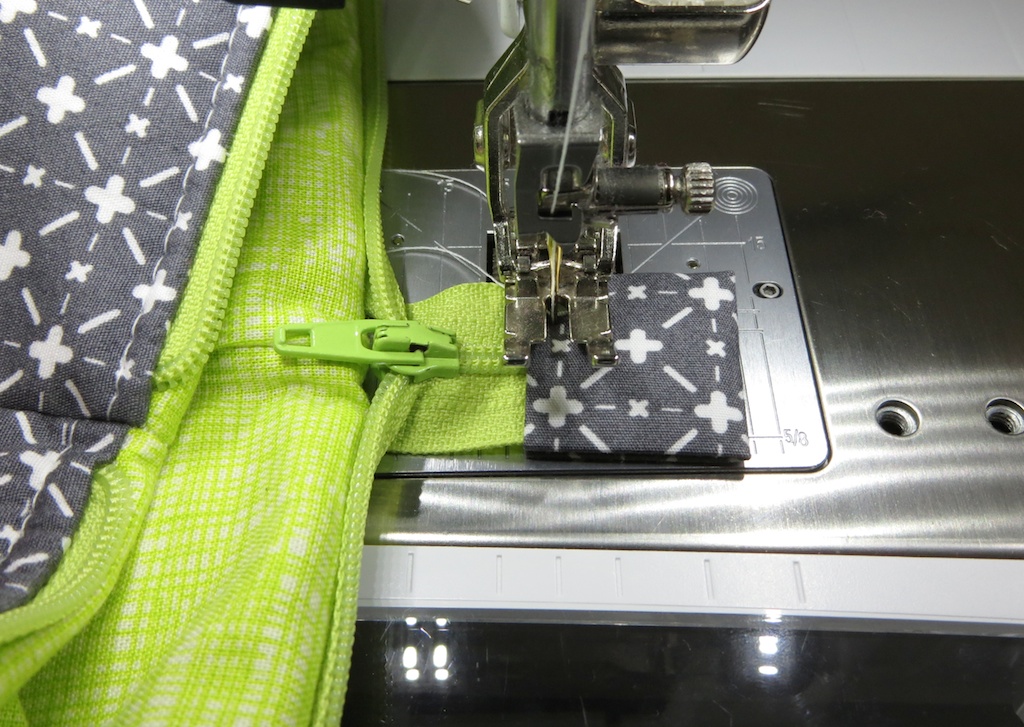
Slide the top “slot” of the zipper tab onto the zipper, and make sure the other, folded side is on the bottom. Make sure you push it down so the zipper teeth are all the way at the fold. The fusible web should help everything stay together. You can add a Clover Wonder Clip if you have one.

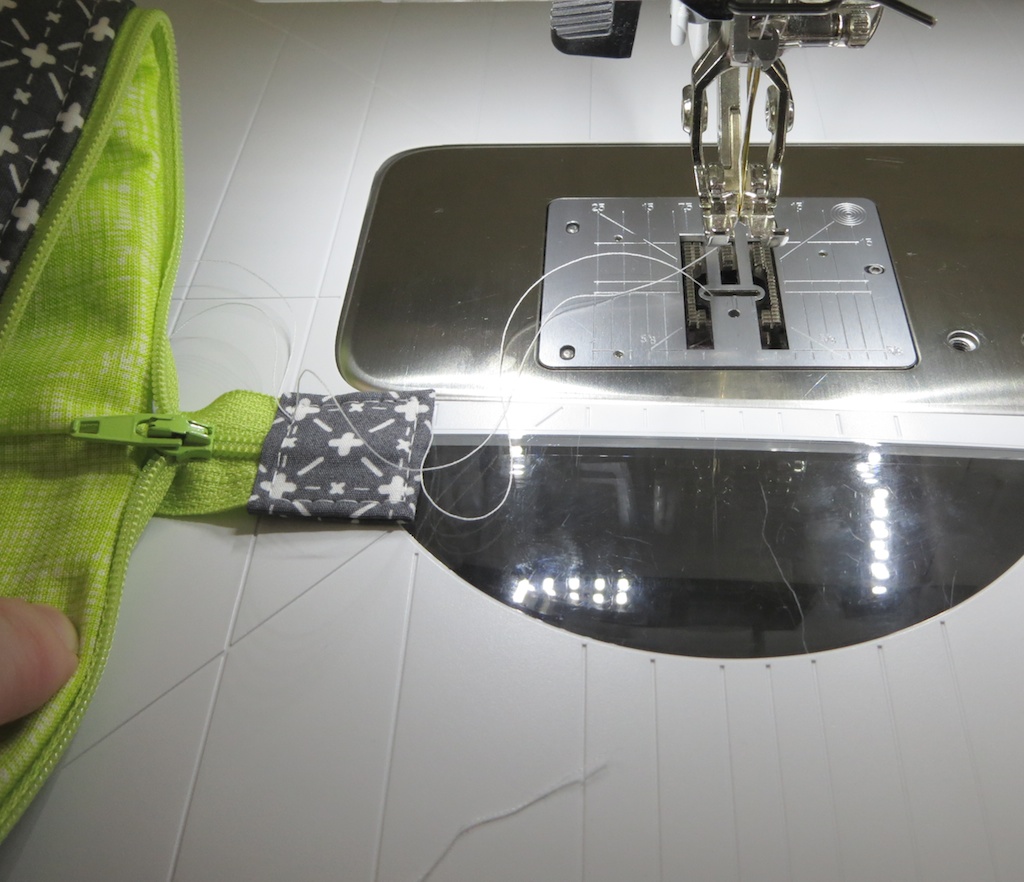
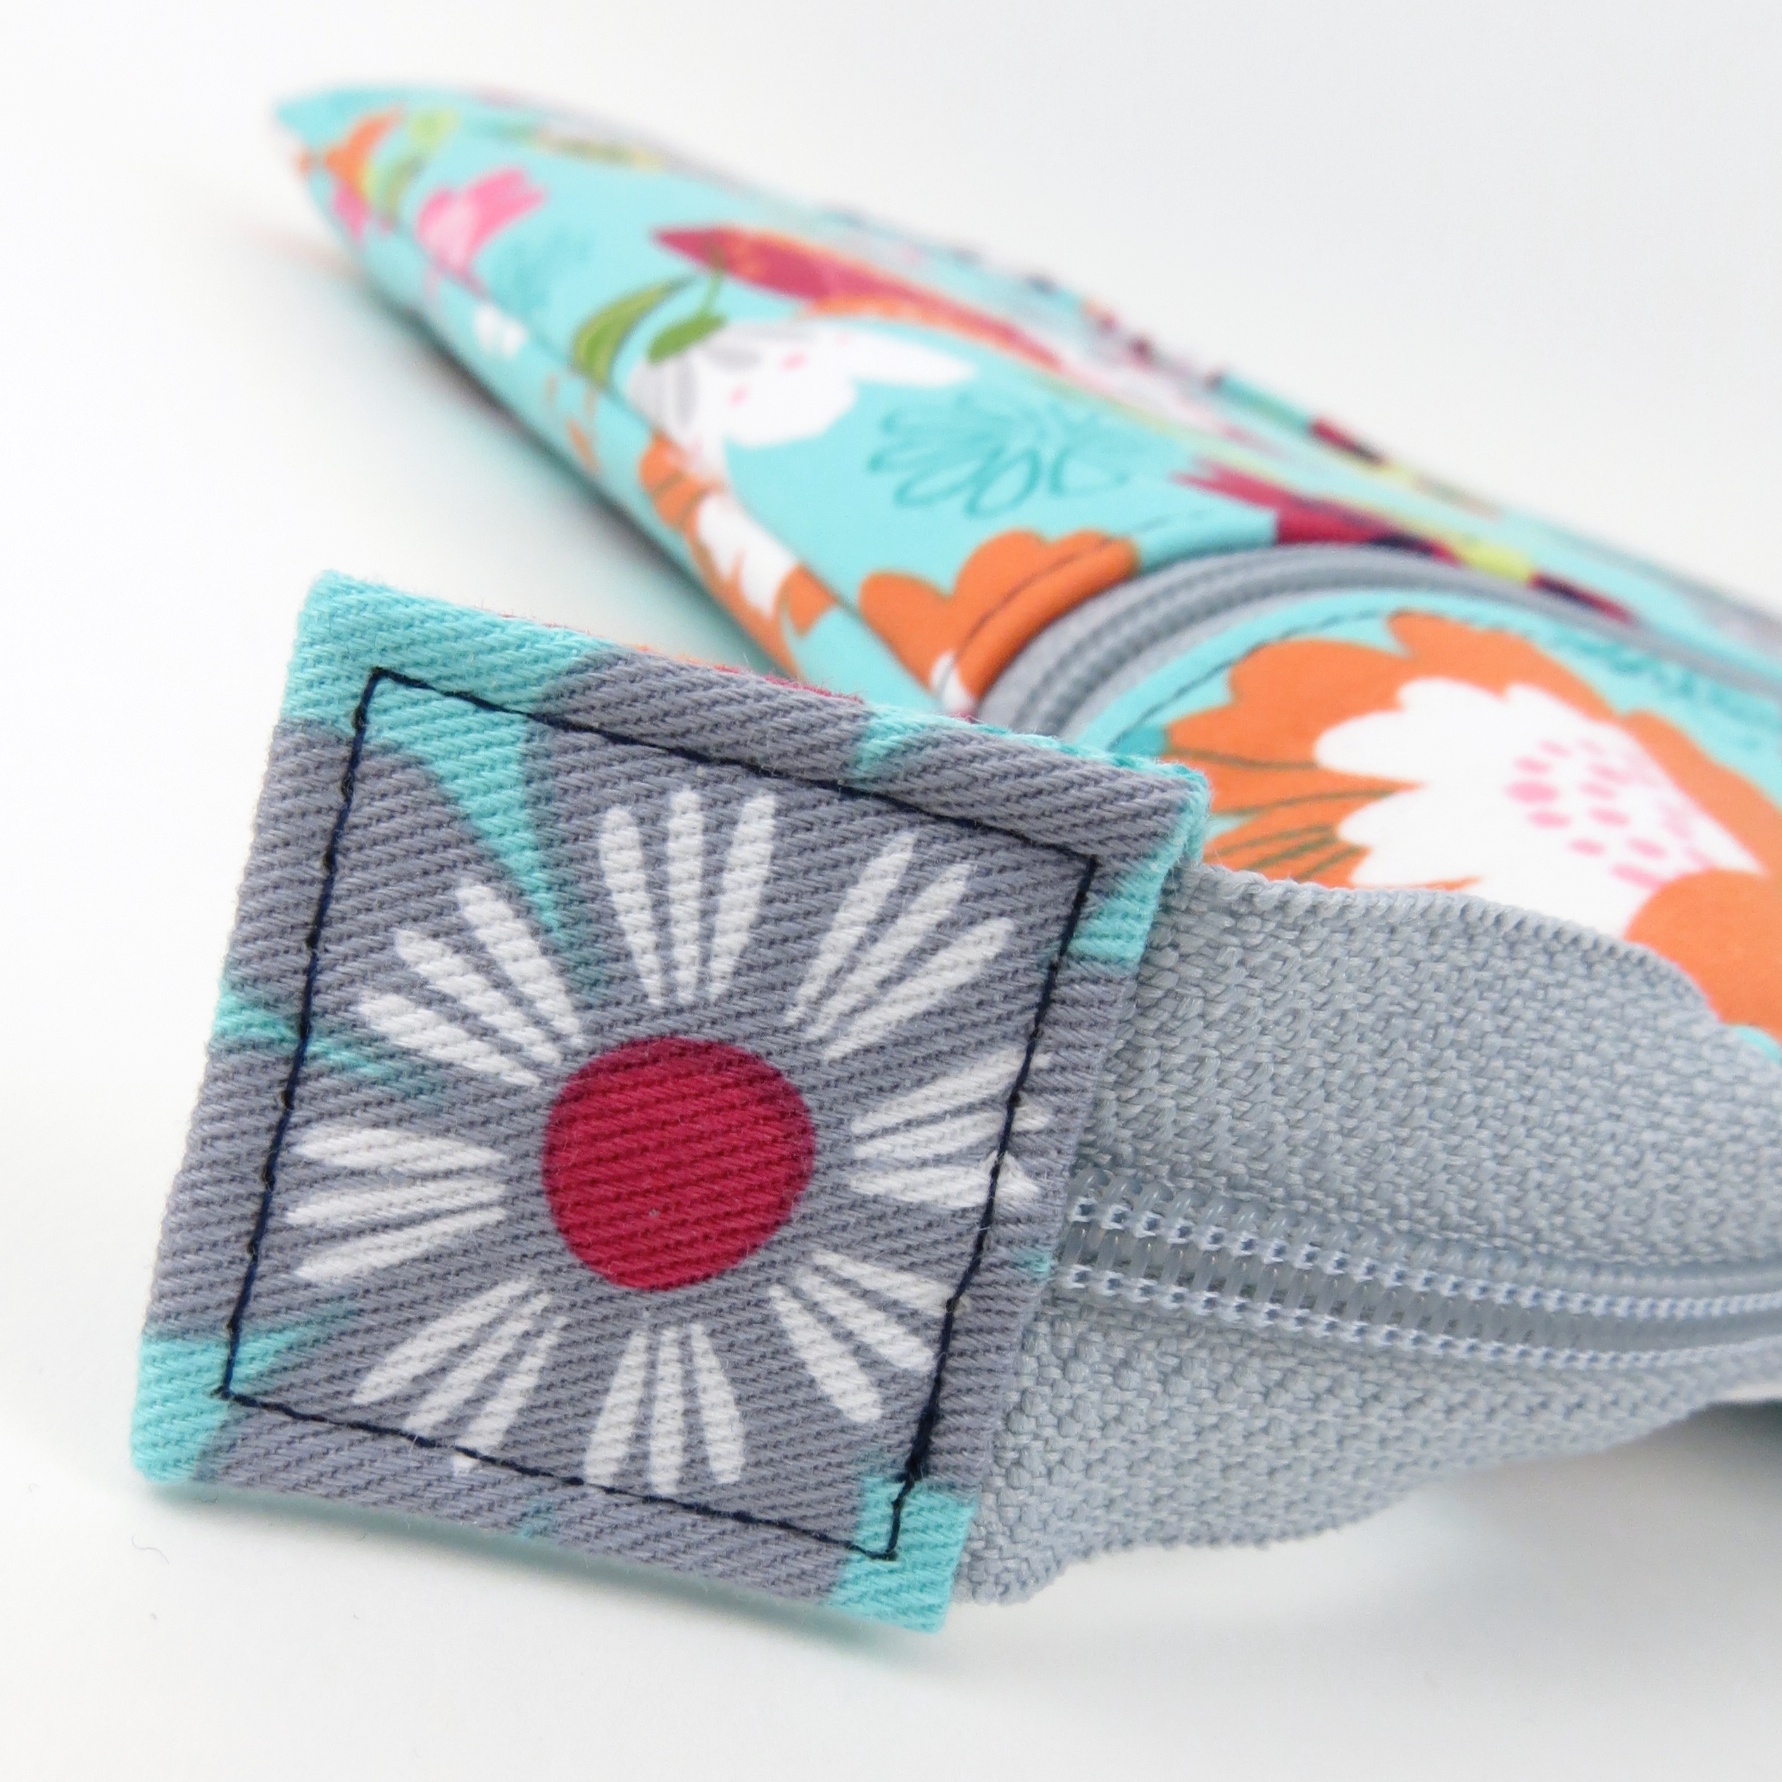
 Tie everything off, add a glob of fray block, and clip your threads (or bury them, if you want.) :)
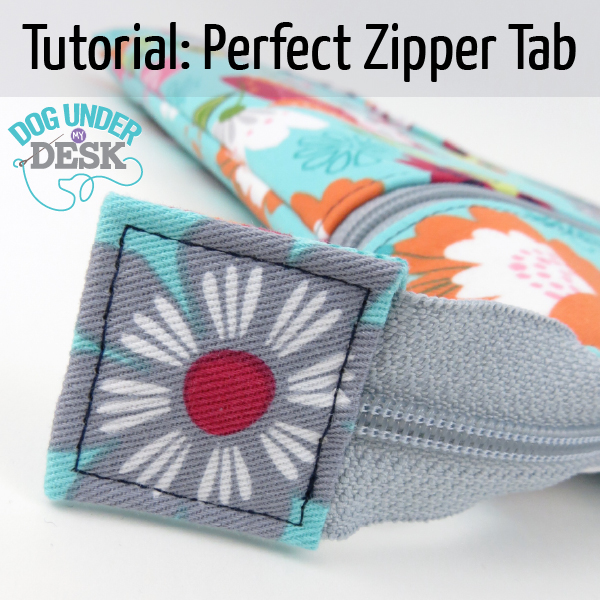
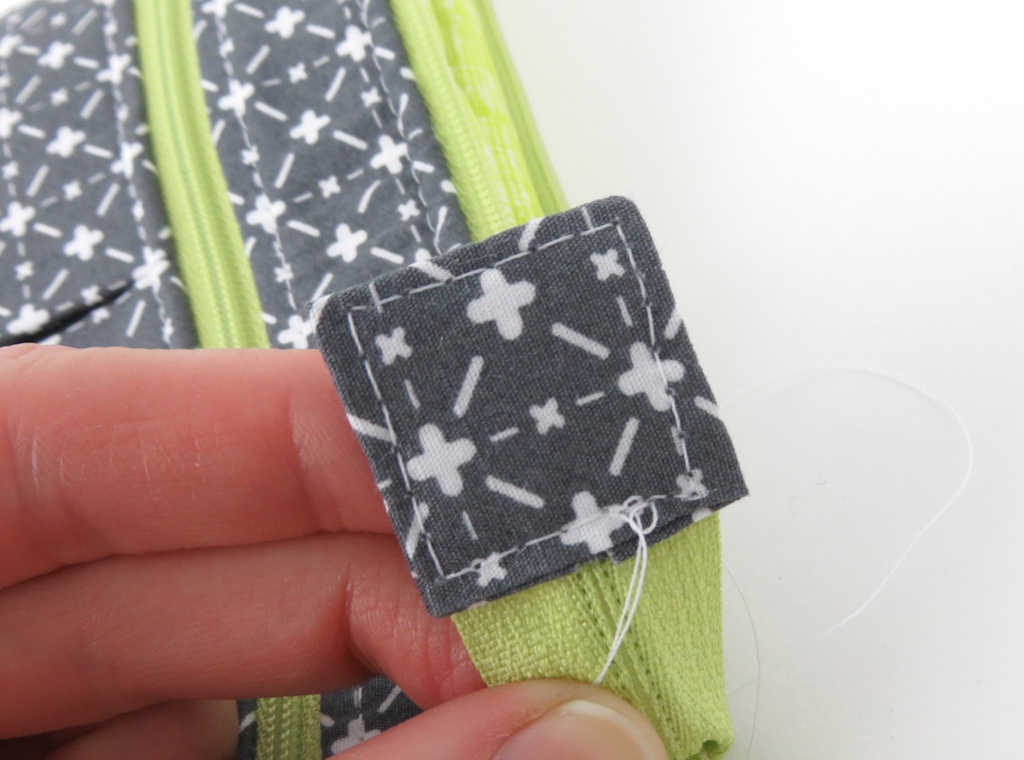
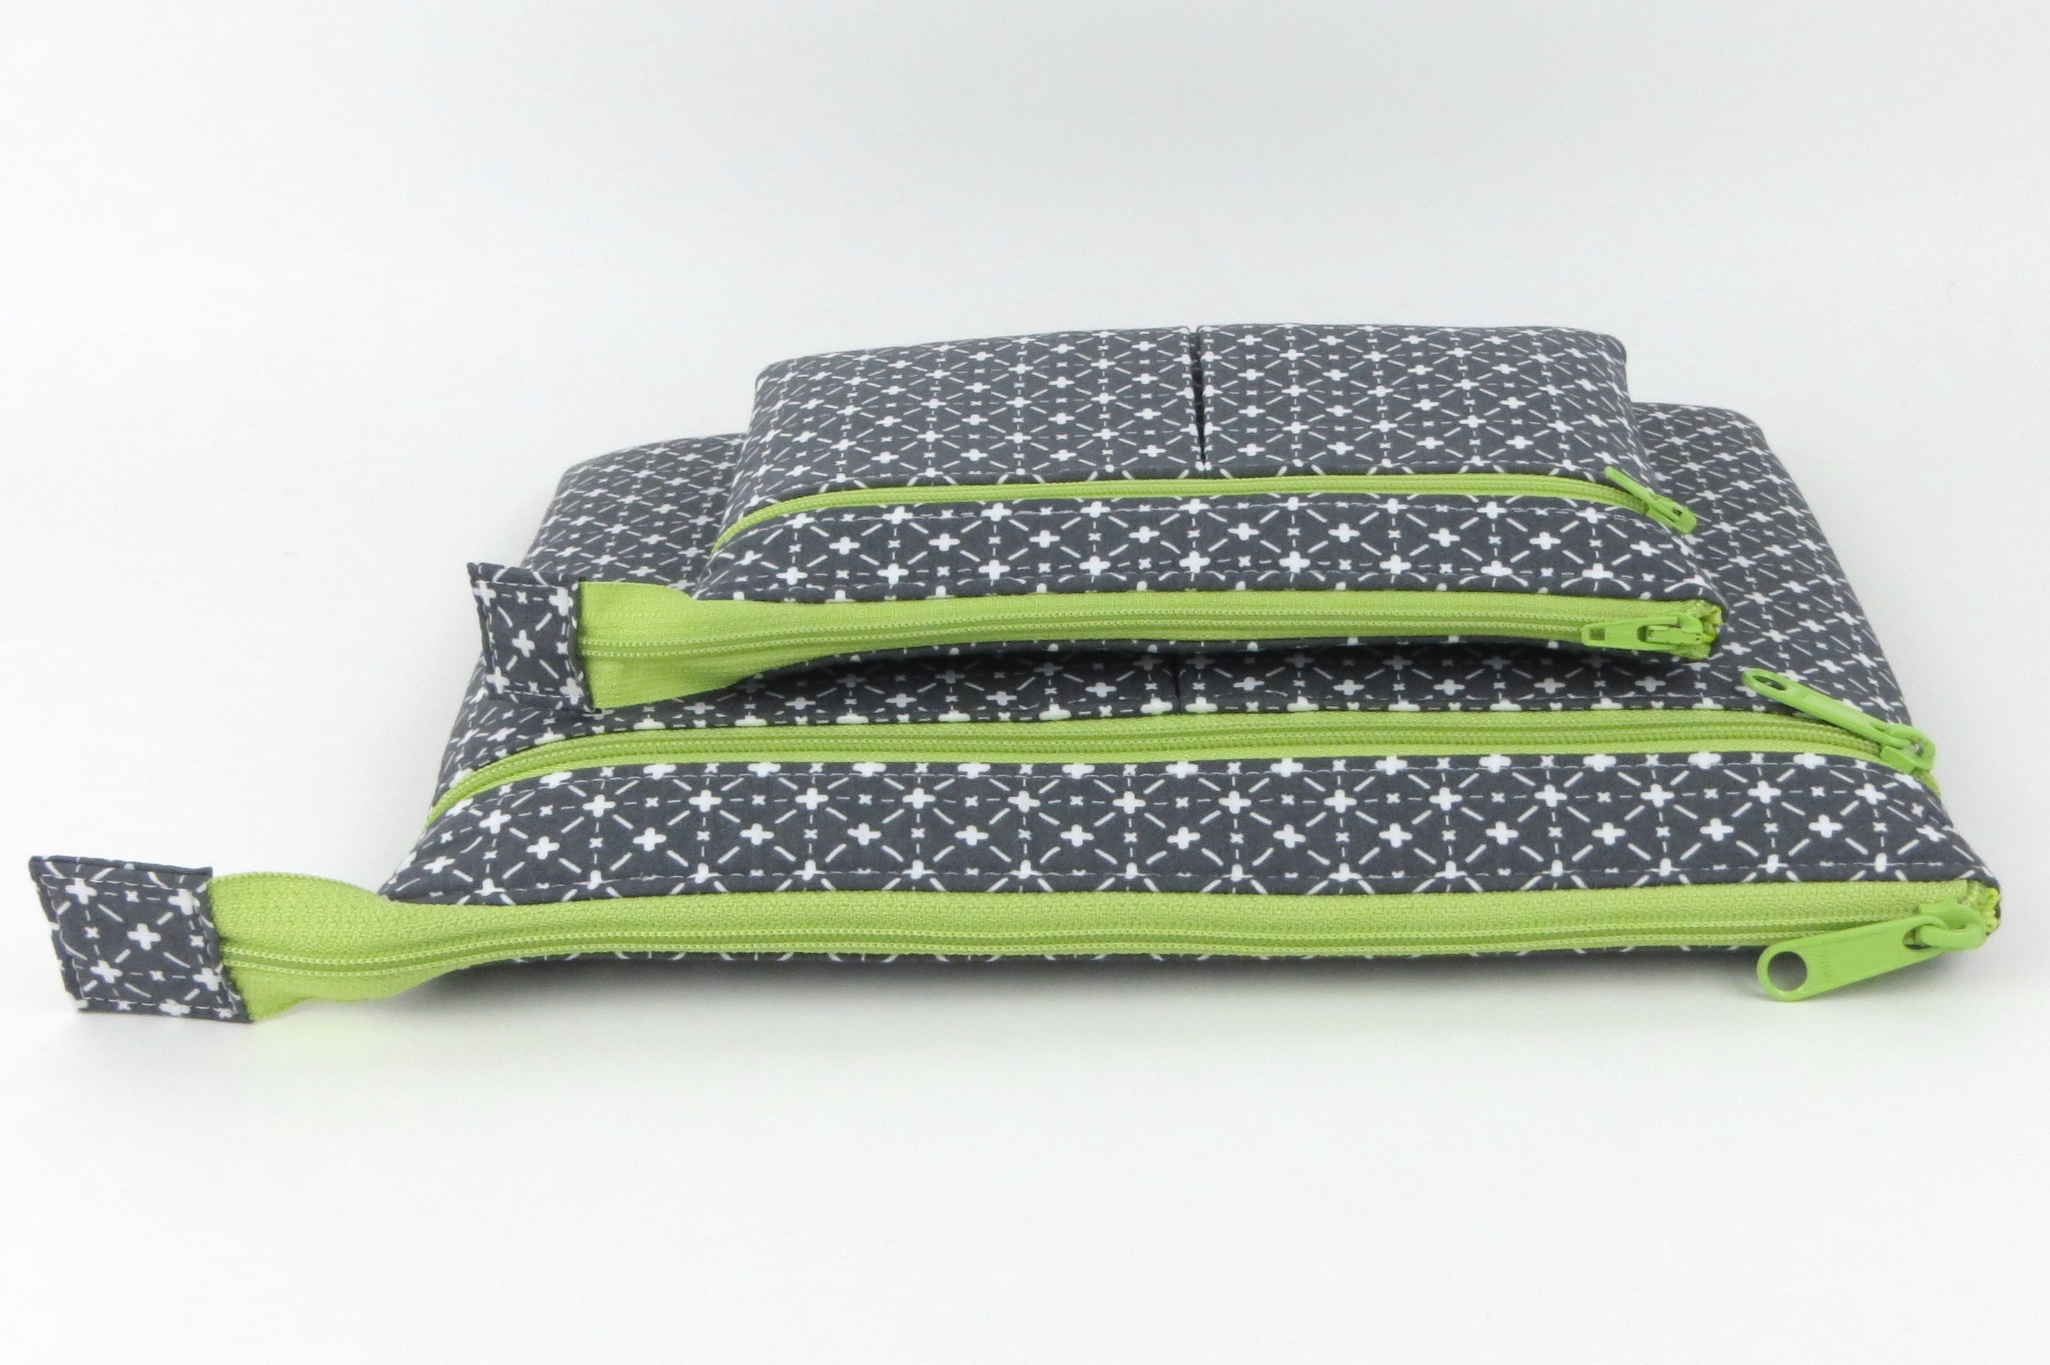
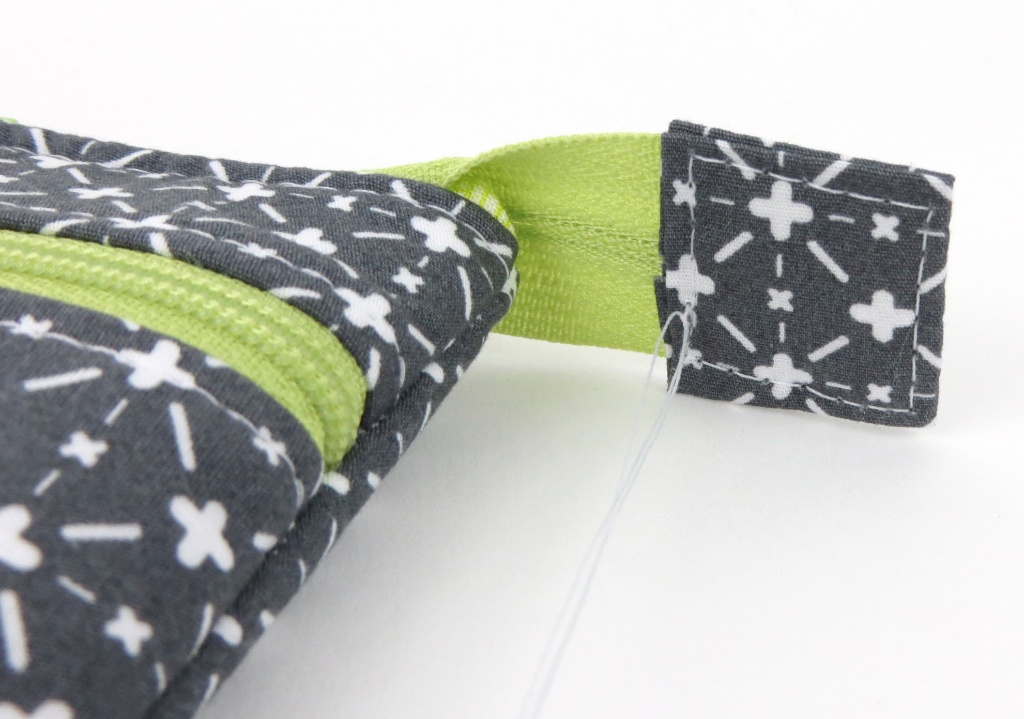 Perfect zipper tab. Every time.
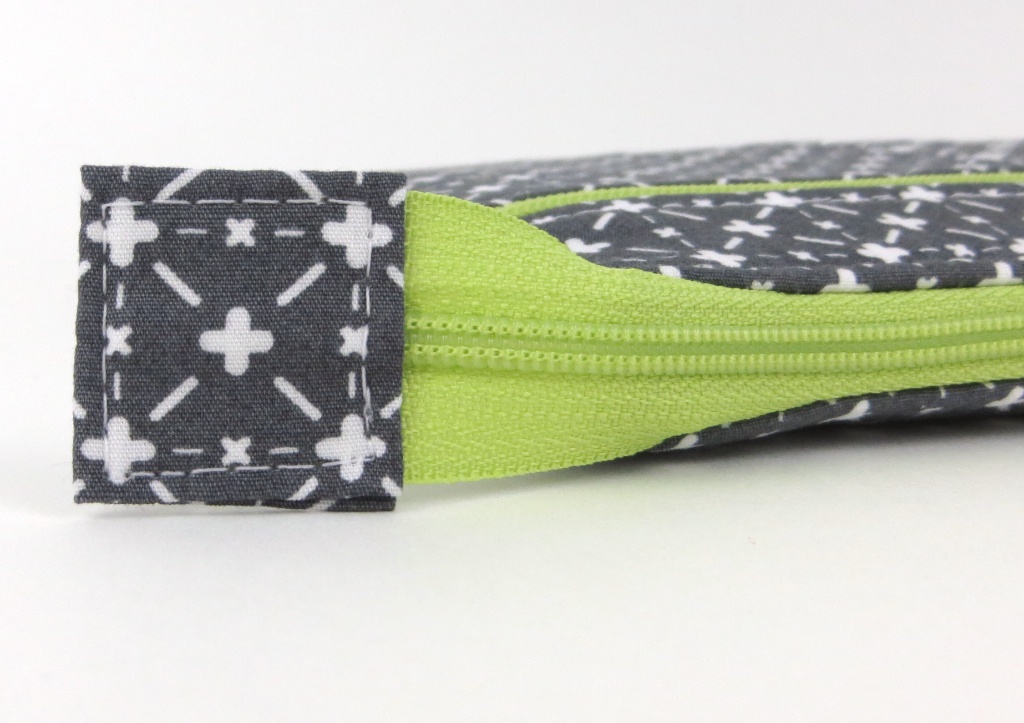
Thanks for sharing this, I’ve made a few in my time but never been delighted with the end result, I’ll be following this next time!
Thanks! I have never done one of these, but I did purchase the Gadget Guard pattern so I know I’ll have to eventually! This will make it much easier when I decide to tackle it:)
Brilliant! Fusible web! I don’t know why I didn’t think of that!
Like all of your directions, thorough, precise, and clear. Thank you for all of your patterns. I have used several. Keep up the good work.
P.S. What is the grey geometric fabric?
Erin, Great tutorial as always, I really appreciate all of the hard work that goes into your tutorials, from the pictures to making sure the directions are correct, I appreciate all of your hard work and dedication!
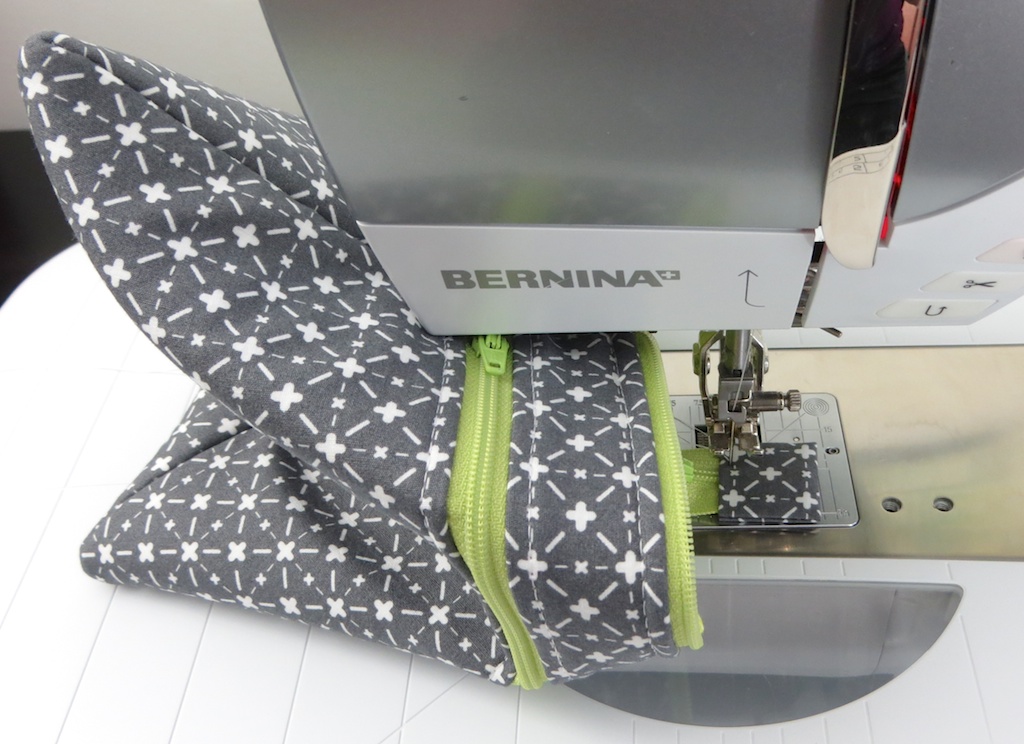
This is so helpful, even though I’ve made two Gadget Guards and a 2ZH! The additional photos are very helpful for visual learner me. The directions on how to feed it to stitch it are very helpful, too! I made a very large GG the first time and my machine’s throat isn’t very big, so it was a challenge!
I like the clearer instructions on how to tie off the threads, too. I don’t remember which pattern/tutorial I used that said to do that, but I couldn’t figure it out, so I didn’t do it and just used lots of fray block.
Thanks for this! So helpful, was always!
Great tutorial! Thanks :)
Such great tips. I like the zipper pull idea and the bit more room it provides. Thank you.
That is so much easier then what I have seen out there. Thank you so much for sharing your tutorials. Your patterns look fun as well.
[…] Want to know the secret to a perfect zipper tab? Head on over to the tutorial at Dog Under My Desk to find out! […]
Thanks for the great tutorial, I just purchased a big bag of zippers from good will and there were alot of 22 in. zippers and I couldn’t think of how I would use that many.
Looks so awesome, if I ever get a sewing machine I want to make so much… some day.Thanks for all the cool ideas.
Can you clarify please. In the step where you remove the paper and fuse – then how do you get the zipper in there if it’s already fused? Never mind I just read it again and realized that the zipper is inserted in the top slot!! Aha moment! :)
You my friend are brilliant! Thanks for sharing.
Love this technique!!! Very Clever idea!! Thanks For Sharing!!
Thanks for sharing this. I always had problems with the zipper tabs and even after having made the tabs a few times now according to your tutorial, I still have to revert to it every time. Thanks.
This is a great tutorial. I’ve been struggling for an hour now with another tutorial, but this one has solved my problem! Thanks so much for sharing.
Thanks everyone! I’m so happy it helps! :)
It’s exactly this sort of thing that non-sewers under-estimate time wise , to make.
It’s what adds the extra minutes (hours ??) to certain makes. But … it does give a beautiful, professional finish to items.
The jury is out to if it’s worth it or not ! Personally I think it is.
Someone needs to make and distribute zipper ends :D
Actually you can get metal zipper ends. I’ve never used them, but I know they are out there. Check the supplies category on Etsy!
I just read this as I was installing a zipper on a bag and I didn’t want to do the bent-in zipper end so I looked around the internet and discovered this blog post. I followed your directions carefully and it was easy and turned out perfect!
Thanks!!!
Thankyou for such a well photo’d and clearly written tutorial. Better than most I’ve seen. Muchnappreciated. X
This was a treat tutorial! Wish this had been in my life sooner my zipper tabs look amazingamazing! Thank you!
Fabulous! have been having such a struggle with these ‘simple’ things…never happy. Looked for an easy method and BINGO! perfectly explained. Will be on the case tomorrow. :D Thank you so much.
Thank you for such a concise and helpful tutorial, i am going to be trying these on my large coin purses,
Thanks so much for this tutorial! Who would ever have thought of using the fusible? Not me! Worked well!!!
This is awesome!! Thank you so much :)
Bom dia!
Amei o tutorial,
Obrigada por postar
Super beijo
I finally worked up to making a little zipper bag with a zip tab today. This worked great. If only I could stitch straighter. Il keep practicing that. But thanks so much for sharing this. I never would have gotten it right without your very clear tutorial.
So helpful, but I have a terrible memory. I would Love to be able to download this. Please let me know if it’s downloadable or printable. Thanks for your help with all of these wonderful little projects
Given your dislike of zipper stops, I’m guessing you’re not a fan of metal zippers. If I particularly liked the look of metal zips ;) how could I adapt this style (I’m making the Two Zip Hipster) to accommodate the metal? Remove teeth using pliers?