

I’m one of those people that needs to make things start to finish. I know most people have lots of UFO’s (unfinished objects) around, but I definitely like to start and finish a project. I have a process – I measure and cut, fuse if necessary, construct and then totally clean up my workspace and start over again. This works great for purses and small projects, and the first quilt I made I finished in a weekend. But this quilt was a lot more than a weekend project!
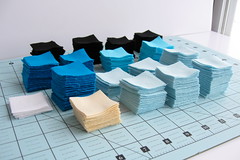
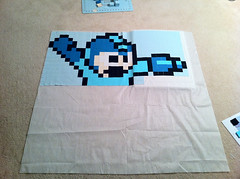
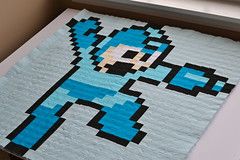
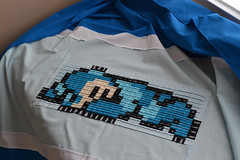
My original idea was to make something from Mario Bros, like the 1up mushroom, which is 16×16. I found gridded interfacing at the LQS and thought it would be a great way to use a quick piecing method to assemble it. I talked to my brother and we decided instead on jumping MegaMan, which is 29×30 pixels, and sleeping MegaMan, which is 29×12. We picked out colors and he showed me the layout he wanted. Rather than a big image the size of the whole quilt, he wanted a smaller image in the middle. I did all the math and figured out how big the borders and squares needed to be for a 60″ x 70″ finished quilt. I counted up how many squares of each color (over 1000 total for the front and back) and figured out how many strips and squares to cut of each. (Math is fun!) We had decided on 1.5″ squares for a 1″ finished square, so I cut 1.5″ strips and then sliced those strips into squares. I very carefully kept the grains aligned while placing them. I had blown up the images really big and printed them out so I had a guide to follow.
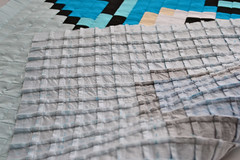
Next I made the sleepy guy. I decided to make him smaller, with 1.25″ pieces for a 3/4″ finished square. This time, I drew lines on the lightest weight fusible I had in my closet. MUCH better. It was easier to split open and press, so this time seams got pressed open. I figured this would reduce bulk in the middle where there was decoration on both sides.

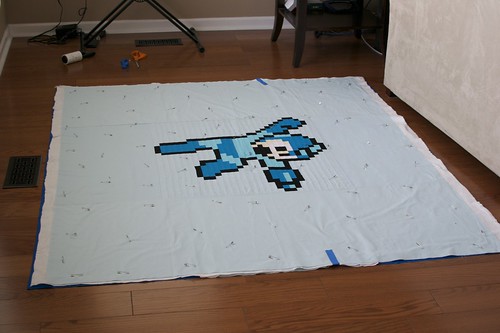
So now I had two pixel sprite images that needed borders. Somehow, amazingly, it worked out to the exact amount of fabric I had on hand. Again, math is fun! The borders sewed up quickly and it was time to baste. Since my first quilt was 35’x45′, this was a bit harder. I bought the specialty curved pins and moved my couch out of the way and taped the thing to the floor.
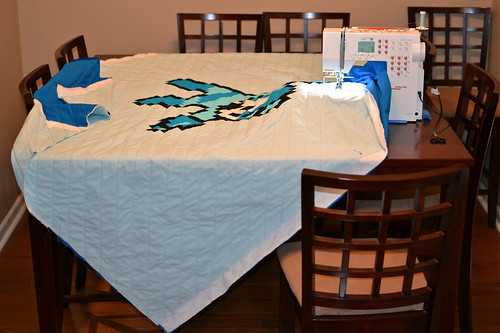
If I do this again, I will skip the image on the back side. We wanted it to look like the end screen in the game and I think sleepy MegaMan is adorable, but quilting it with a design on the front and back isn’t worth repeating. I would also stick to the 16×16 images and possibly eliminate the interfacing and do it the old fashioned way. Any time saved sewing was spent ironing. There is no way I would attempt 1.5″ or smaller squares without interfacing, but 2″ or larger could be done. I would also use Bella instead of Kona. I will wash it with fabric softener before I mail it to my brother, but I’m not thrilled with the lack of softness of the Kona. Maybe the fabric softener will help. I will report back!