Image
  • Blog
  • Sewing Patterns
  • Tutorials
  • About
  • Contact
  • Masks

Introducing the Flip Flop Wallet… a small wallet with a LOT of options!

Posted on April 2, 2018 by Erin Erickson | 6 Comments

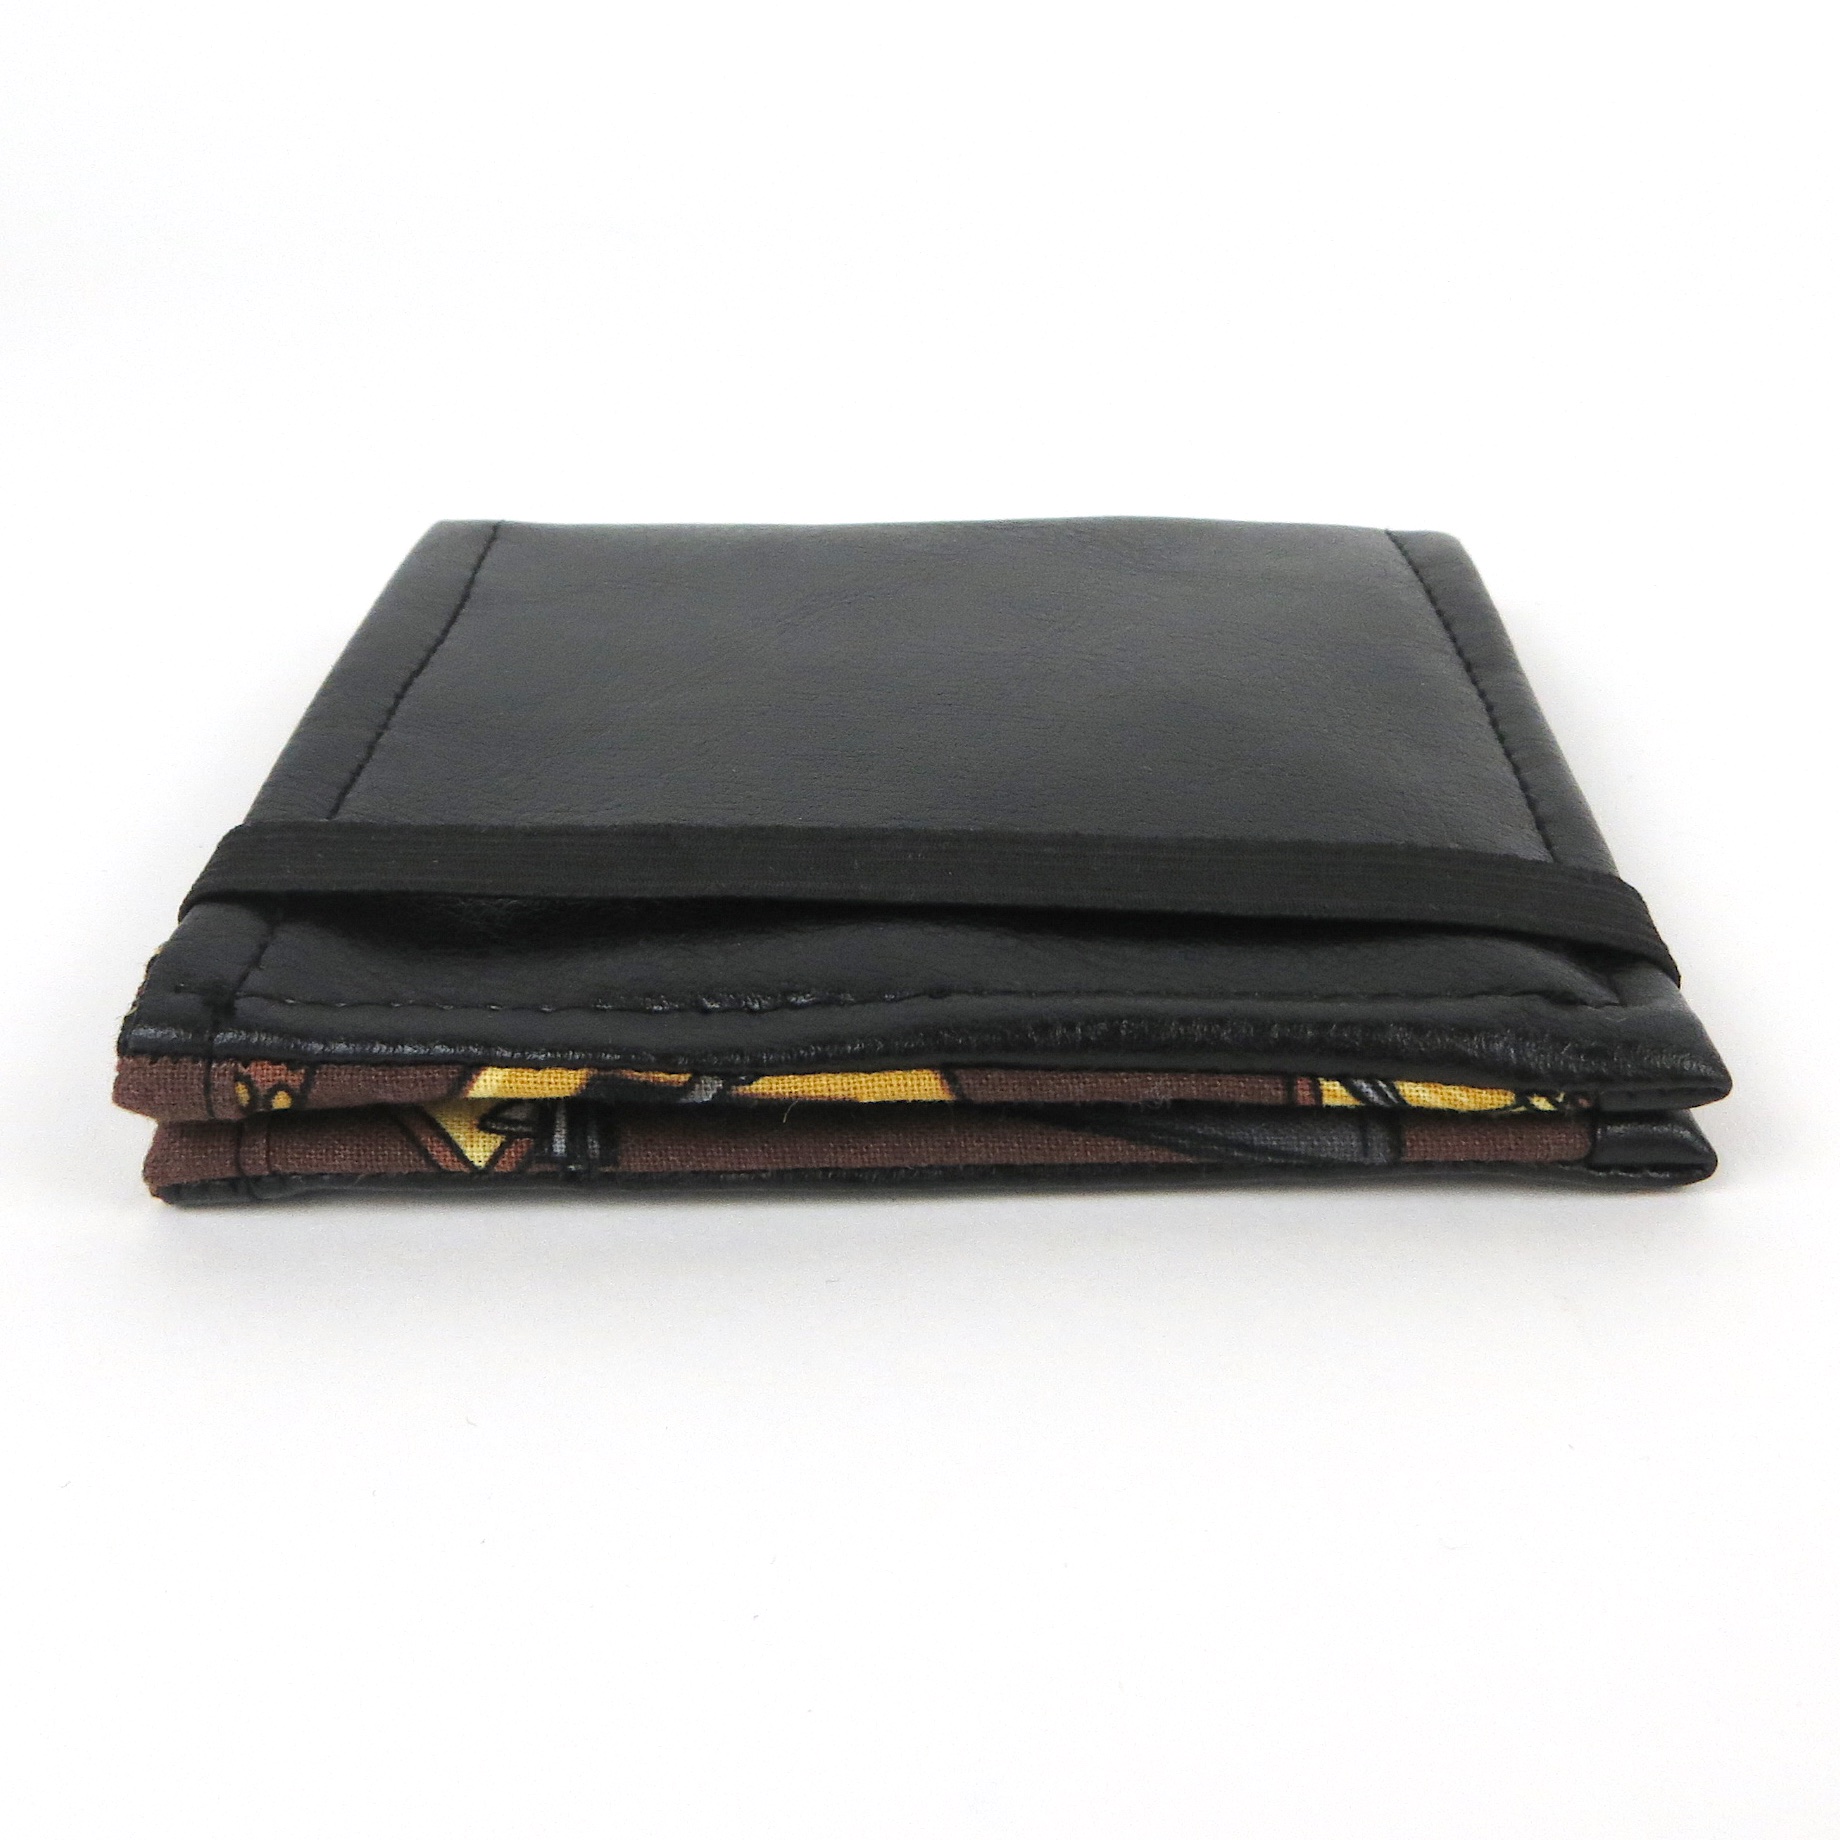
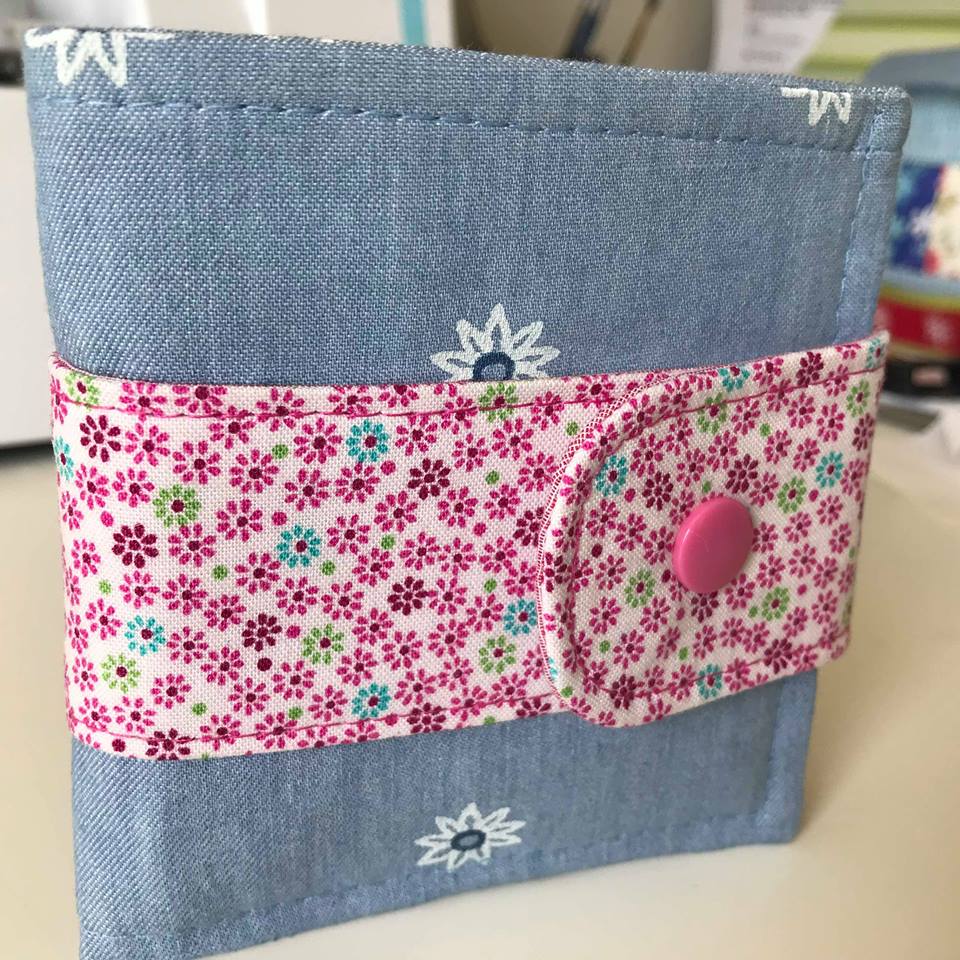
Introducing the Flip Flop Wallet Sewing Pattern!

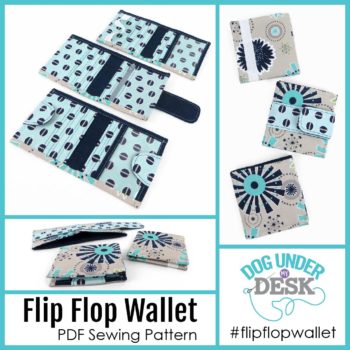
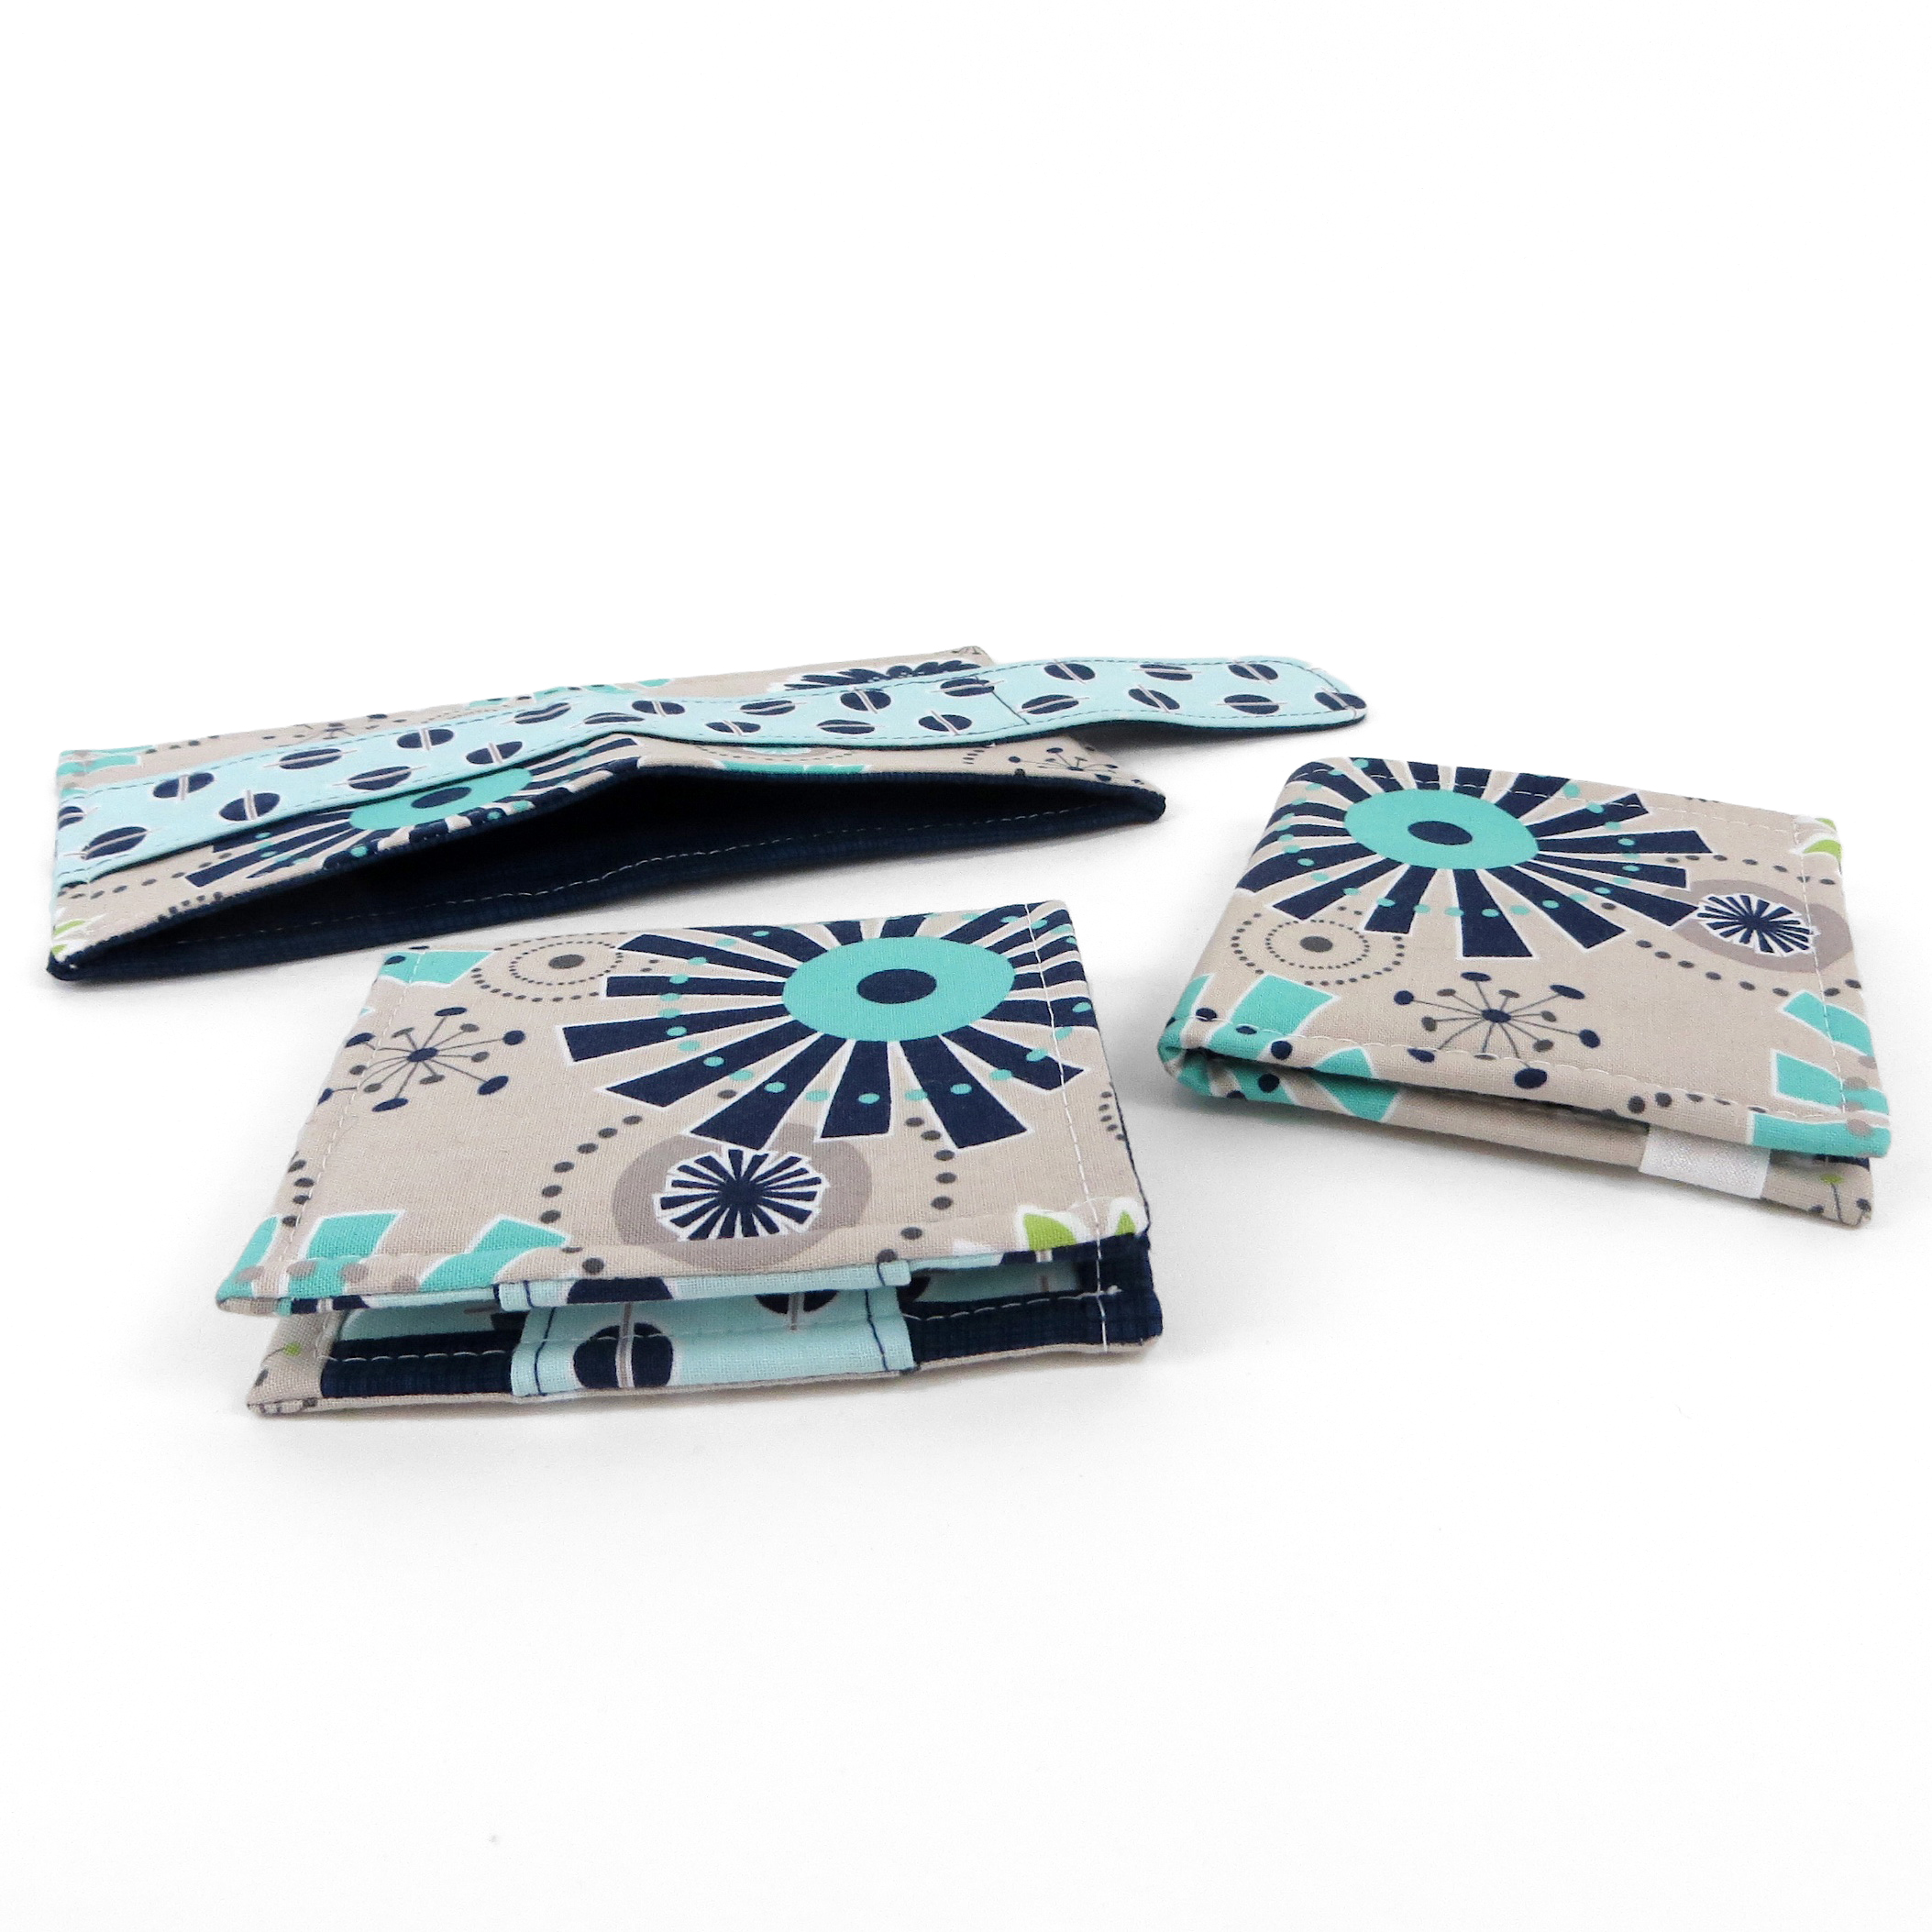
I am absolutely thrilled to release my first sewing pattern of the year, the Flip Flop Wallet! Yes, the entire past 2+ months have been spent prototyping this wallet (I found 19 of them, but I know there are more!), and then choosing and writing all of the options in a way that will flow nicely no matter which ones you choose. There is no jumping around this pattern at all, only skipping steps!

19 prototypes and samples!

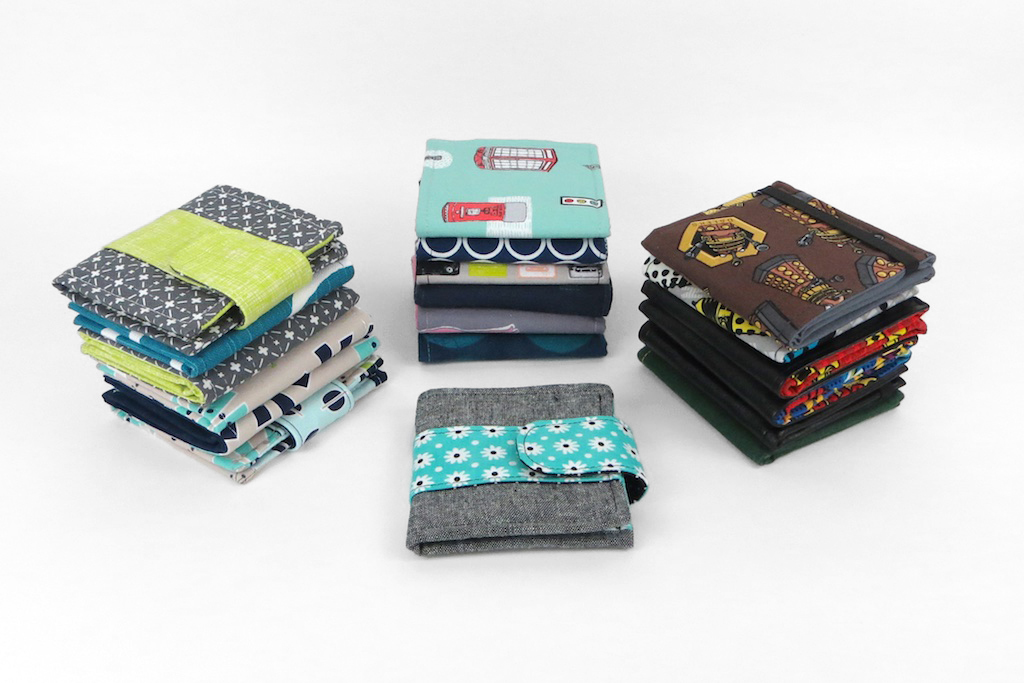
But the result was worth it!

The pattern was actually finished by Thursday for weekend sewing, but then I quickly discovered that my shopping cart was suddenly no longer compatible with serving up downloads to iOS! I spent several days troubleshooting to see if there was a workaround that could be coded (there isn’t) and most of the weekend emailing patterns as quickly as possible to anyone who had trouble. When I realized there was no fix, I re-routed all of the links to Craftsy temporarily until I can have a new shopping cart installed. Yikes! So I’m extending the sale price through Friday because I was barely able to announce it was available until now!

This one took me a little bit longer as I ended up needing to make twice as many prototypes are usual due to all of the different options. Then I really struggled to choose a name. Thank you to Bridget from the Facebook Group for suggesting the perfect name, or we would still be lost! It’s hard to find something that describes a pattern when all of the options are so different. 

Flip Flop of course describes the wallet that flips open and flops closed, and a flap that flops, and sort of the elastic too… but the Flip Flop suggestion made me laugh when Bridget suggested it…  Because in Australia it’s perfectly normal to call Flip Flops “thongs” and Bob likes to correct me. Loudly. Even in America, even in a store in the presence of poor little ladies shopping around us. But sorry Bob, you can’t correct me on this one! 

I don’t have a ton of workspace right now, so I spent some time prototyping a few smaller projects. I tried a zip around wallet and I am SO close, but I insist that you must be able to make it on a domestic machine, so it needs a bit more work once I can spend some uninterrupted time on it. 

    
While I was in wallet making mode, someone in the group suggested I do a simple (ha!) bifold unisex wallet. Sure! I threw a couple together and worked on making the construction easier. I realized quickly that if it was going to be more than a men’s wallet, then it would need a closure because it kept flopping open in my purse. I tried the prong magnet in the wings and liked them, but lining up the magnets every time I closed my wallet wasn’t my favorite thing. I tried hidden magnets and I was sold! Then Bob suggested a flap, which he didn’t end up liking, but I loved it! And so did Instagram!! Then came the usual discussion about magnets in wallets, which are most likely fine, but some people are not fans, so we added elastic, too. So then I had three closures, but I was just going to keep the card slots and ID pocket because the zippered pocket wasn’t very big and you had to sacrifice card slots for it. But once again I turned to all of you for opinions and more than enough people said they *must* have a zippered pocket in their wallets. I know some currencies are coin heavy and I know some people just carry a single house or post office box key, so it went back on the list.

A dozen possible combinations. Now I had to figure out how to write it so that one or more of the options don’t seem like afterthoughts. I didn’t want any jumping around the pattern, no referring to other sections, etc. So I wrote it in order, so that you can simply cross out and skip the sections that don’t apply to your chosen options. My amazing testers did some mental gymnastics to help me through this, and we came up with the idea of an index (thanks Yeechi!) and a cover page (thank you Candy!) to make things easier to understand from the beginning.

 
Please do NOT get overwhelmed by the size of this pattern. It’s such an easy and fast sew. I did not leave out a single detail. You will definitely not need to read or print all 32 pages of the instructions because there is no possible way to make a wallet with ALL of the options. And yes, you CAN make these with thicker fabrics on the outside!

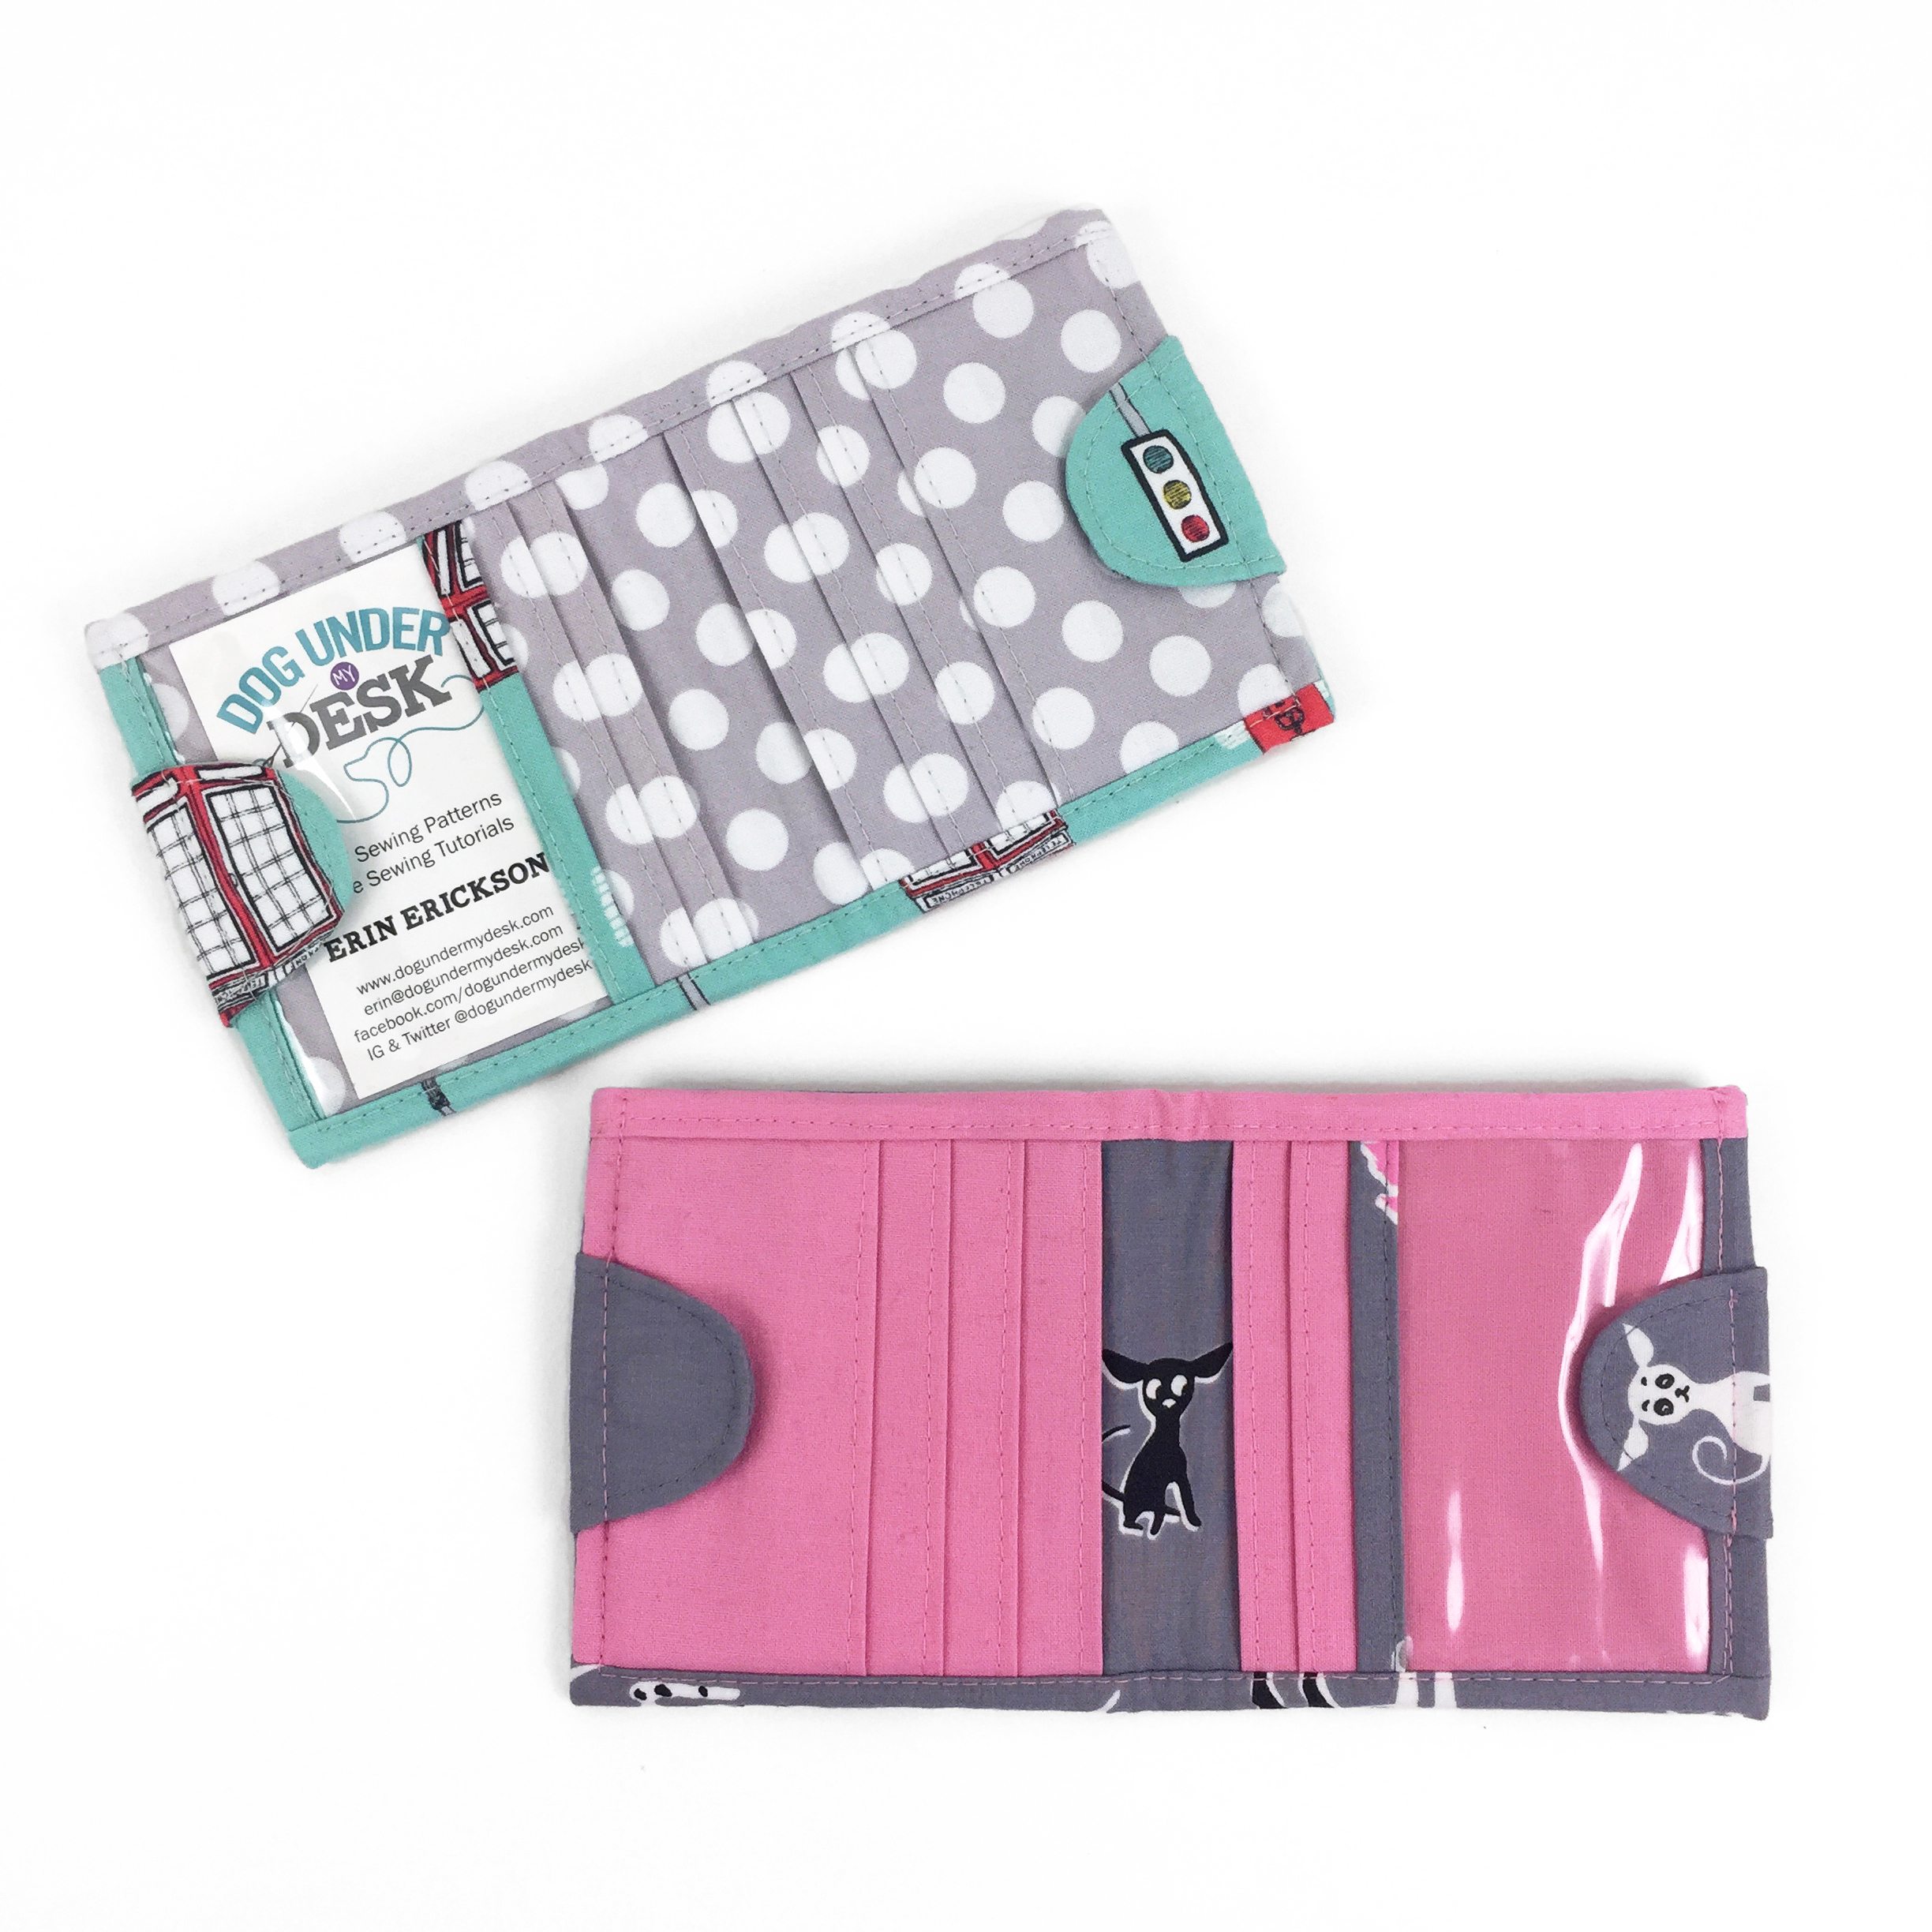
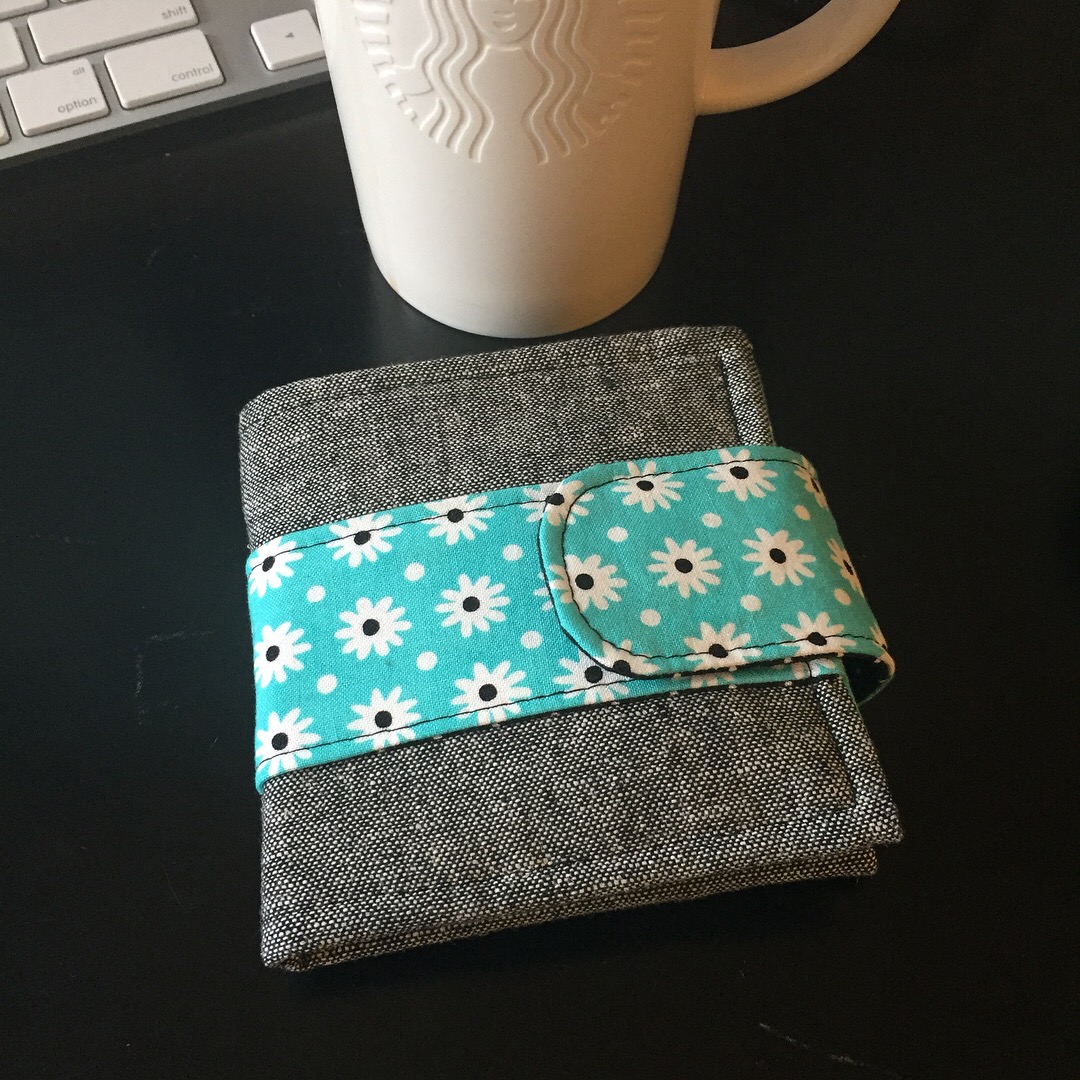
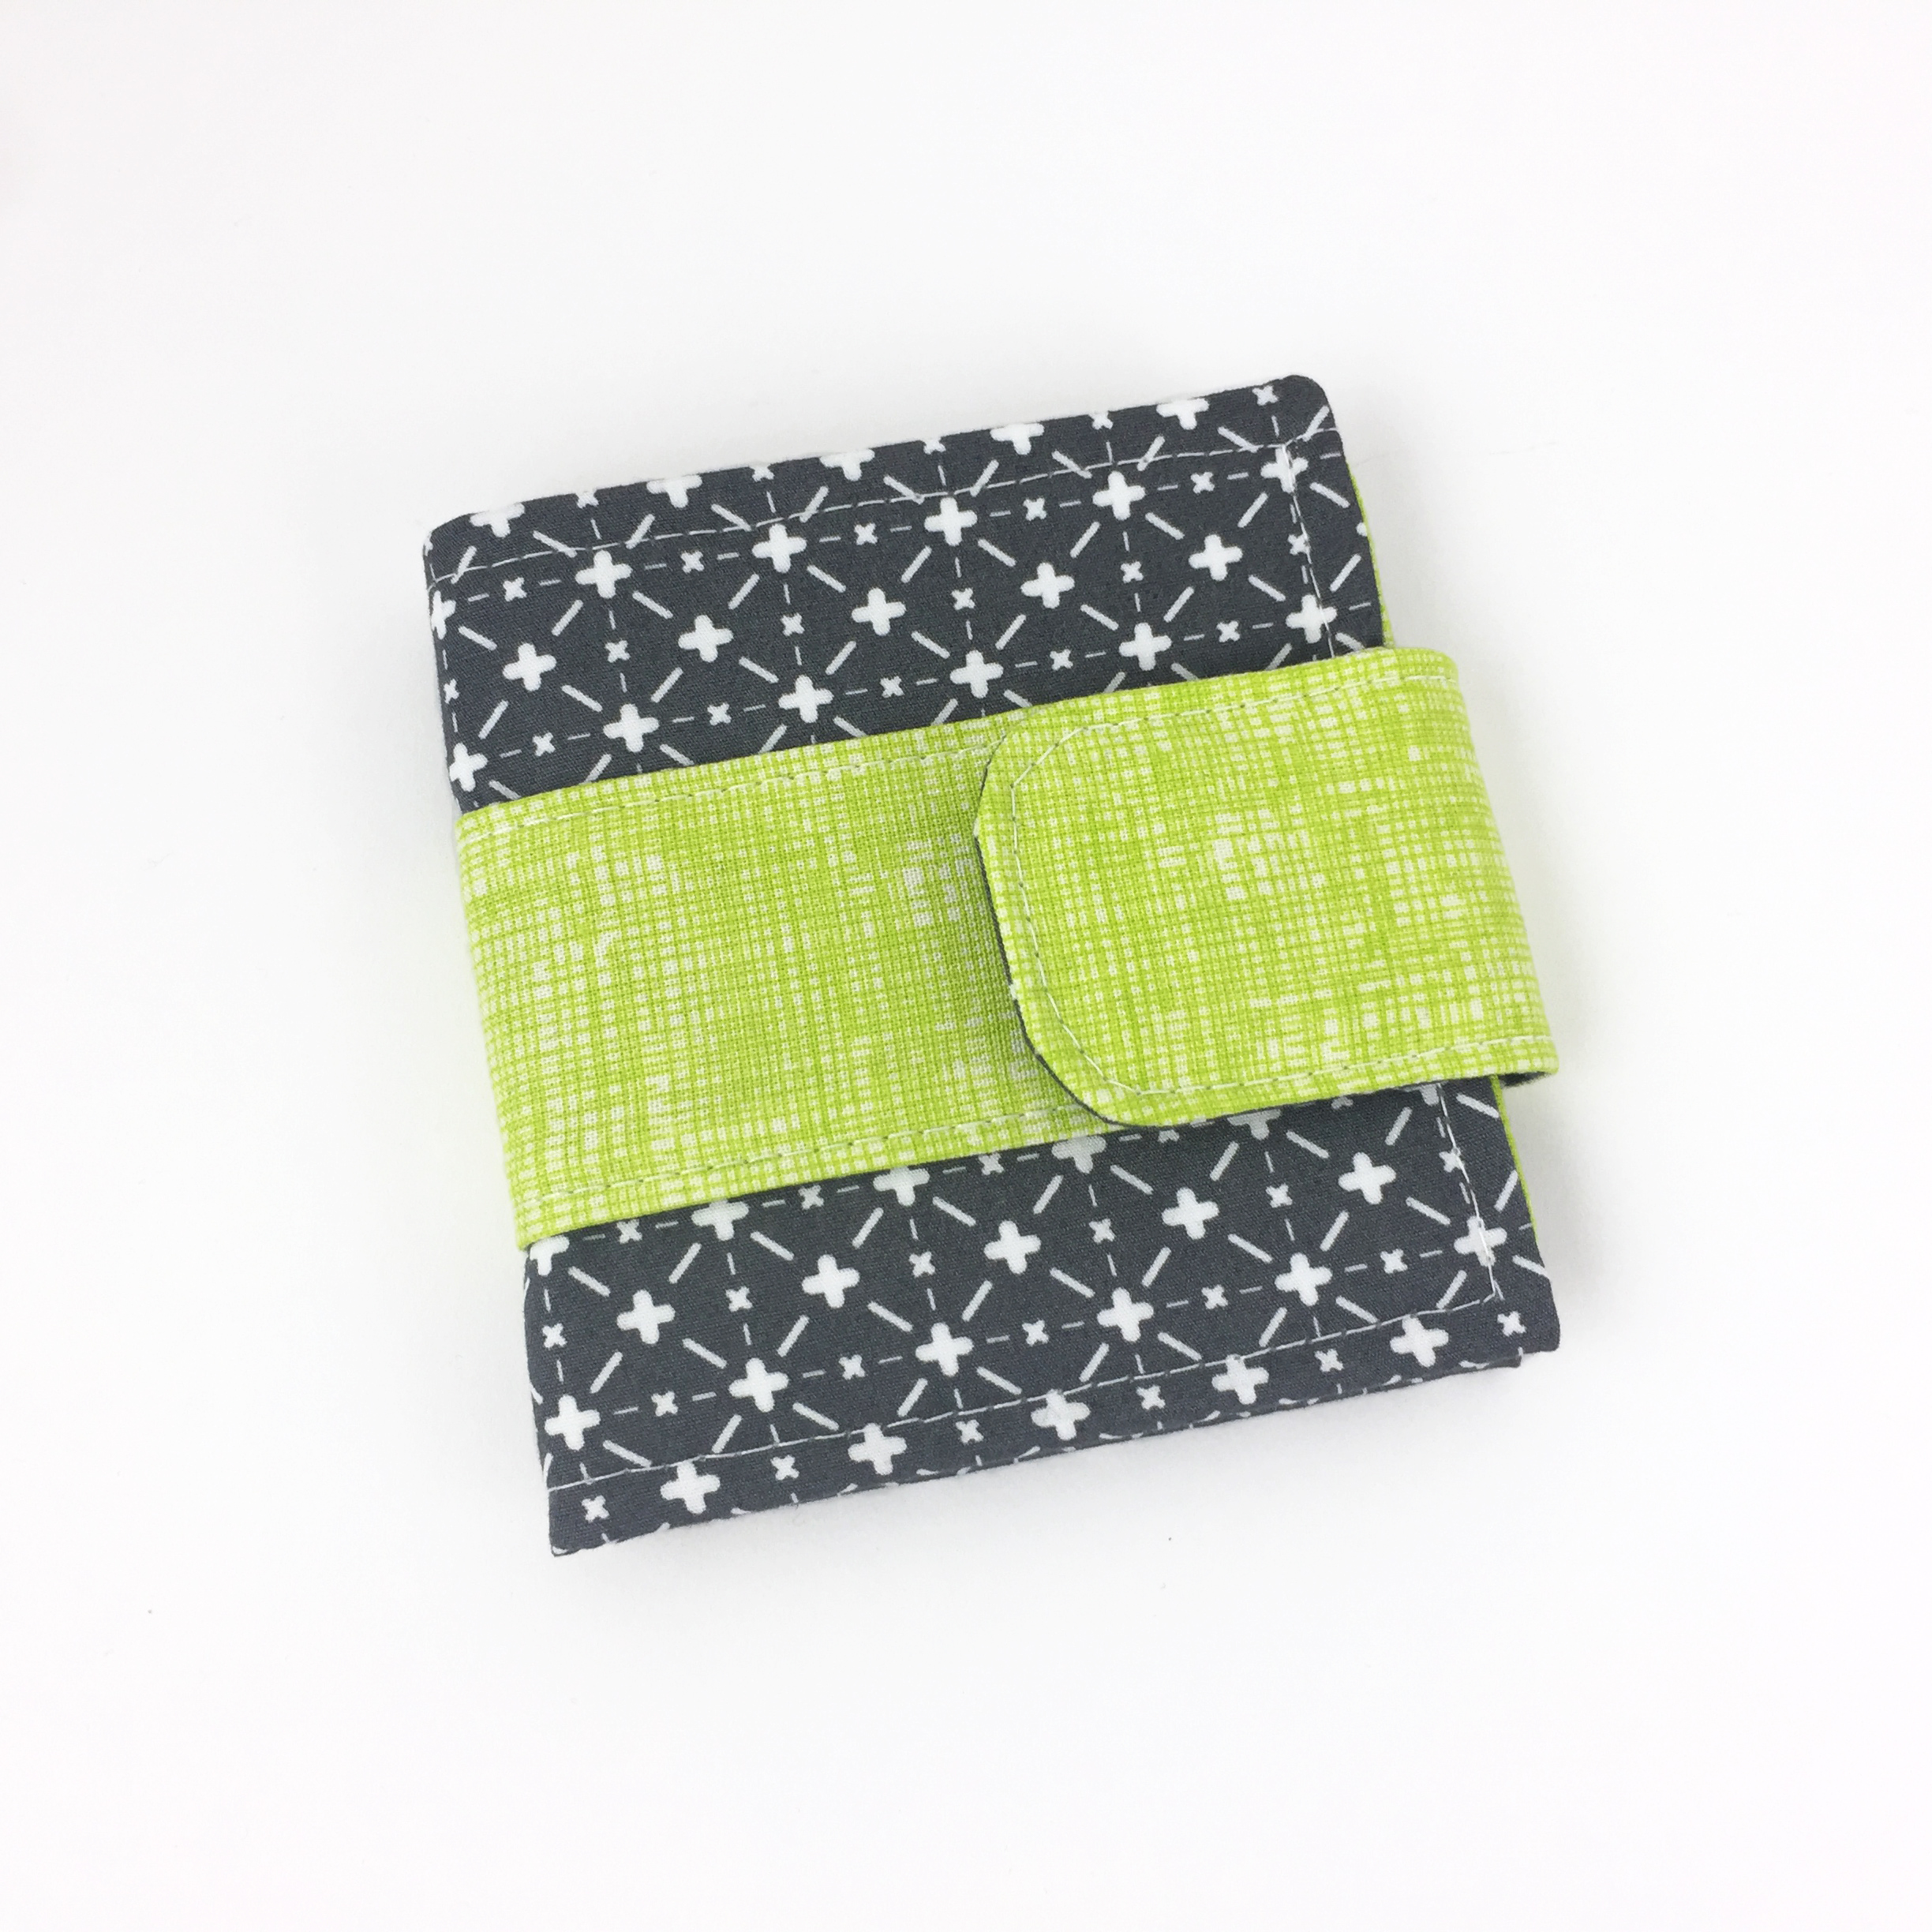
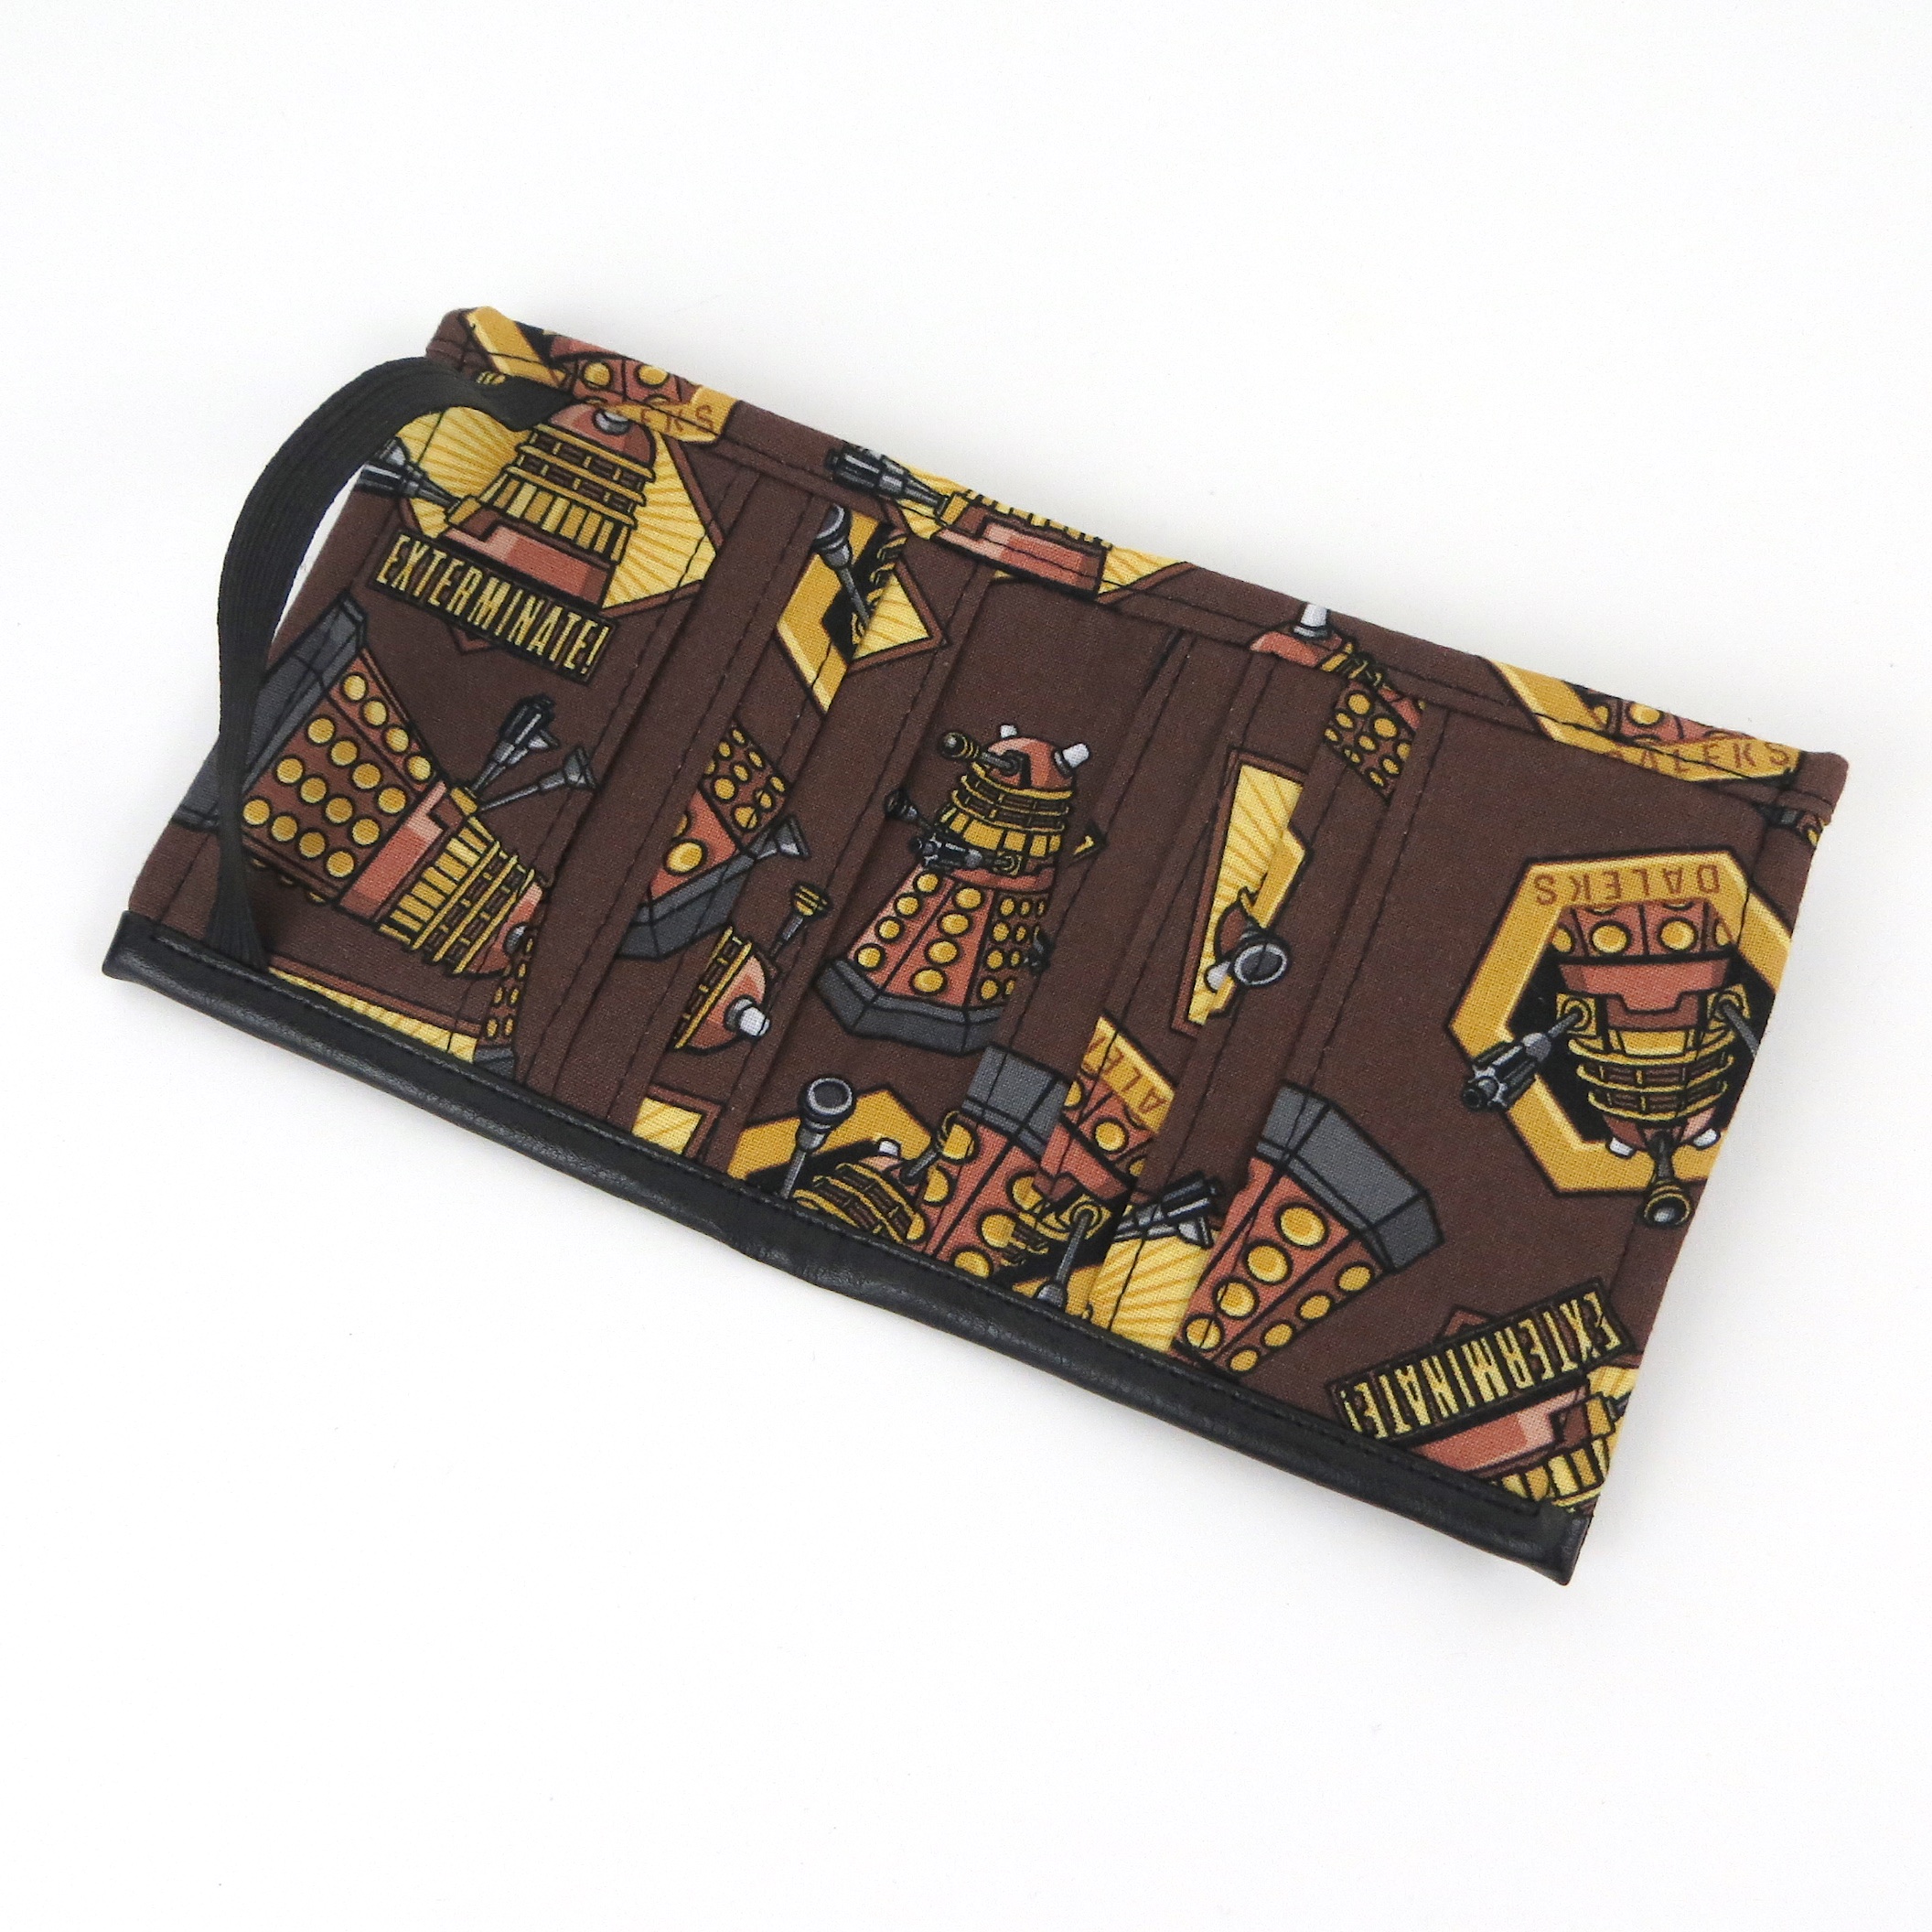
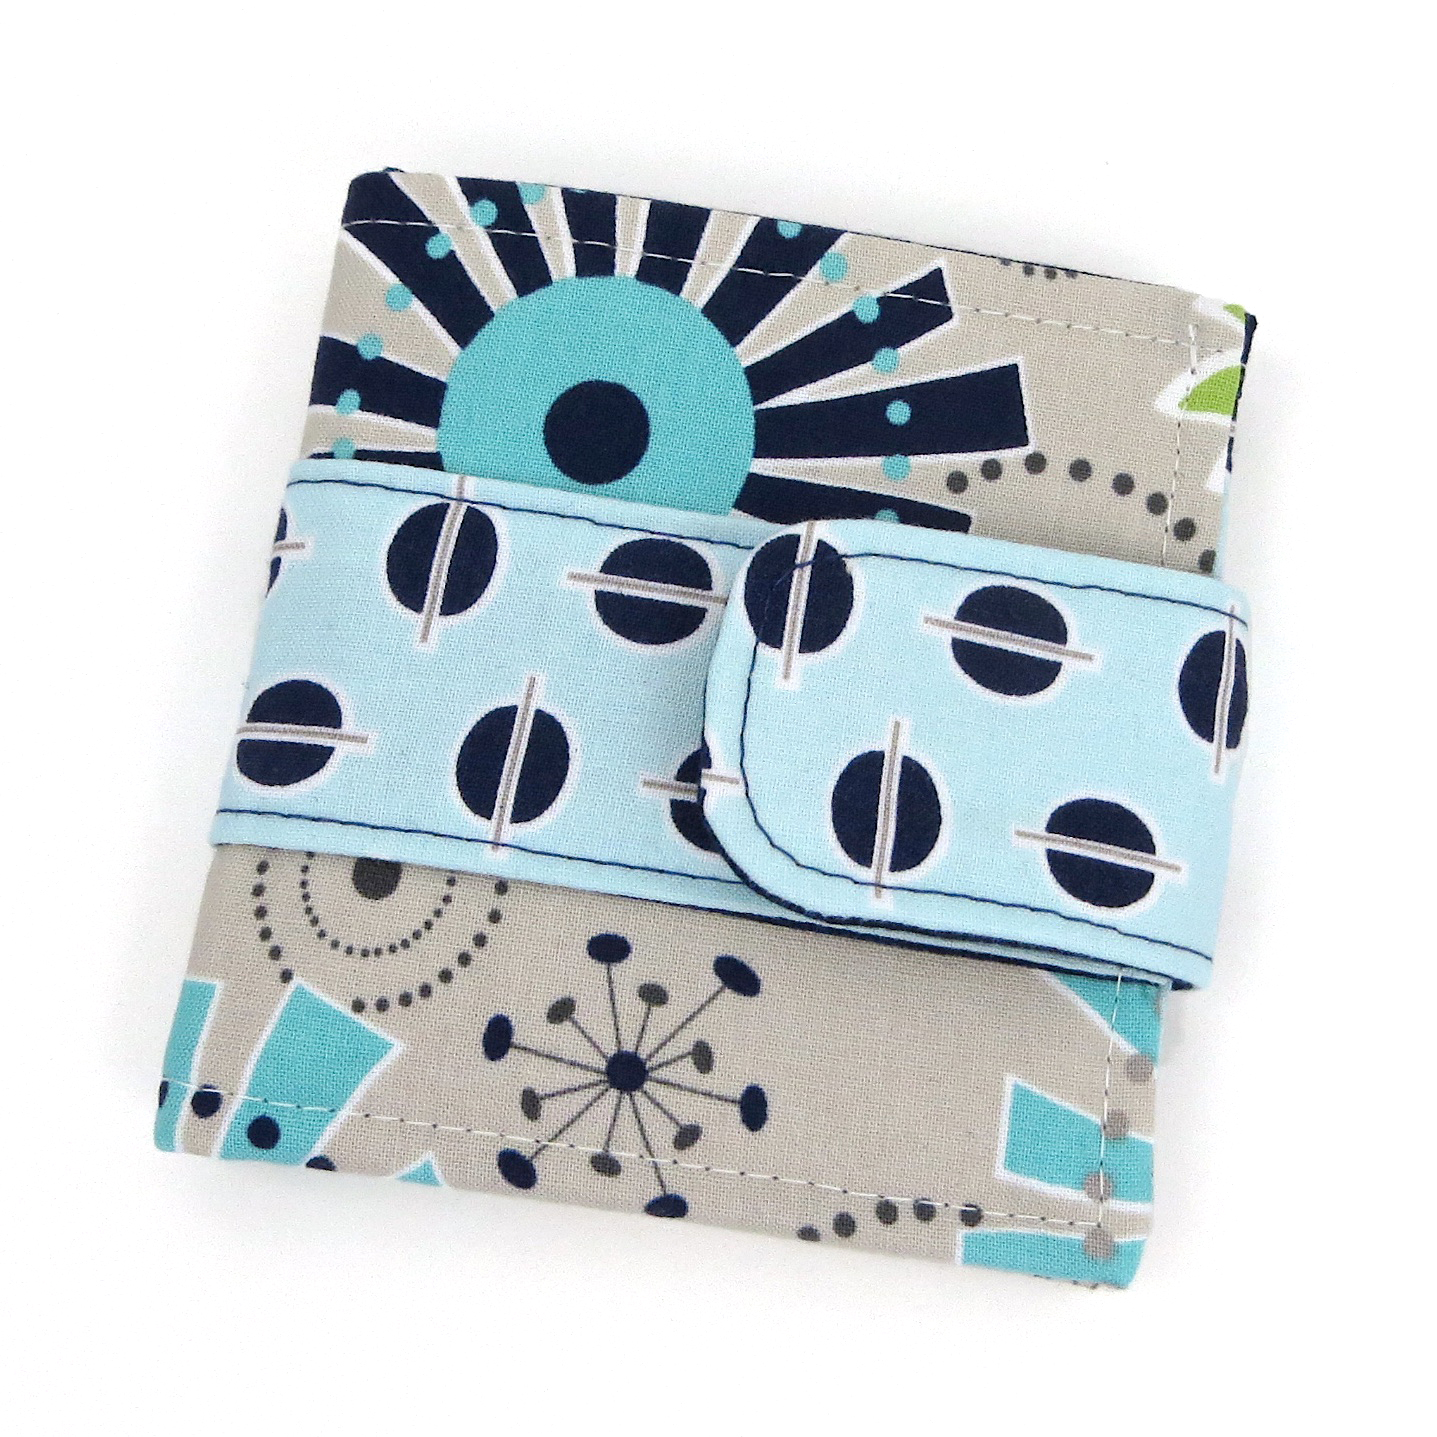
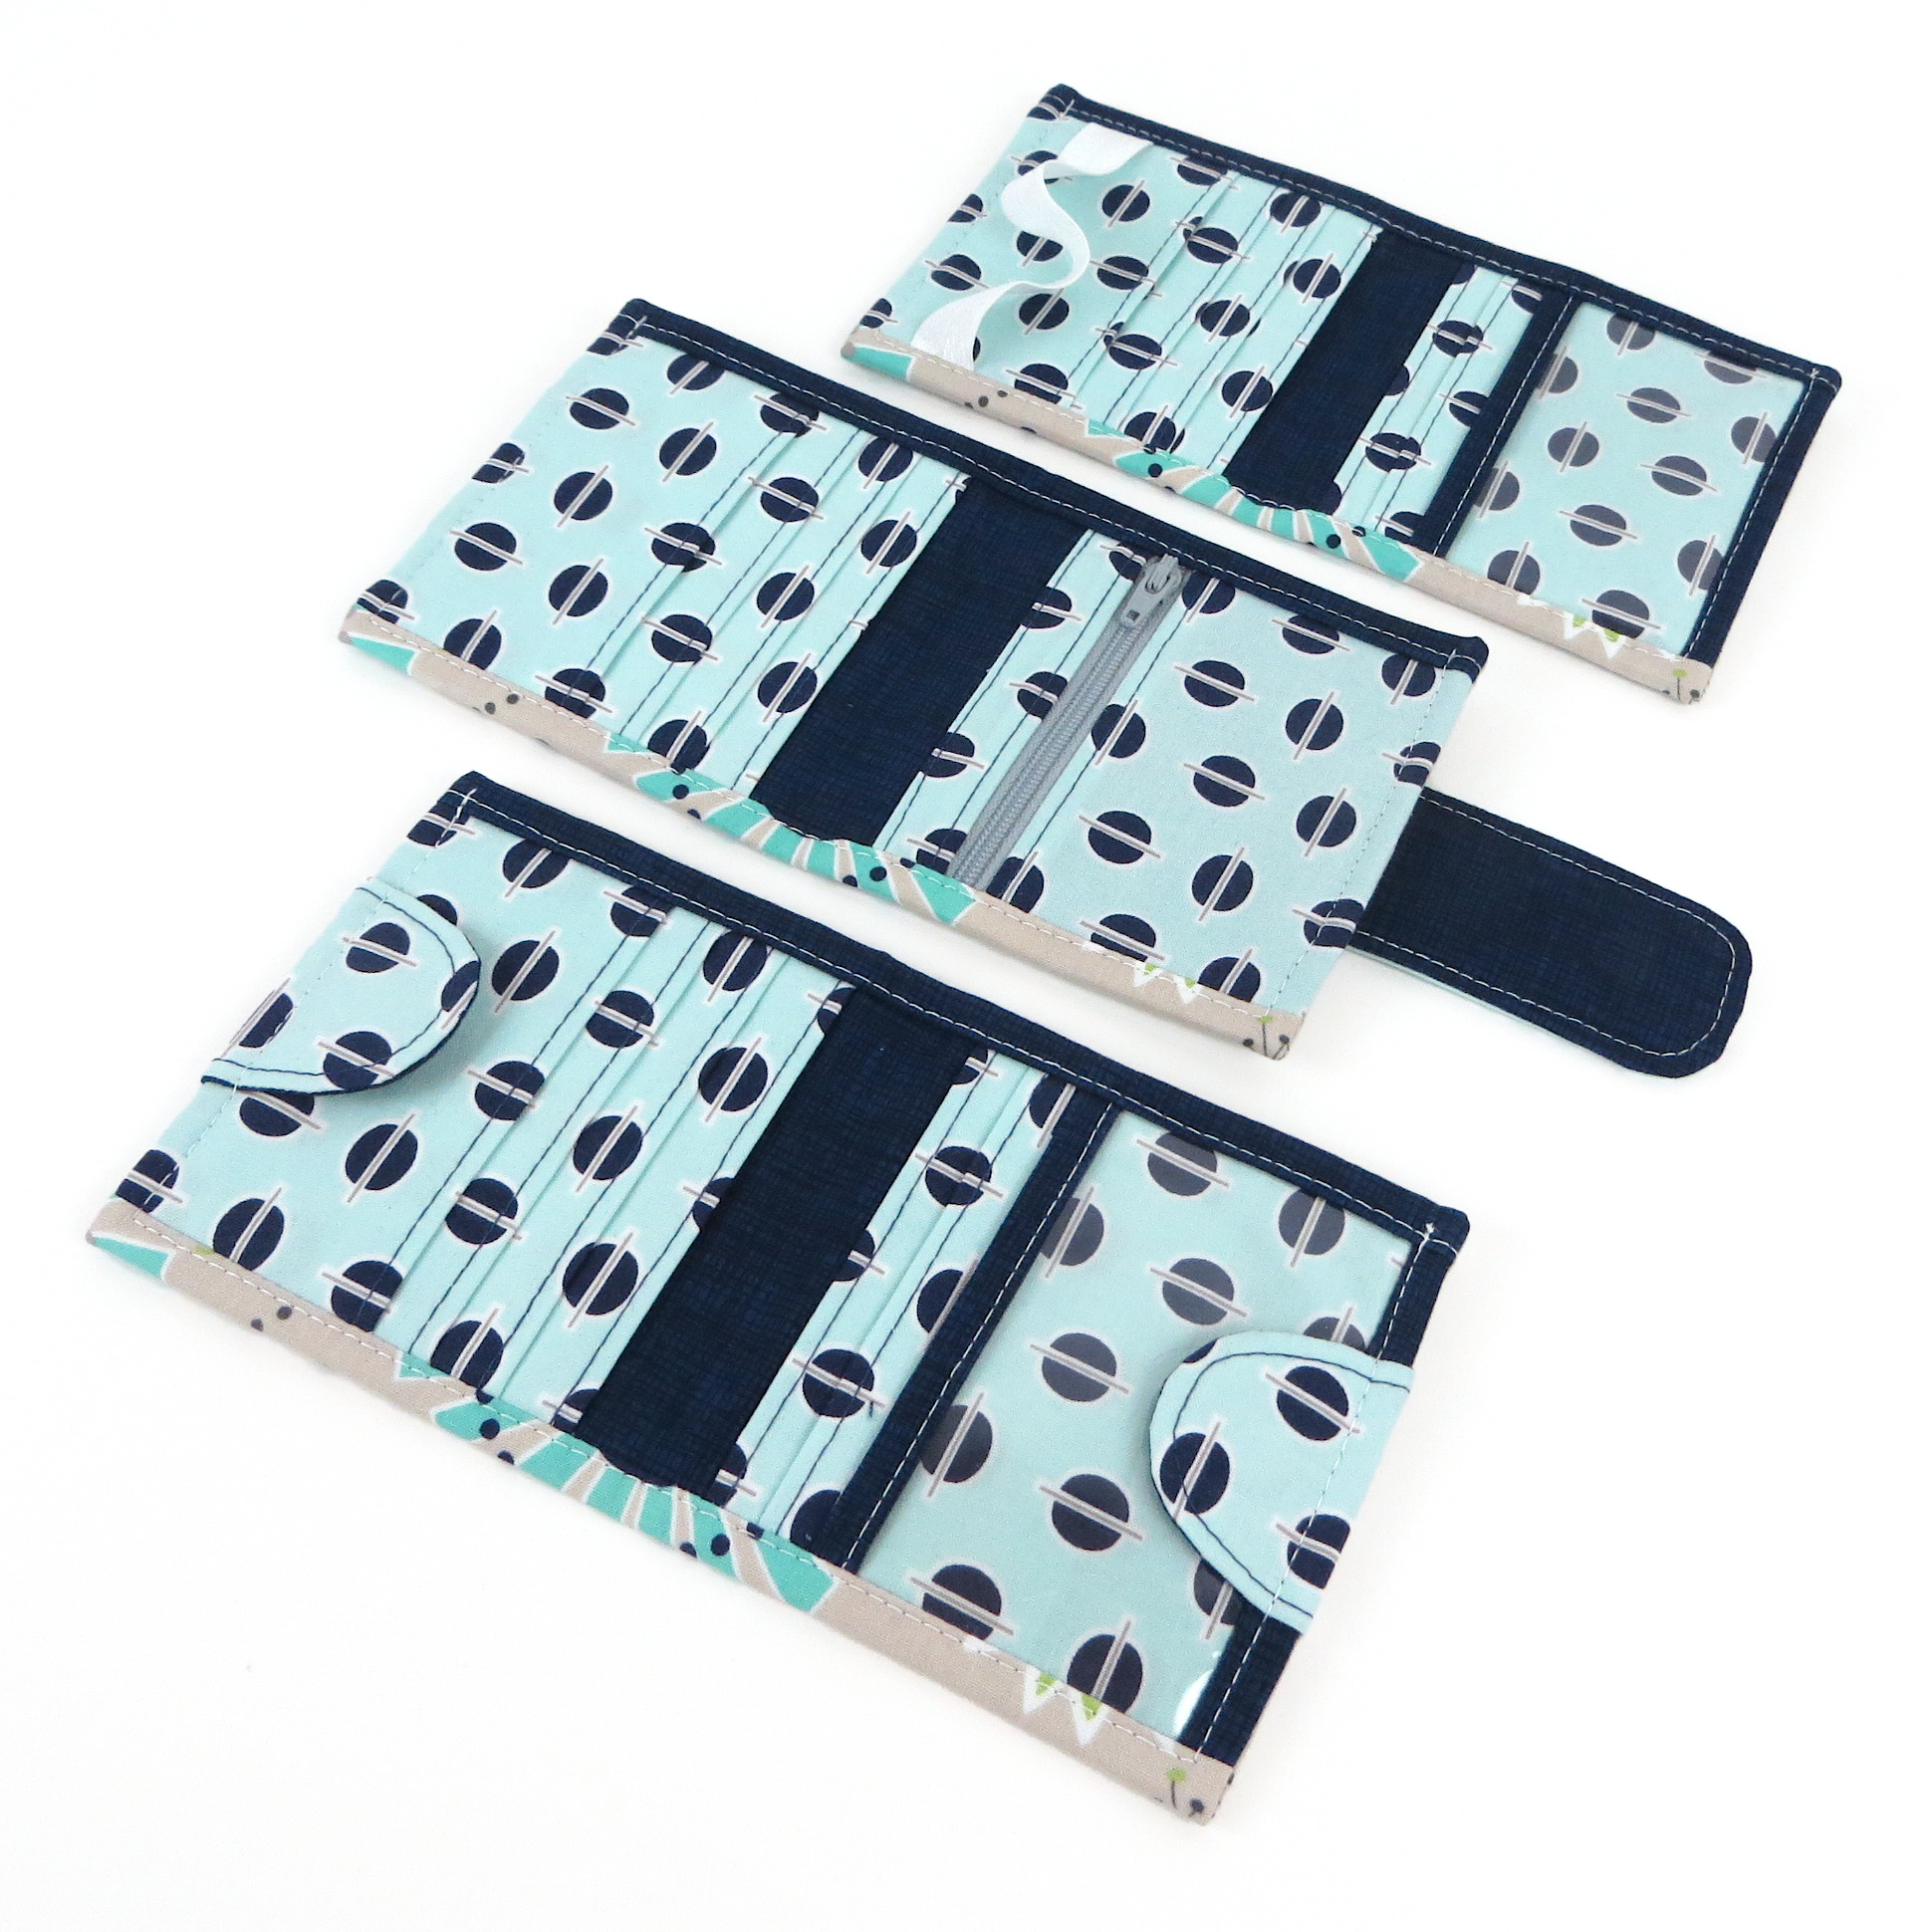
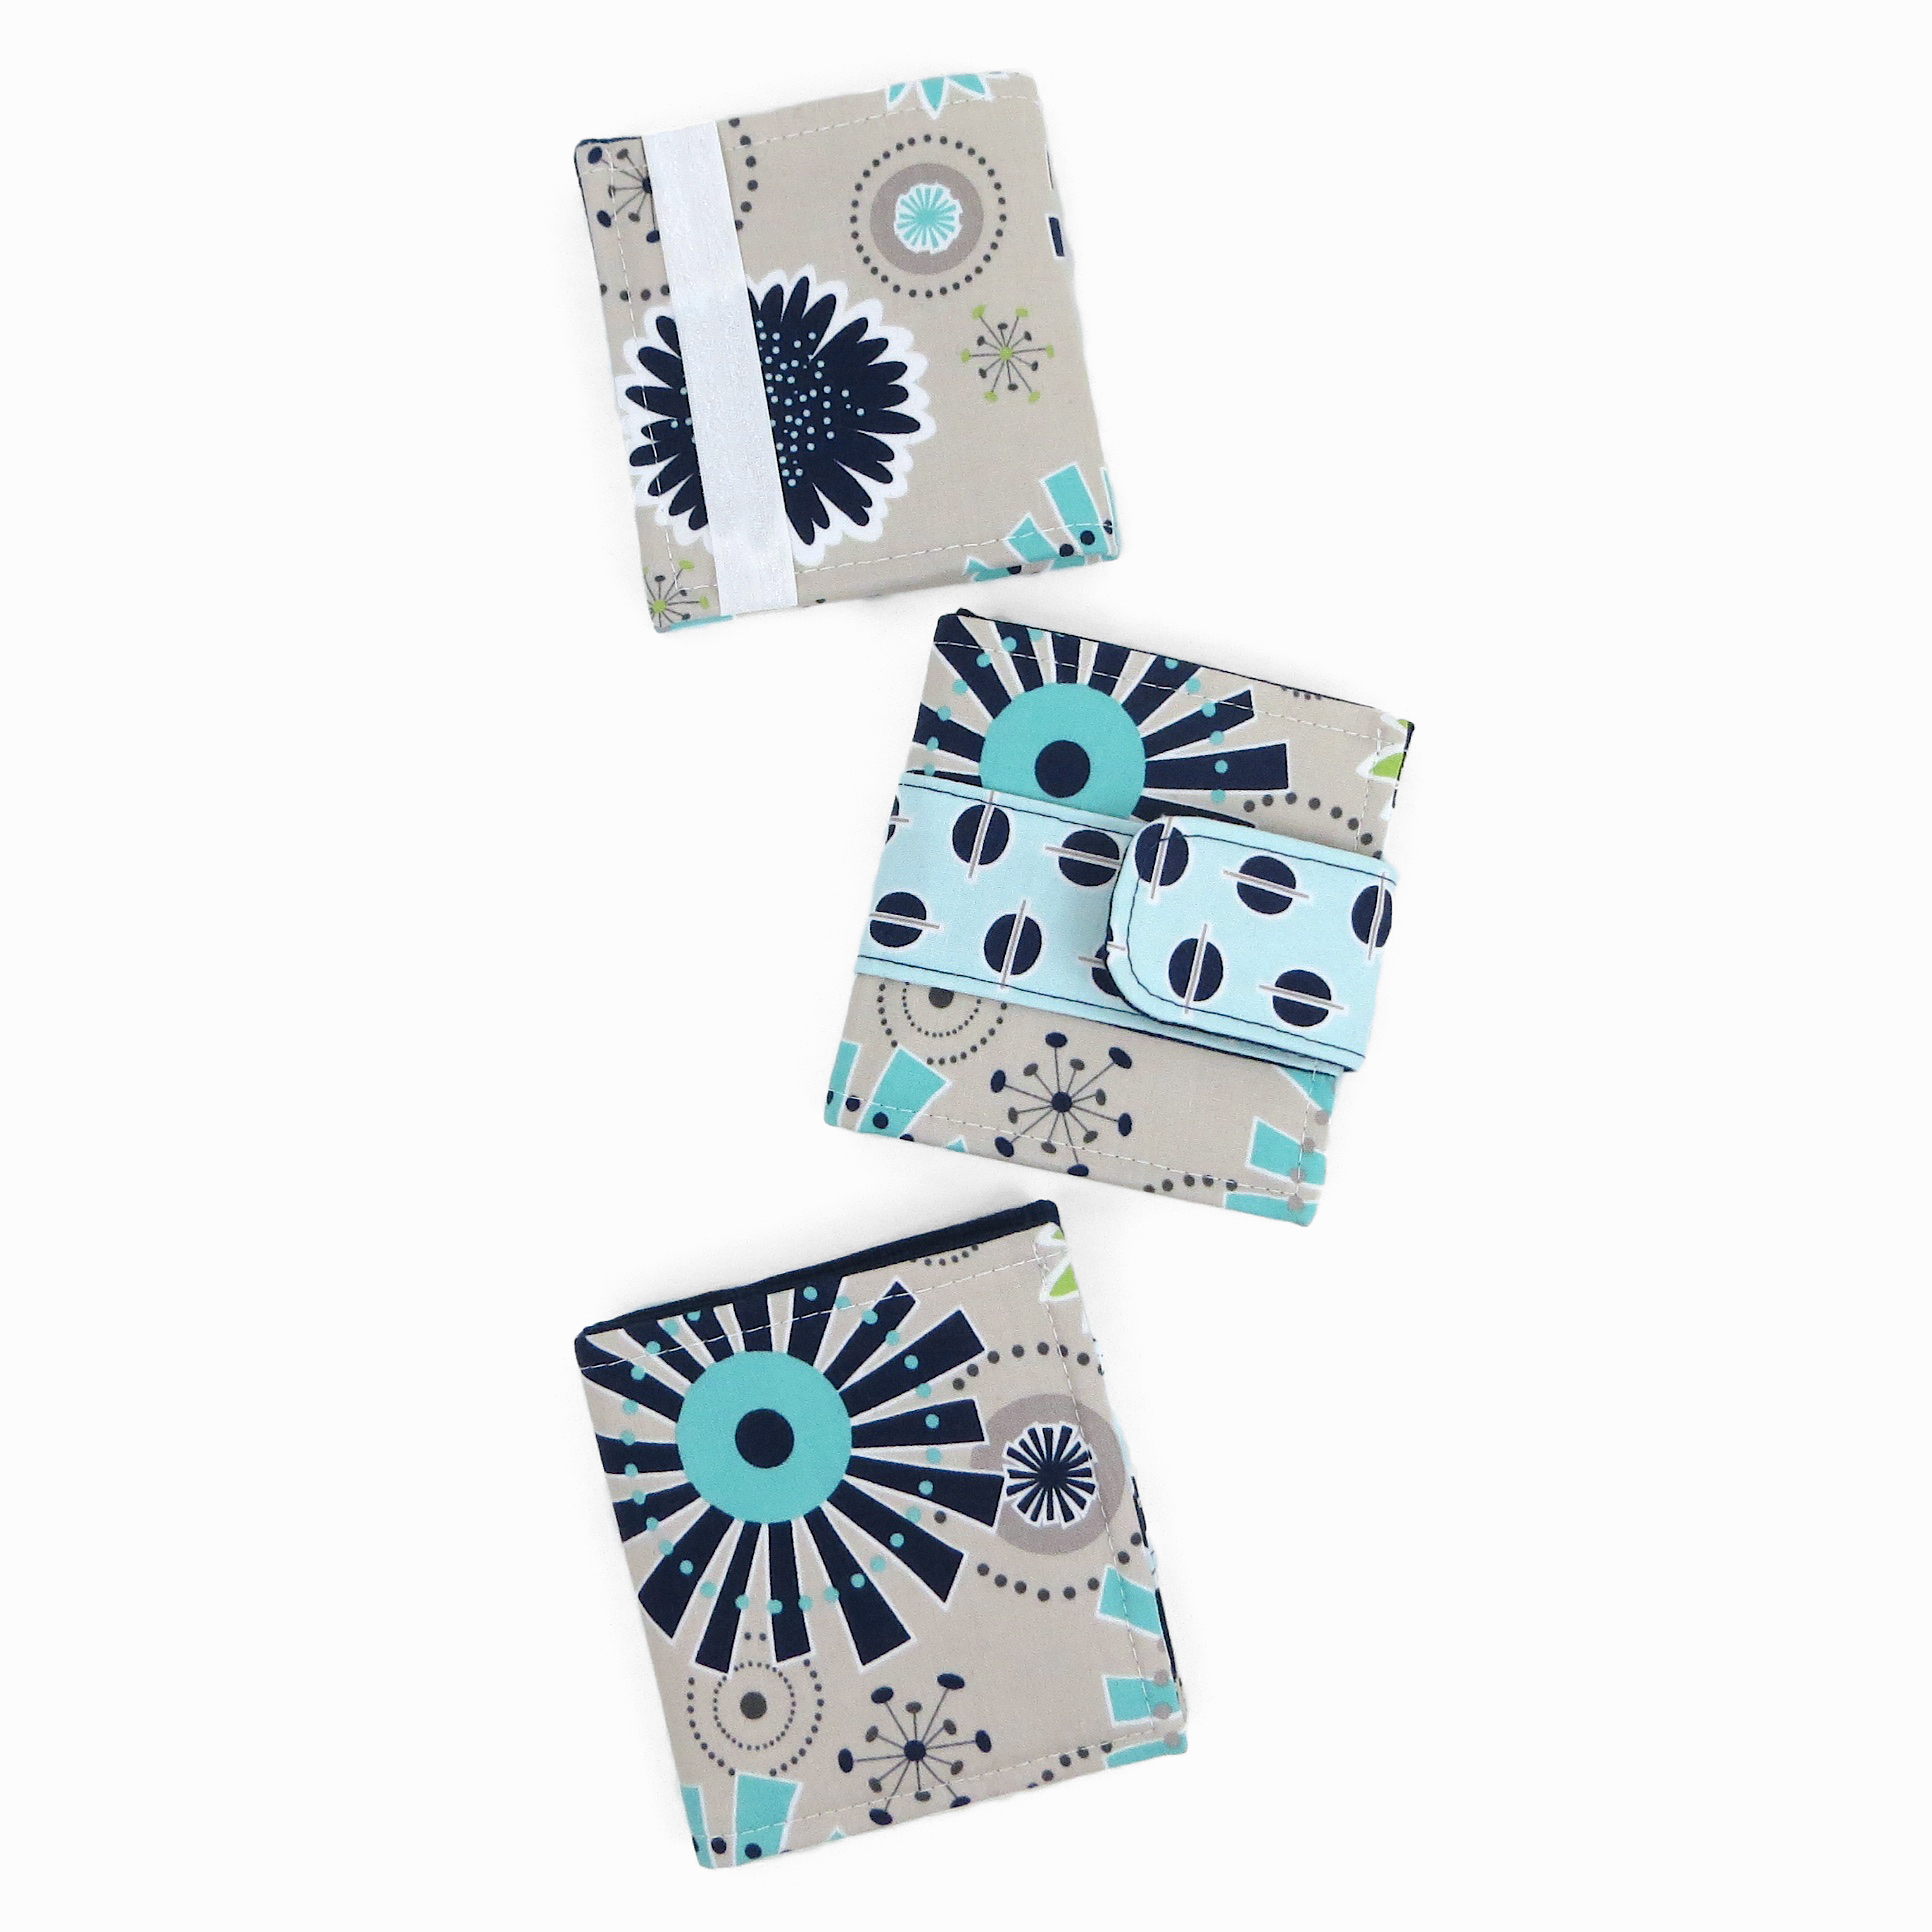
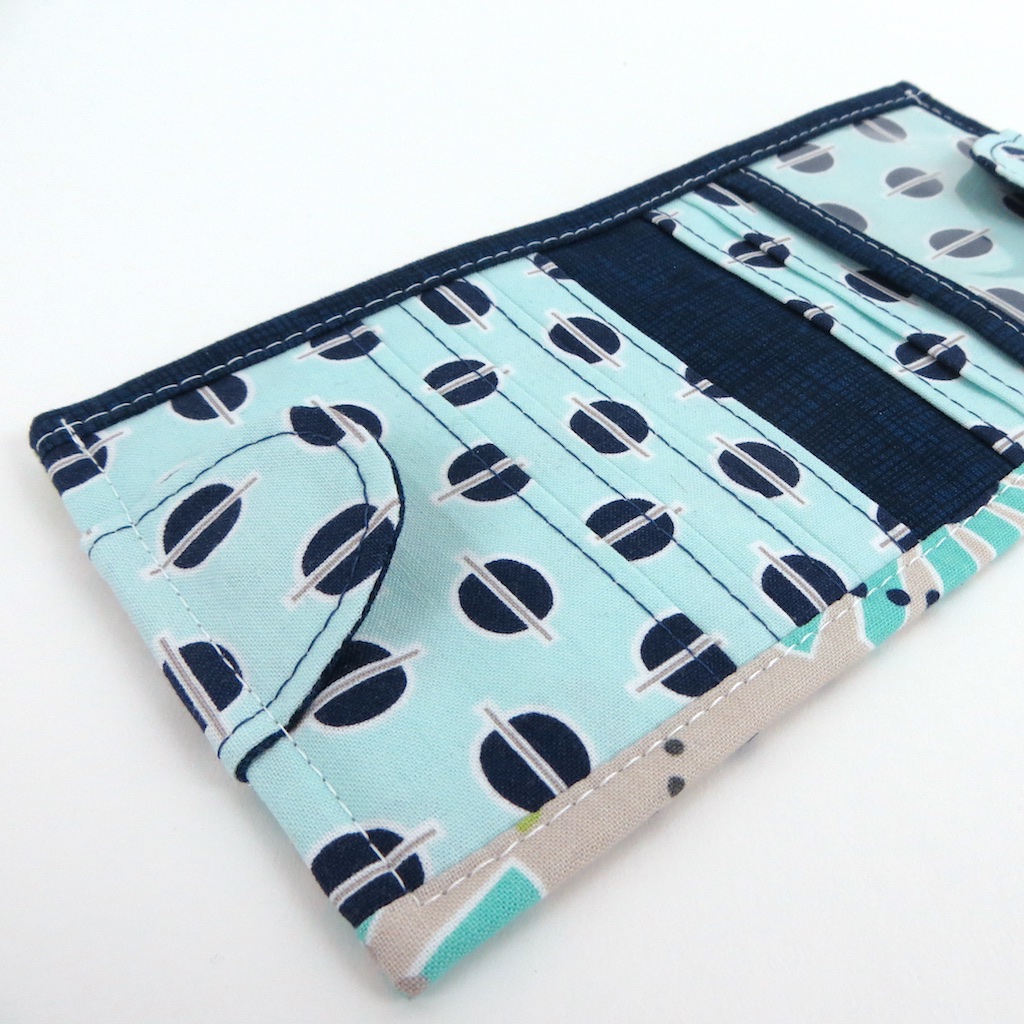
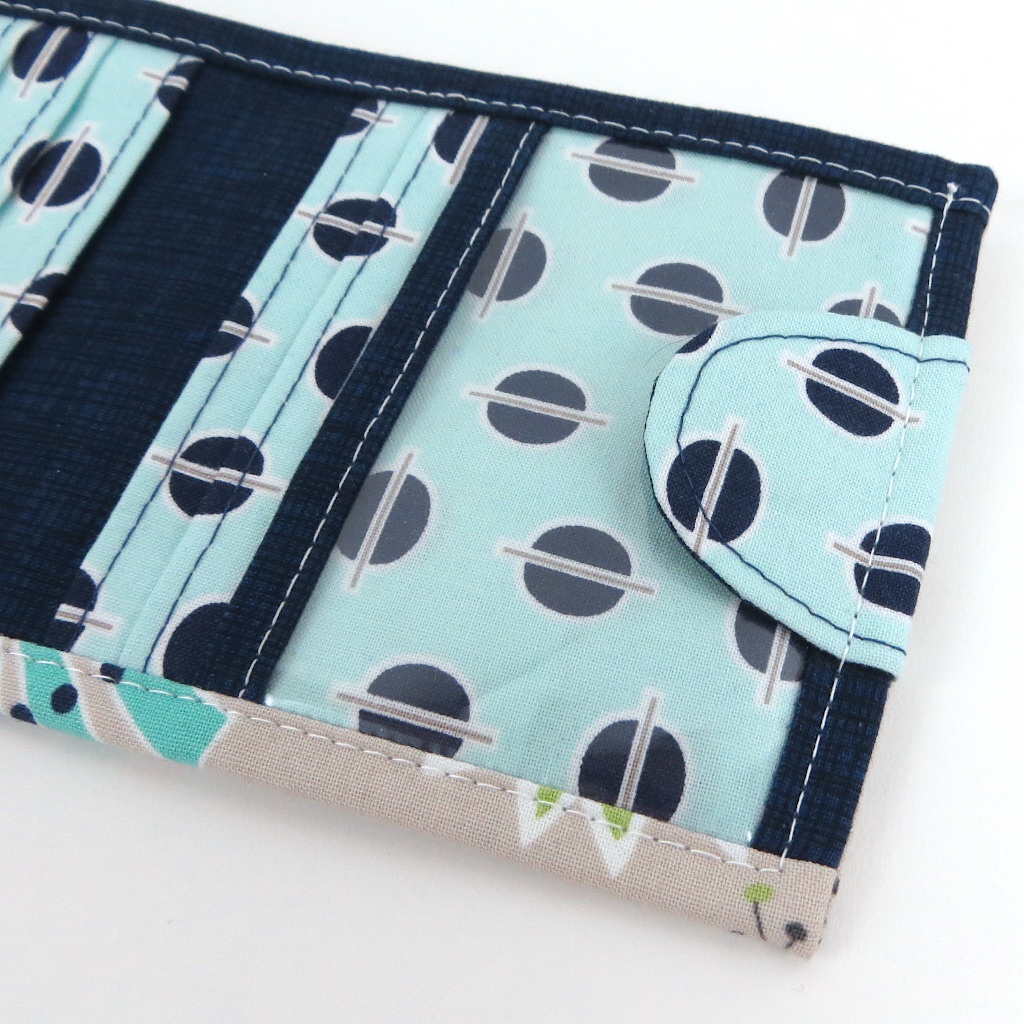
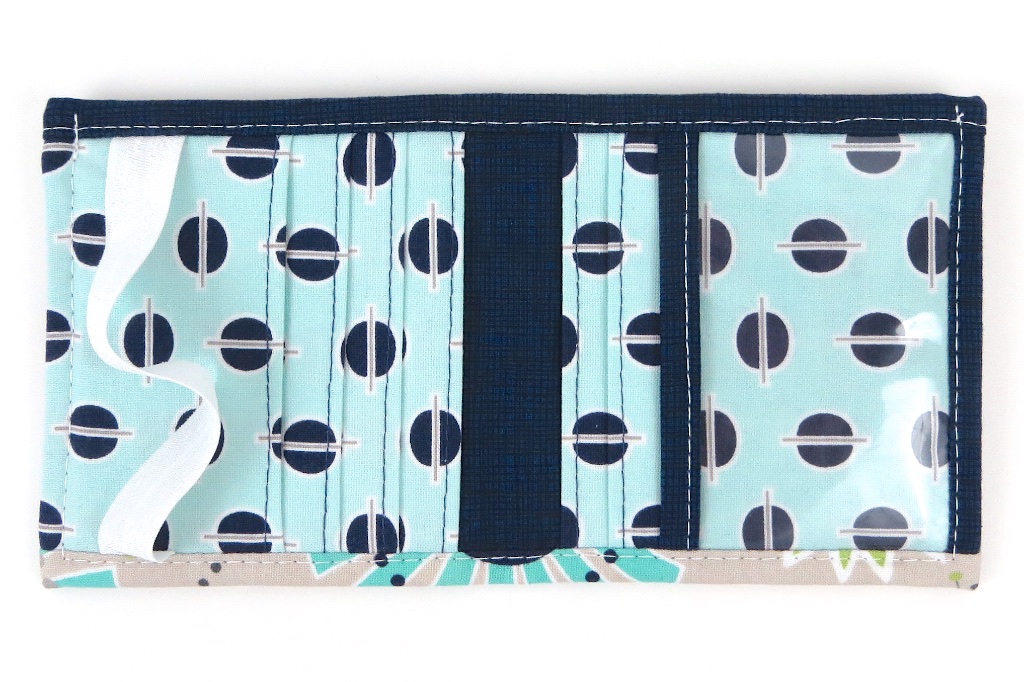
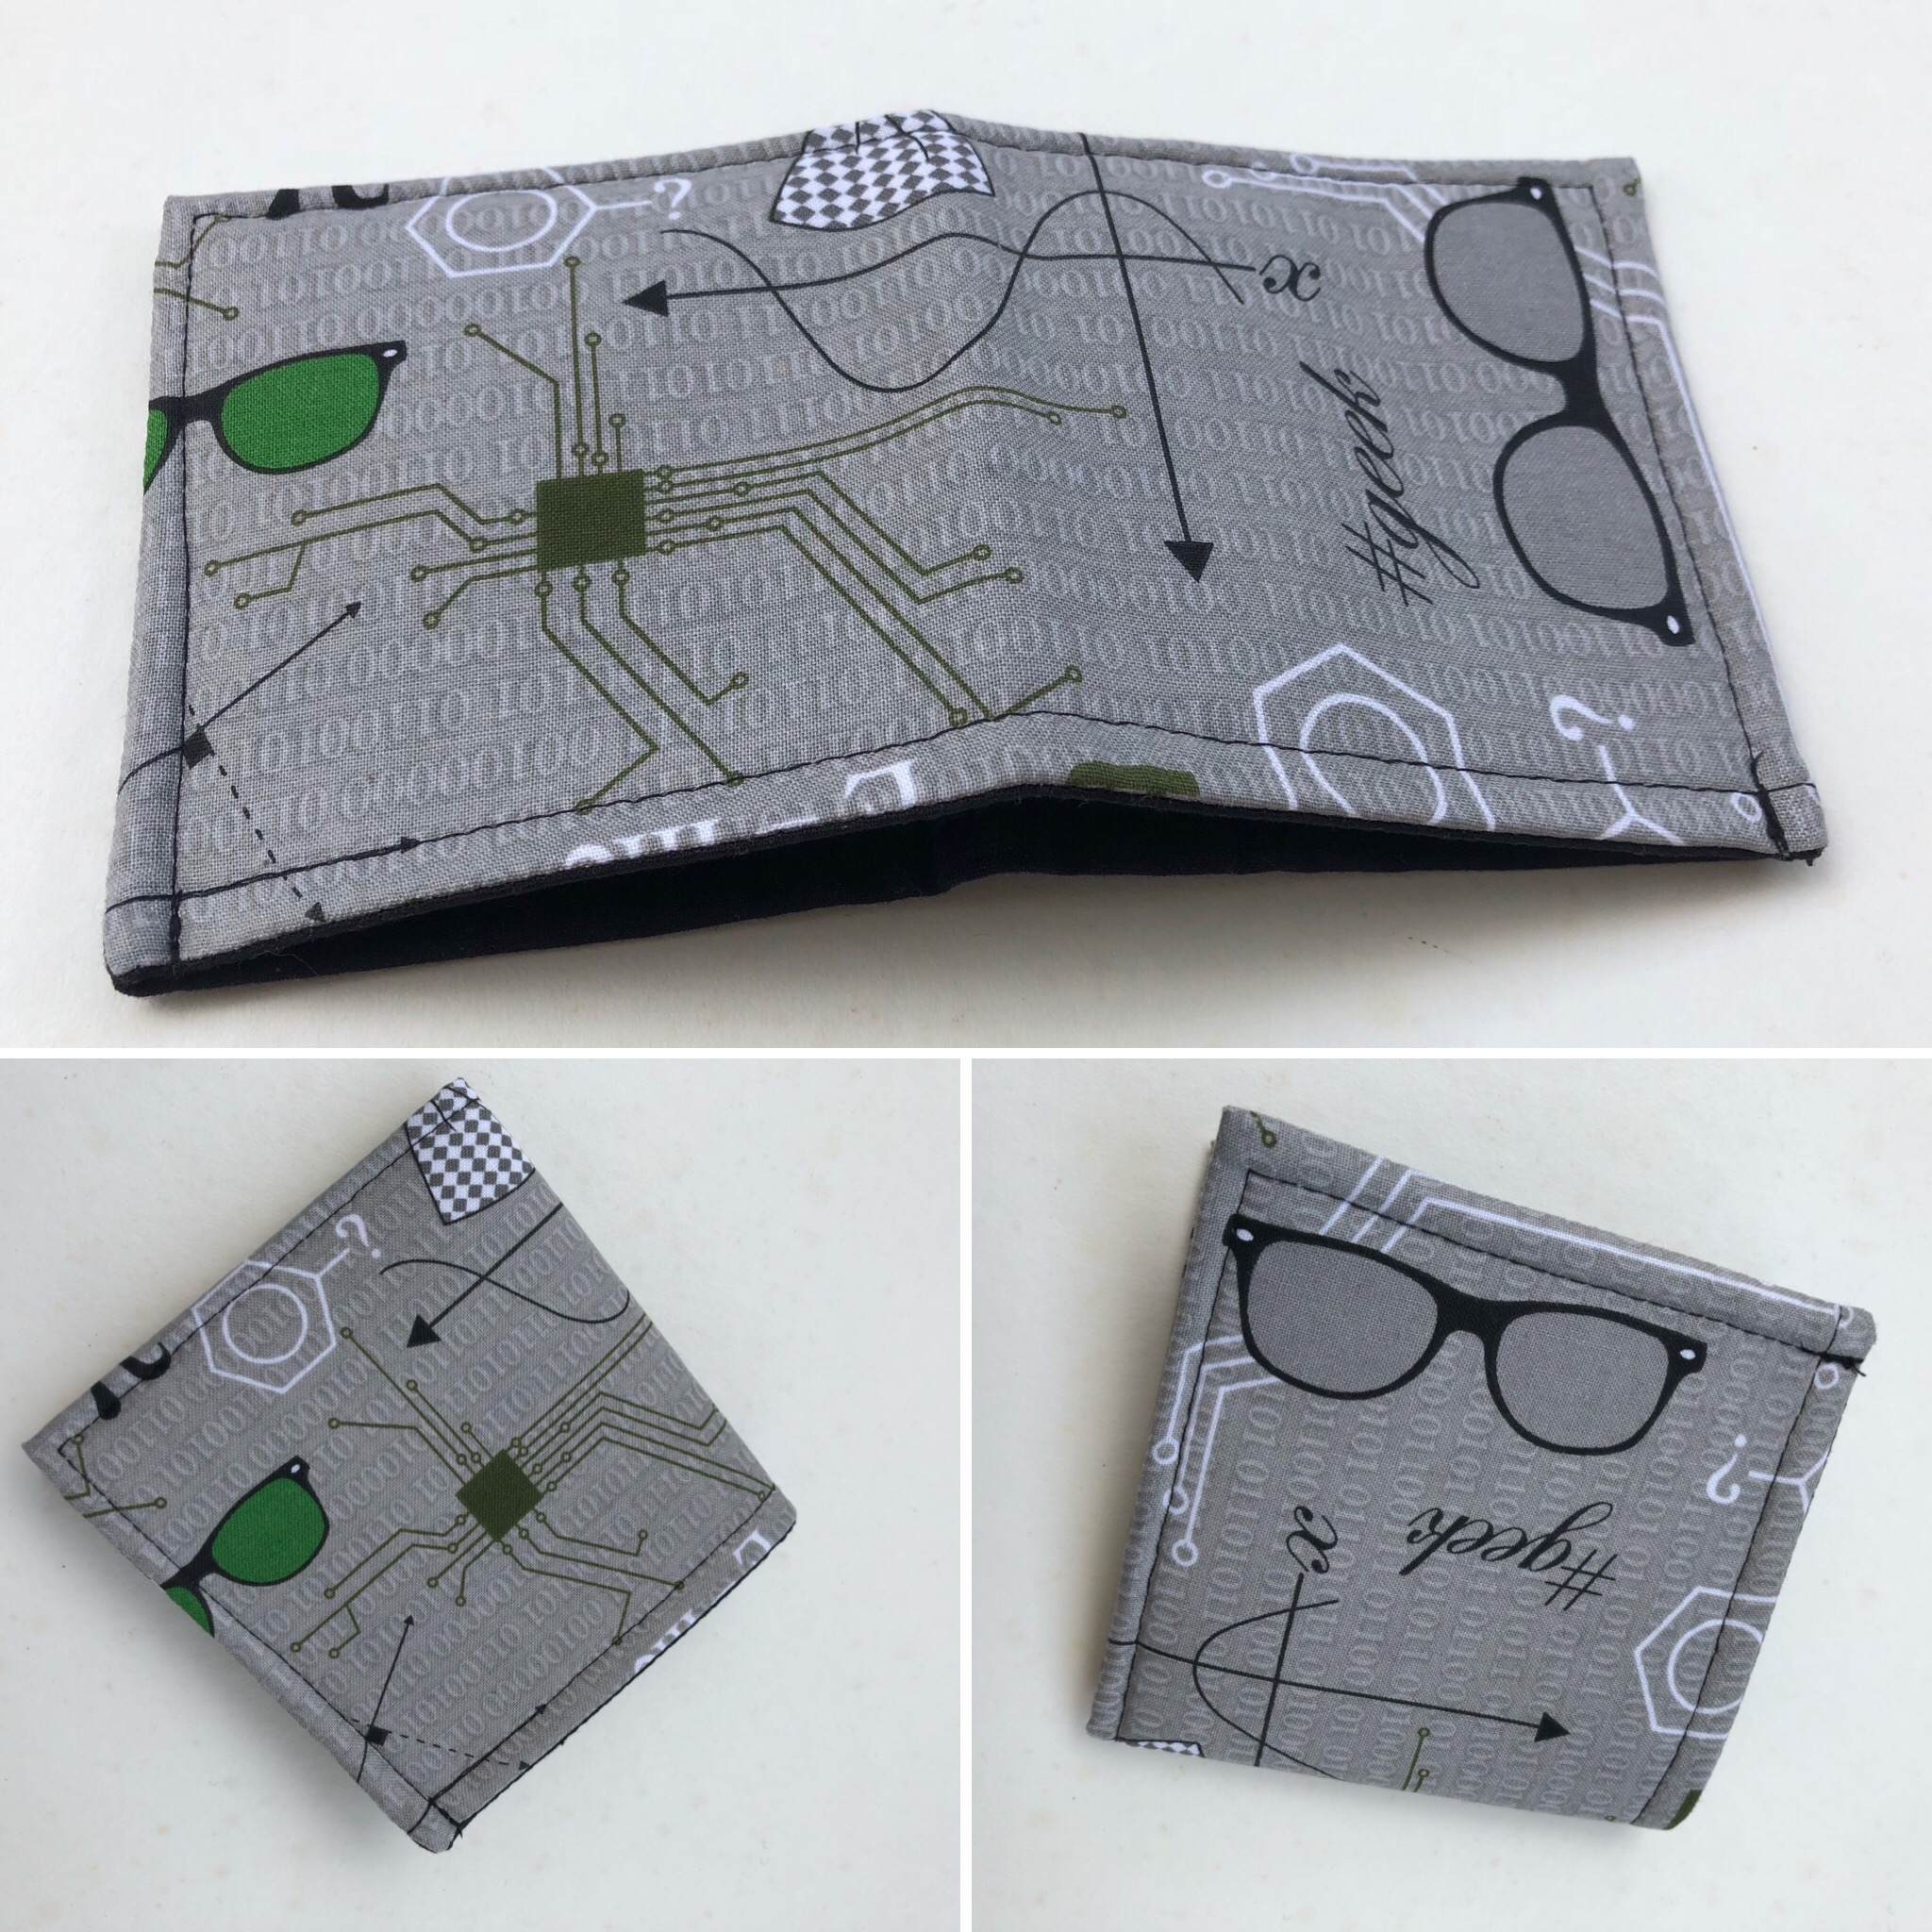
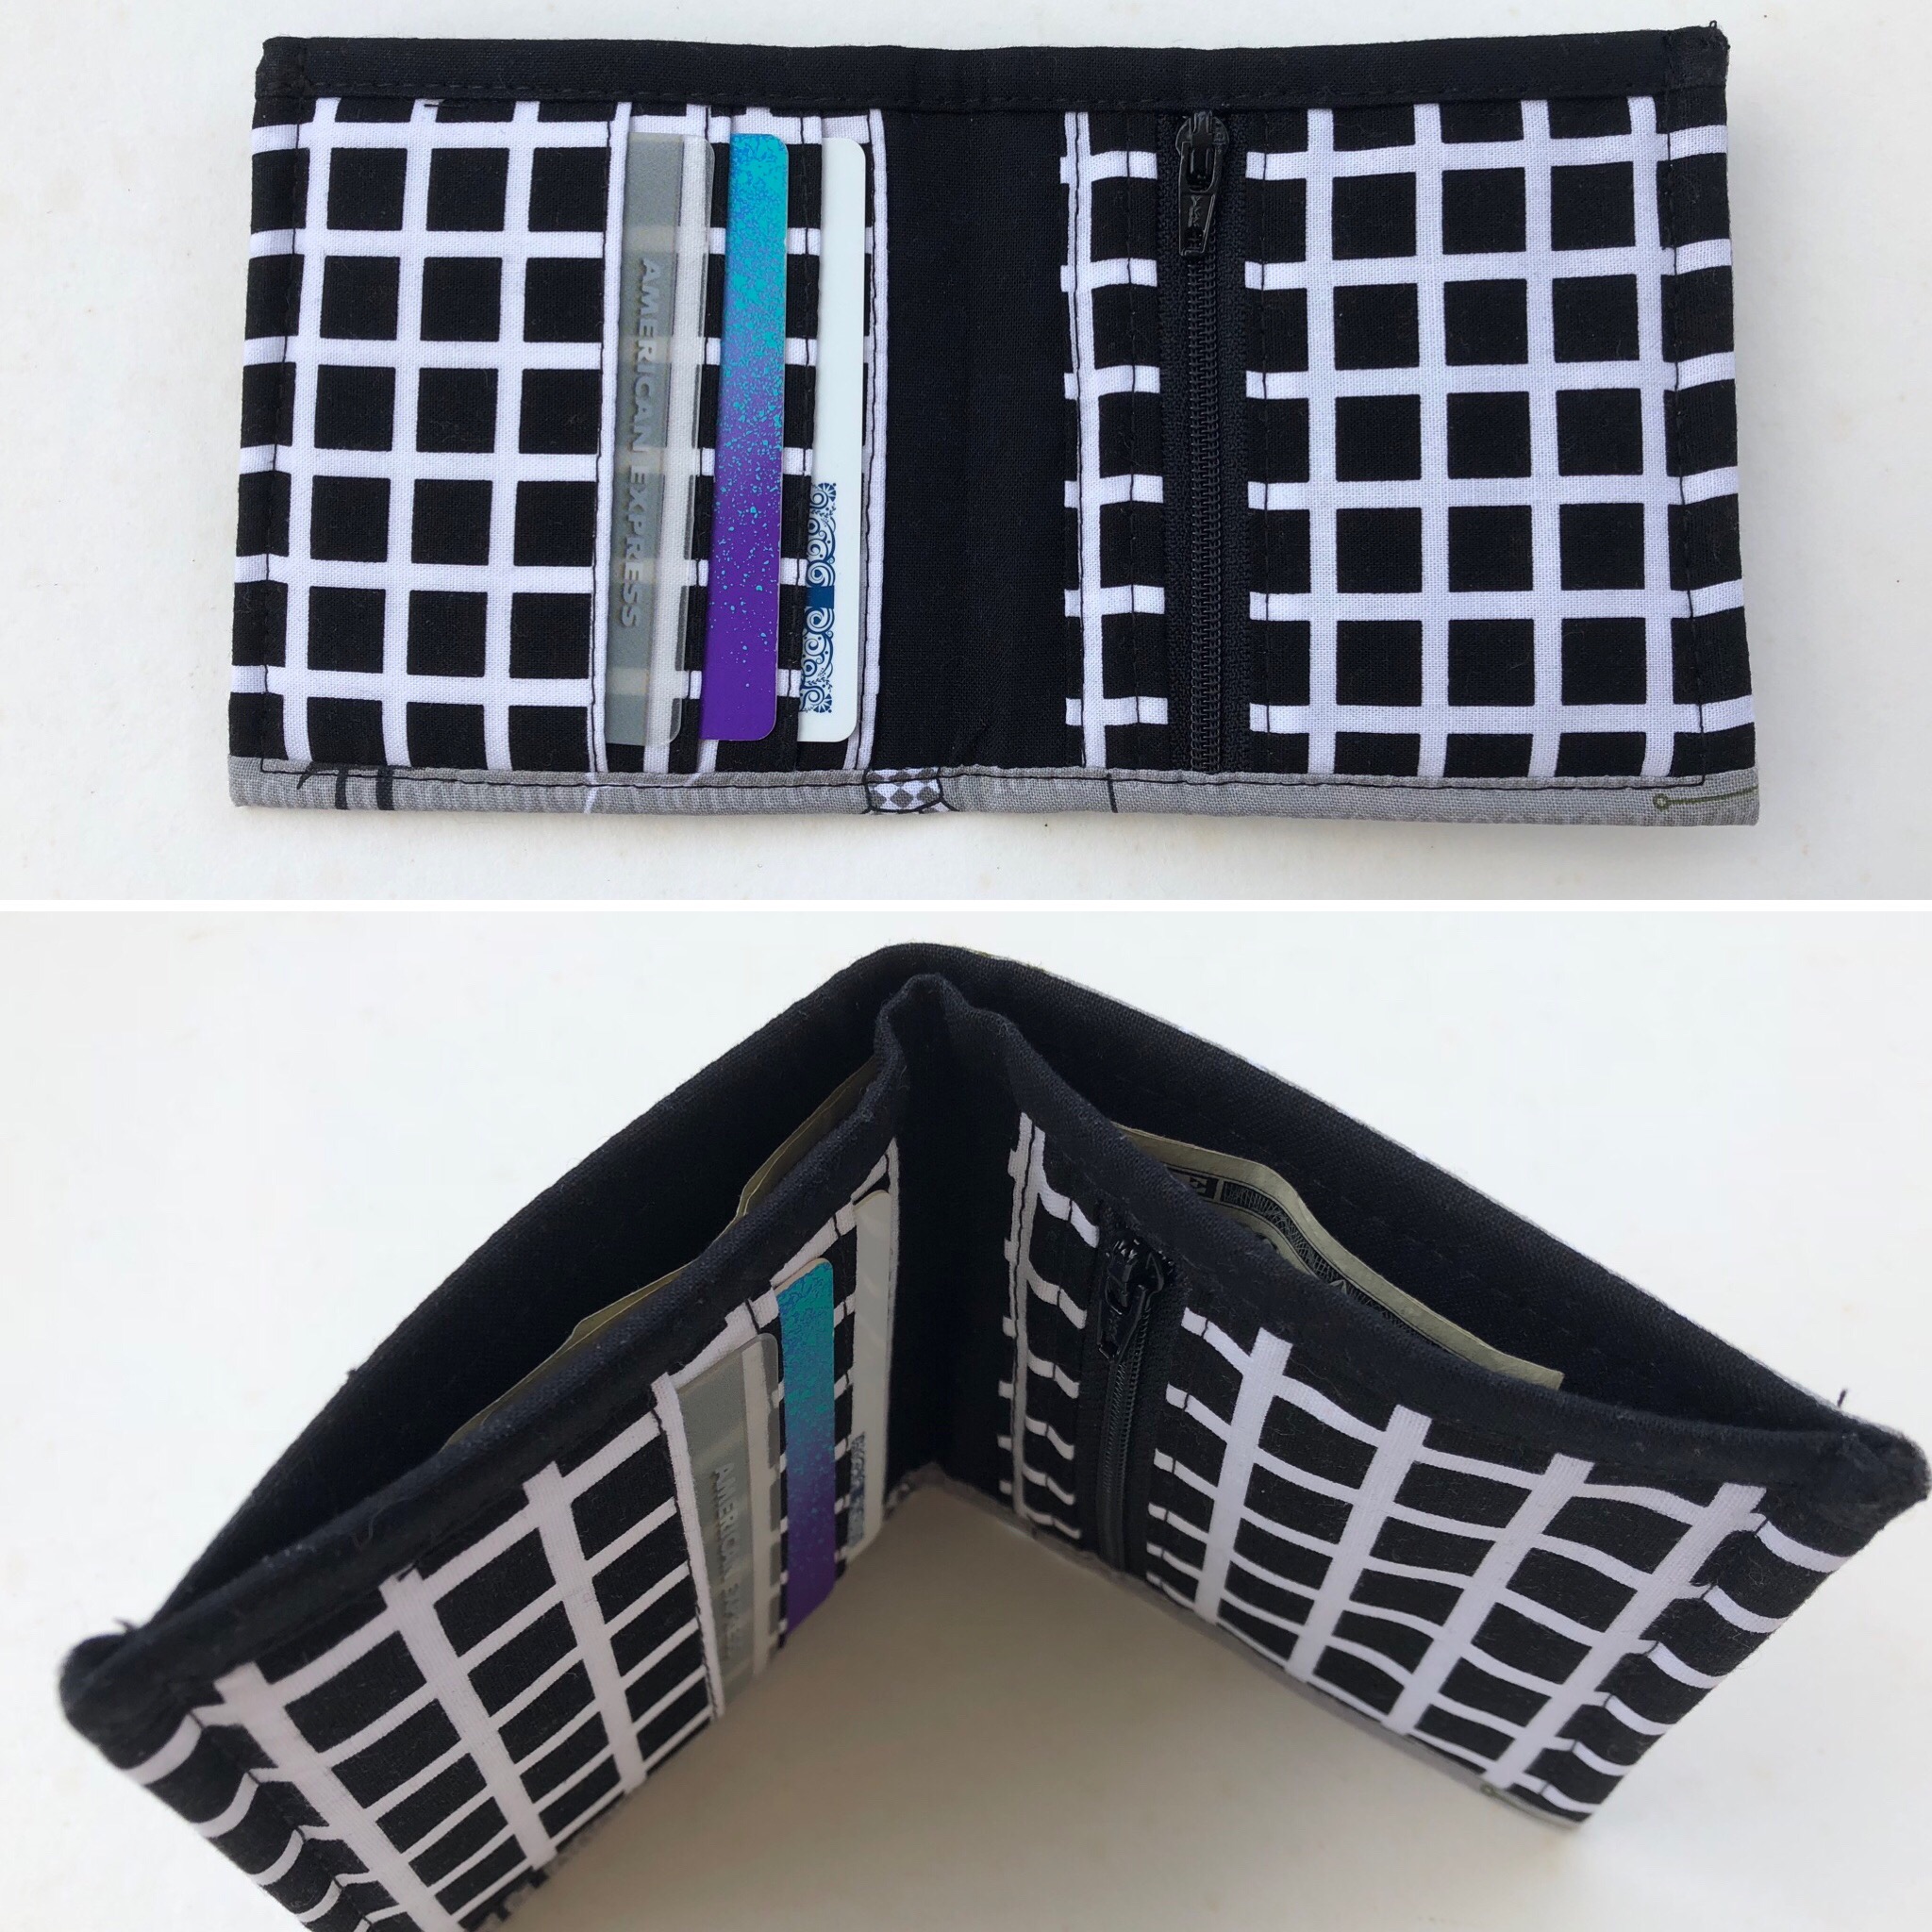
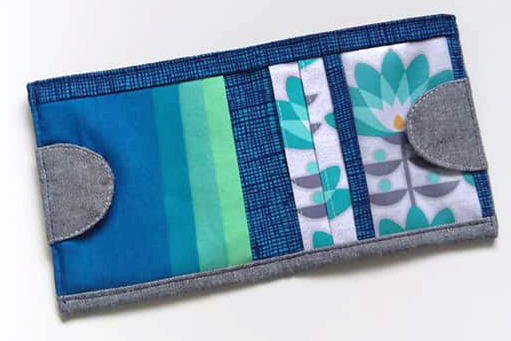
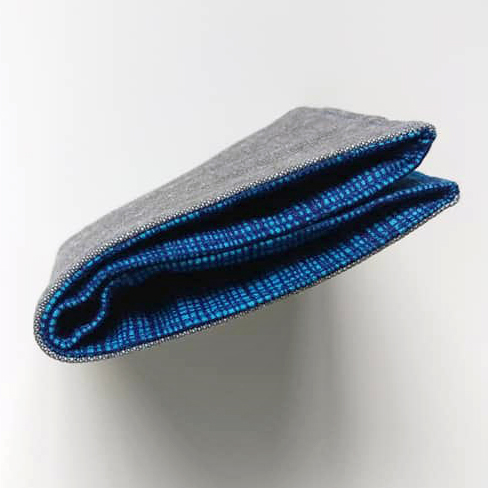
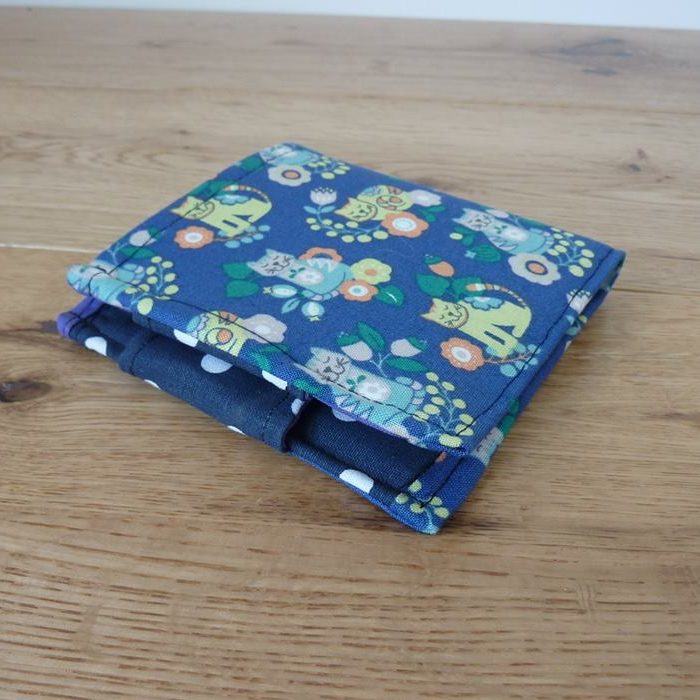
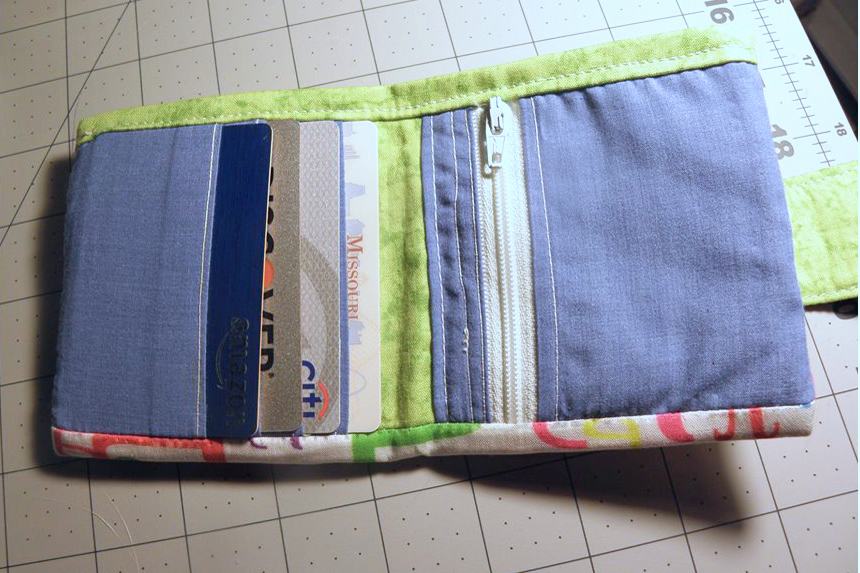
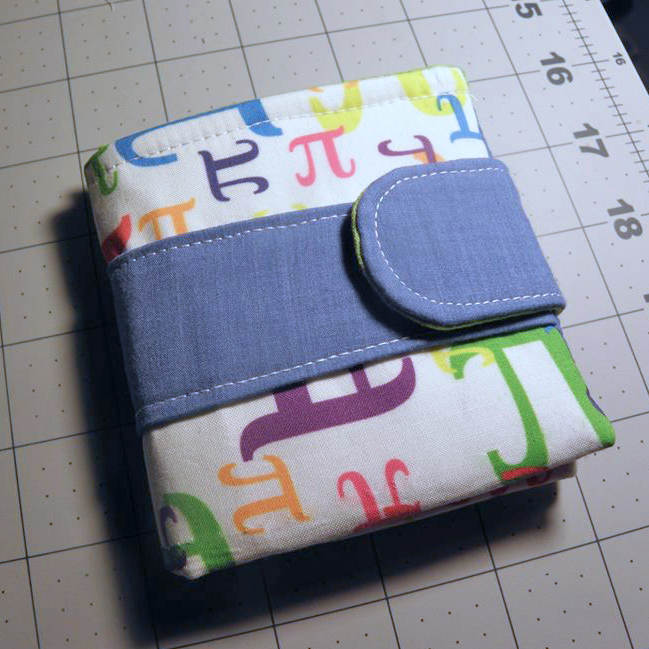
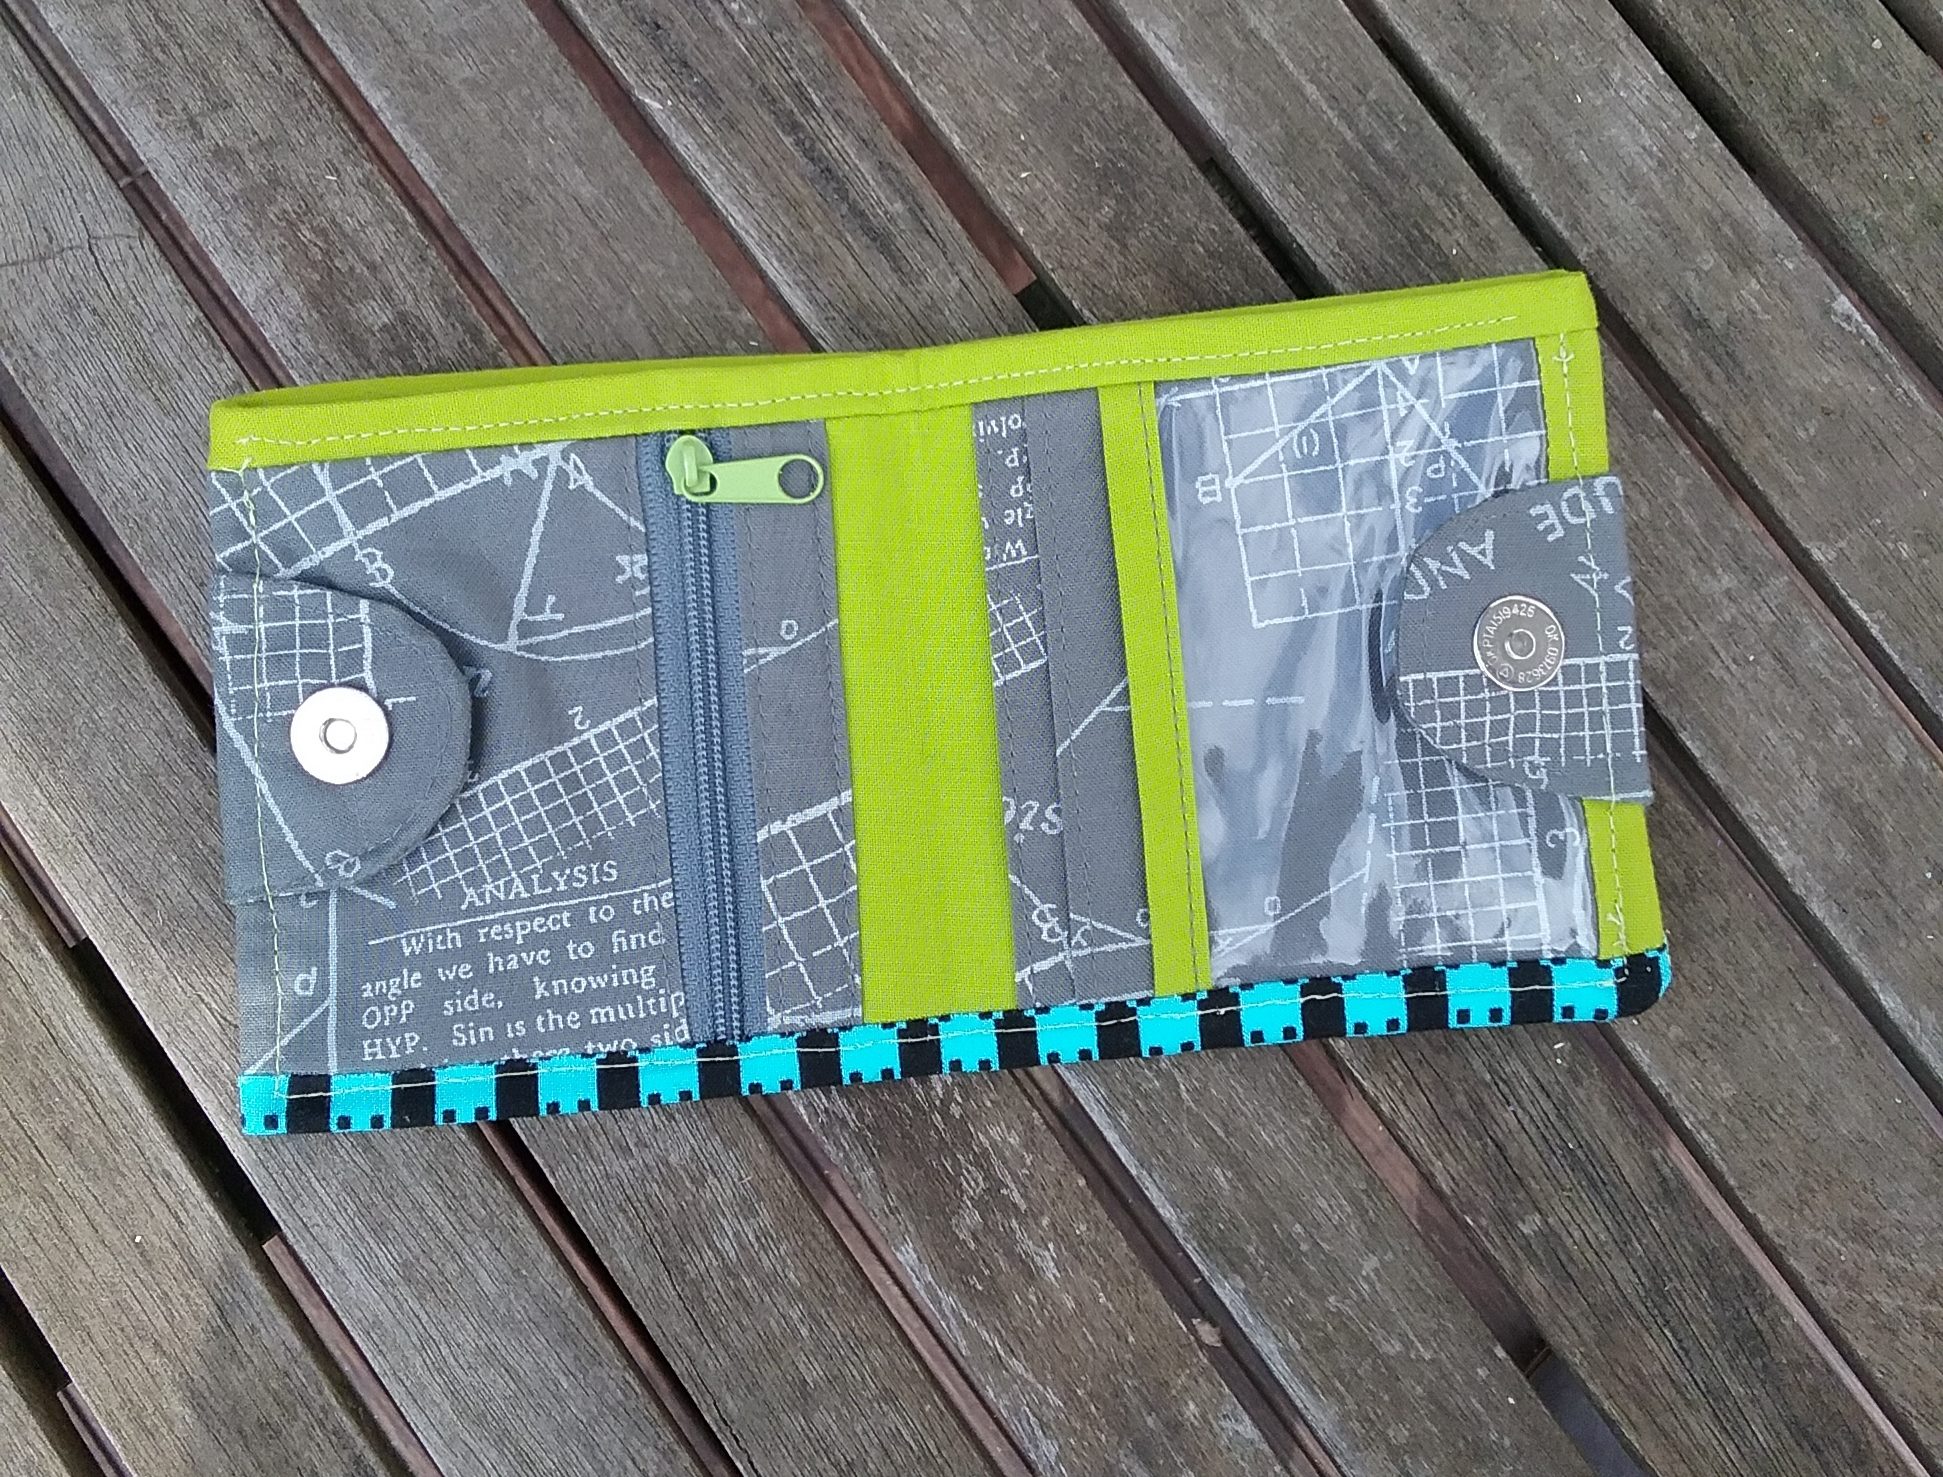
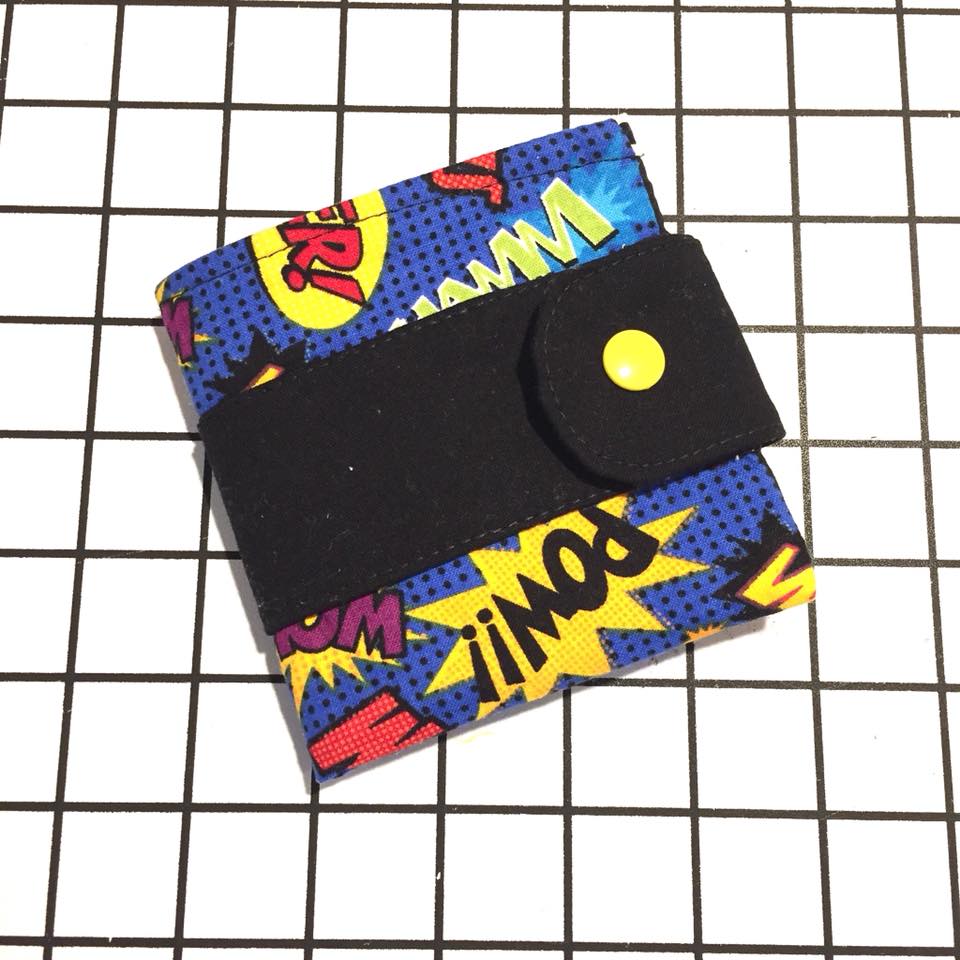
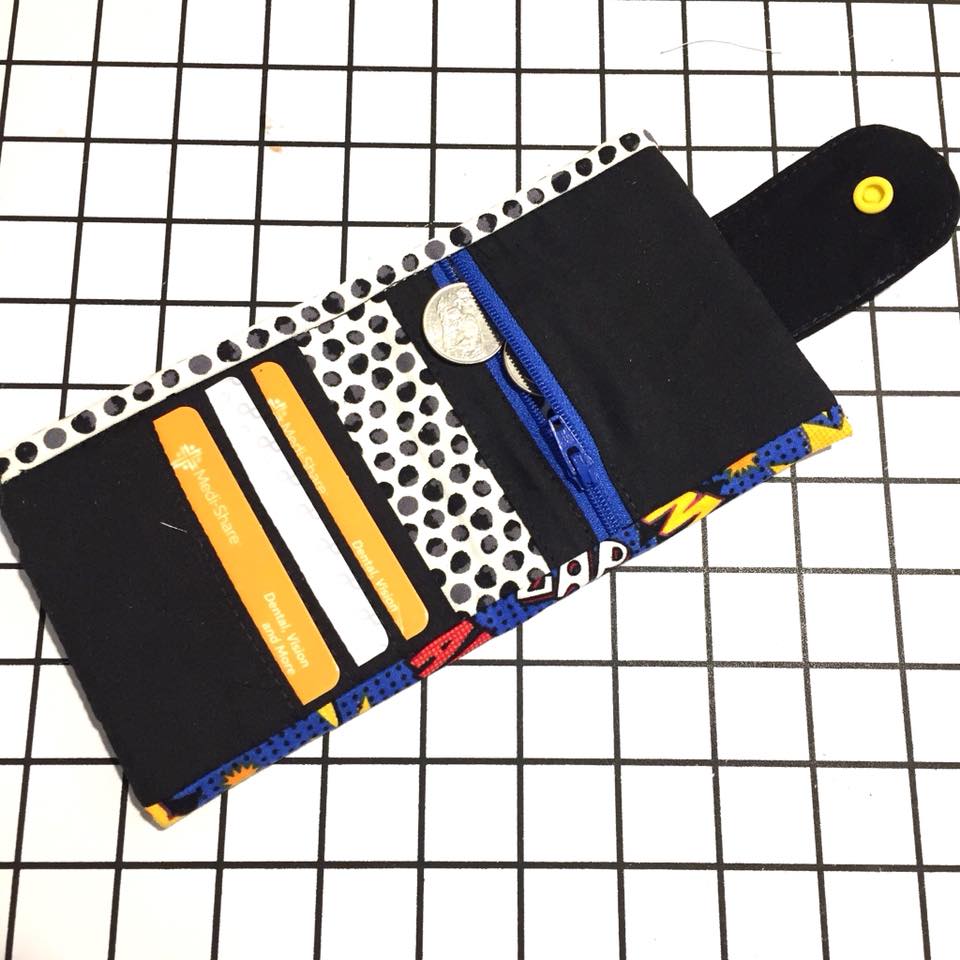
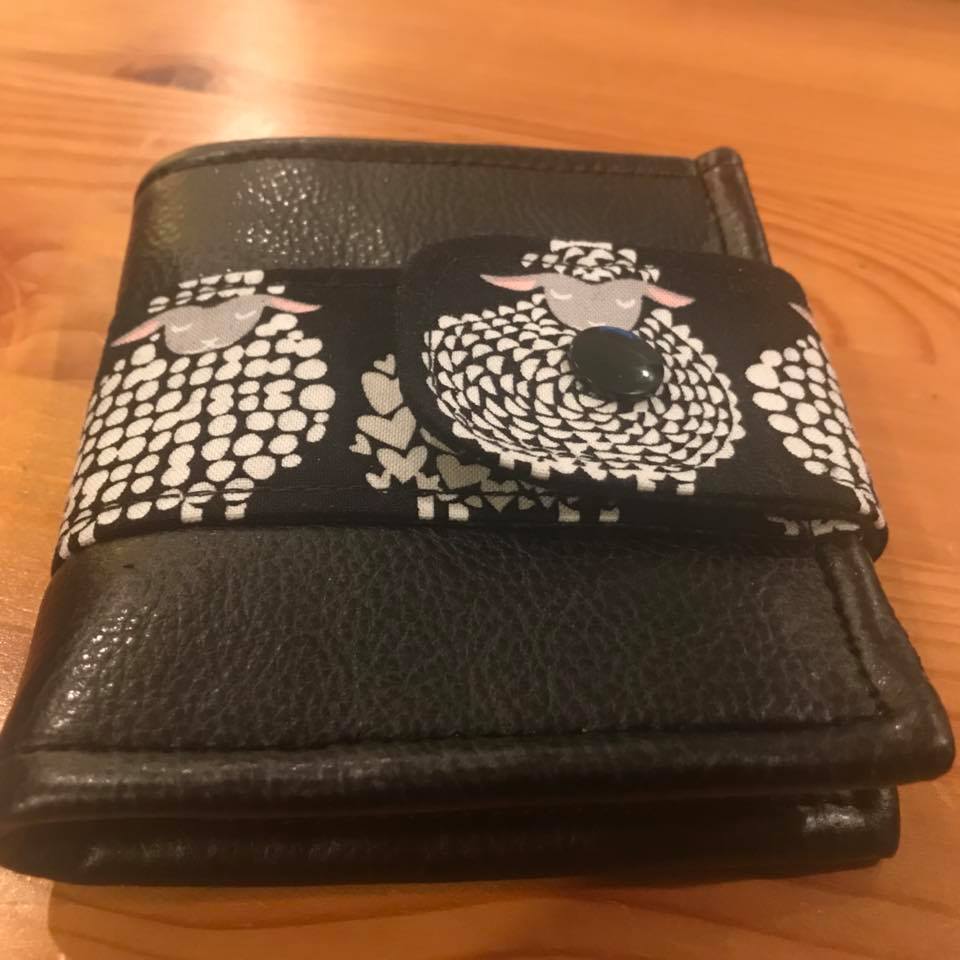
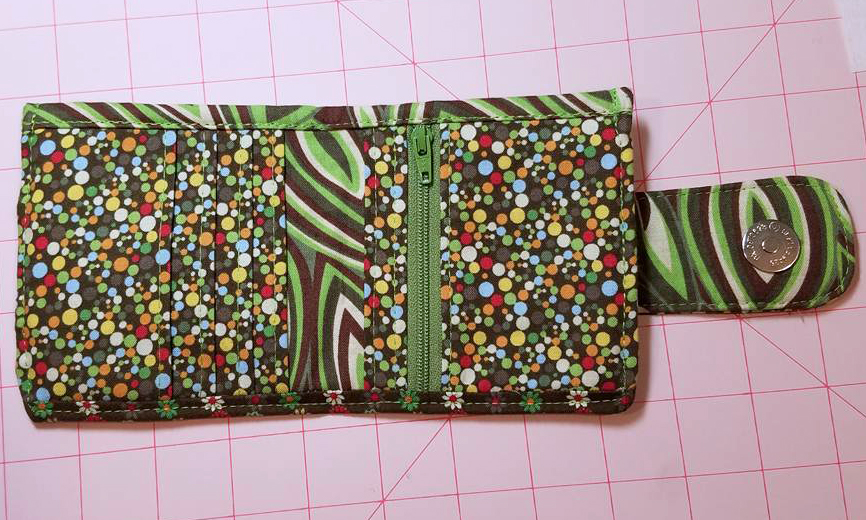
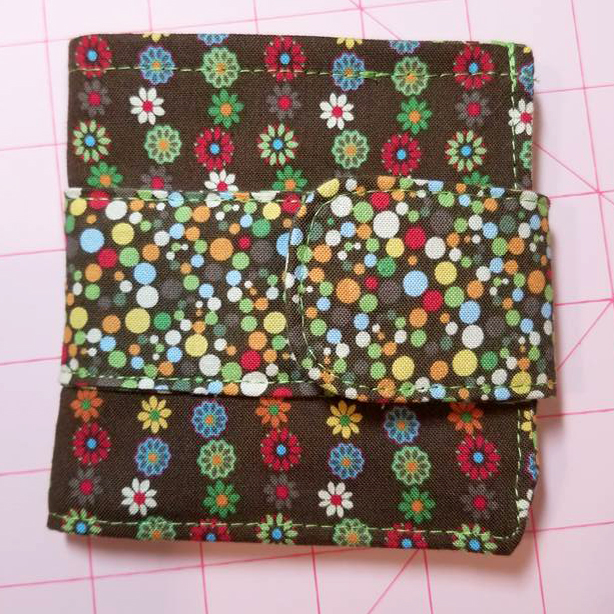
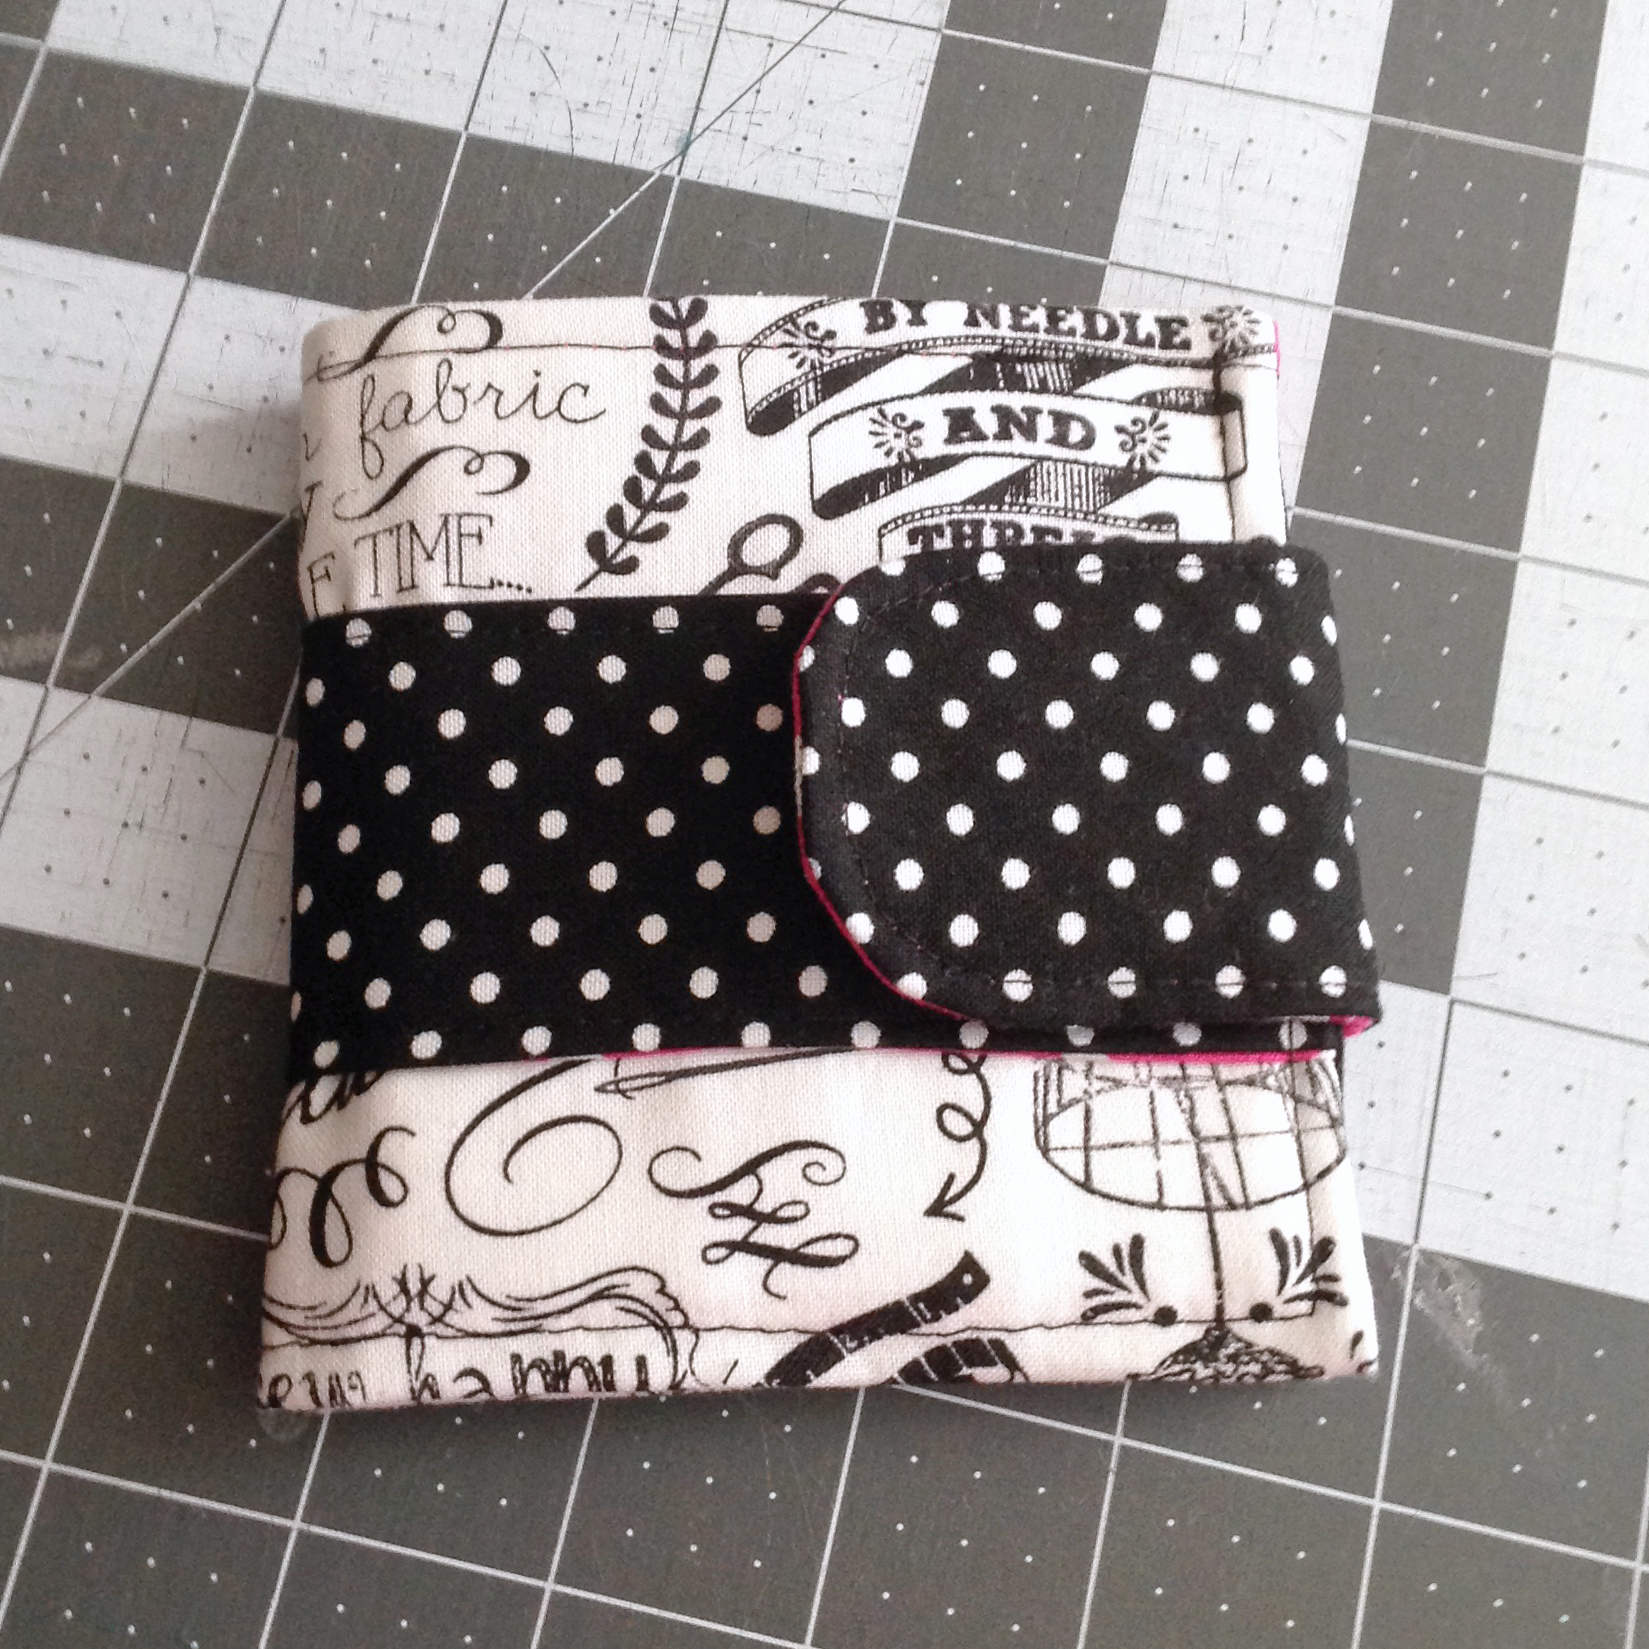
My light isn’t the best this time of year at the 45th parallel (although it’s improving!) so I didn’t go crazy on taking pics of the final wallet, because my testers did an amazing job! :)

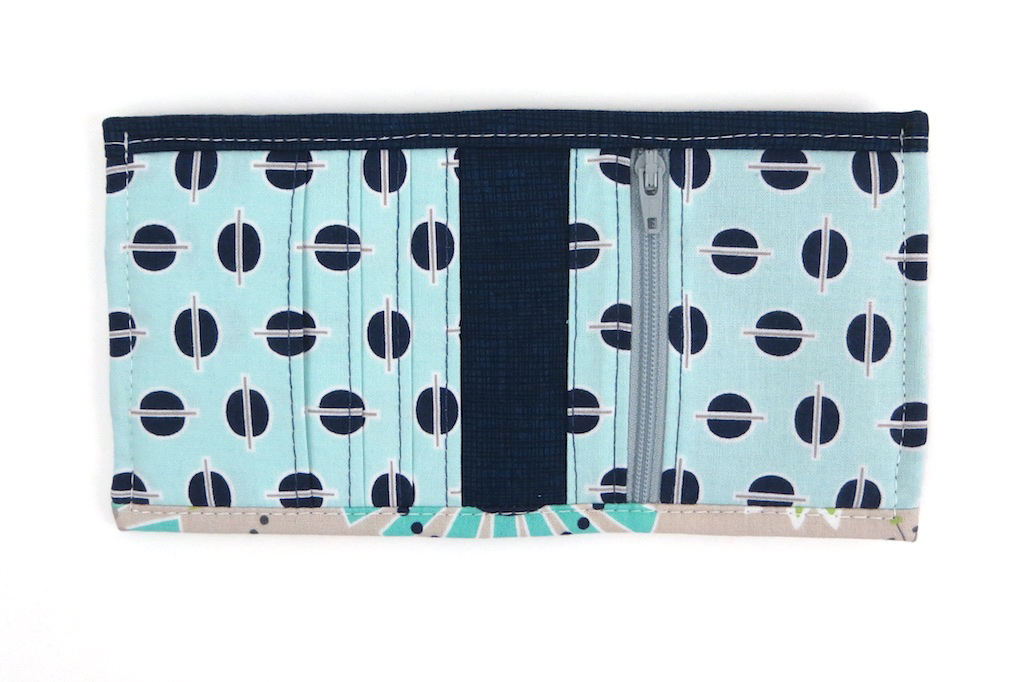
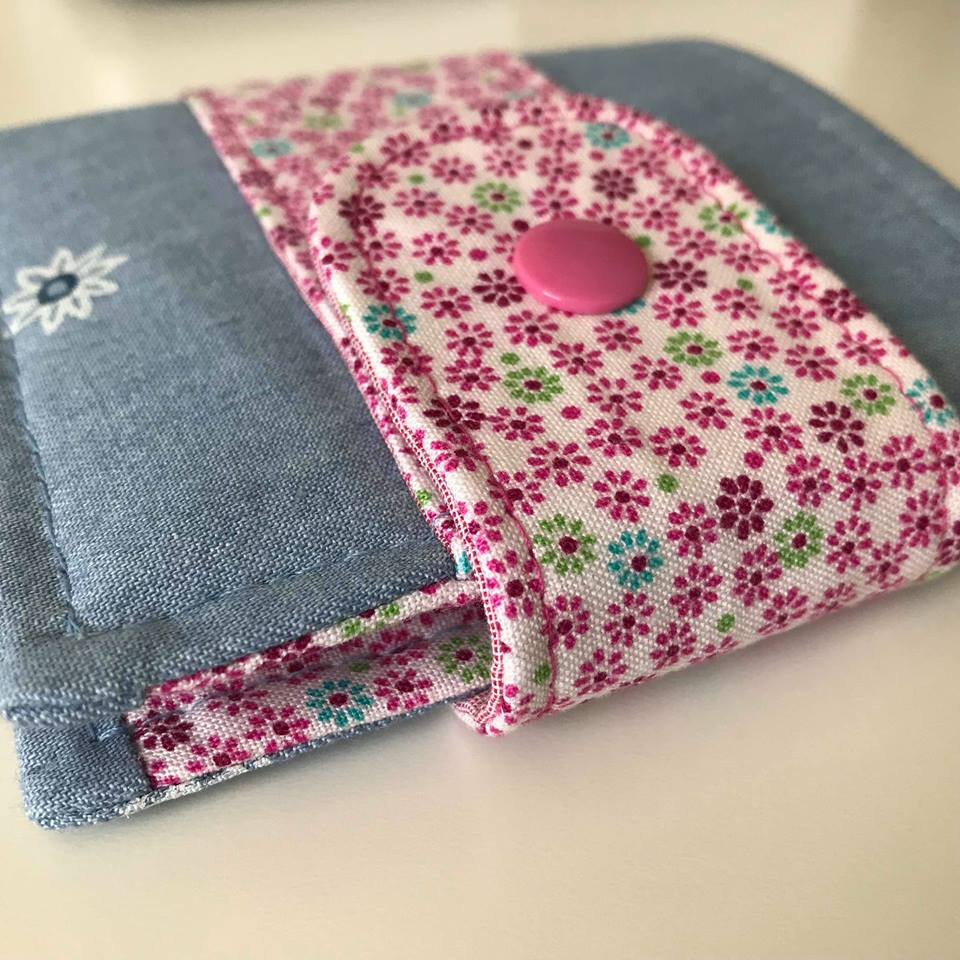
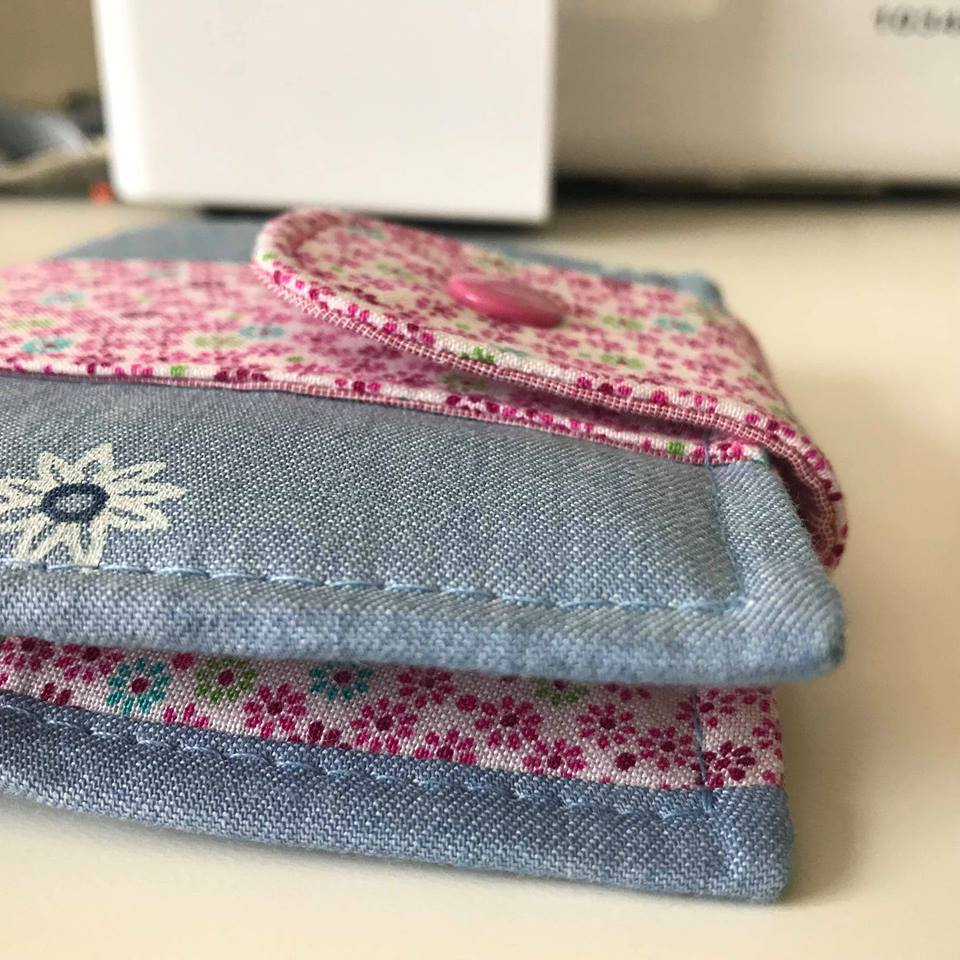
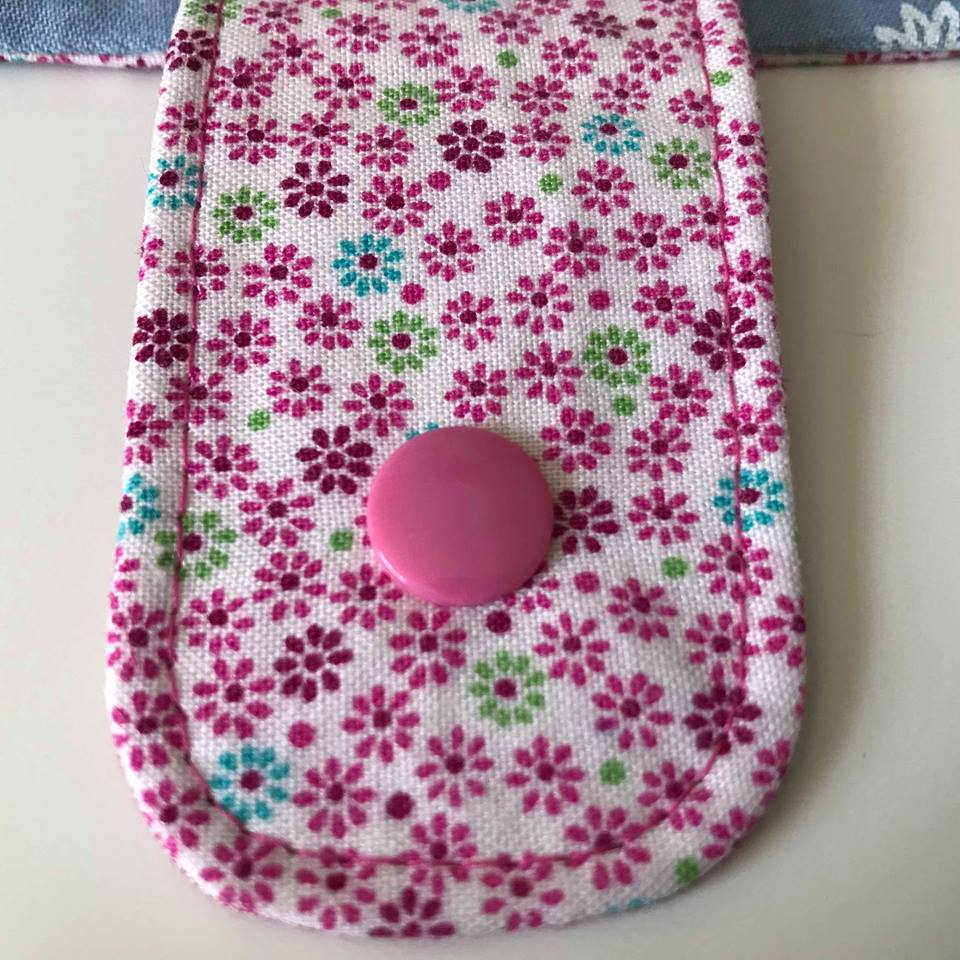
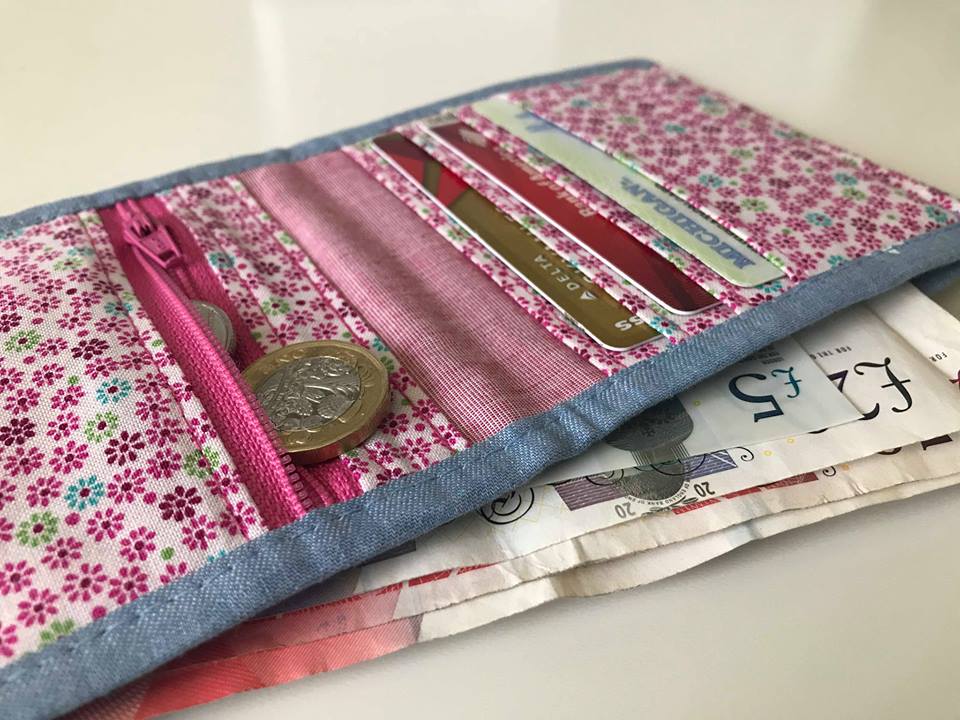
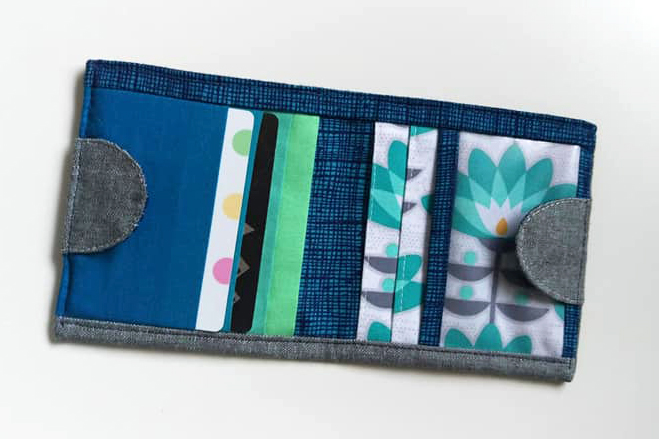
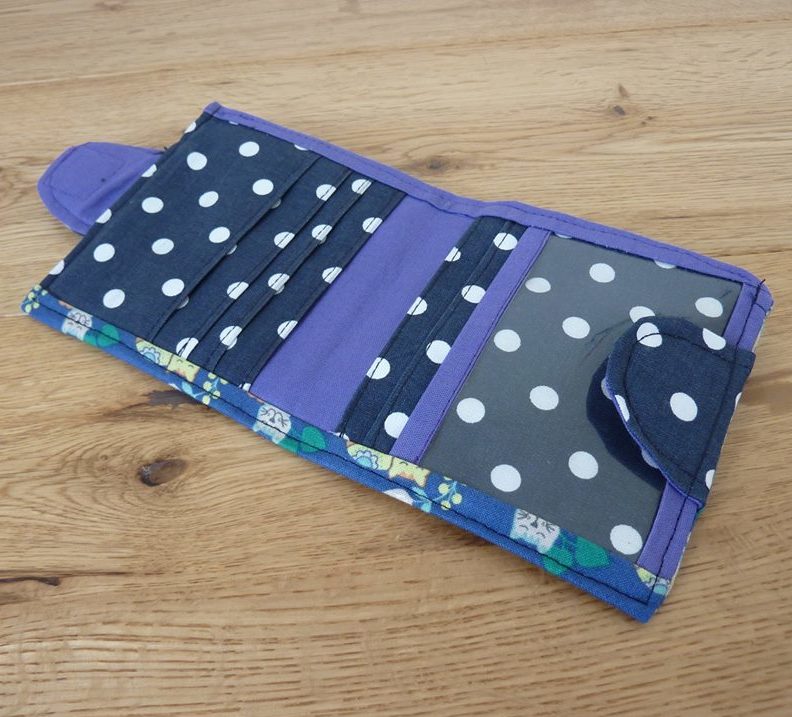
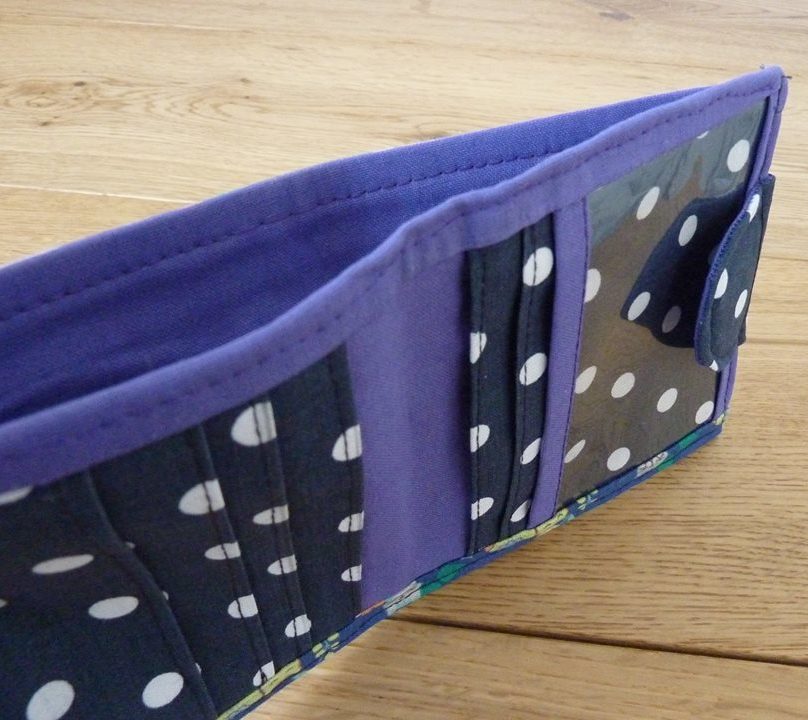
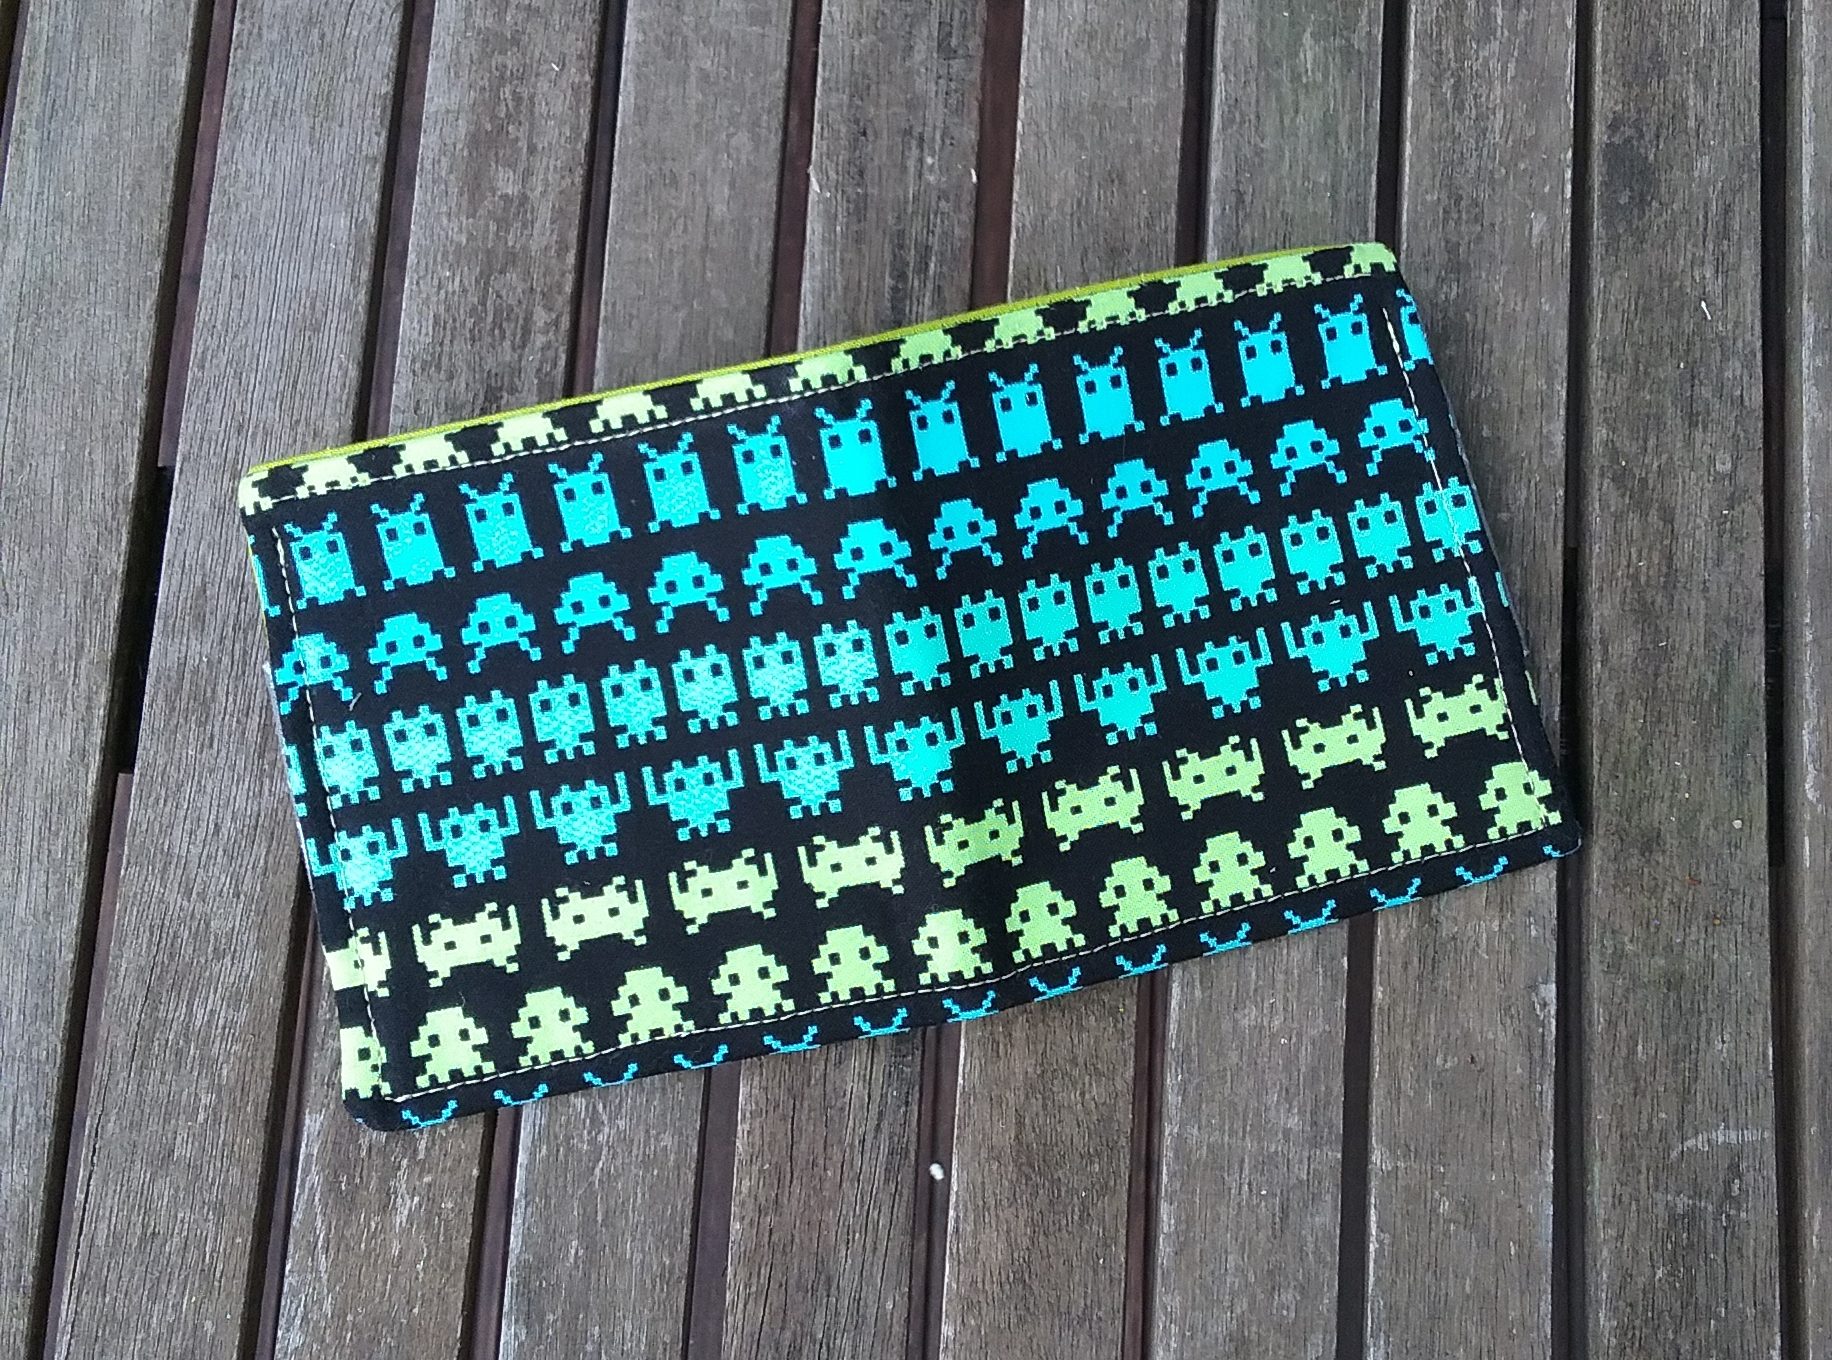
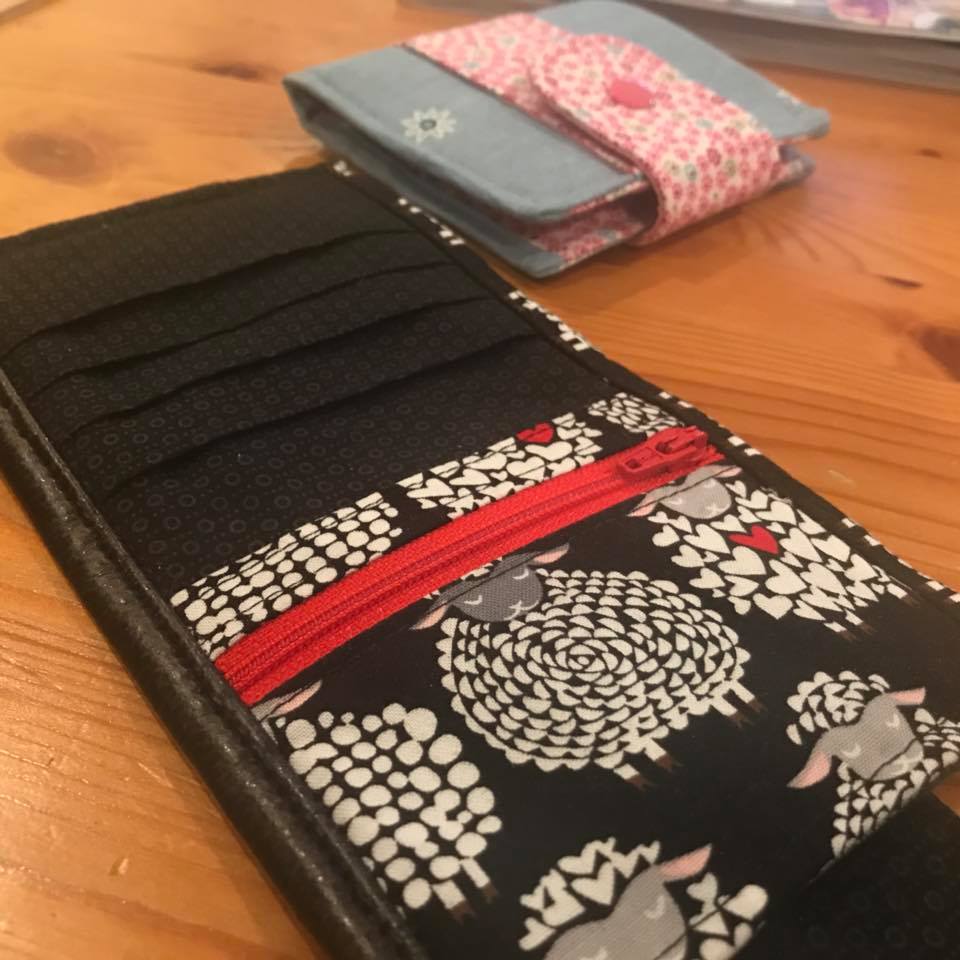
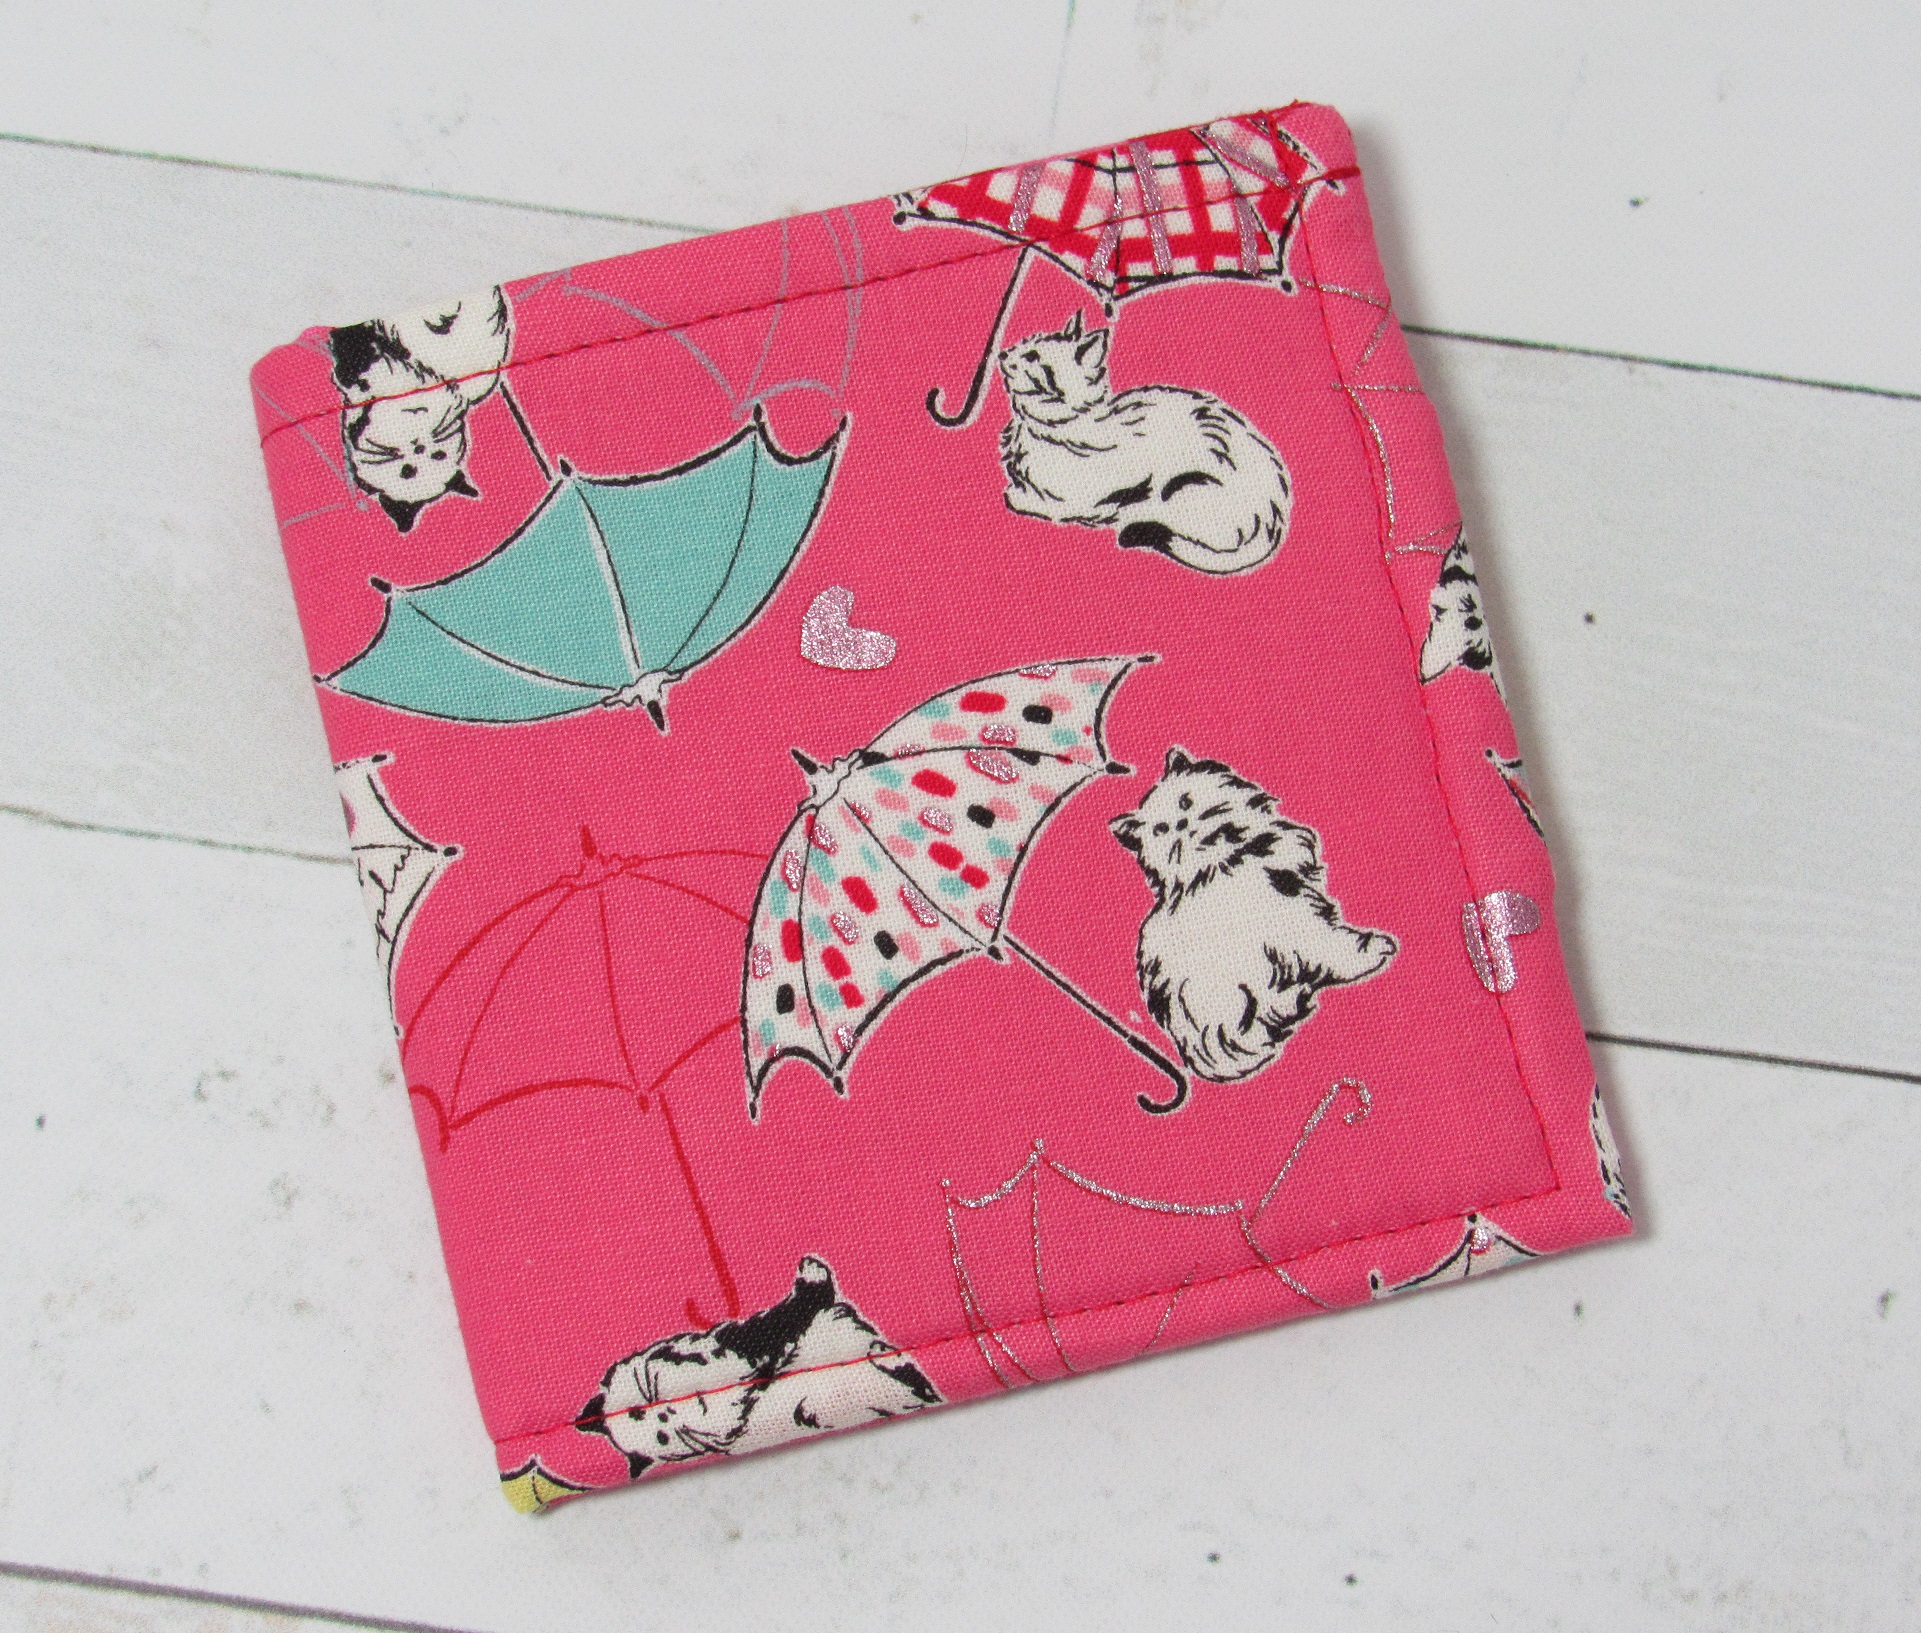
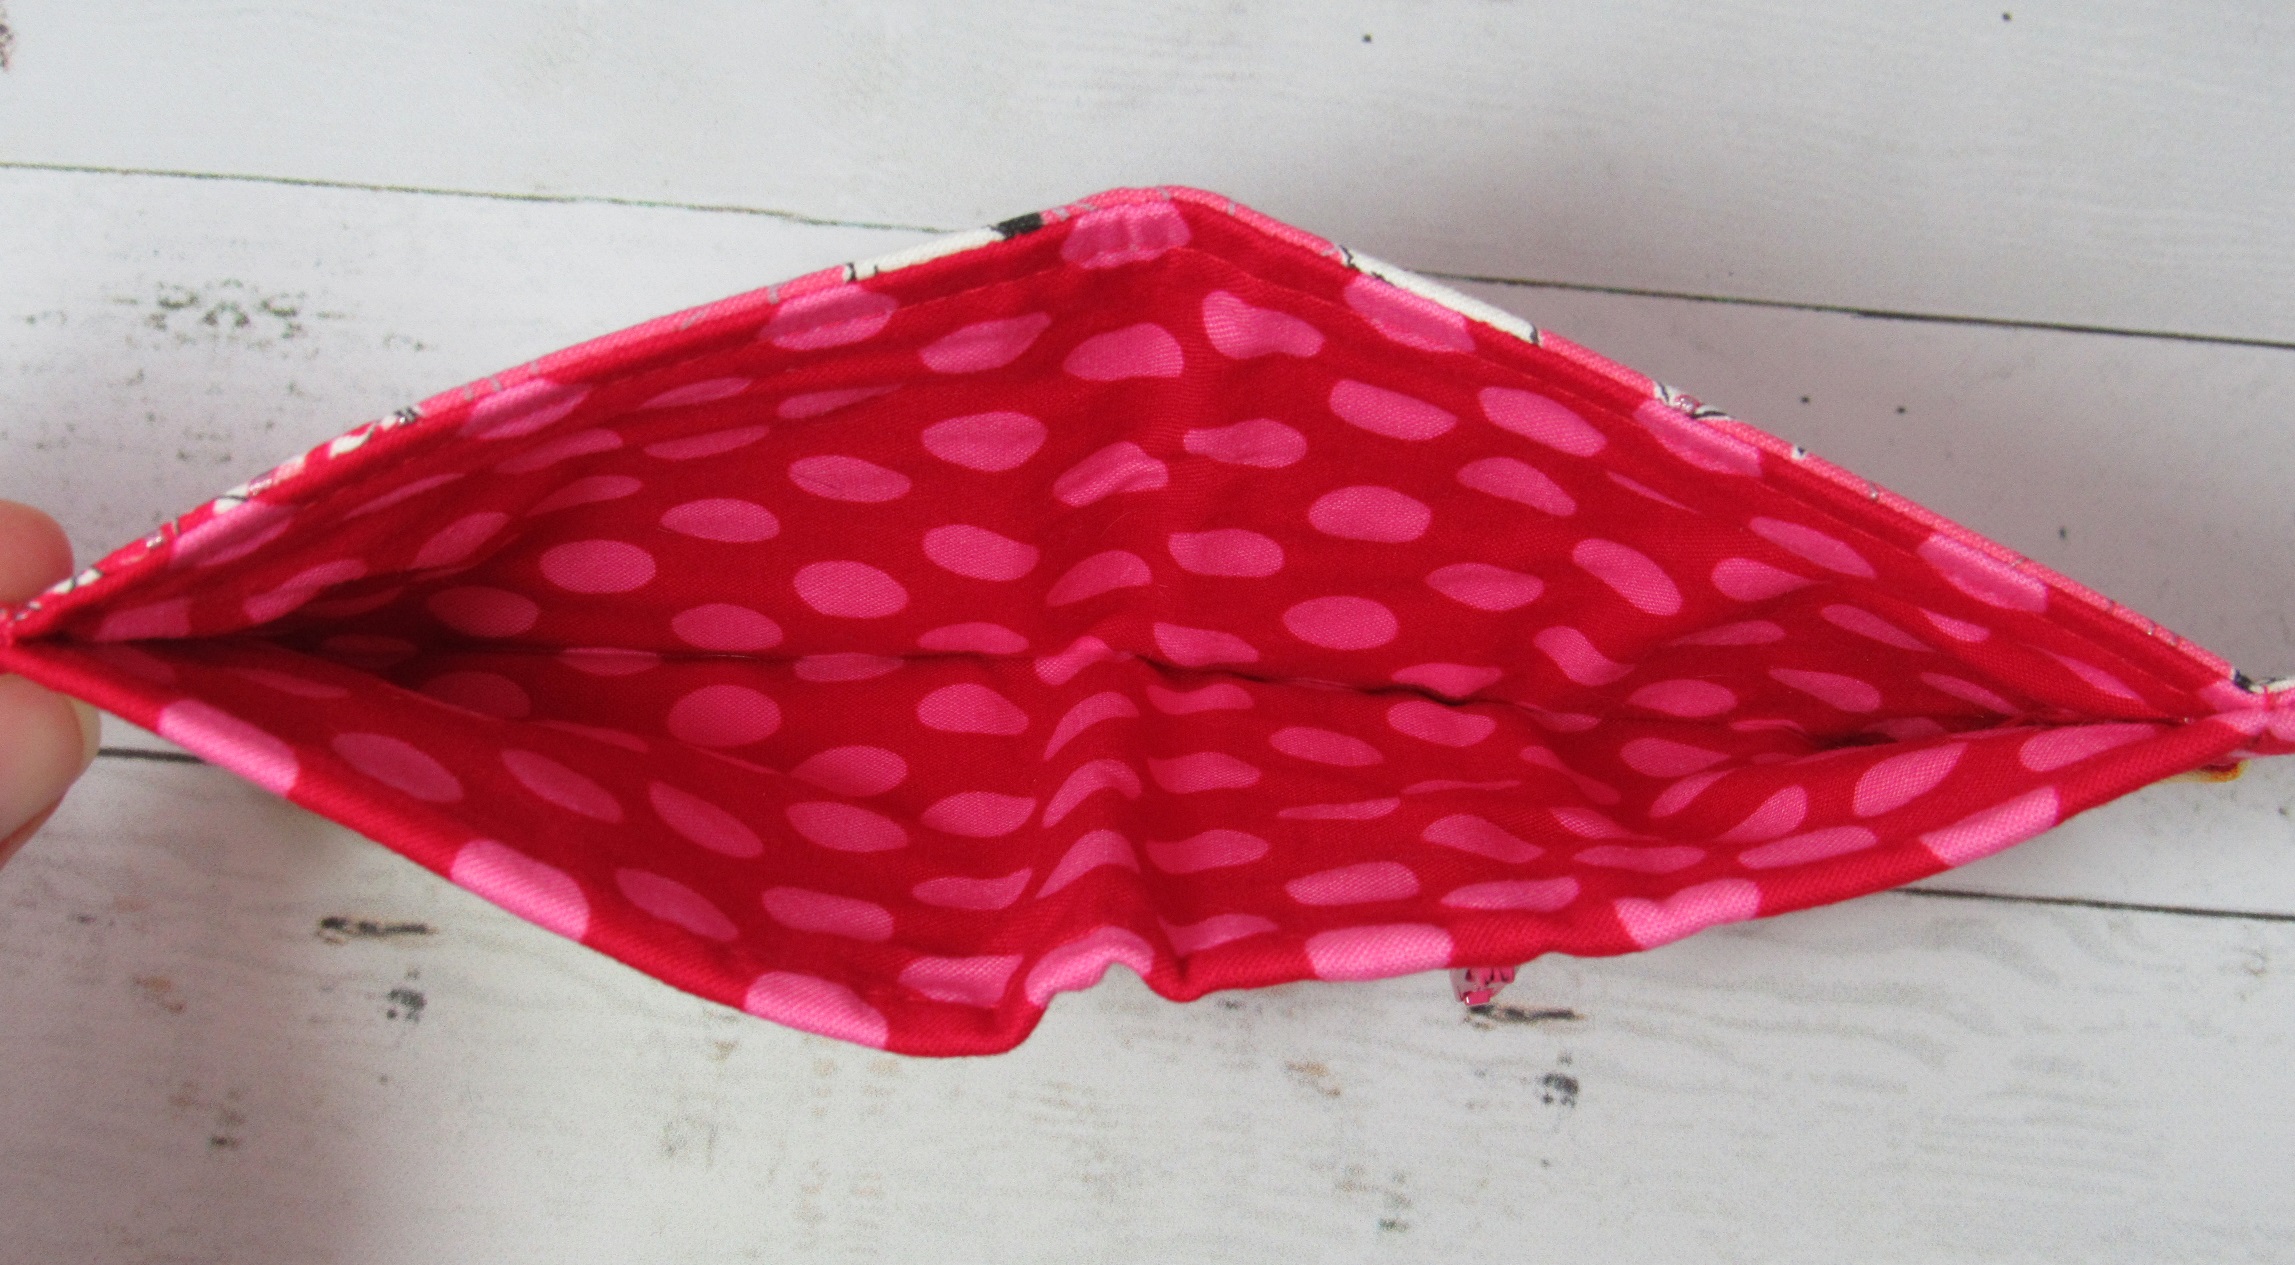
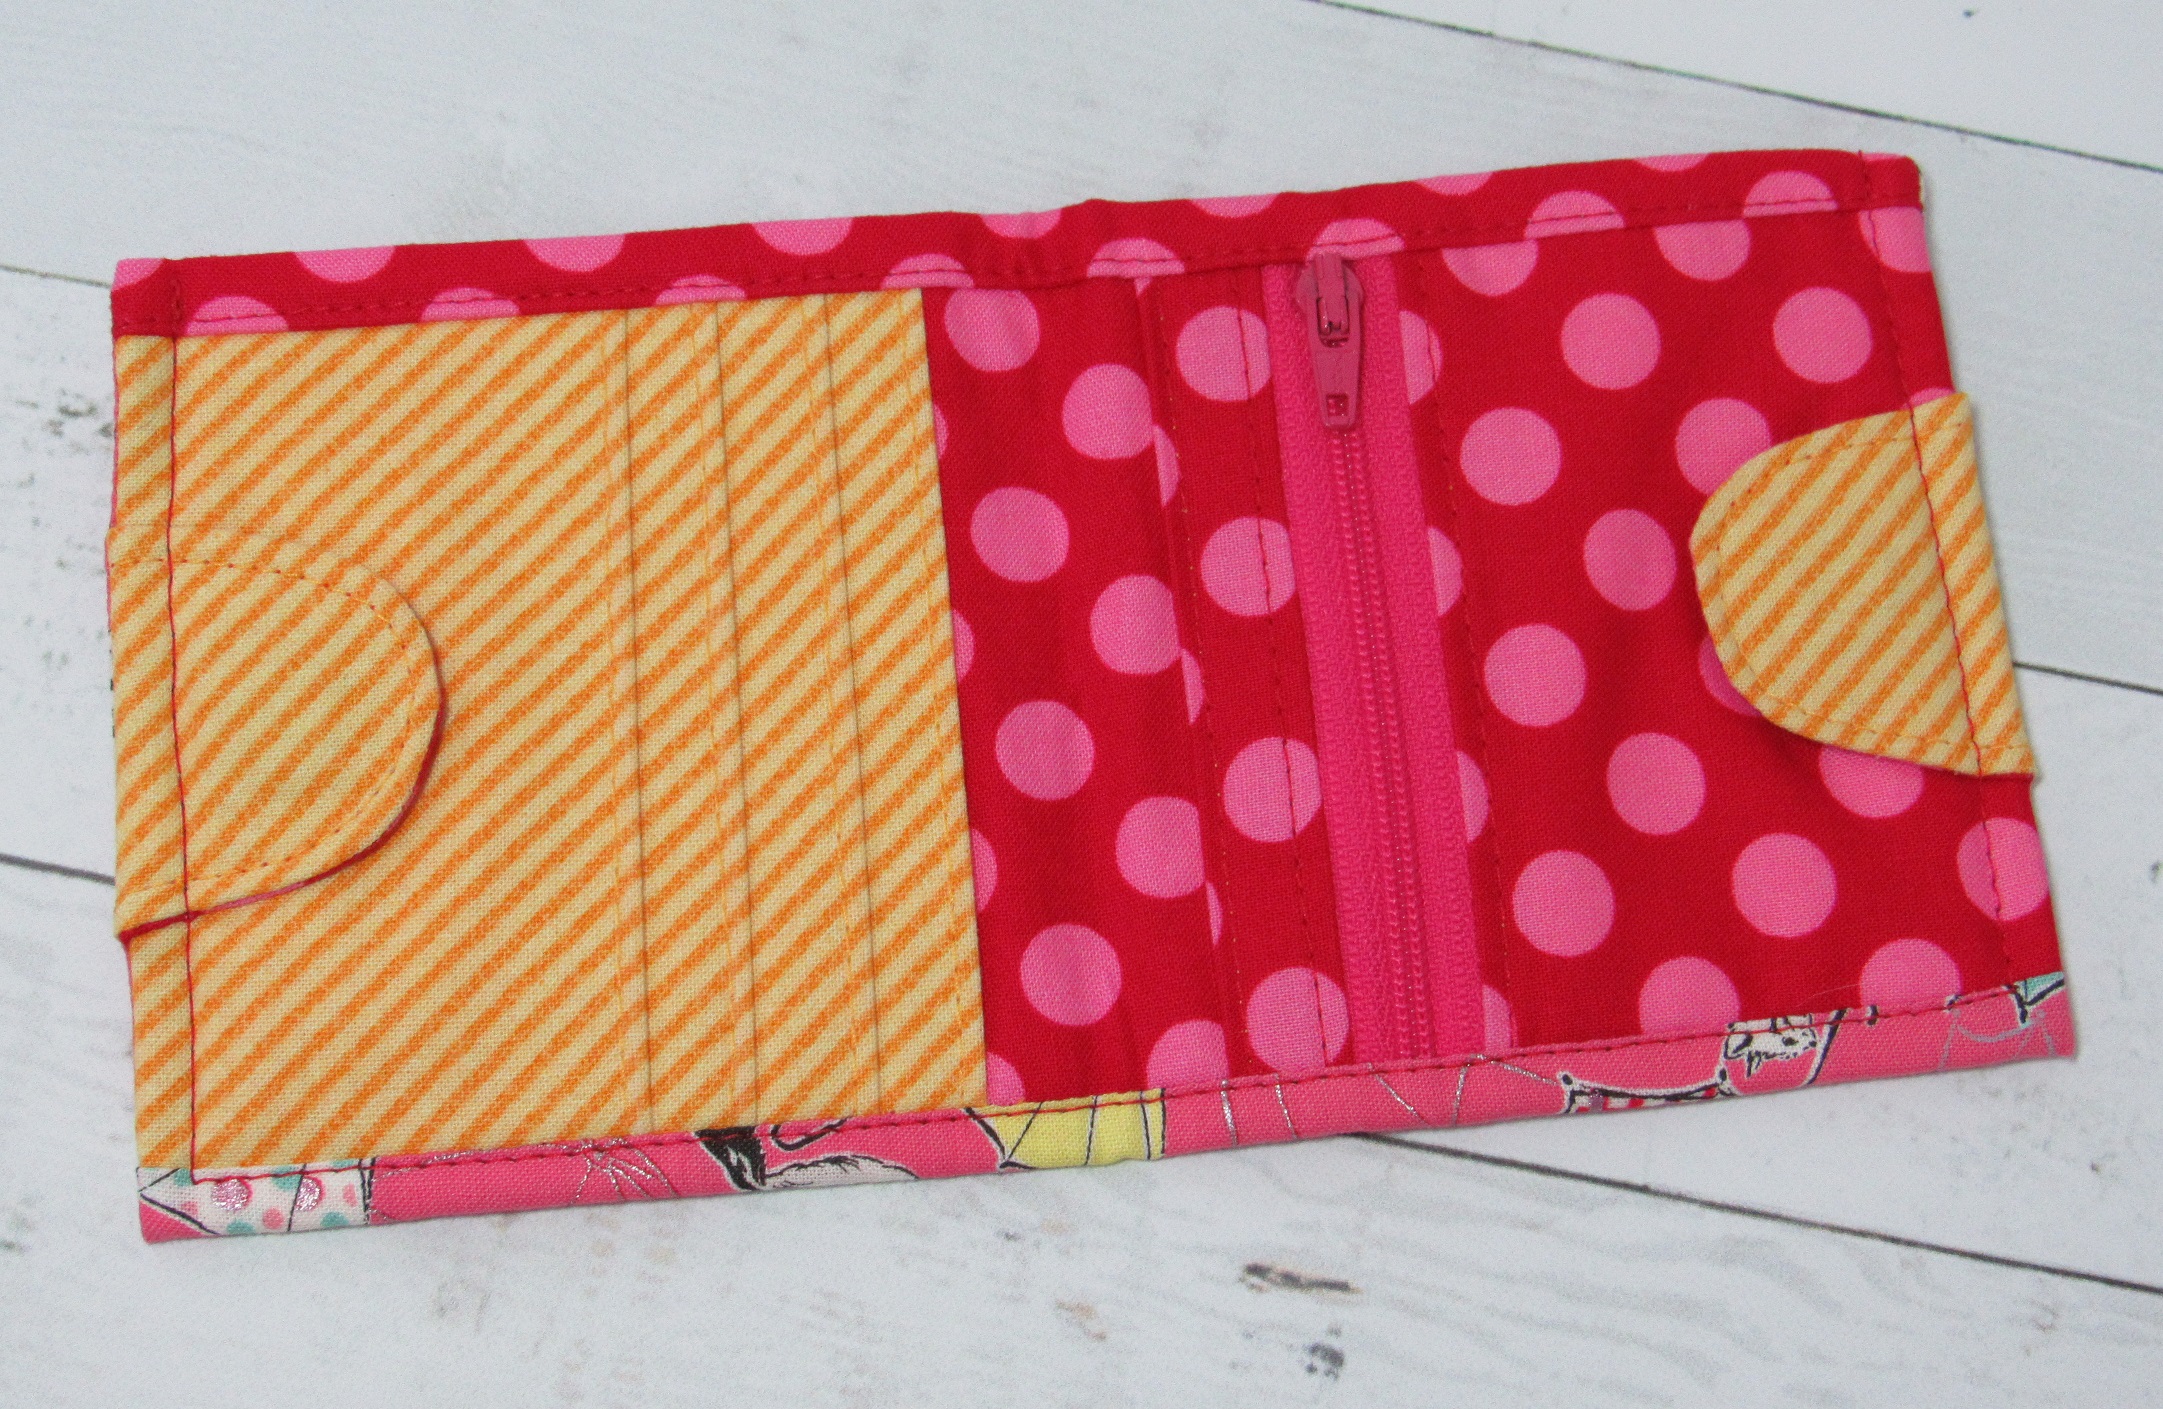
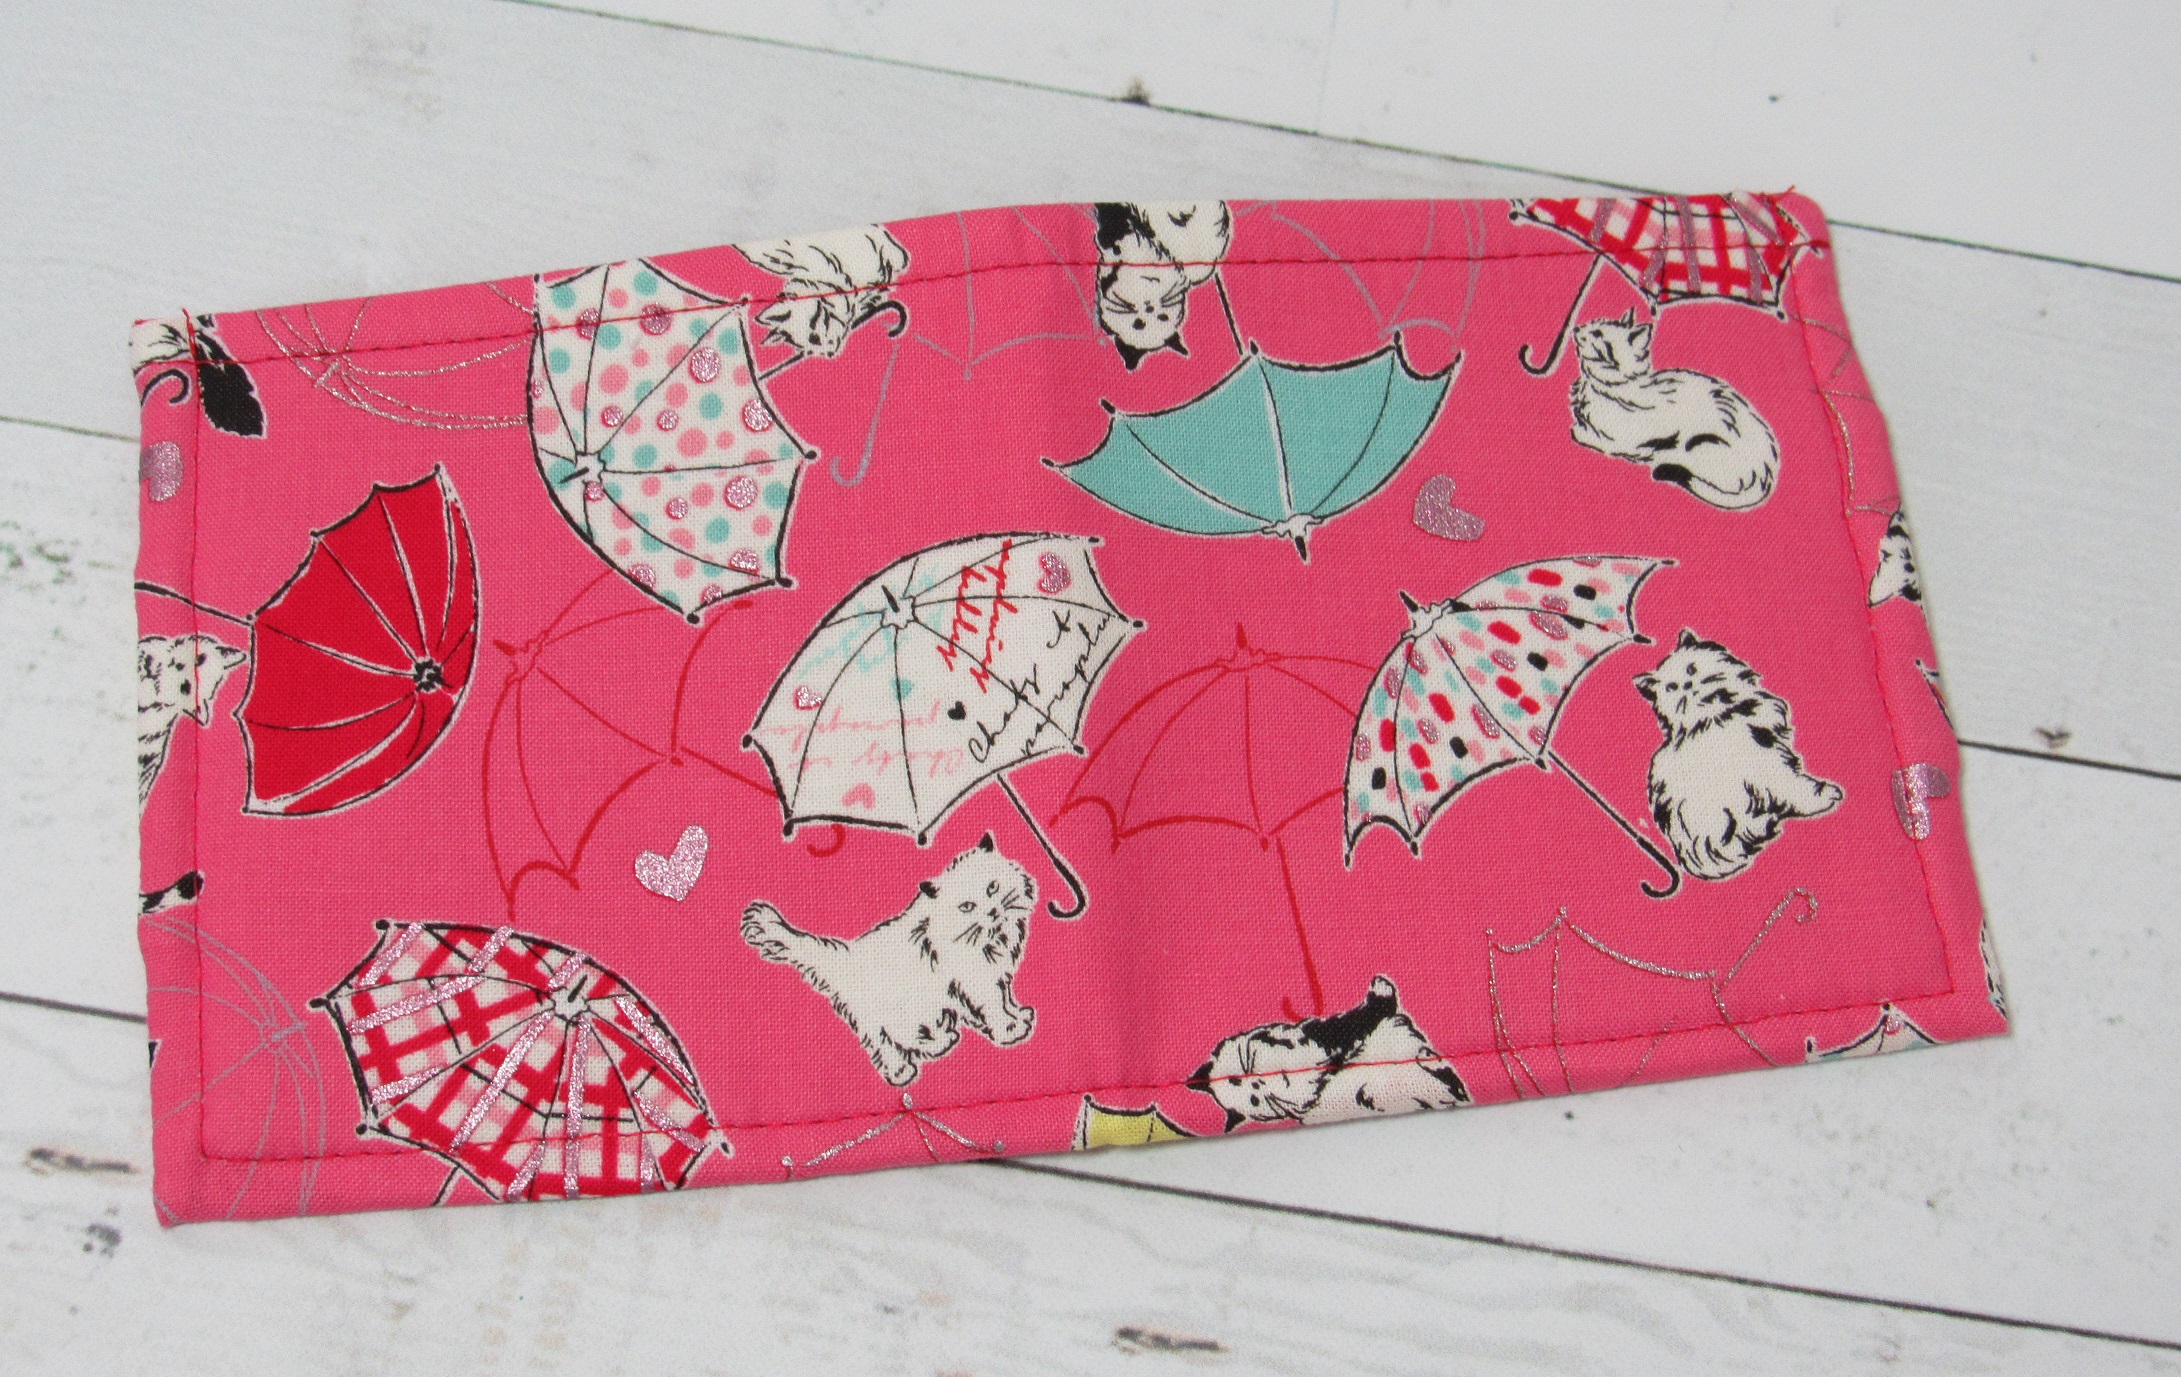
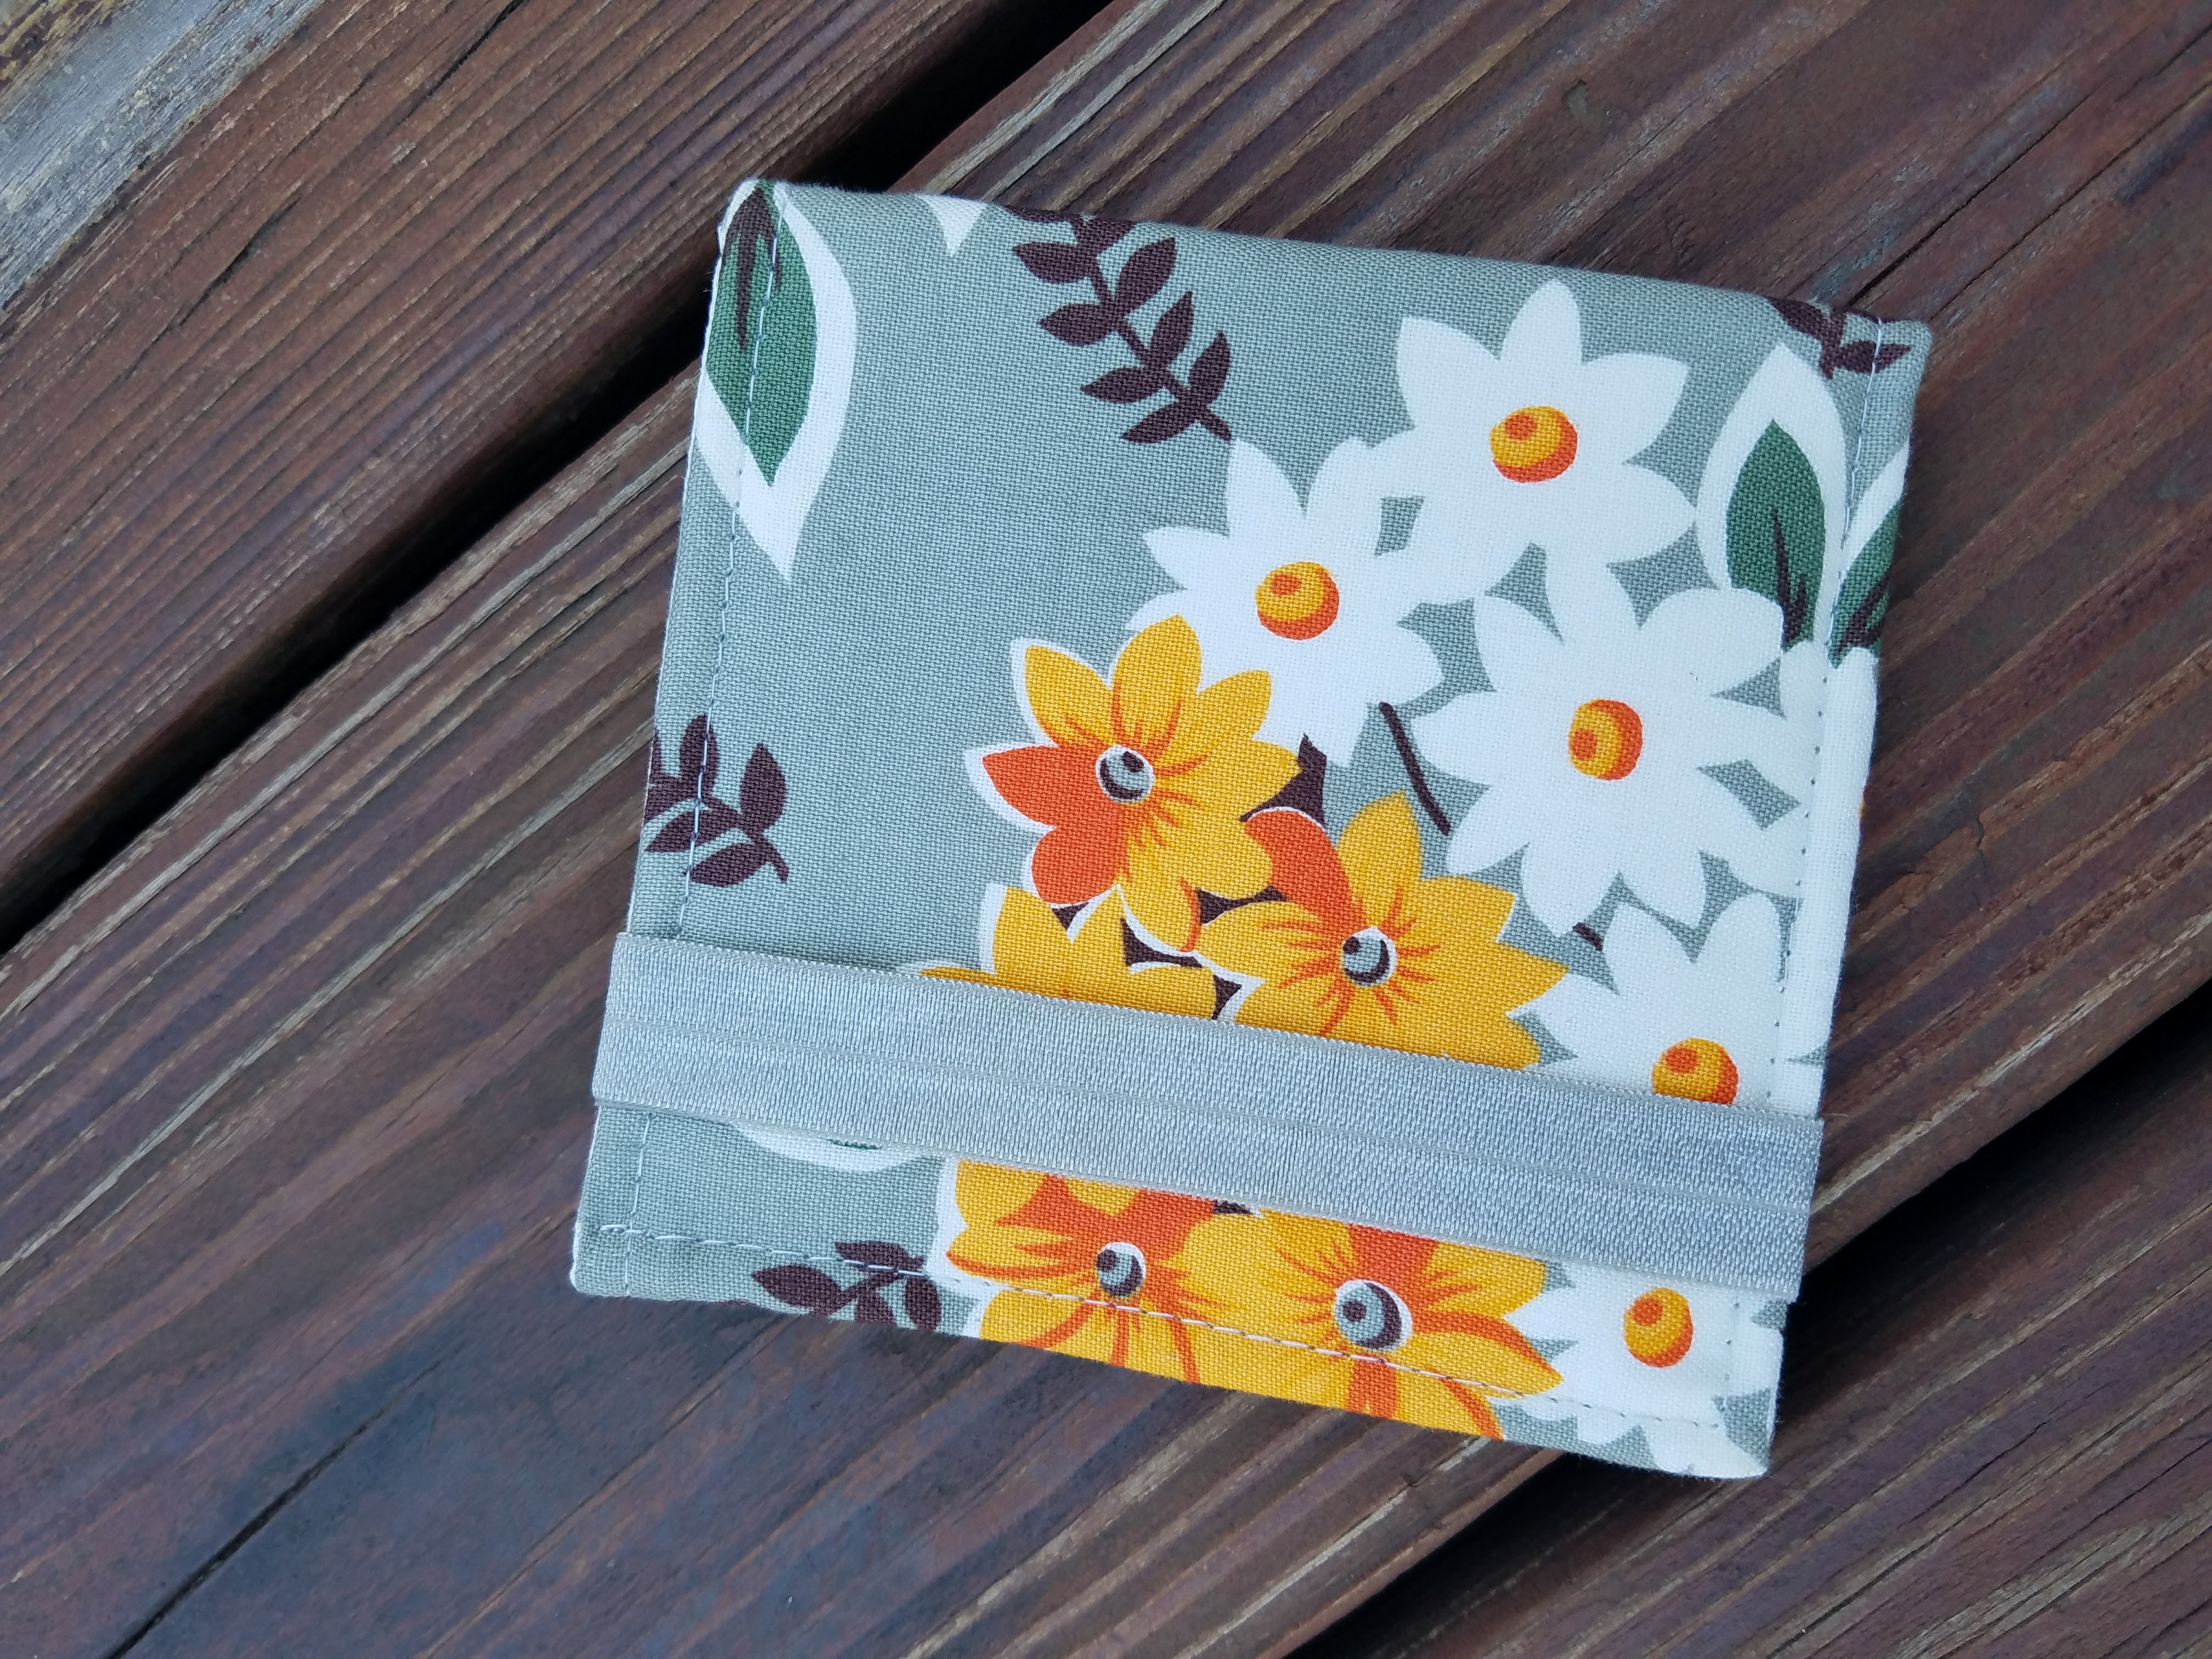
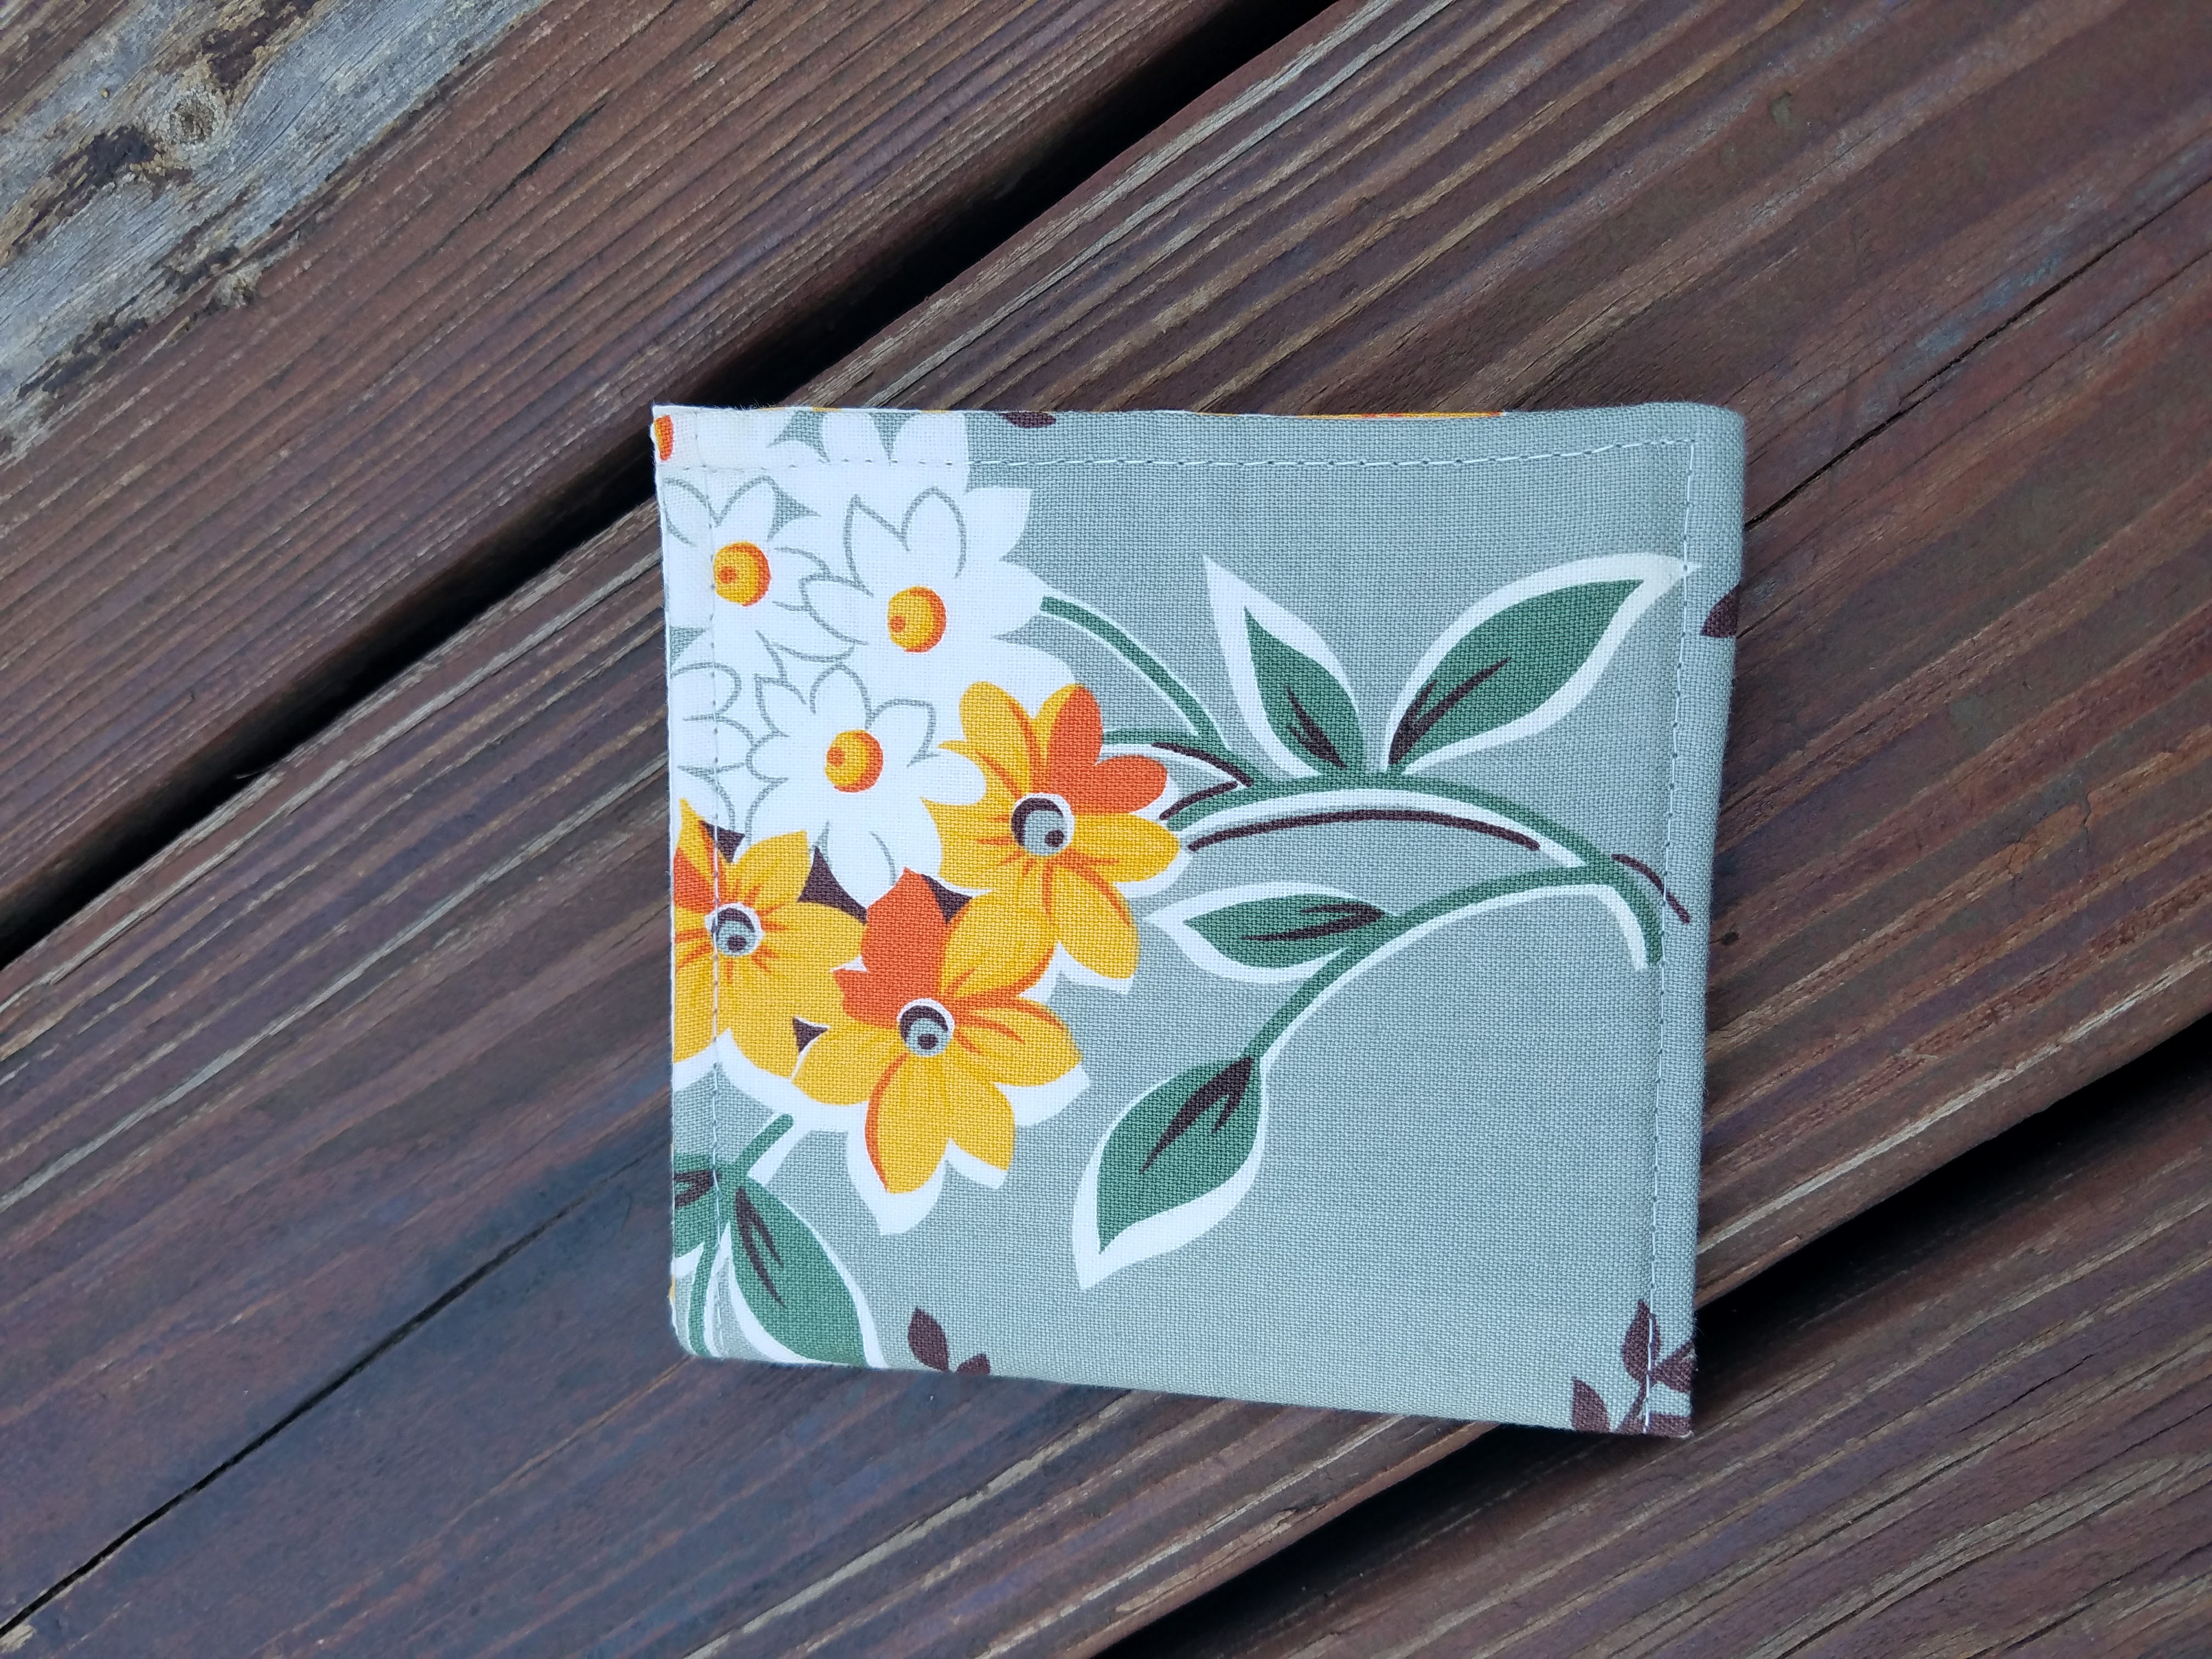
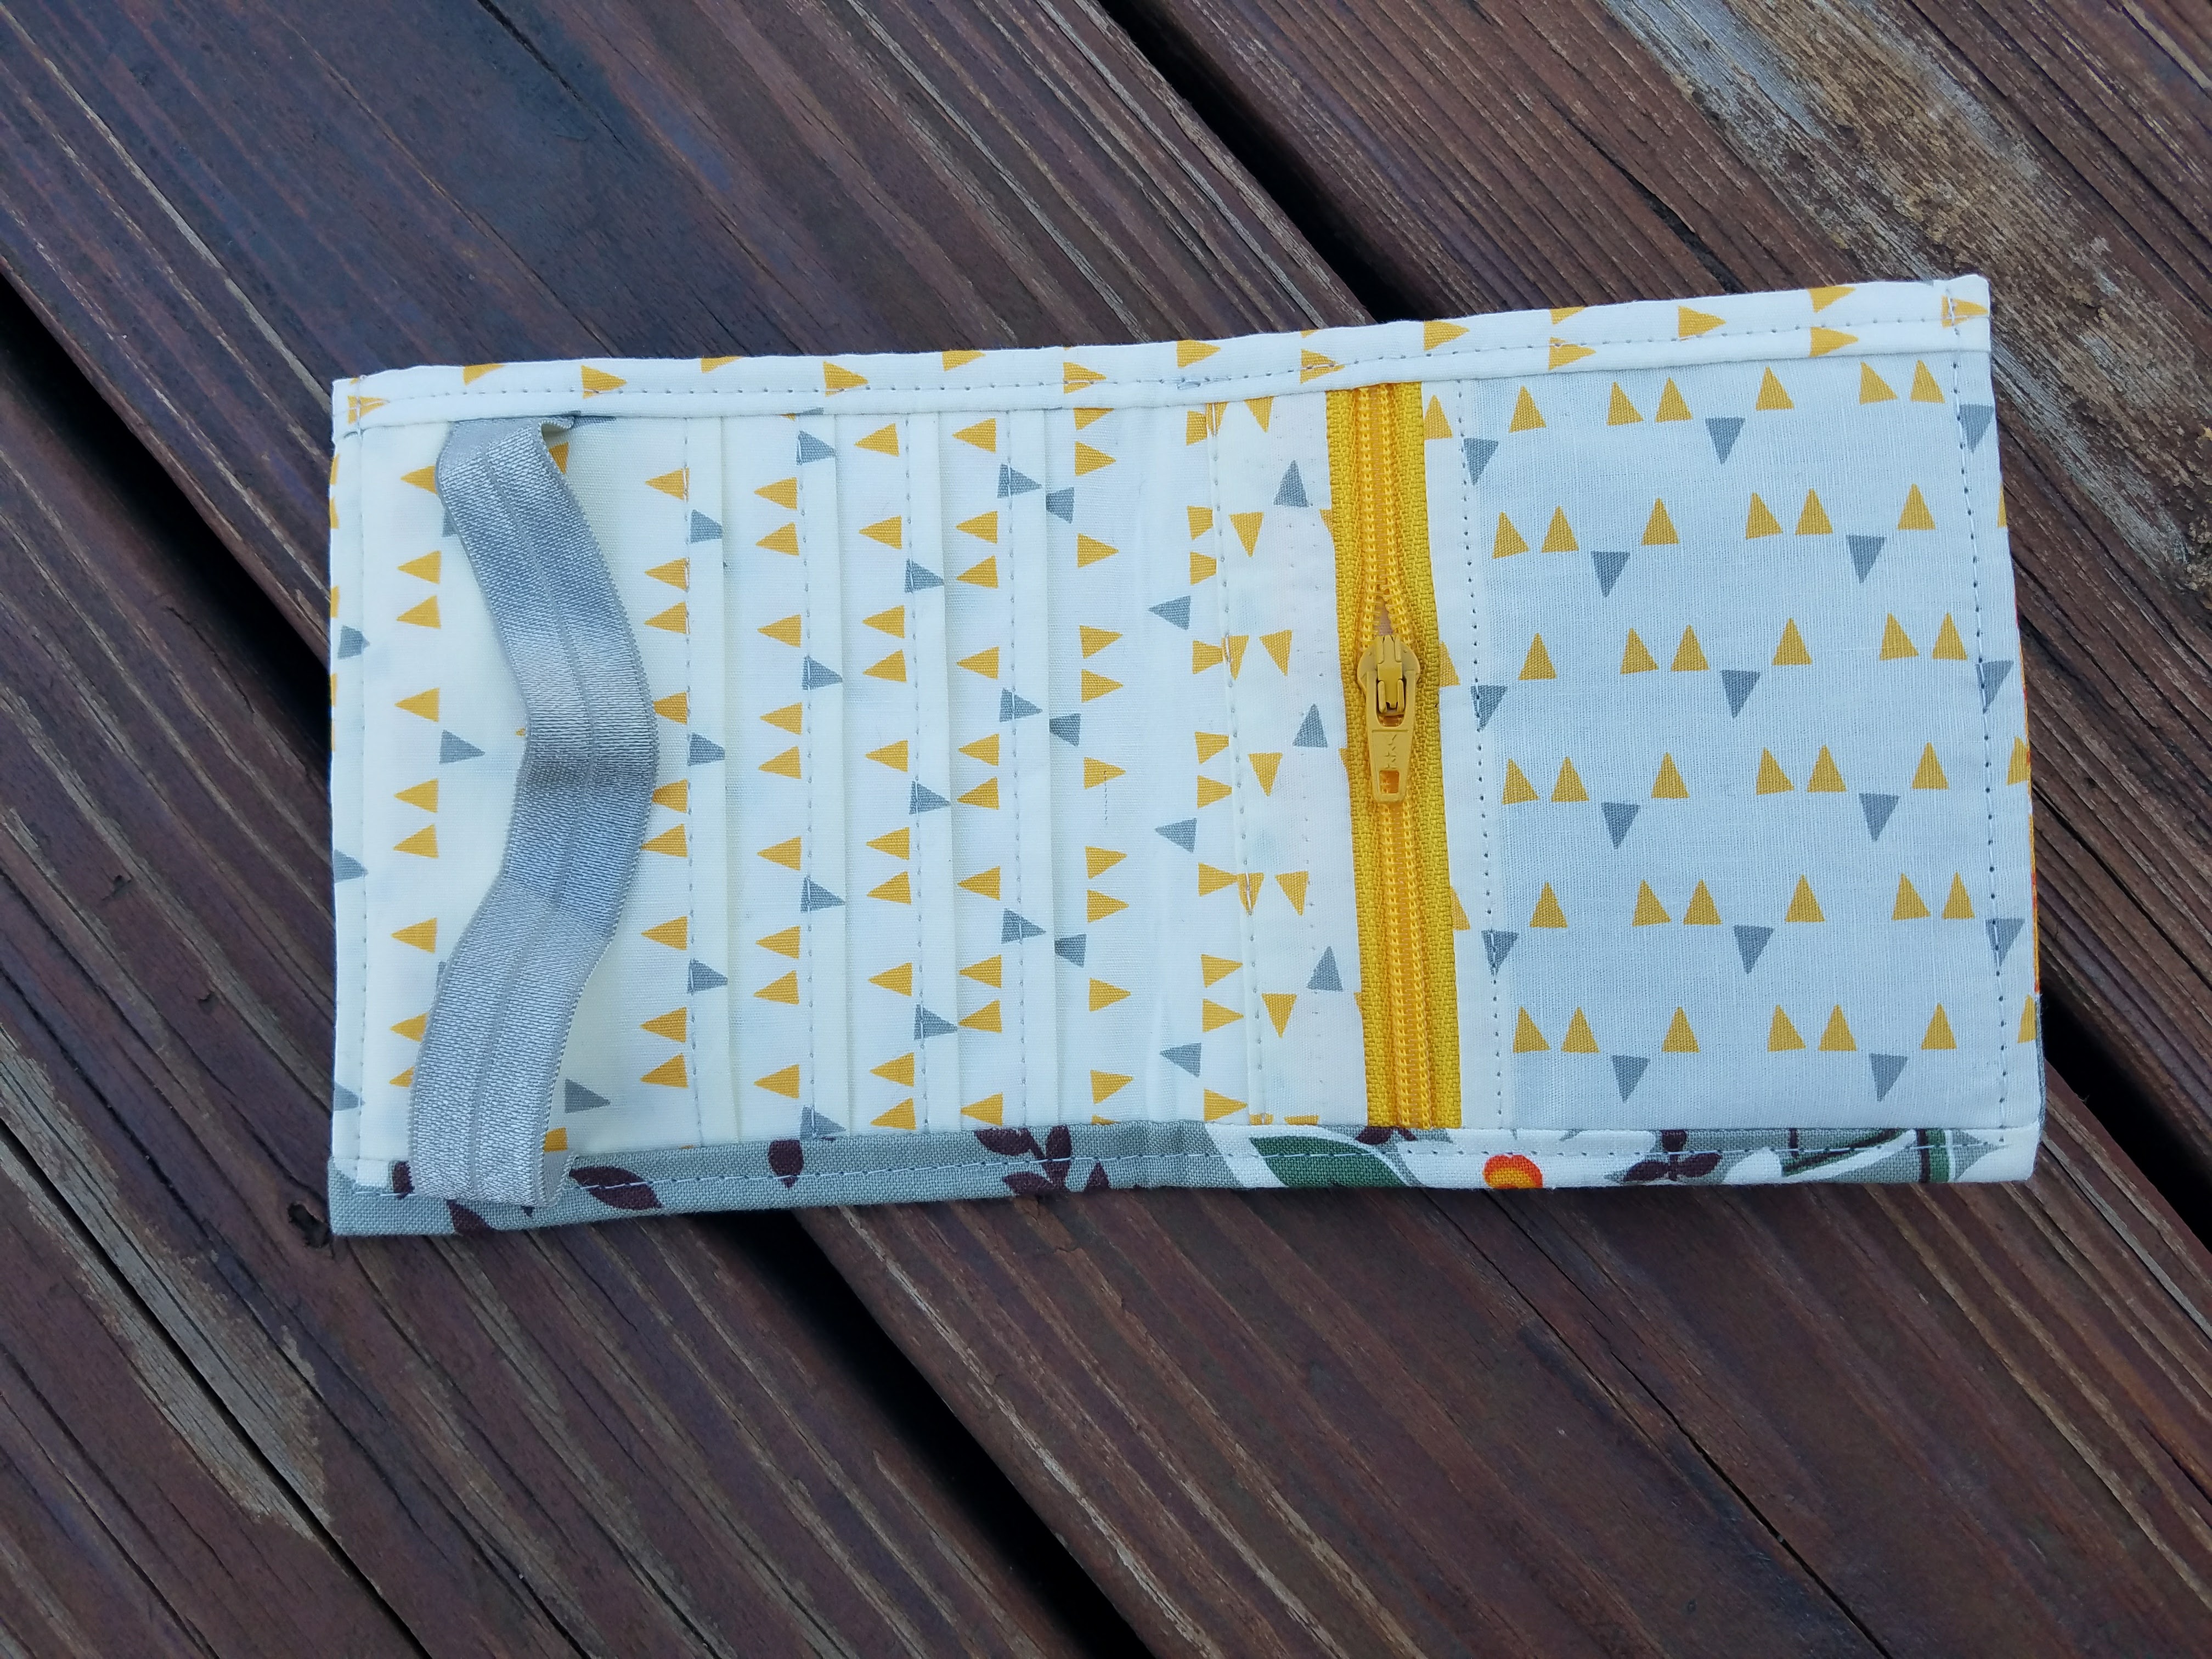
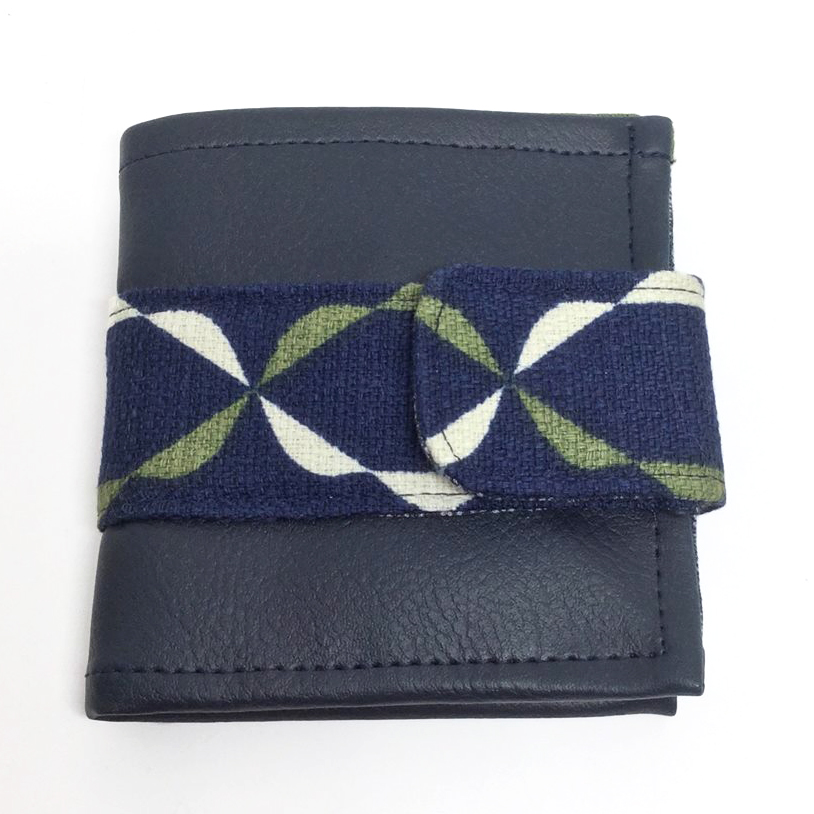
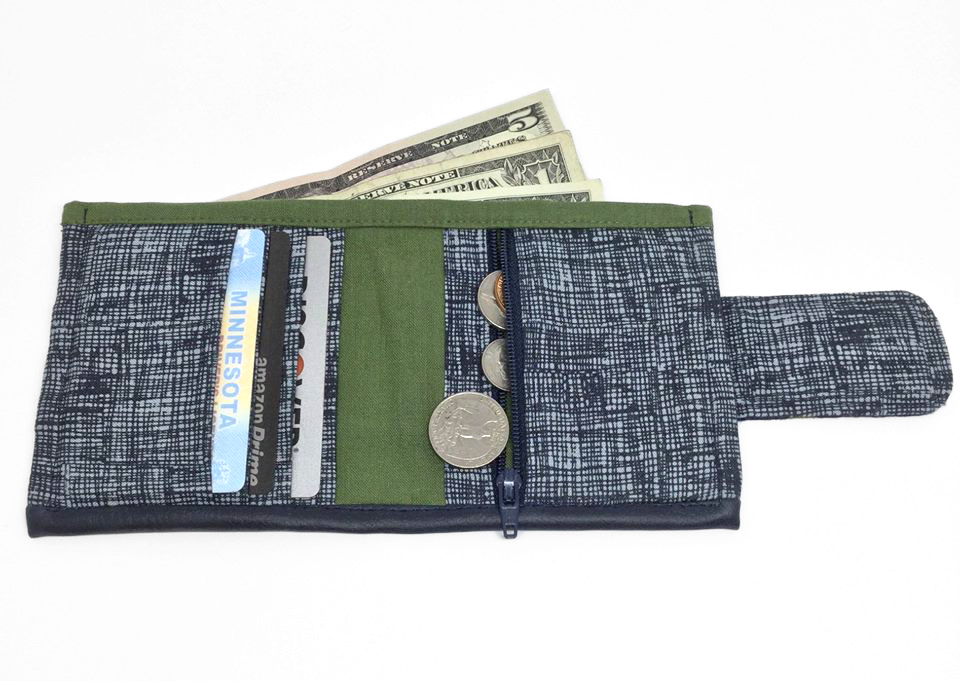
First is Kay’s wallet, which I am totally in love with! 

 
Norma made this cool geeky one!

Yeechi used ombre fabric to get the multi-colored card slots!

Sharon used 16 gauge clear vinyl and said it worked well. I think it looks great! I used 12 gauge in my samples, so I’m thrilled that someone tested 16!

Melanie made a π symbol wallet and now I need this fabric!

Margareth made another geeky one that I love! <3

Lindsay’s continuing the geeky theme with this one that she made for her son! Check out her Instagram for the cutest video ever!

Kay made another one in vinyl, because why not? Since it’s only the single layer on the back, you can totally use thin vinyl on this wallet!

Judi pointed out that you should only clip the corners where it tells you to! I think hers turned out lovely regardless of that little corner. :)

Carrie’s polka dots really stand out!! She tried out my hidden magnet instructions and really liked them!


Cara‘s pink one is totally impressive!

Bree used fold over elastic and encouraged me to switch mine out to FOE from craft elastic in my photo sample. I think it was the right decision and will help you follow along if you choose to do the same!

Finally Candy made one to match her Sunrise Saddle Bag. Vinyl AND barkcloth was quite the challenge but she did it and it looks amazing!

 
Thank you to the most amazing testers ever, who made this pattern go from just OK to really amazing. Check out the full description for the Flip Flop Wallet, including the fabric requirements and all of my finished photos, and then pop over to the Craftsy store from there to purchase.

So now on to finishing prototyping on the two bags that are next, and then I will try to circle back to the elusive zip around wallet. In the mean time, I am handing the Flip Flop Wallet over to you to sew! I can’t wait to see what you make!

HAPPY SEWING!!!

Erin

Categories : Sewing
Comments (6)

Comments

  1. Katie says:
    April 2, 2018 at 9:28 PM

    LOL about the flip flops vs thongs. In our house it’s flip flops vs jandals. Fabulous pattern. Can’t wait to try it. Loved all the samples! :-)

    Reply
  2. Tina in NJ says:
    April 3, 2018 at 6:33 AM

    Welcome back, Erin! I know you haven’t really been gone, but it sounds like we’ll be getting more from you more often, which is a good thing. If I might request, could you please increase the type font size on future blog posts? My eyes are not what they once were. Looking forward to new bags! In the meantime, maybe I’ll finally get around to making Date Night!

    Reply
    • JulieCC says:
      April 4, 2018 at 8:27 PM

      For those wanting a larger font, just make your browser text size larger. :-) 125%, 150%, etc.

      Can’t wait to make my wallet!

      Reply
  3. Lou Ann says:
    April 4, 2018 at 5:57 AM

    Lovely work. Also, I second the request for a bigger font size.

    Reply
    • JulieCC says:
      April 4, 2018 at 8:28 PM

      You can zoom in with your browser settings.

      Reply
  4. Billie says:
    May 1, 2018 at 8:02 PM

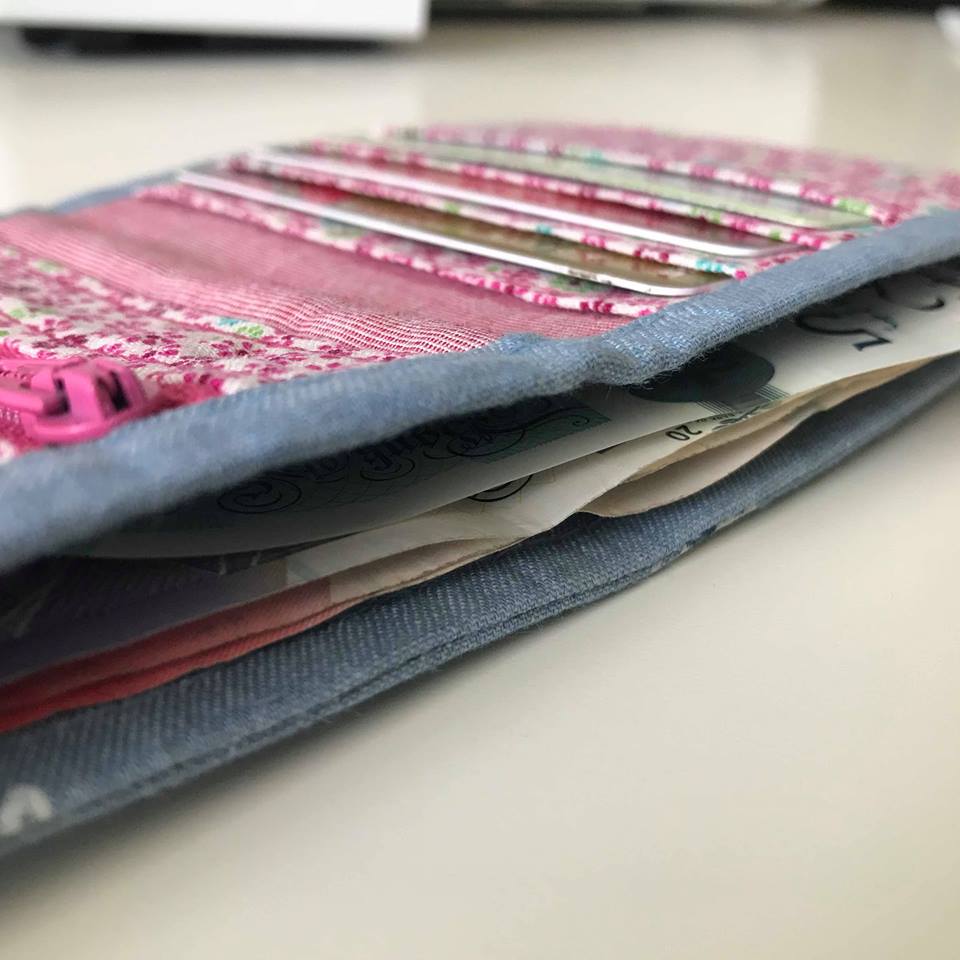
    This wallet looks amazing! Can you tell me how many slots there are for bills (paper money)? Would it be difficult to add a divider if I wanted more?

    Thank you!

    Reply

Leave a Reply

Click here to cancel reply.

Dog Under My Desk
Copyright © 2025 All Rights Reserved
iThemes Builder by iThemes
Powered by WordPress