
I am so excited to announce my first new pattern of 2017!

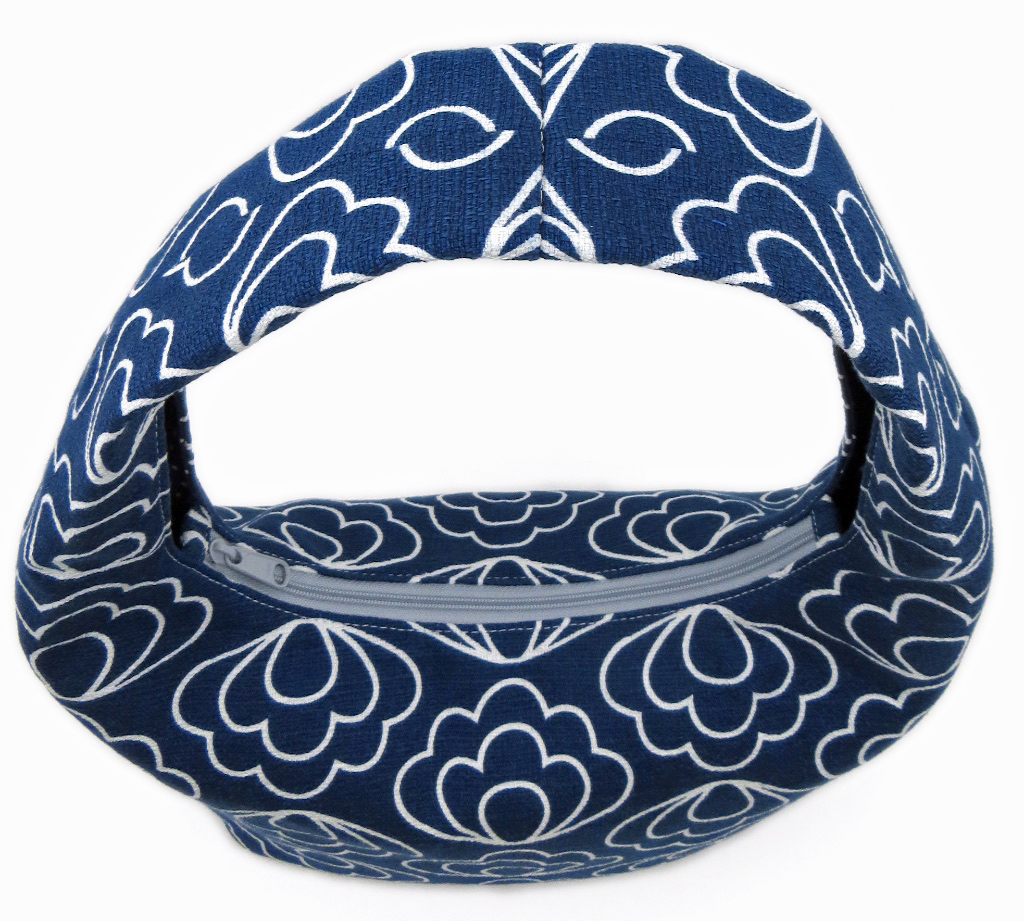
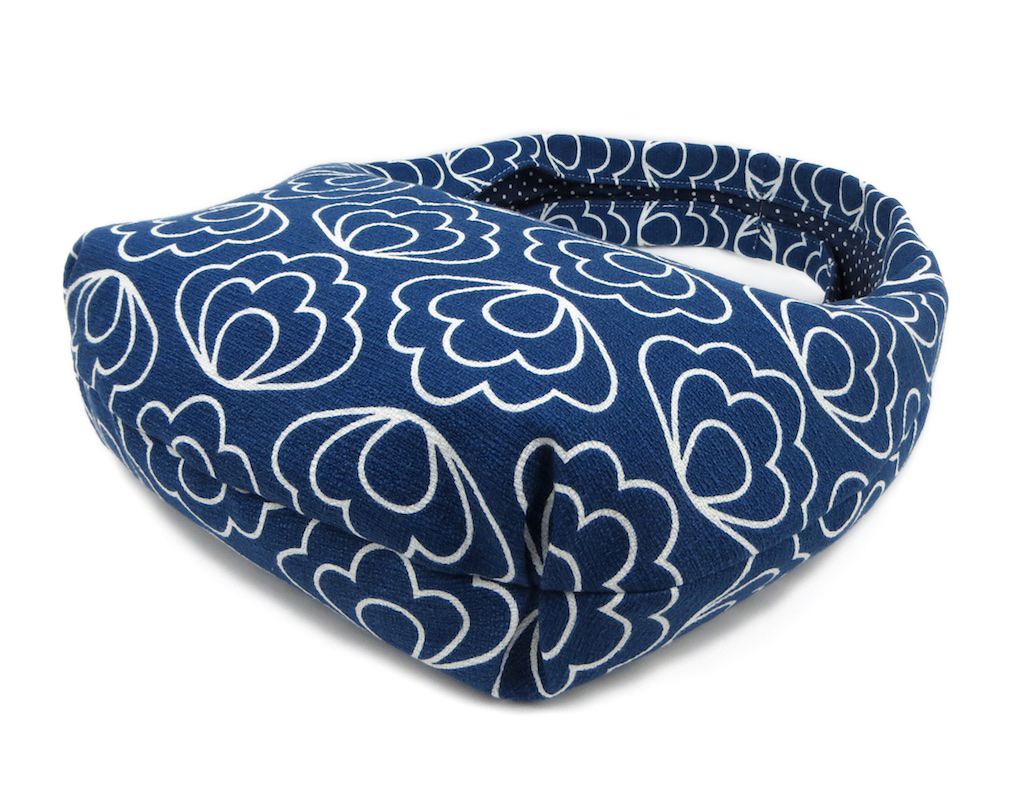
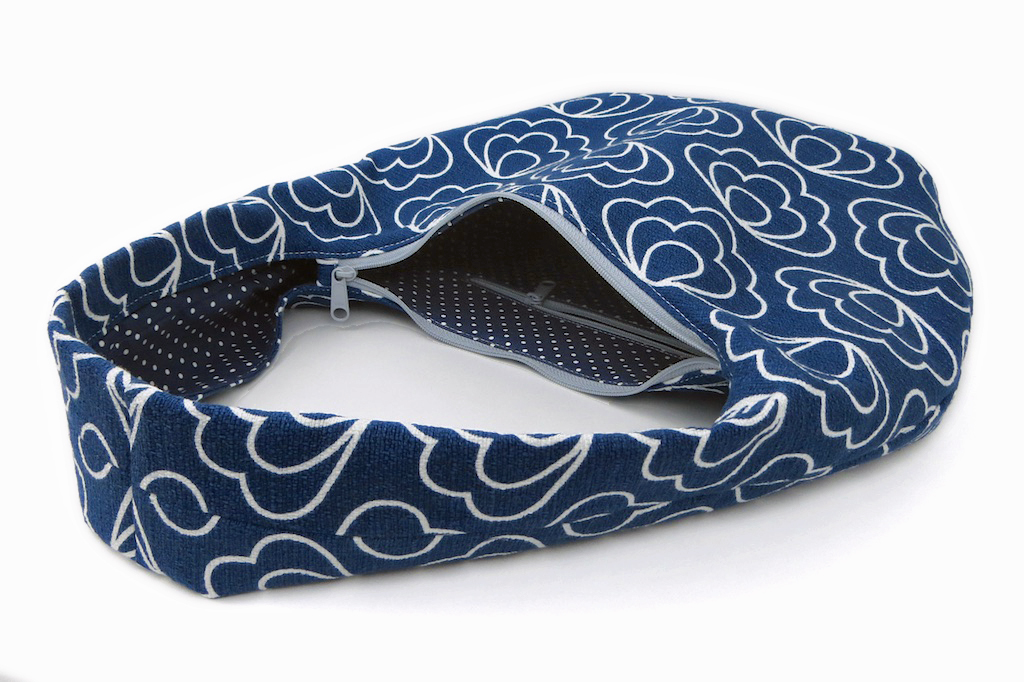
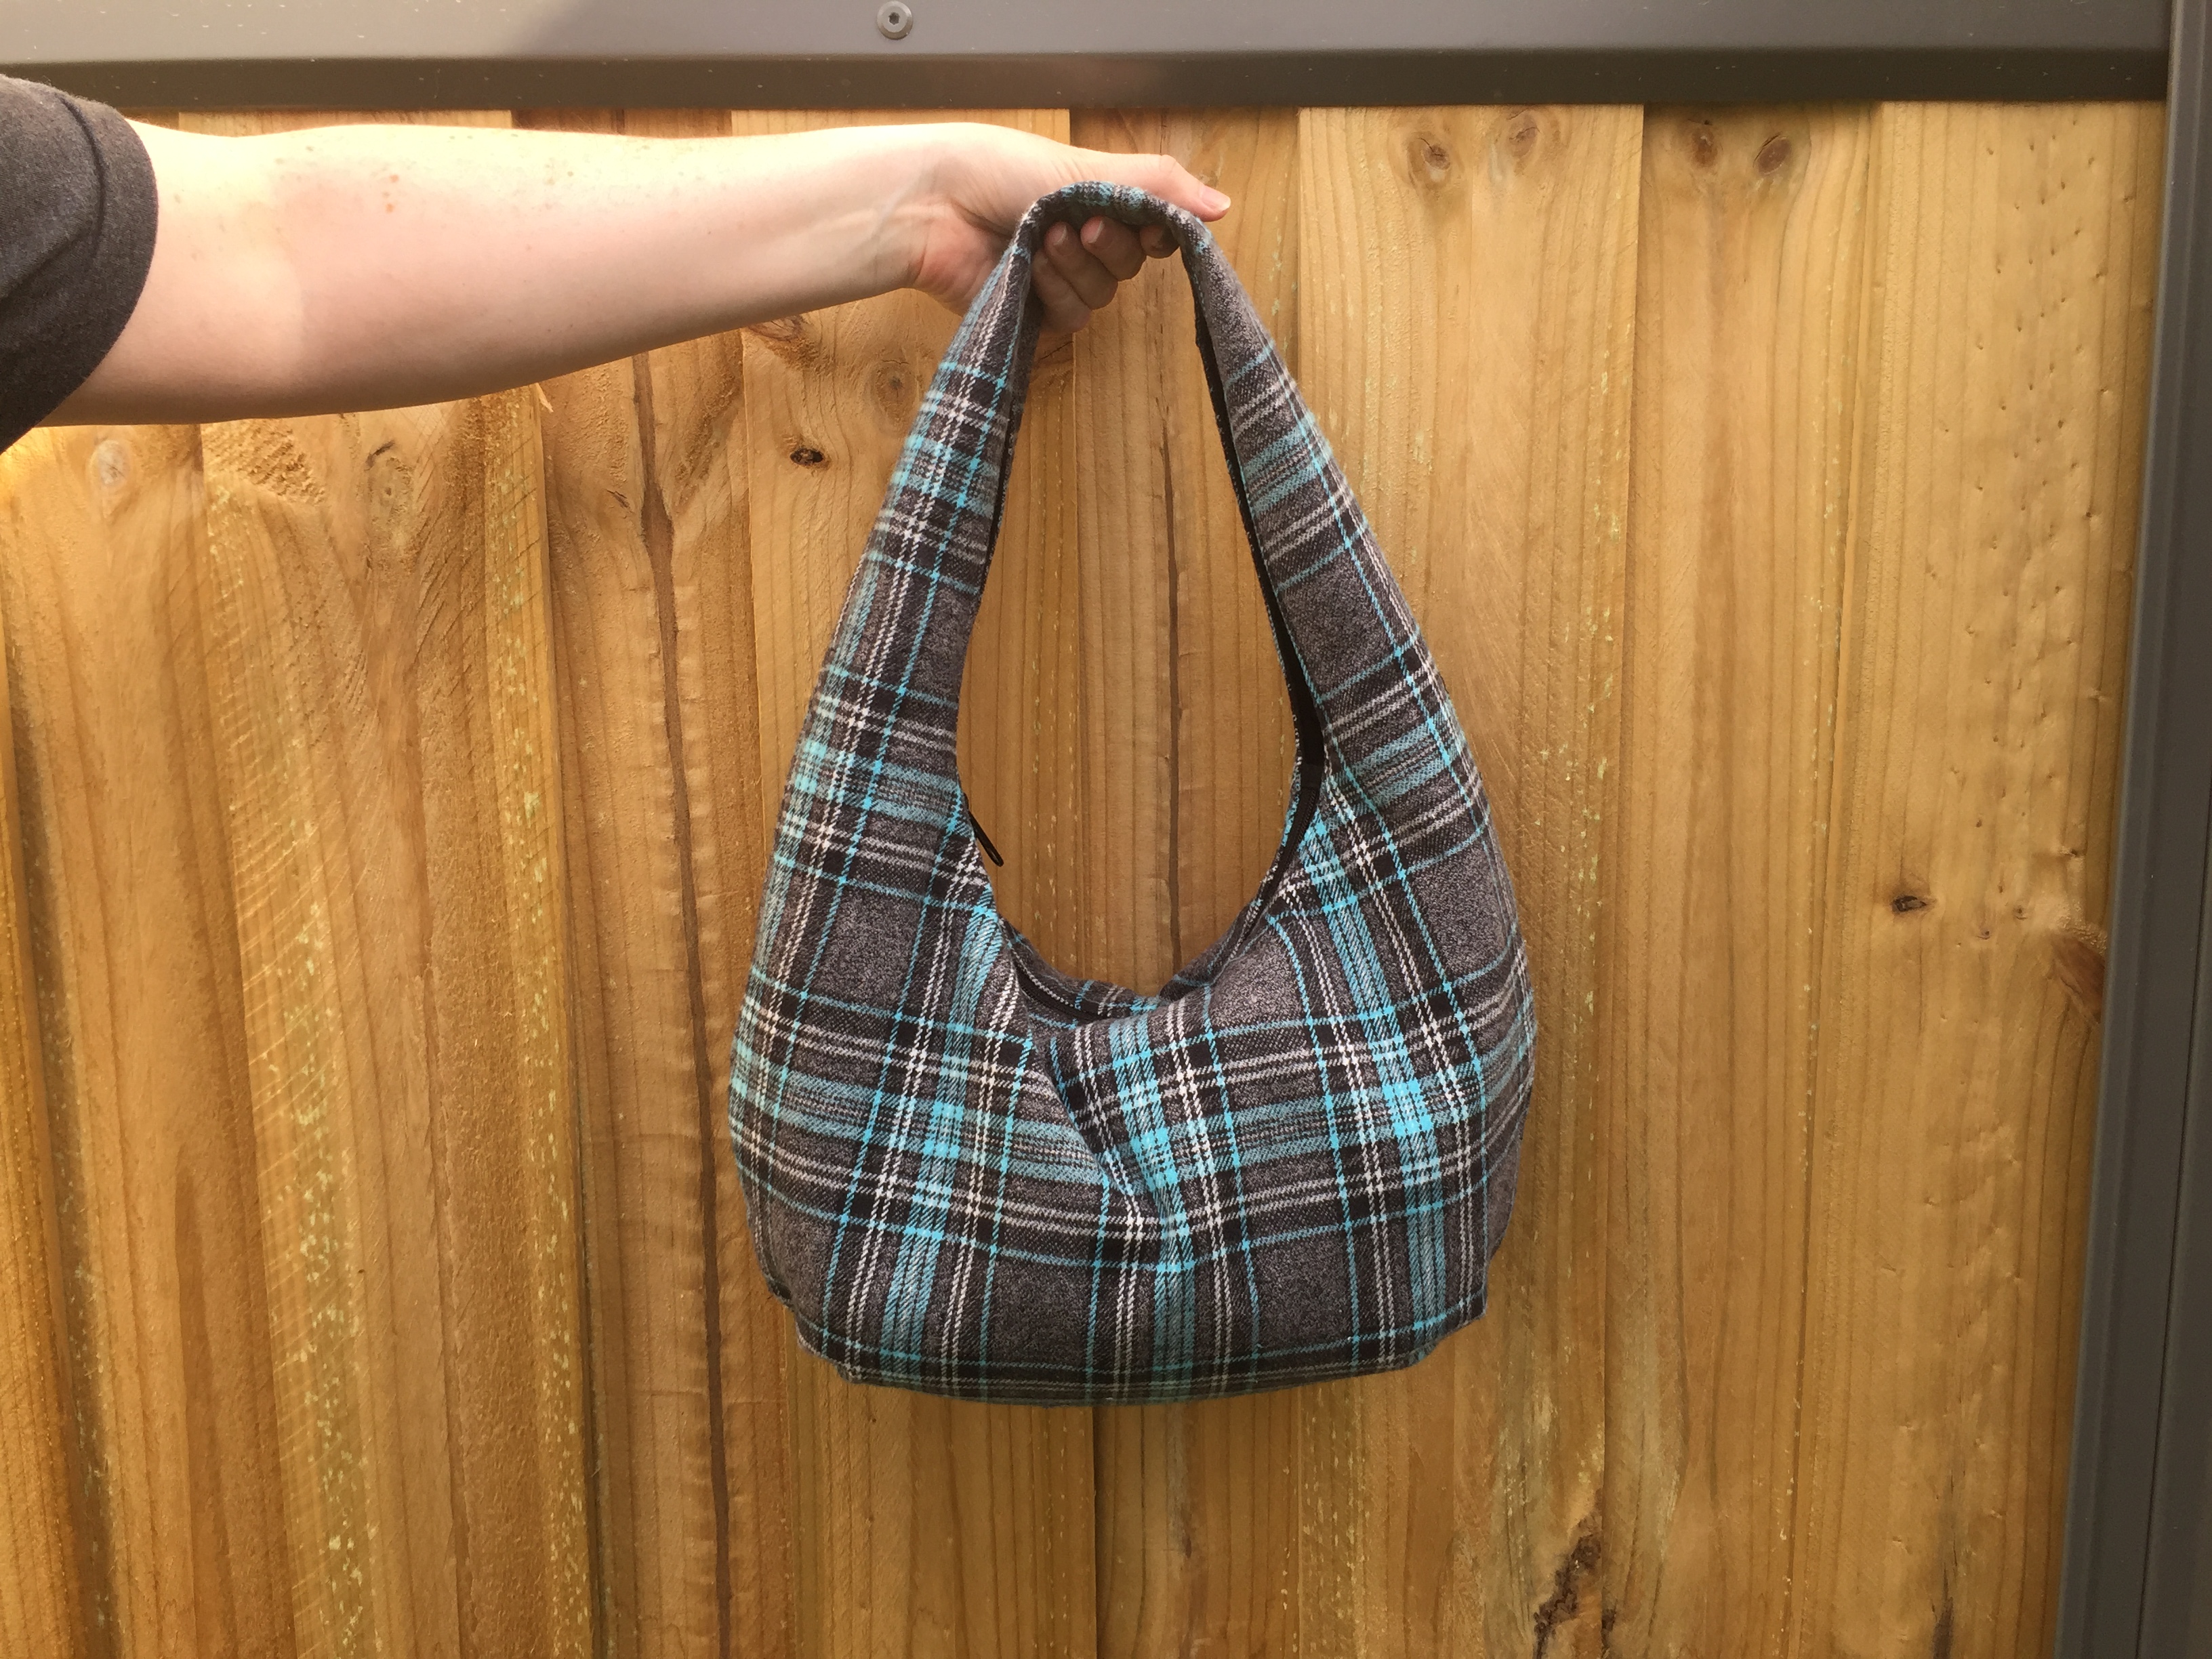
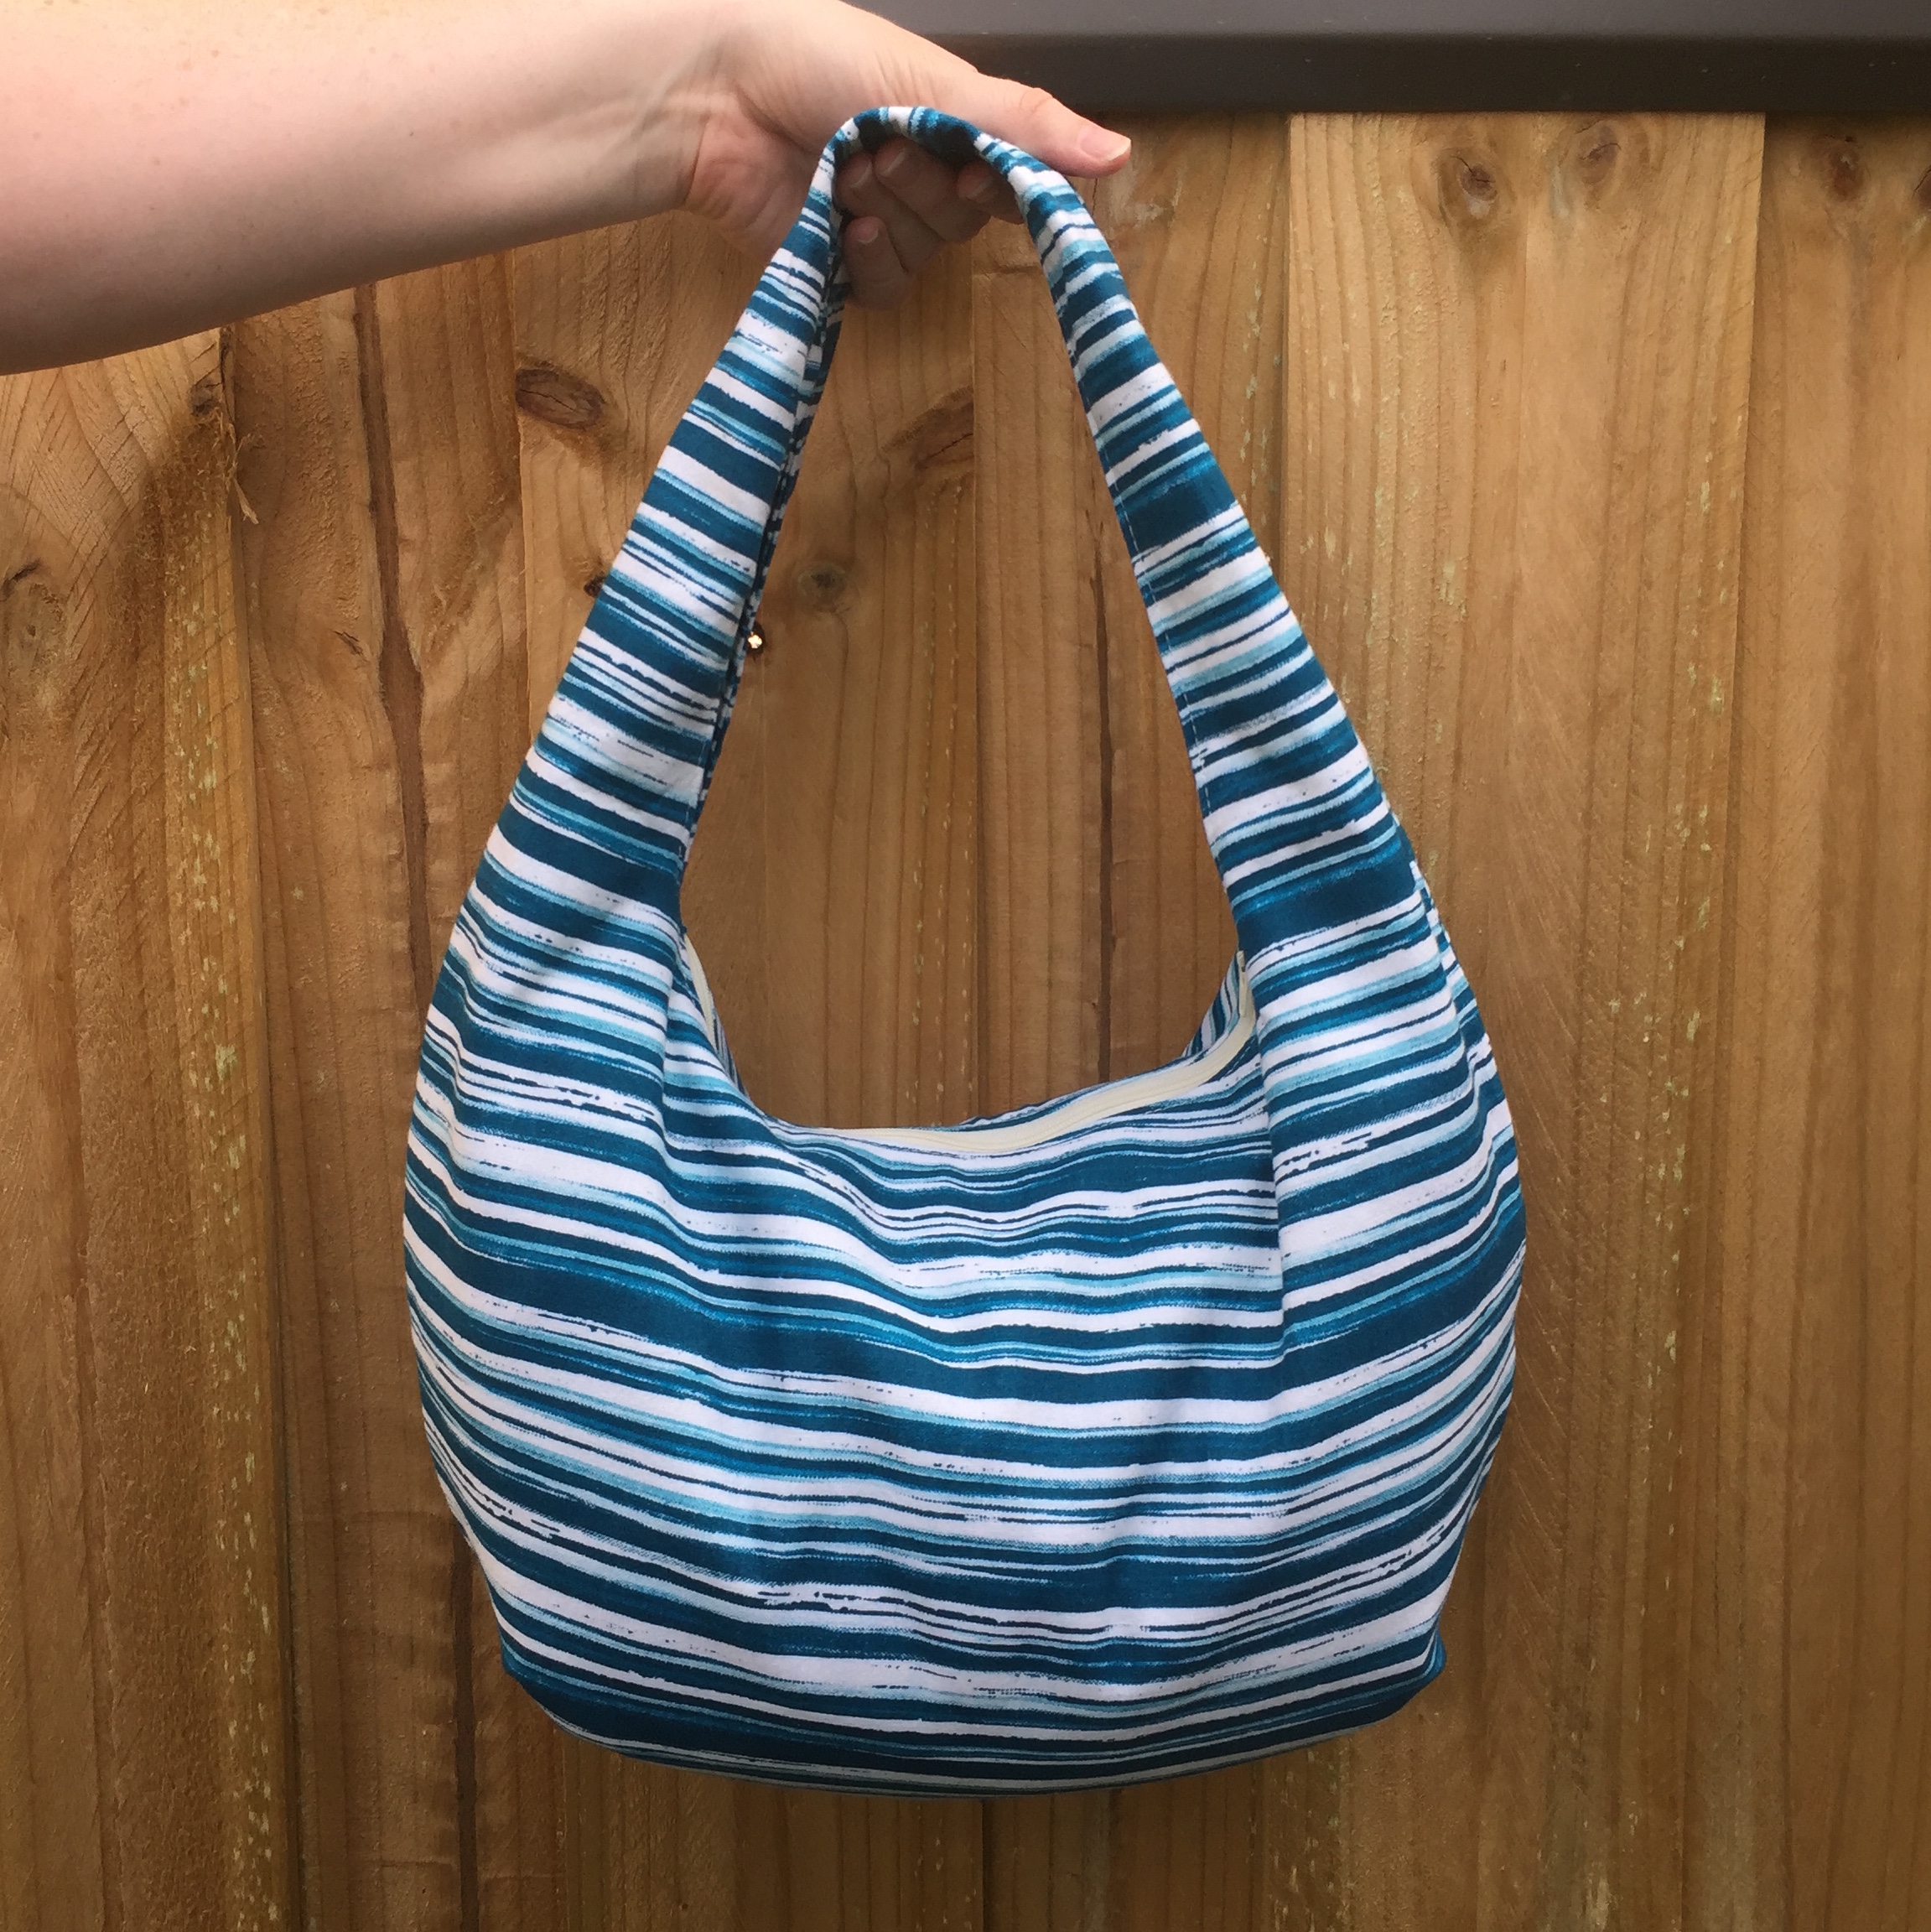
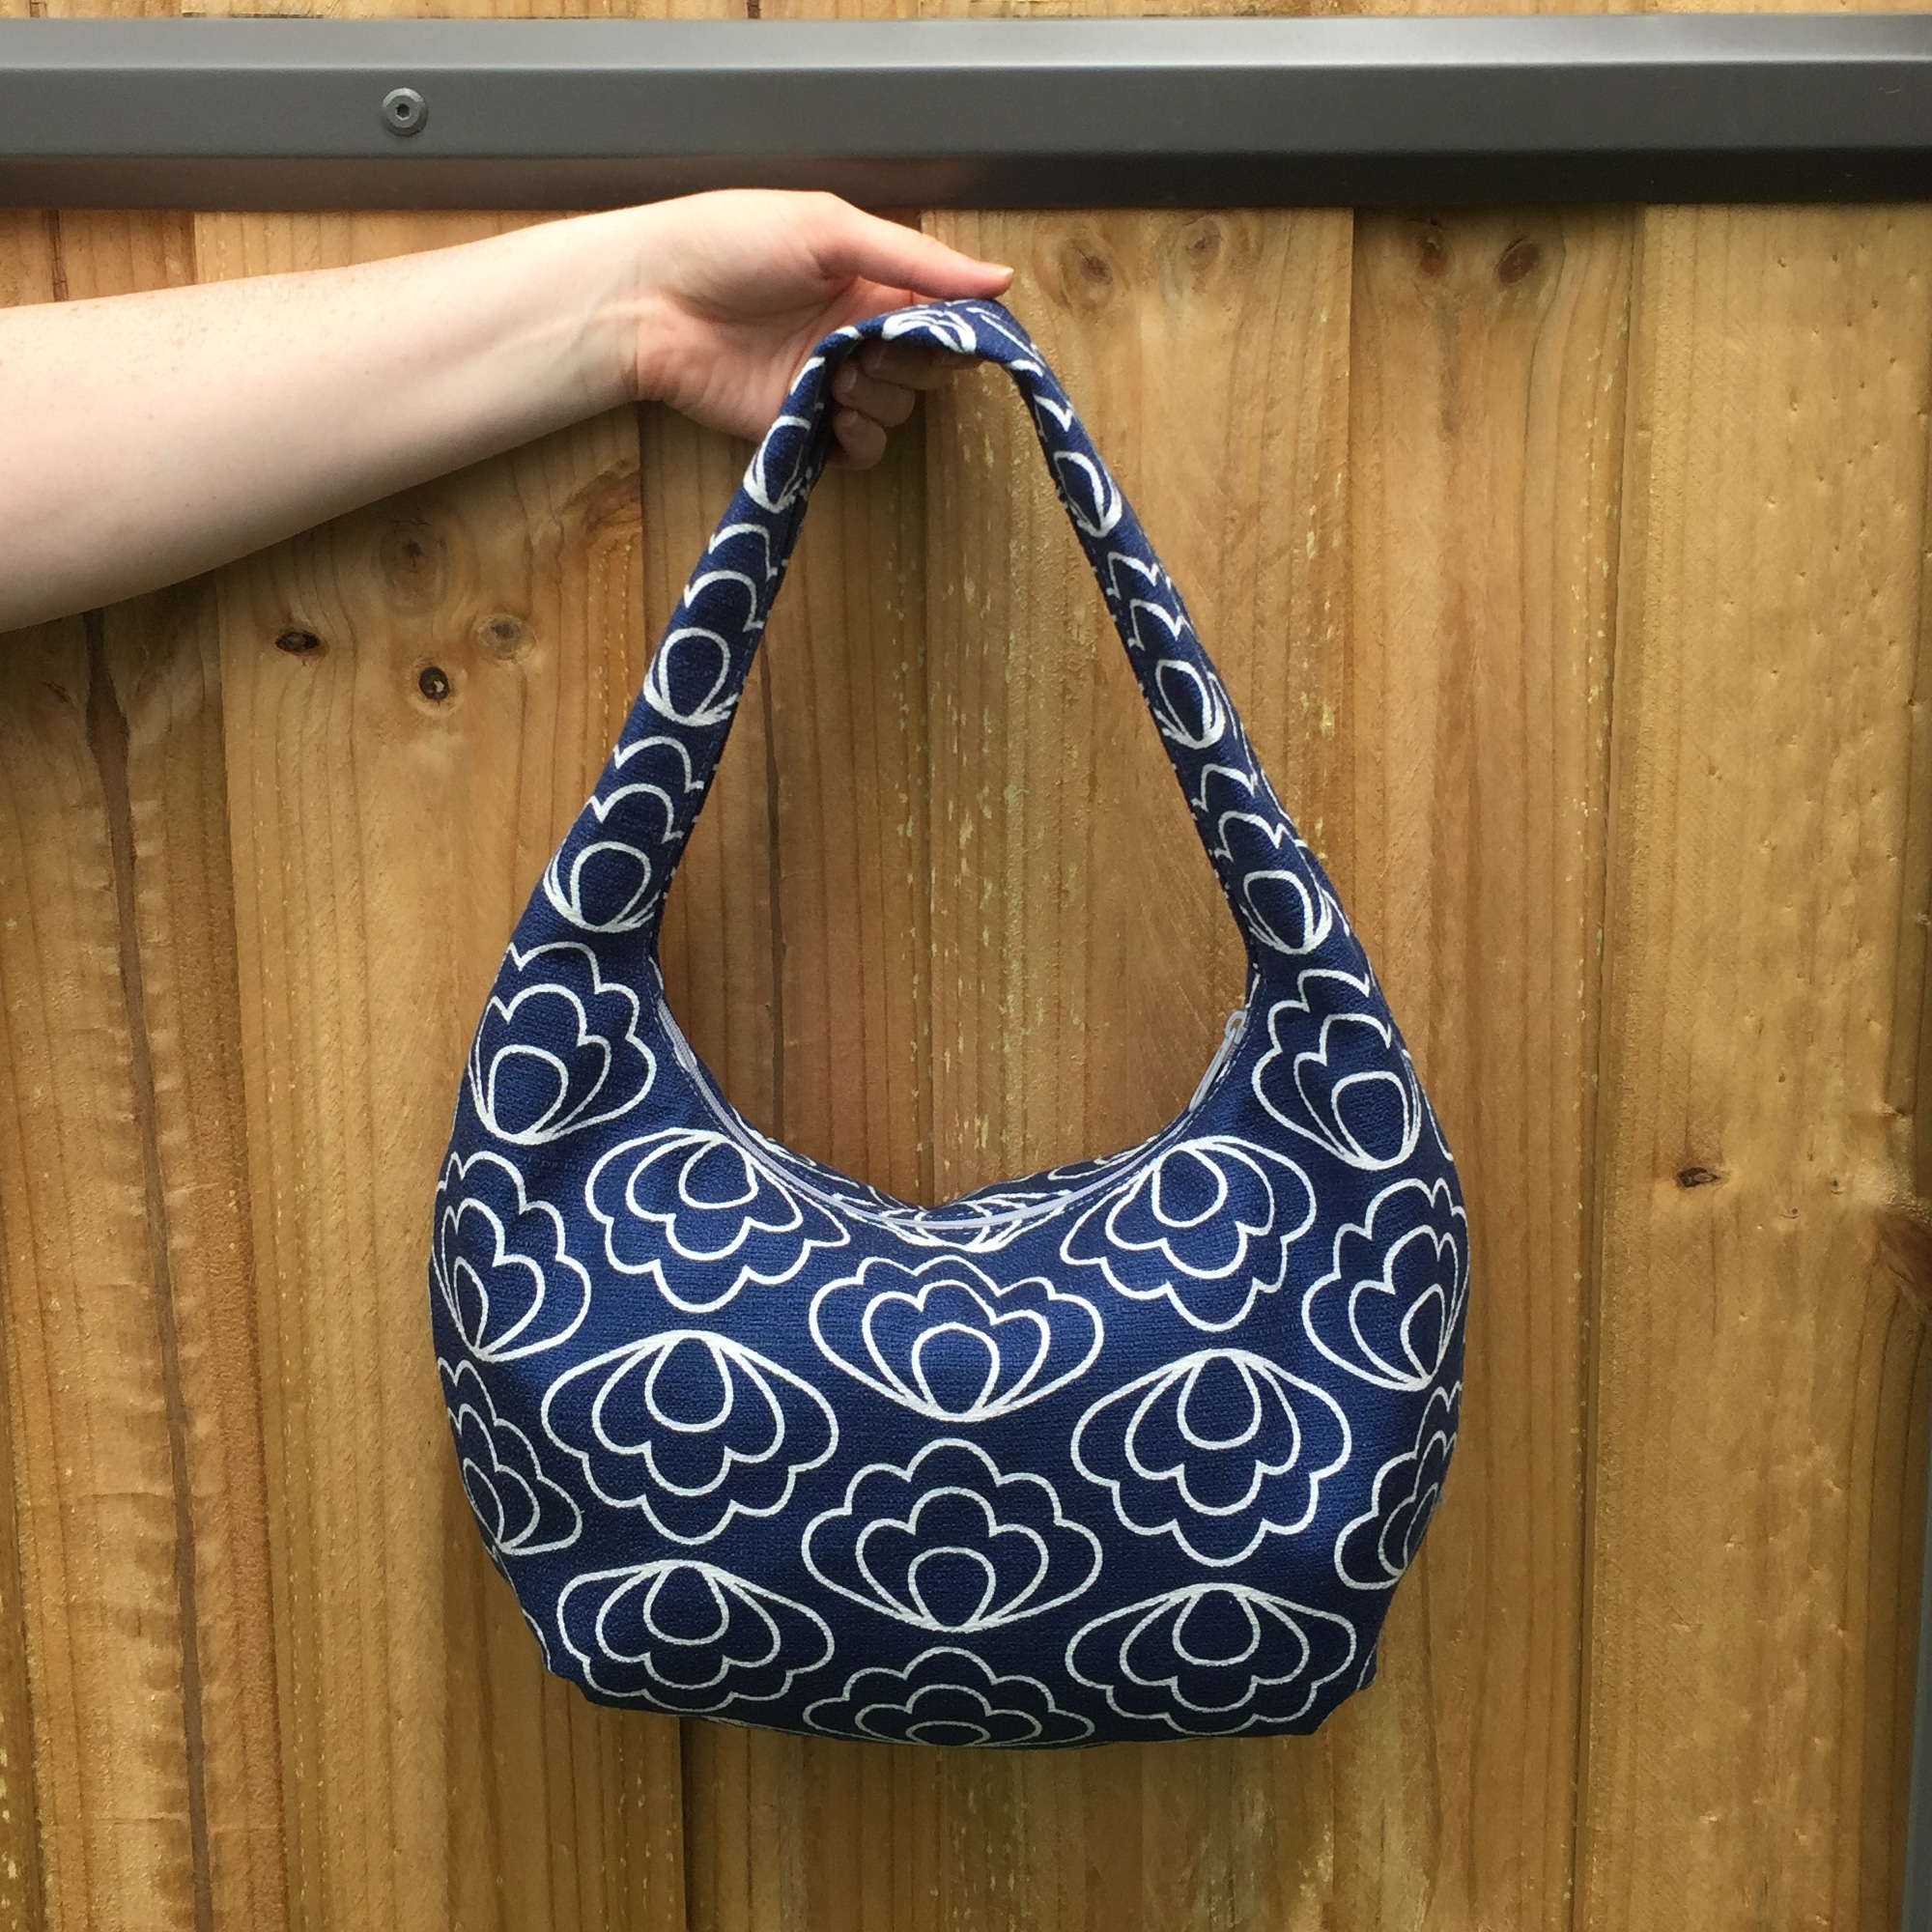
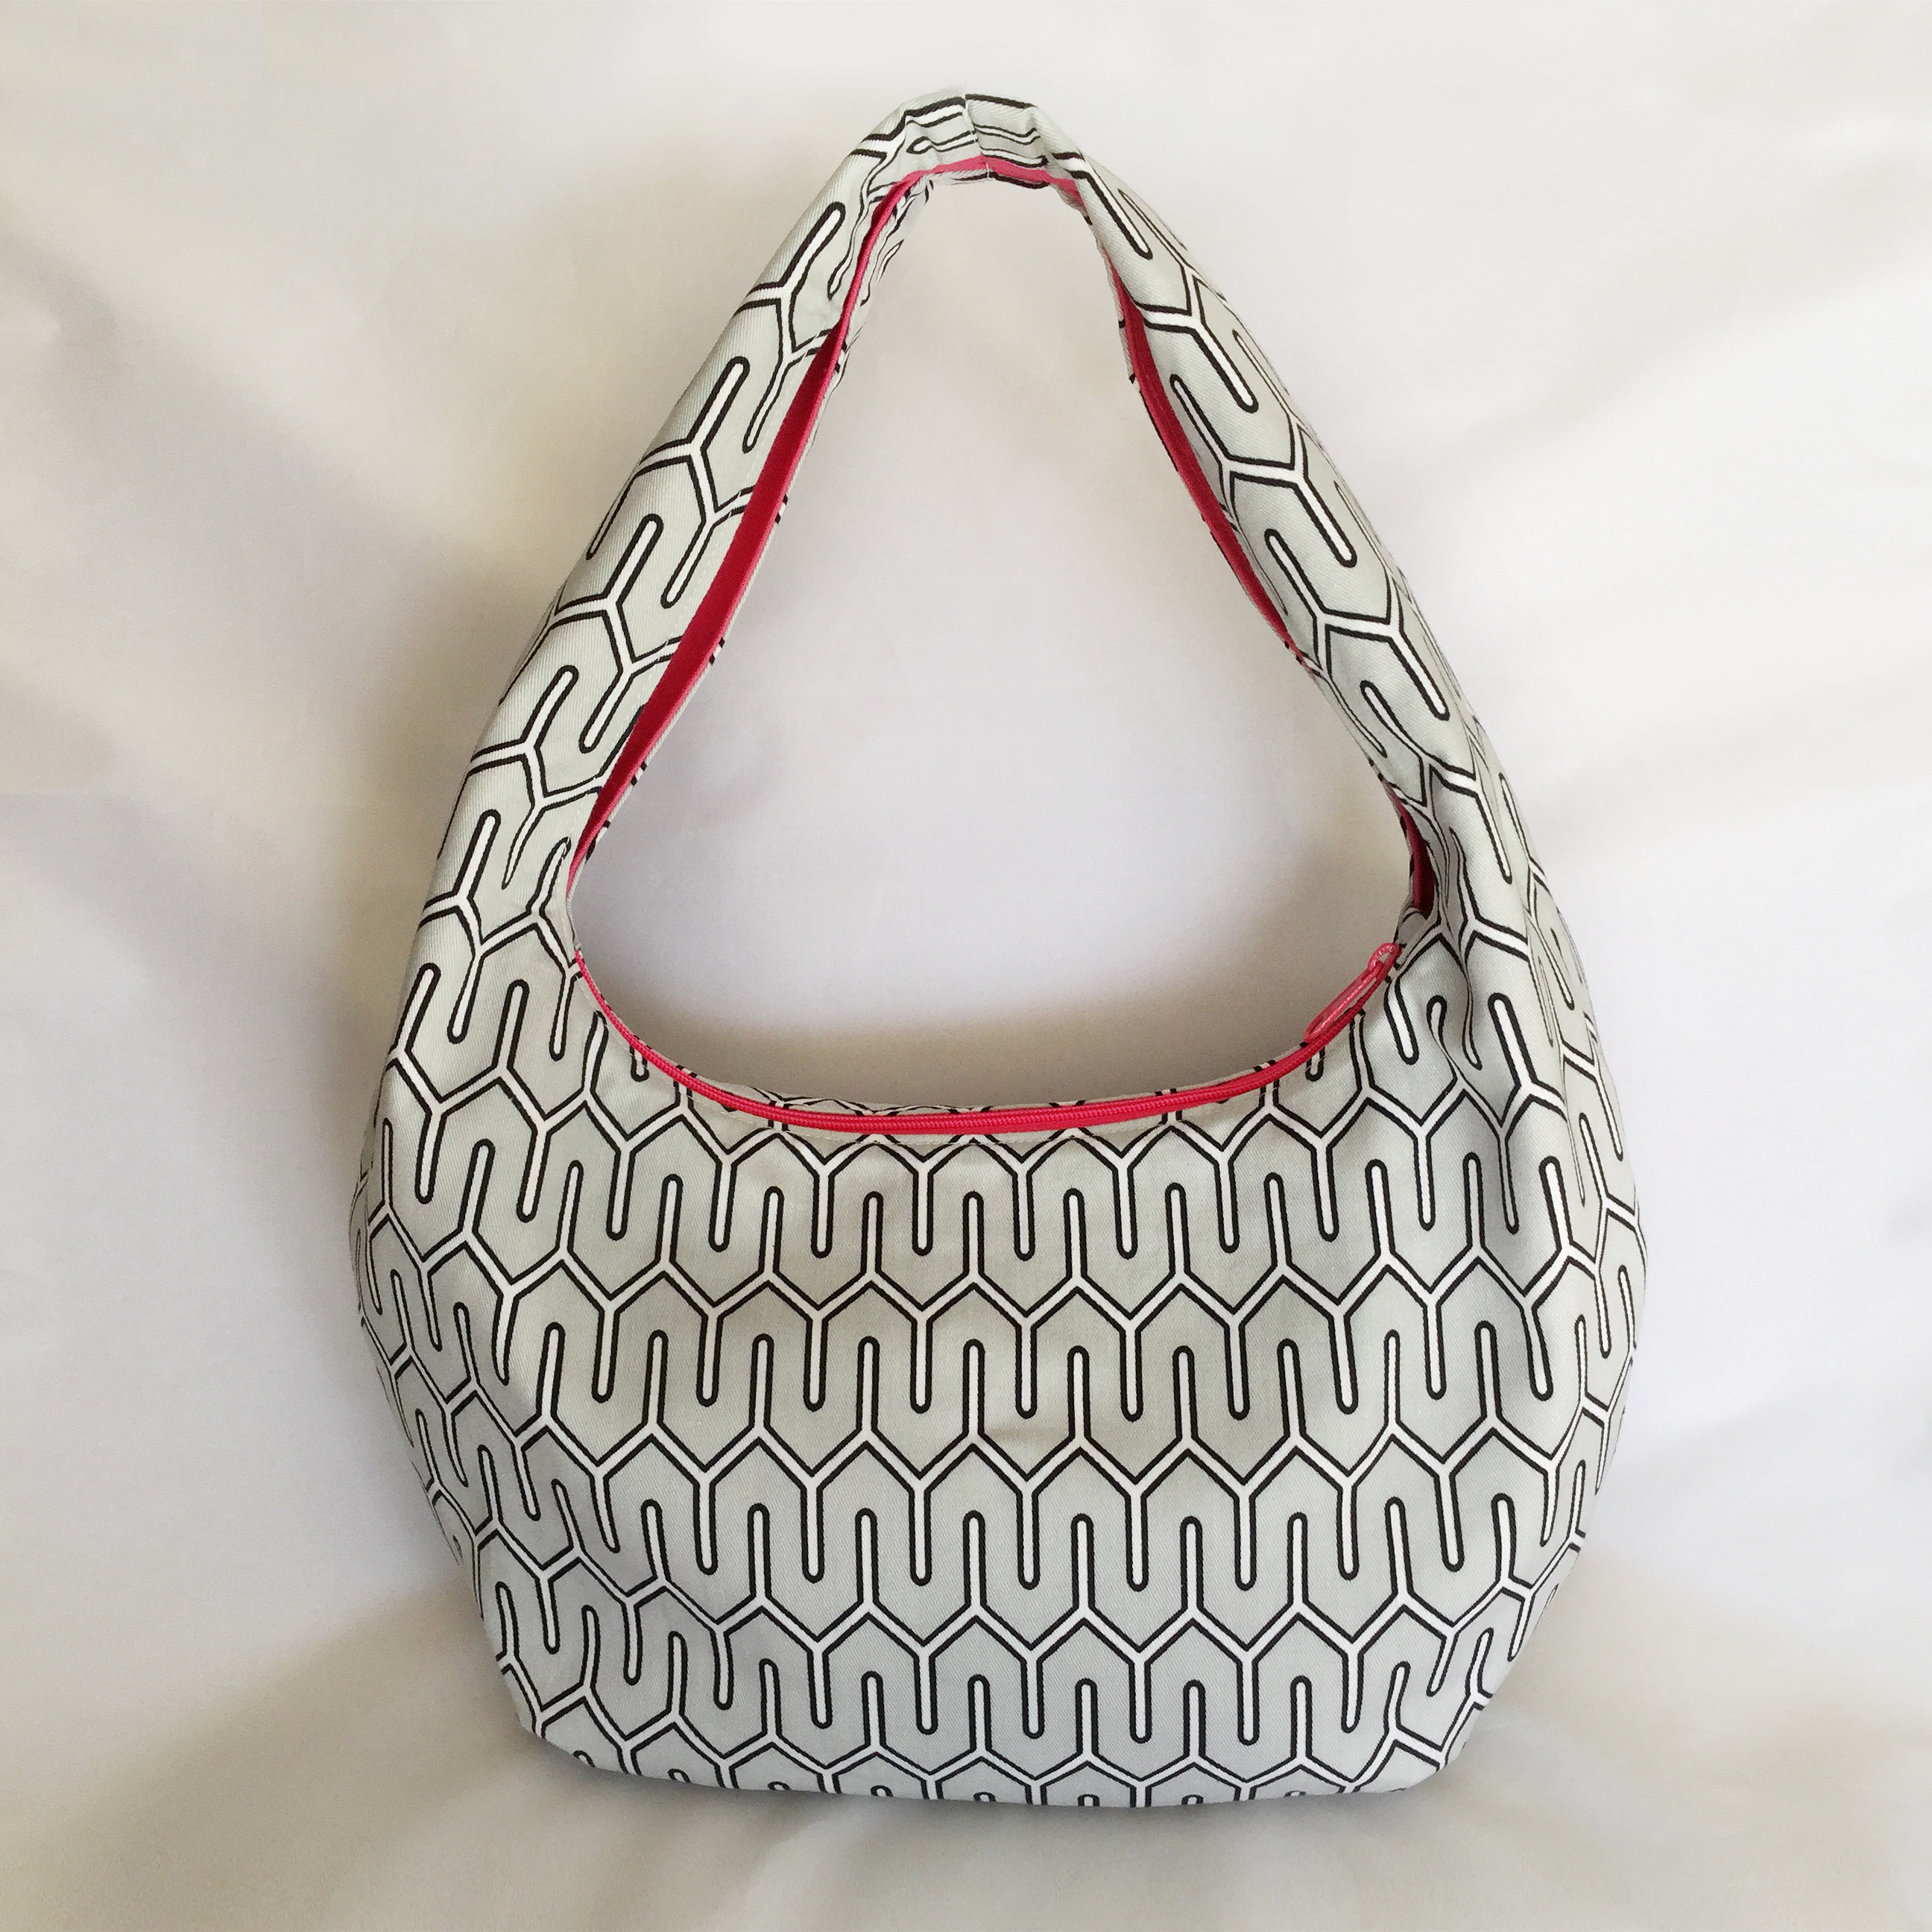
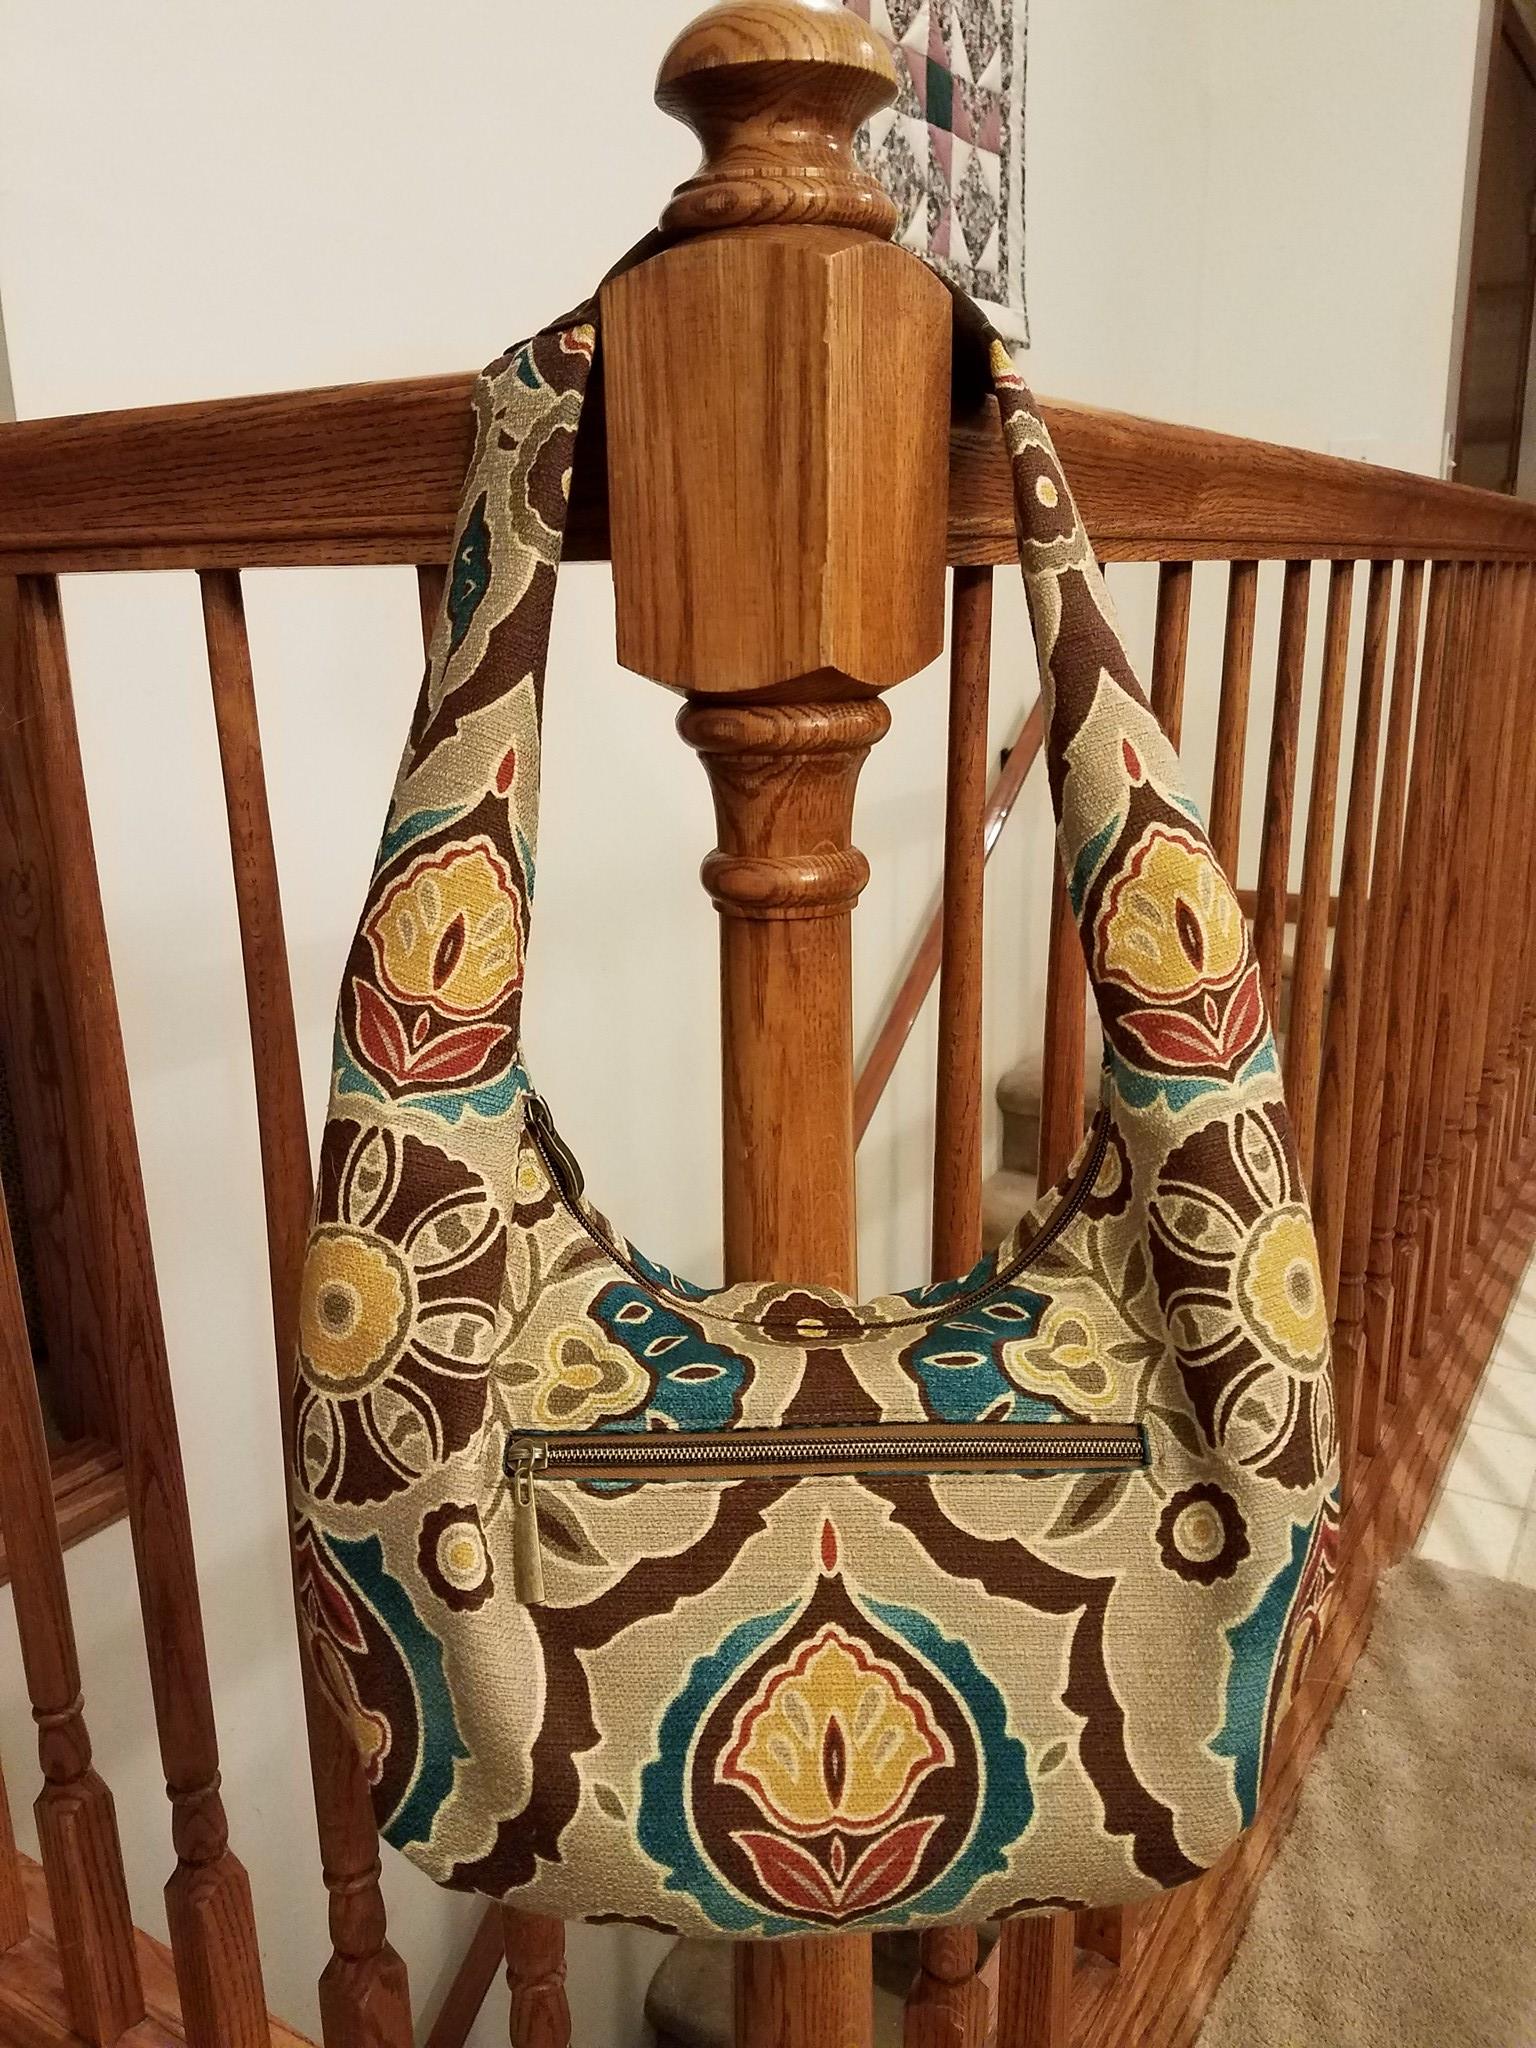
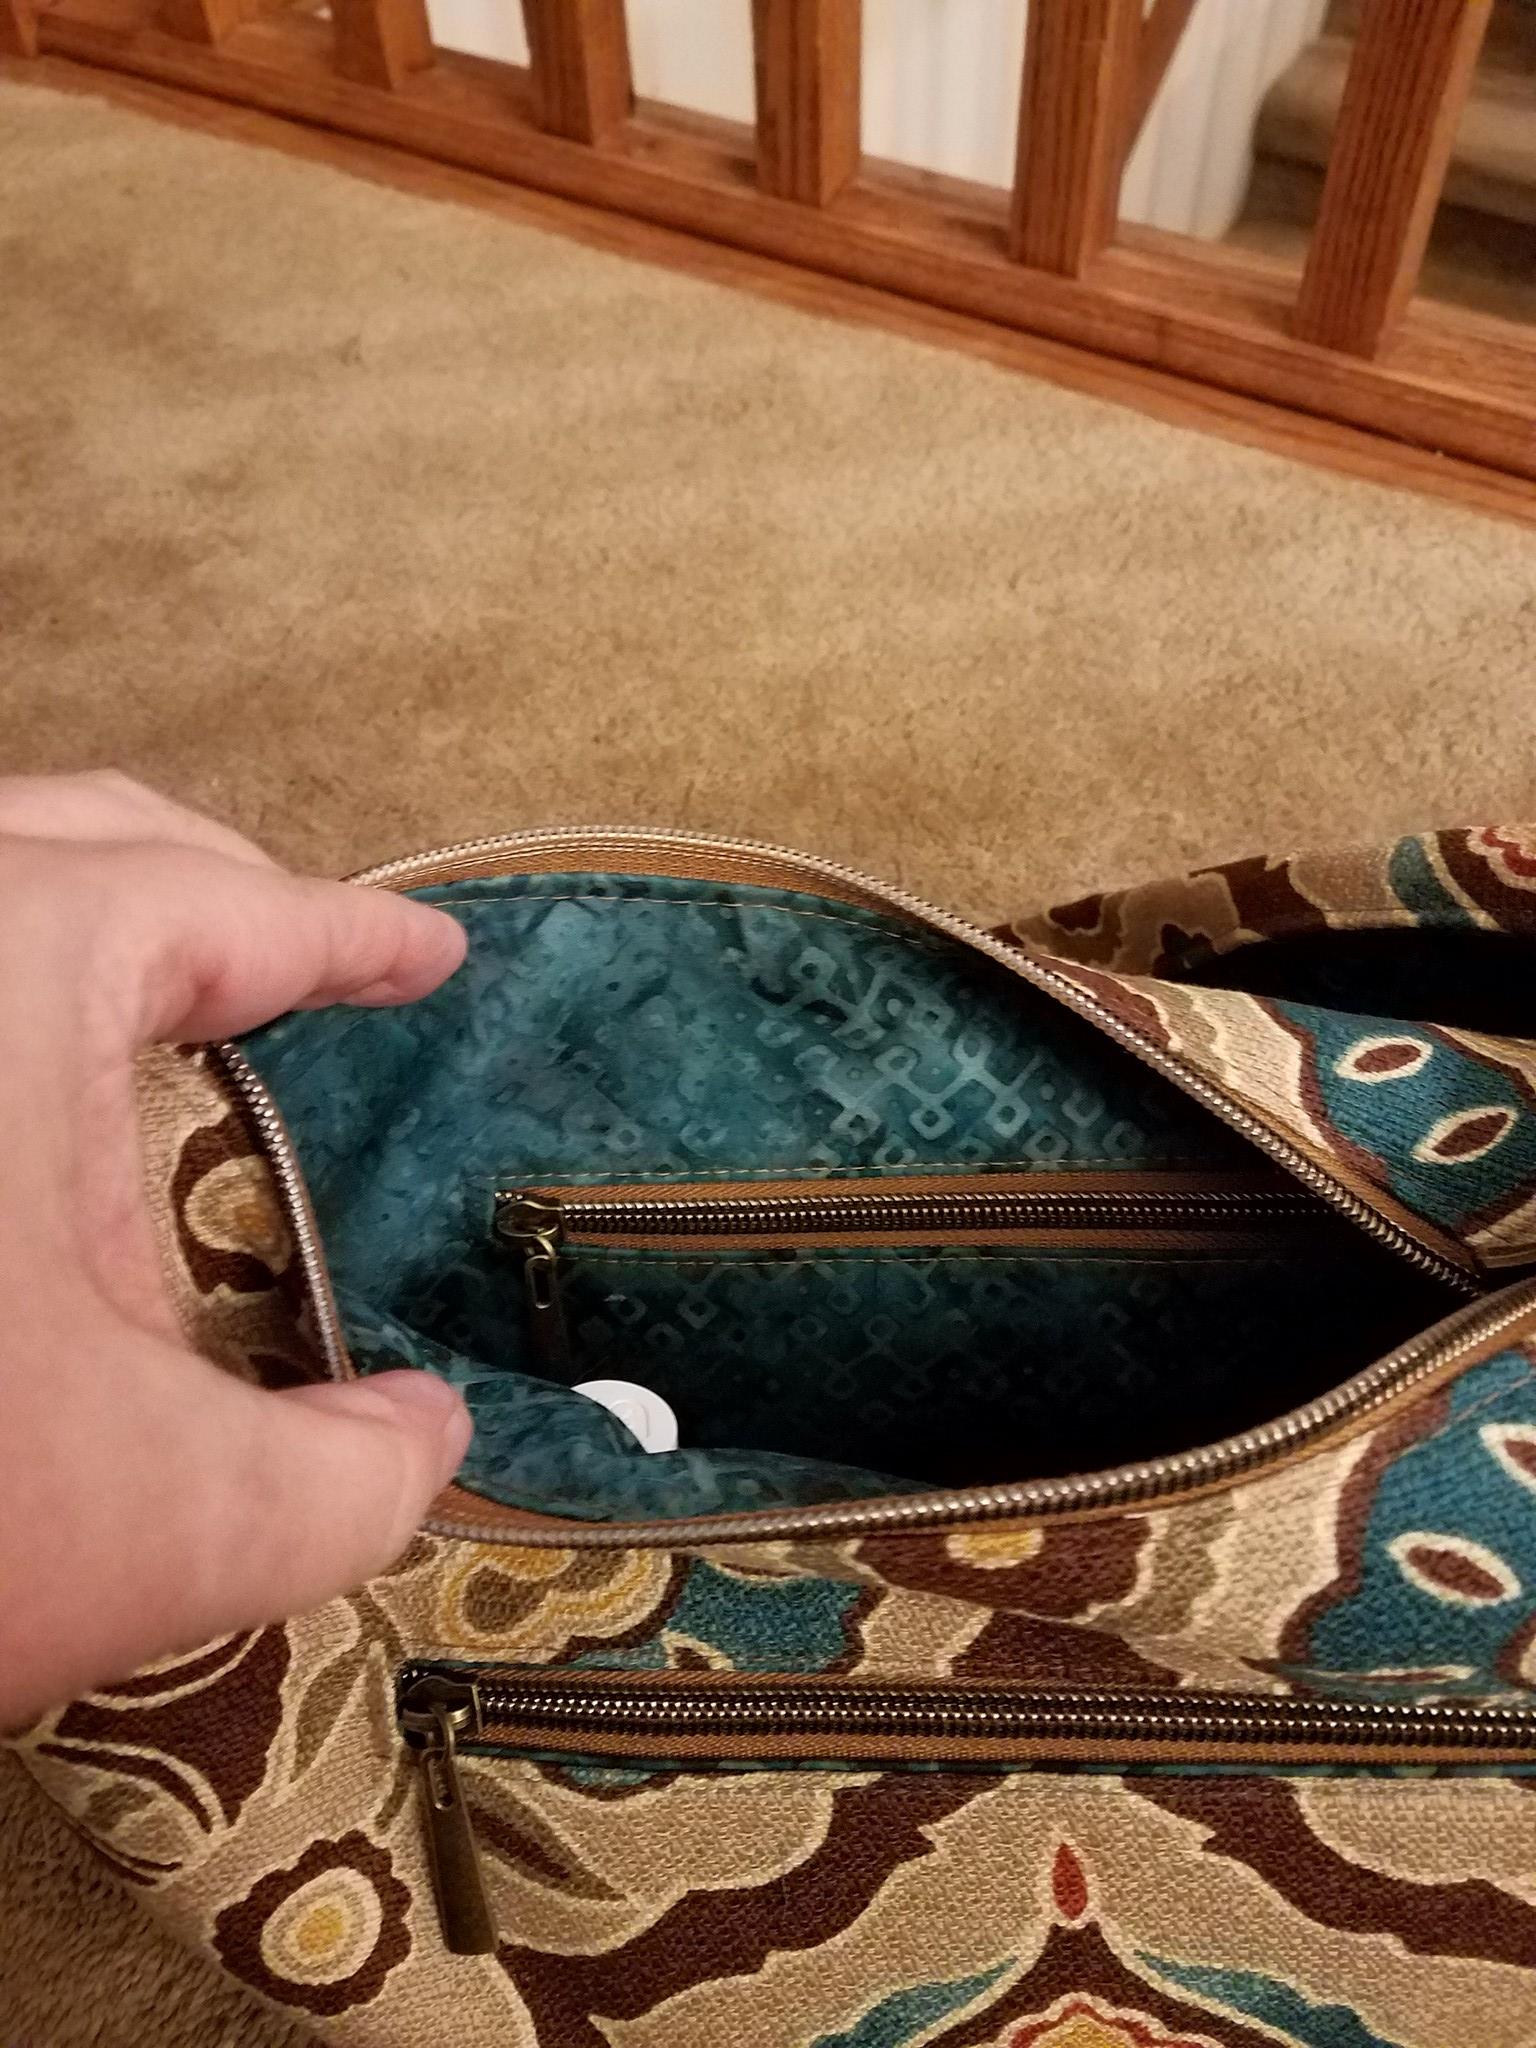
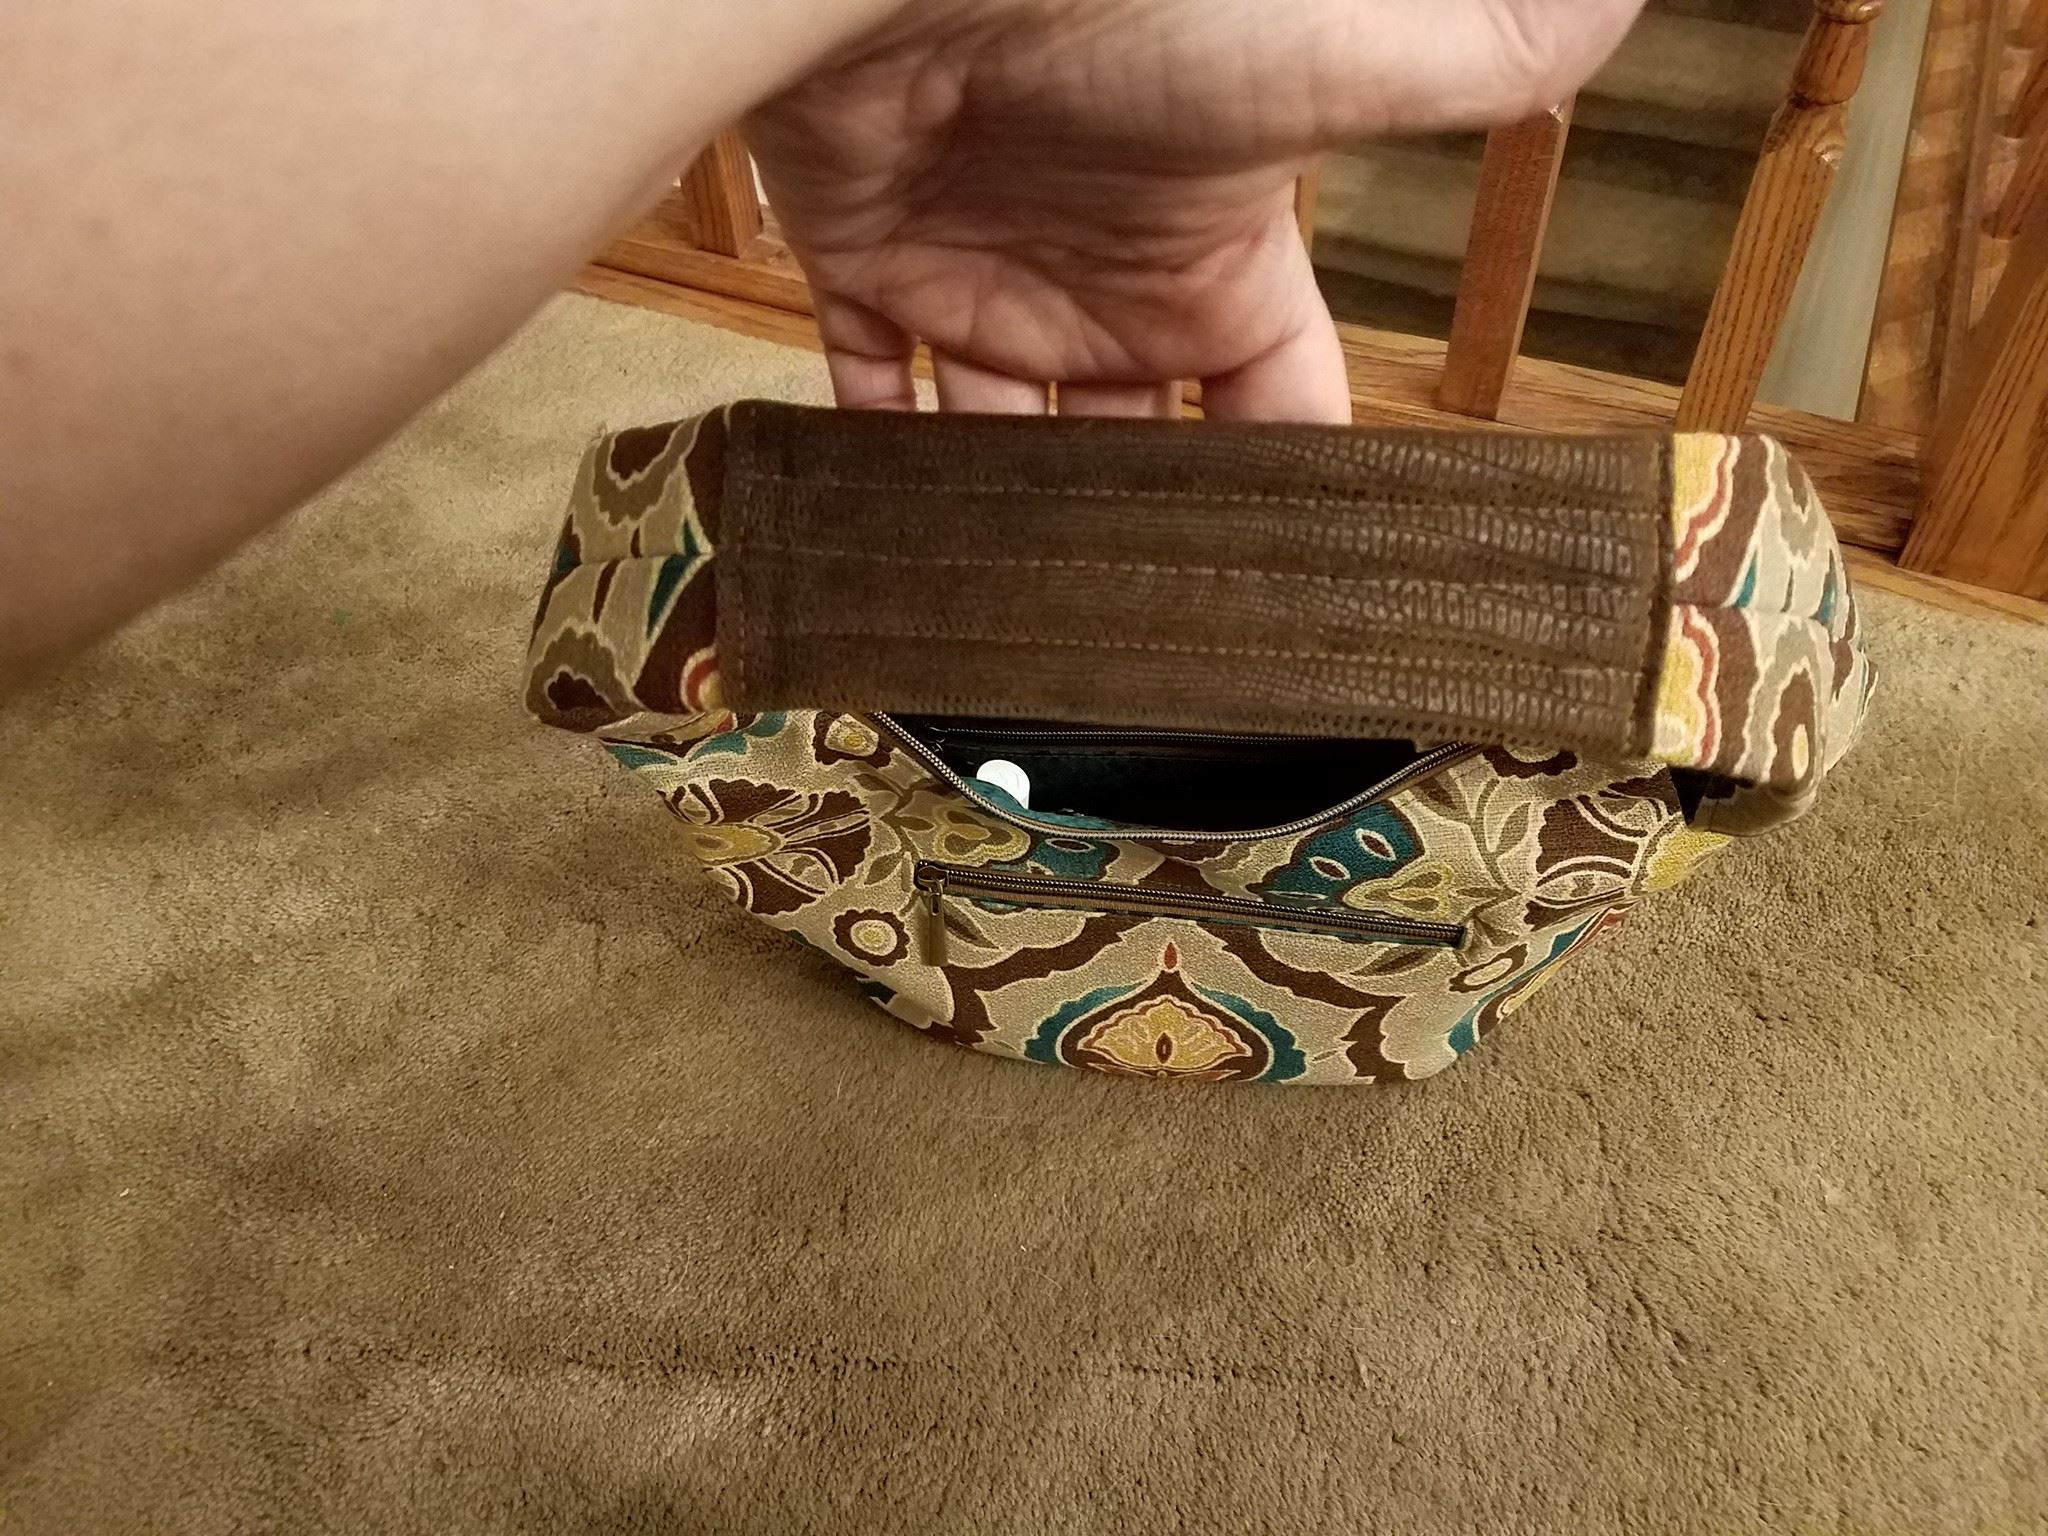
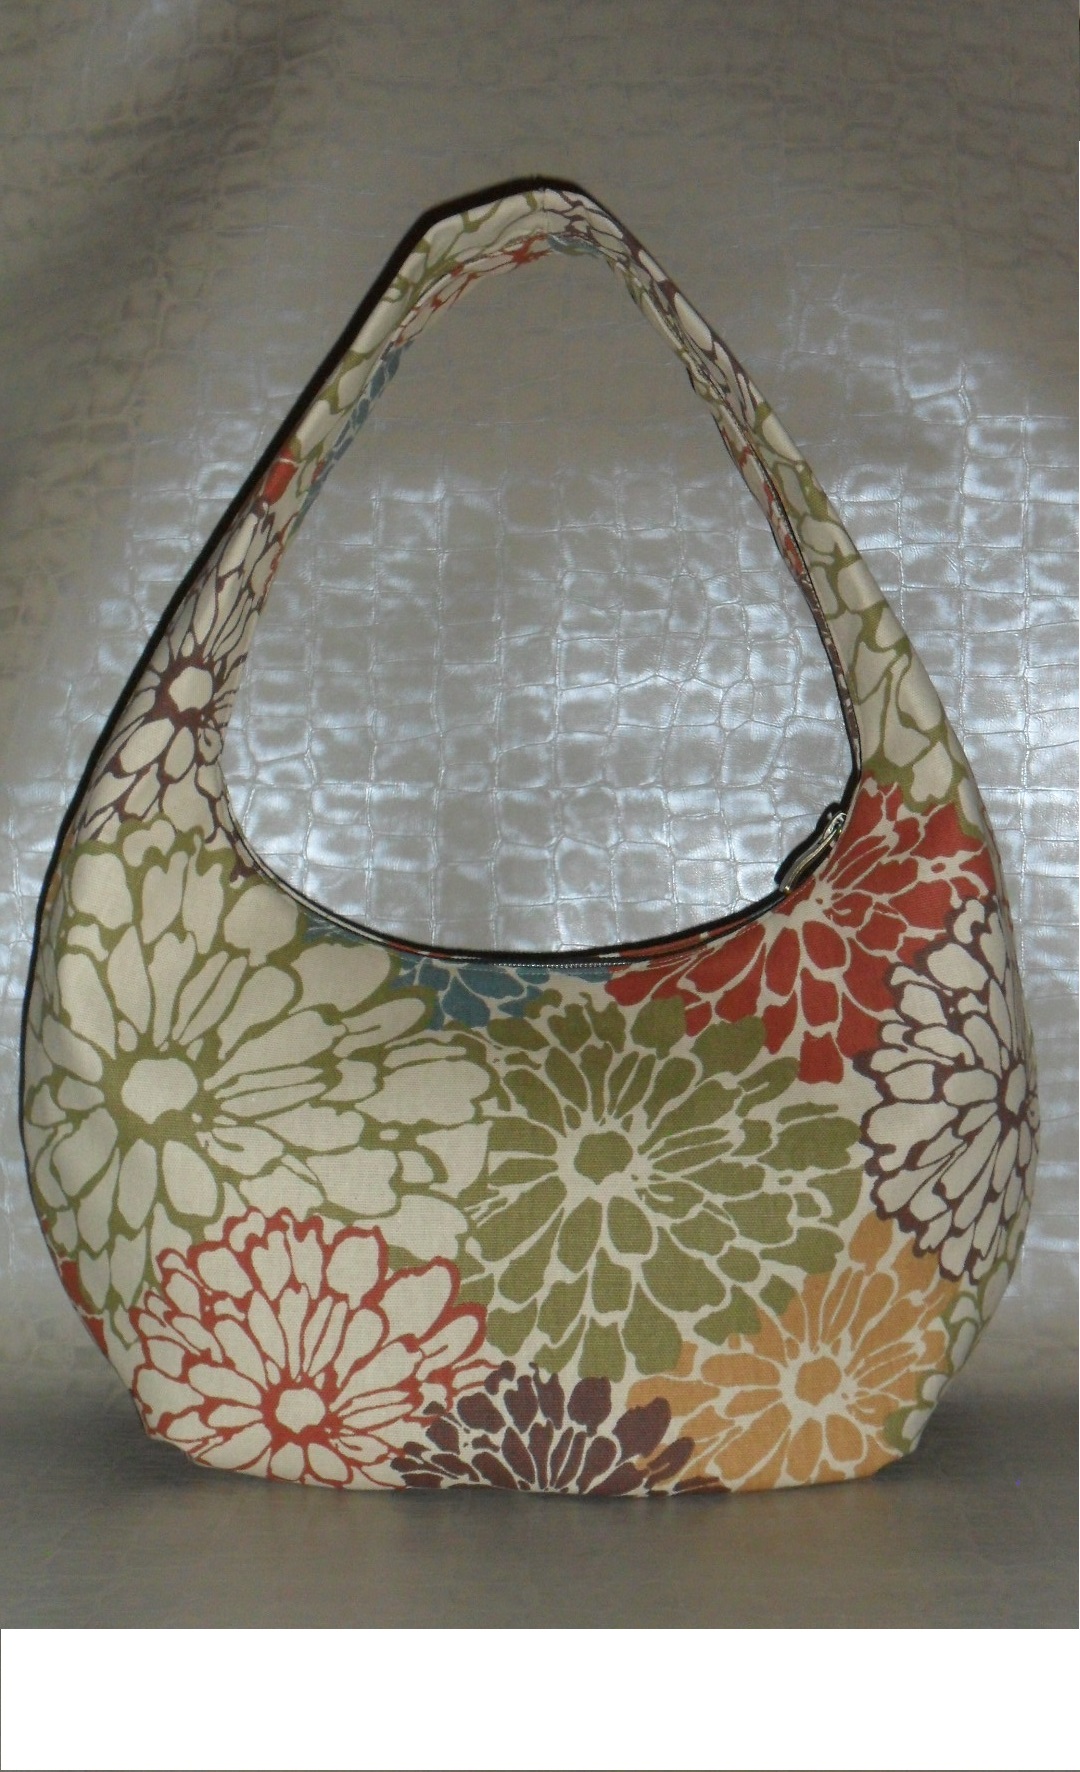
The Roundabout Hobo is a medium-sized, zippered hobo with an integrated handle. It has an internal slip pocket and welt-style zippered pocket with instructions to cleanly install the zip with no raw edges (including hiding the edges of the zipper tape!) It tucks up just under your arm and gets most of its structure from simple pleats on the bottom. The best part is that it doesn’t have multiple layers of stabilizers to cut and sew. (Living in Australia has made me consider my materials carefully, as things like stabilizer, hardware, even fabric can be quite expensive to order and take ages to arrive in the mail.)

This pattern came about in a roundabout way (ha ha) … I have had this idea in my head forever. Unstructured sling bags have always been popular, but generally just have a button closure. Hobo bags are everywhere right now, but they can be so shallow that without a zipper I worry everything would fall out. Anyway, I was out shopping with my friend in Door County years ago, and I saw a cute little handbag that had an integrated strap kind of like this. Even though I was only just starting to sew at the time, I checked the stitching on the inside and found no lining, all raw/overlocked edges, no pocket… and it was too small to fit on my shoulder so it wasn’t very practical, either. We moved on to the next shop but I never forgot about the folded strap.


Prototype Fails
First try!
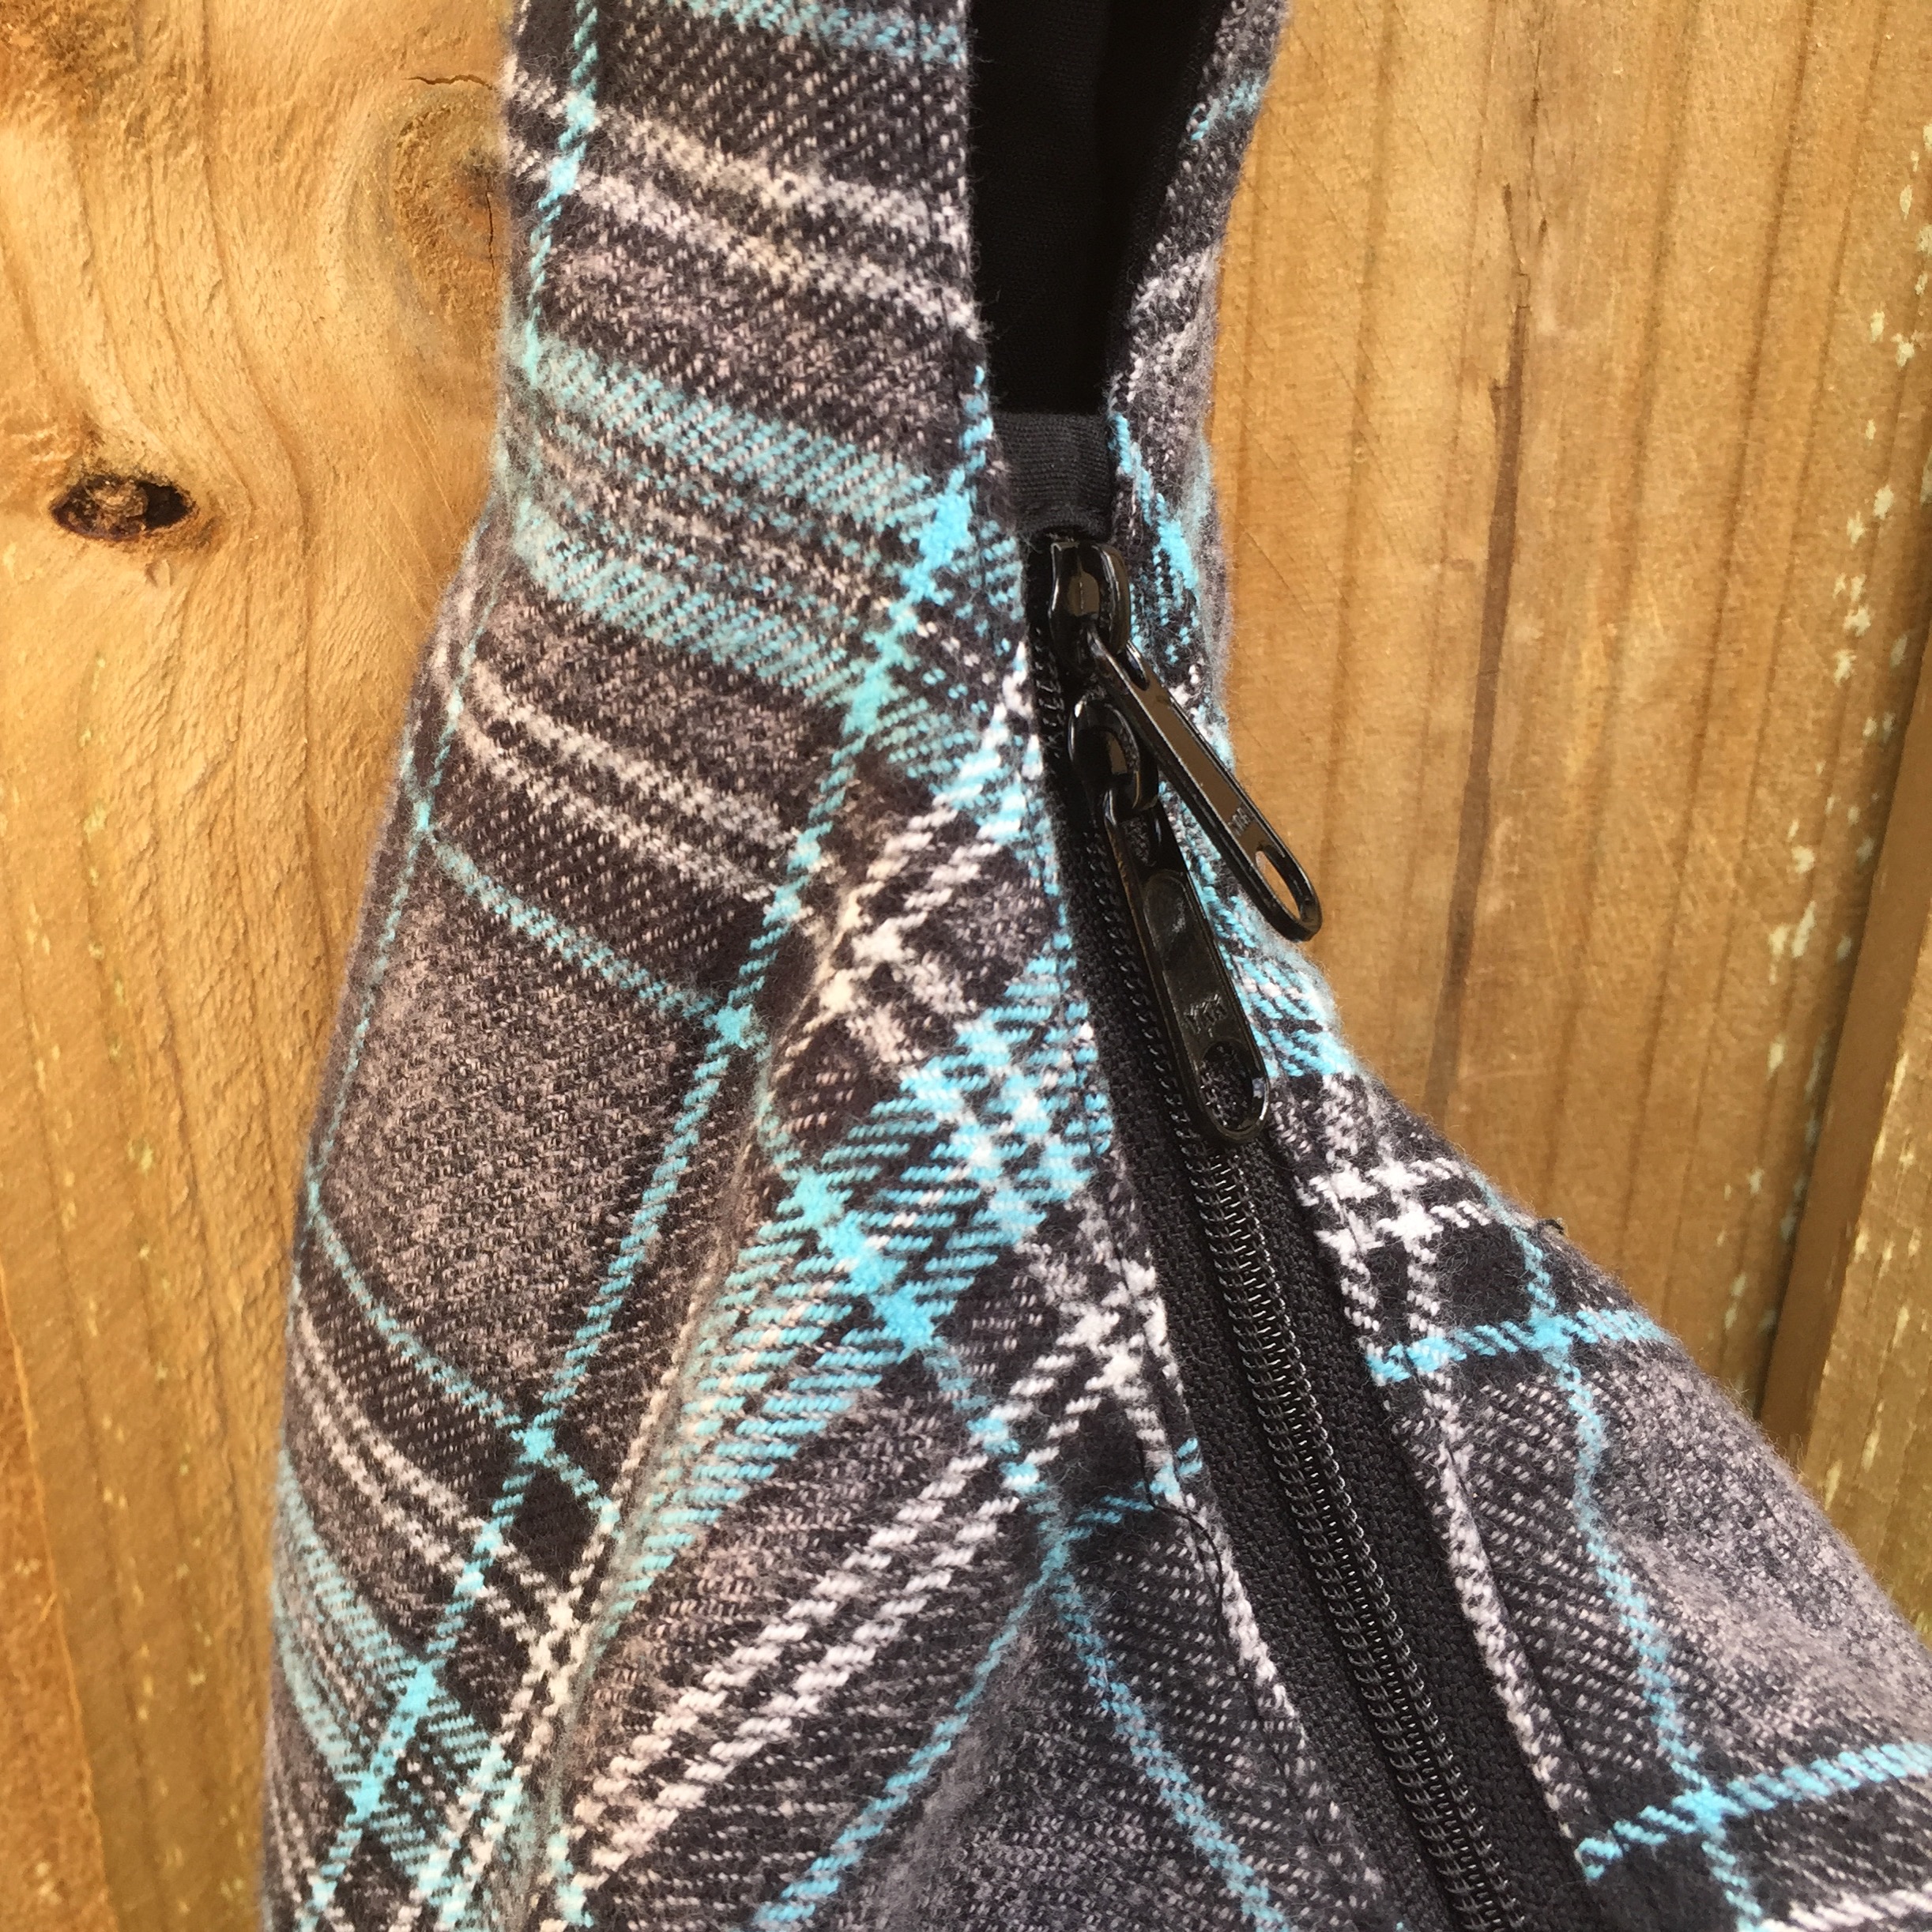
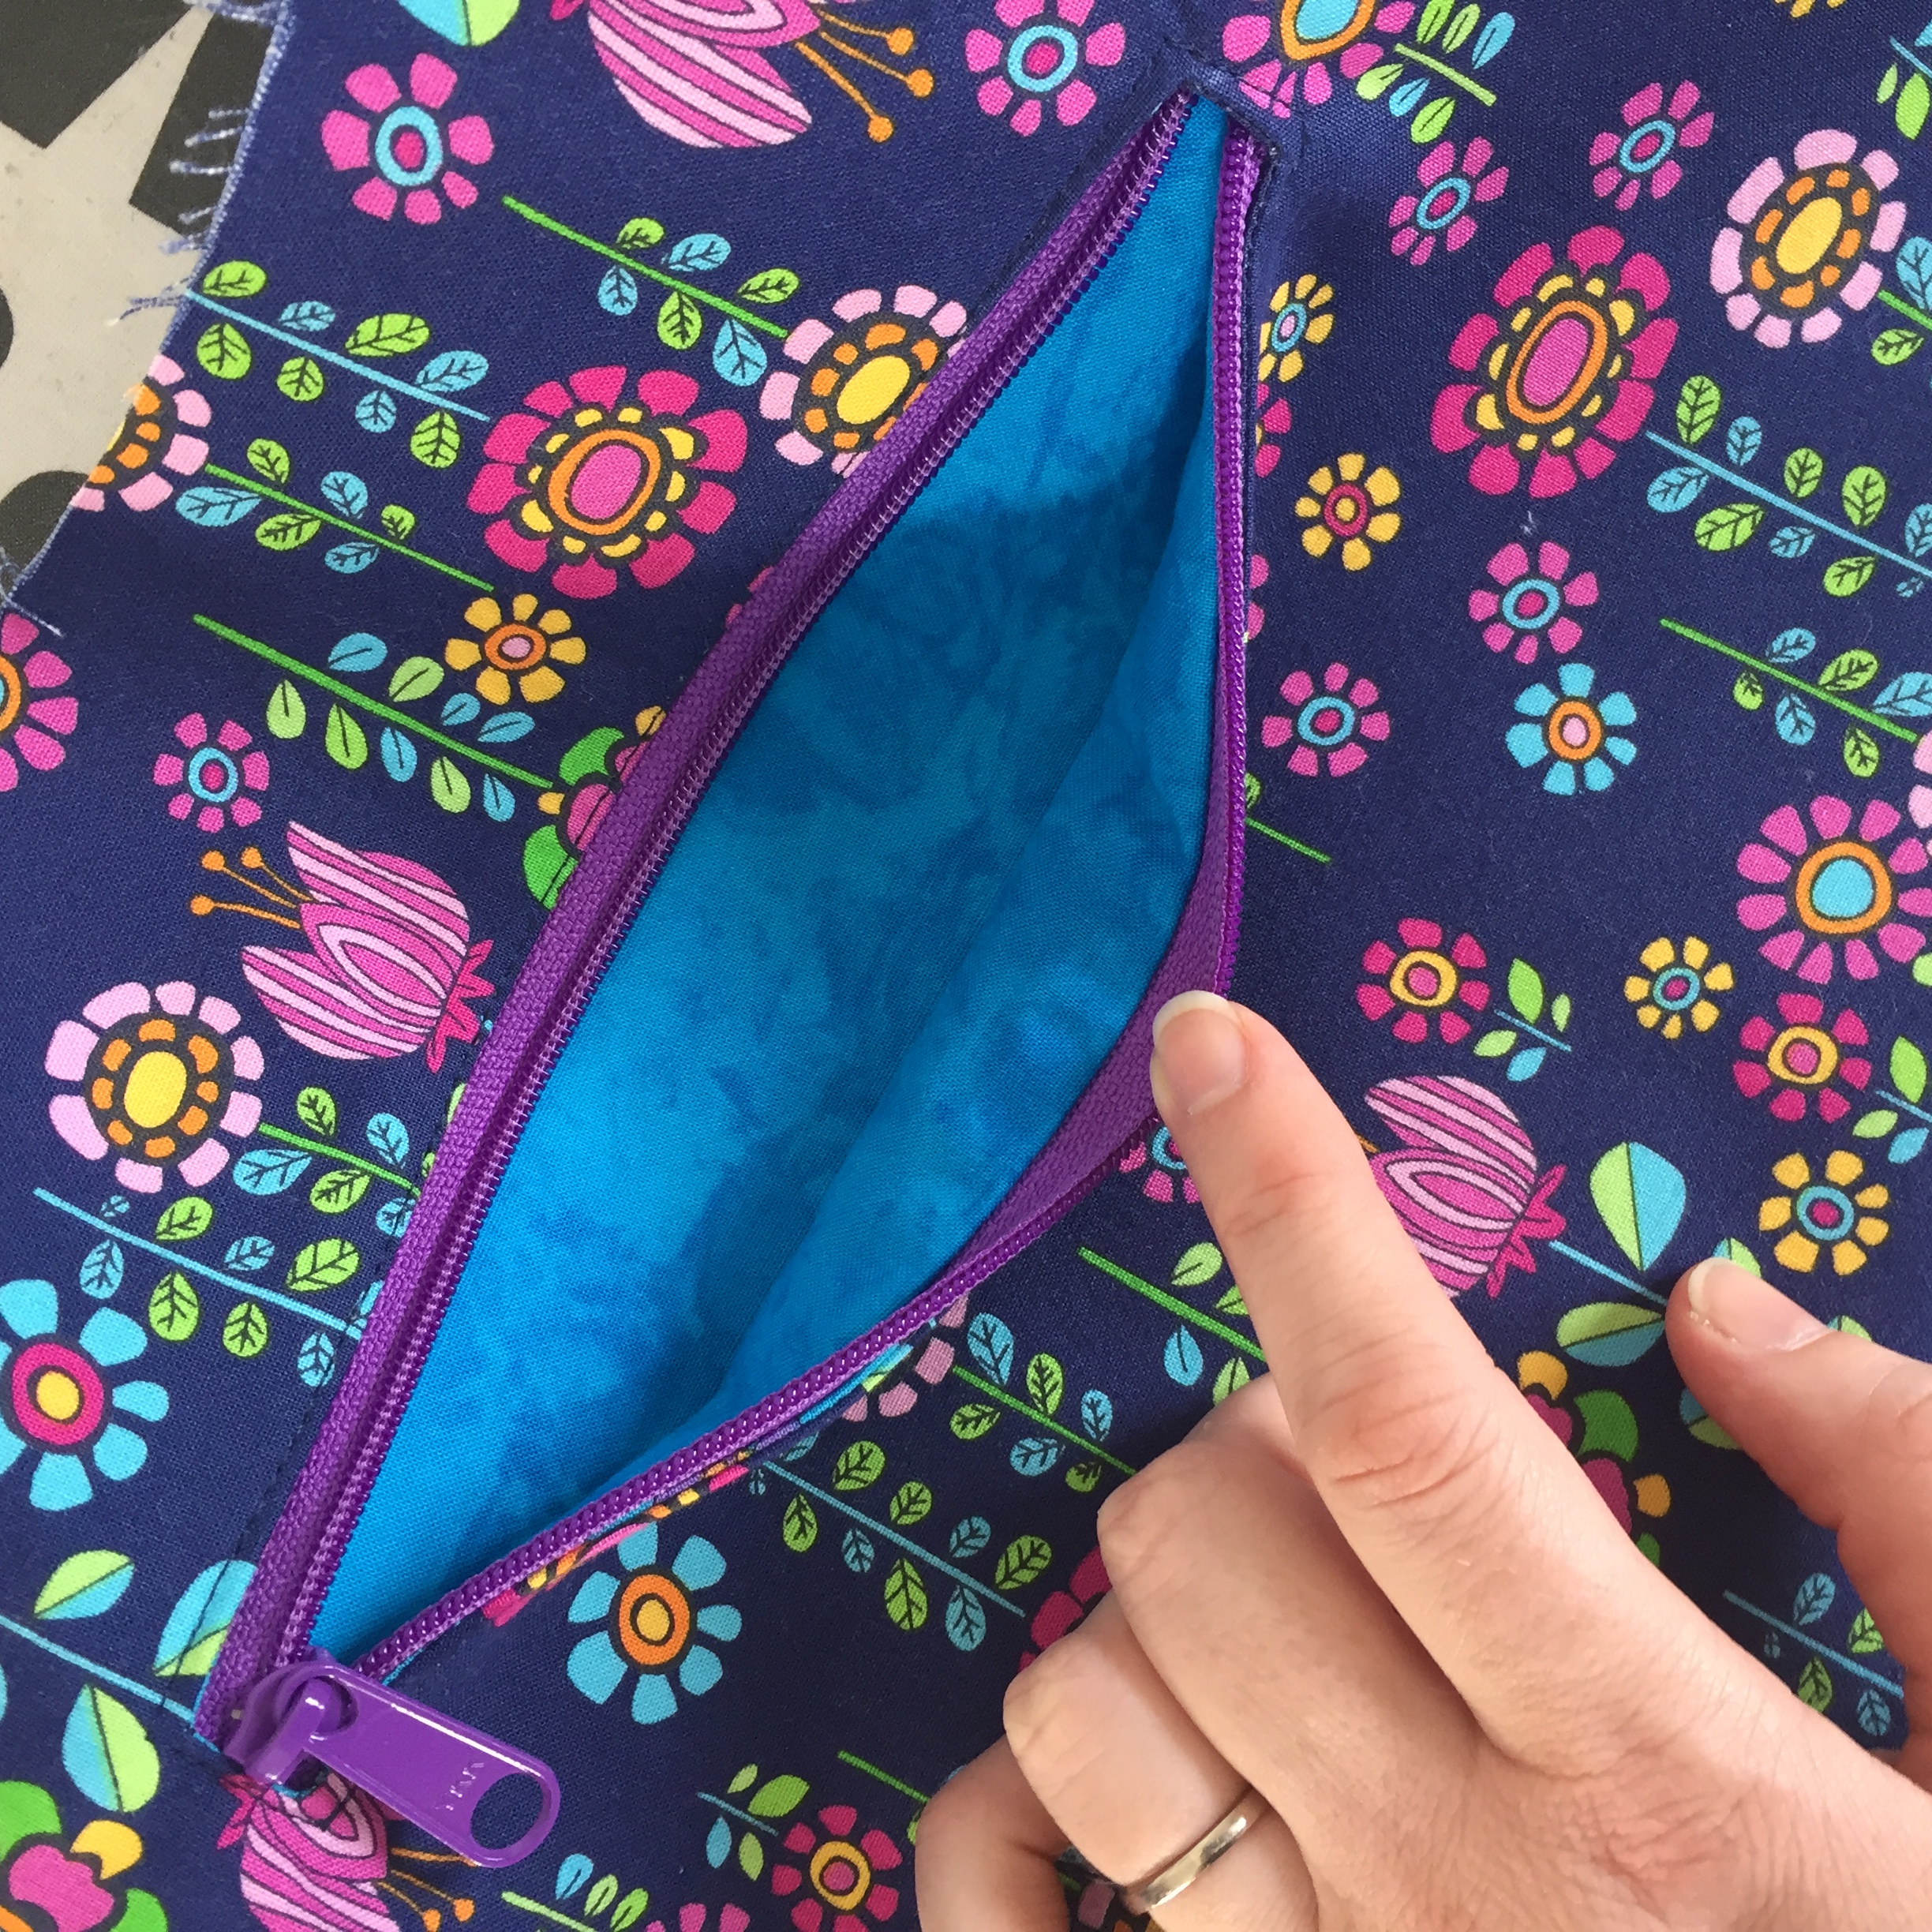
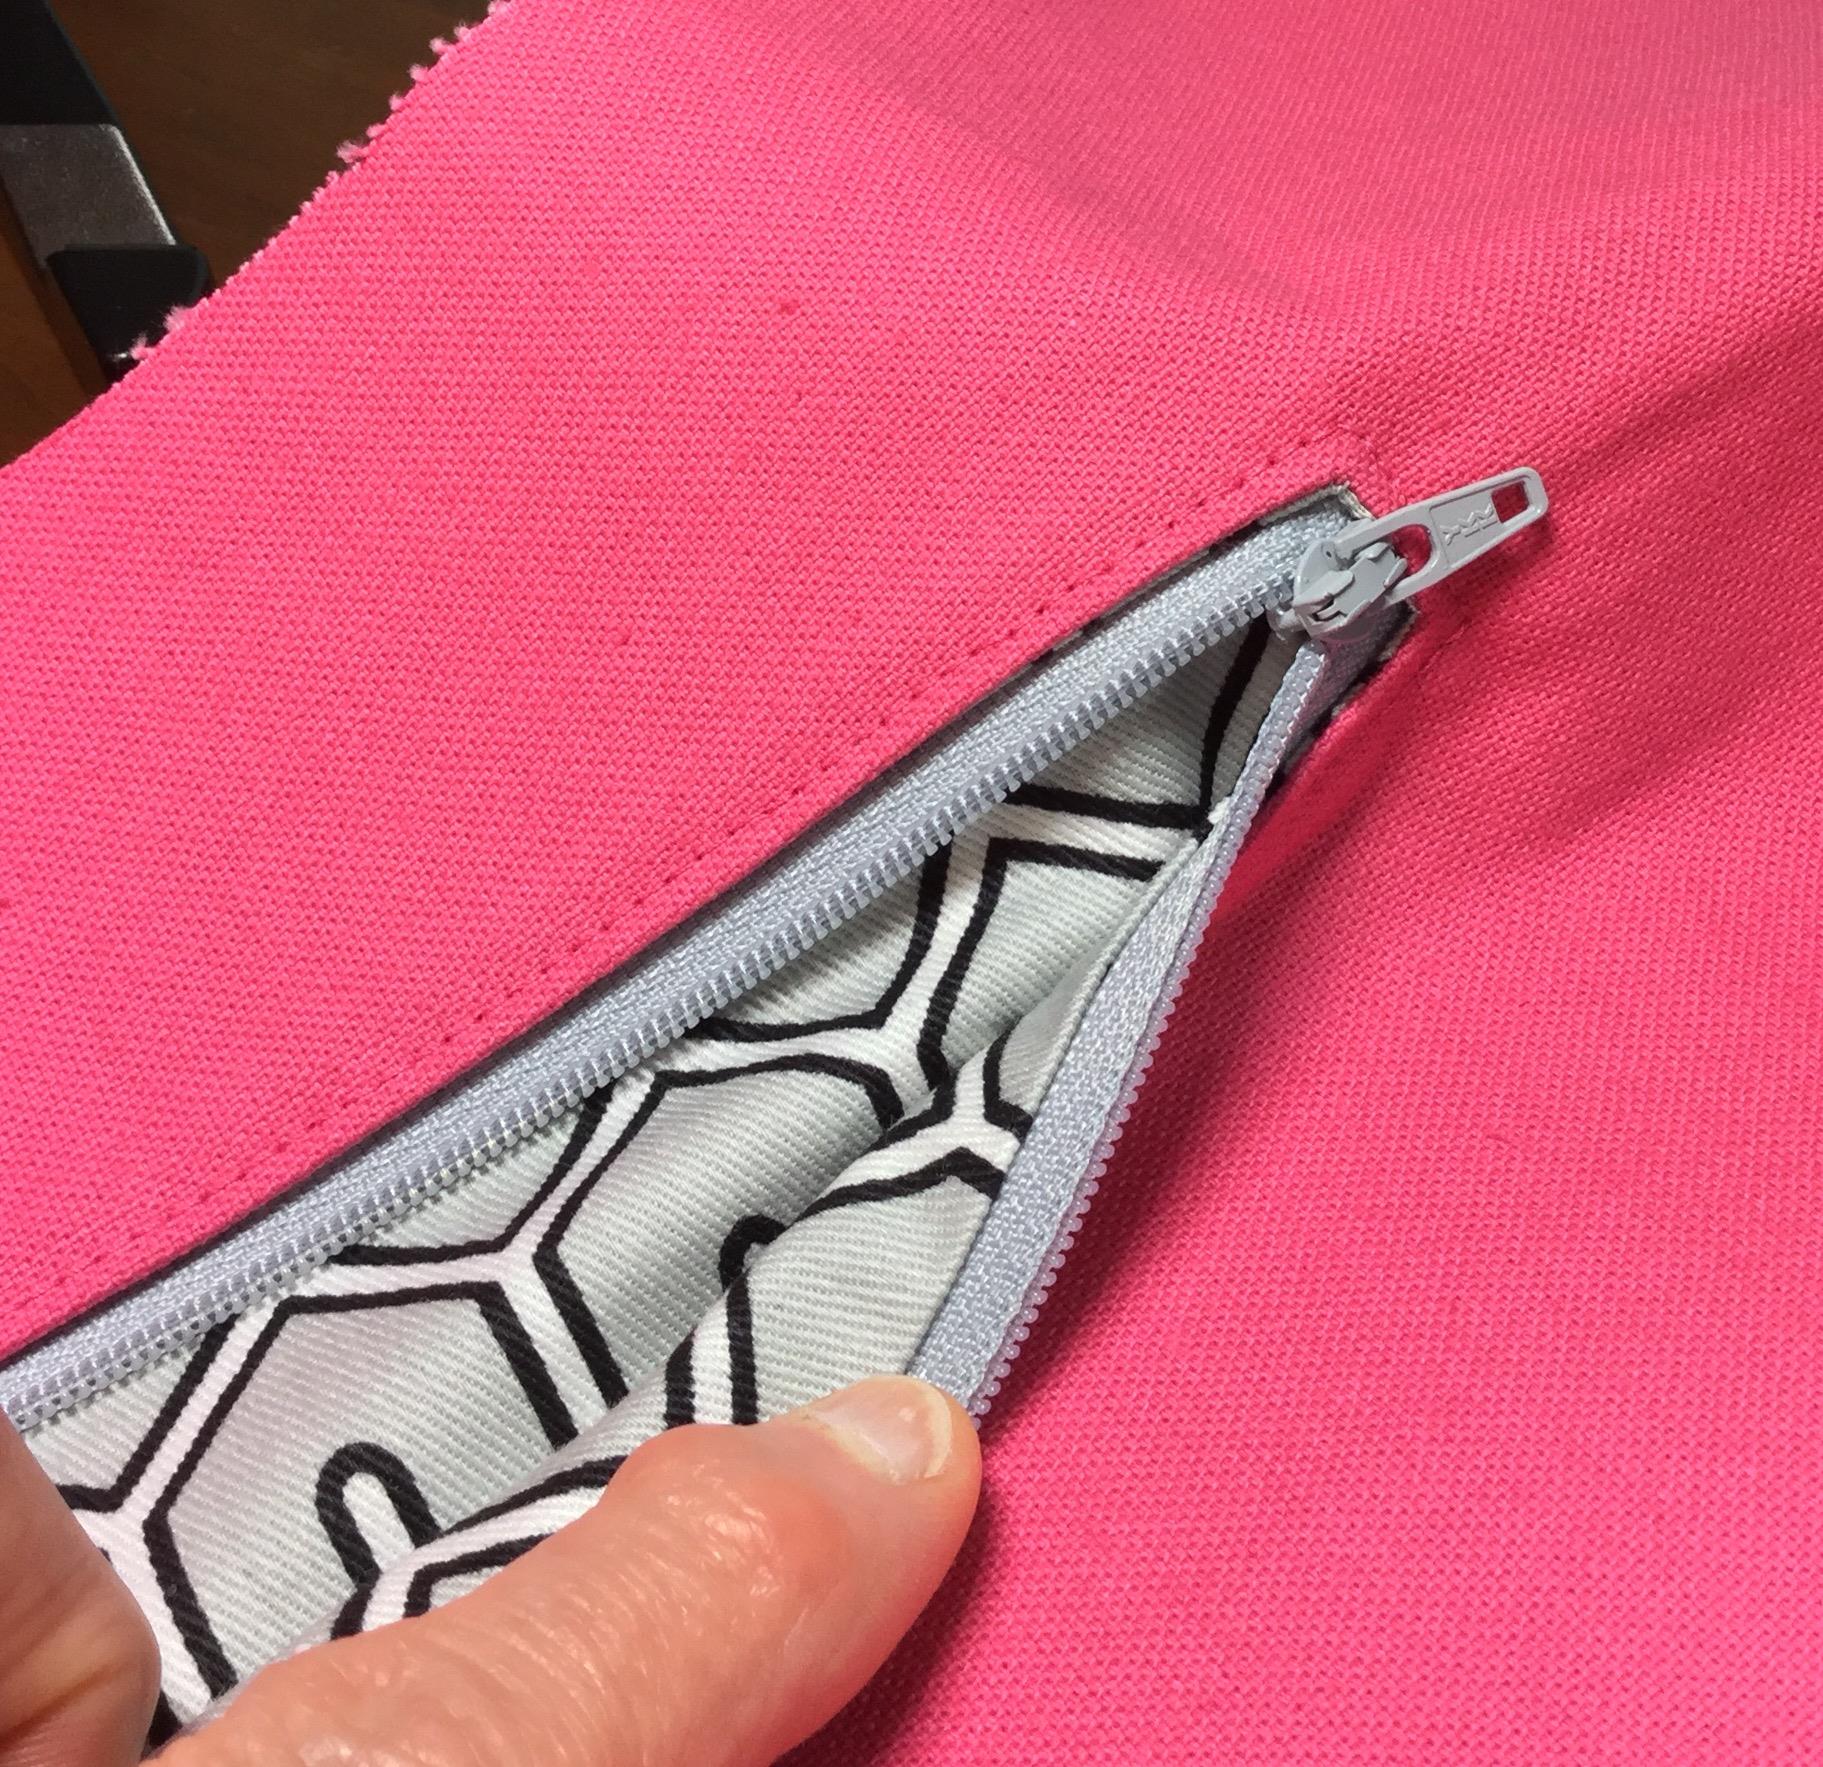
Of course, what should have been a simple, straightforward pattern needed an internal zippered pocket. Since it’s not structured, it’s not exactly organizable, and I’d lost my keys in the bottom of the bag one too many times in the week I’d been testing it out. I couldn’t do a slice and insert style zip like I do on most of my bags, as it would be impossible to access at the side seams. There was only one answer: a welt zip. And of course, there is only one way that I like to do things… with no raw edges! This nearly doubled the pattern length but you are welcome to skip it if you’re in a hurry! :P
As you may or may not know, back in August I had a box fall off the top shelf and whack me on the back while I was organizing my closet. What we didn’t know for weeks after was that I’d herniated my L5/S1 disc. This is one of the most painful and slowest to heal injuries you can have. Like, worse than childbirth. And it lasts for *months.* It’s going to be a while before I’m pulling all nighters and spending every nap time at my desk, instead of falling asleep with Emmett out of pure pain and exhaustion. I’m keeping up on email but please give me an extra day or two sometimes. :) Thankfully, I have some pretty enthusiastic people who support me, even when I feel like I’m crawling to the finish line. You all are amazing people. To my testers, and my customers, thank you. <3

For those who don’t know what a roundabout is, you can learn more here (wikipedia).
It allows for the semi-continuous flow of traffic through an intersection, similar to a 4-way stop, but with better traffic flow, as proven by Mythbusters :pAnyway, 2 years and 2 weeks ago, Erin moved to Sydney! One thing Erin needed though was practice driving on the correct (left) side of the road. Thankfully, we lived at Olympic Park at the time, so there were lots of empty roads to practice on with every possible condition she would encounter, including, a roundabout.
Now I will admit, I struggled with the 4-way stop in the states, but not as bad as you’re about to read.
As we approached the roundabout, I instructed Erin to “turn right” at the roundabout. Erin proceeded into the roundabout, and, well, lets say I’m glad it was 1am. Why? She went around the roundabout, anti-clockwise. That’s right, she went the wrong way around the roundabout. How did I correct her? We did it again, correctly, 10 times! Thankfully now, we laugh about it, and I remind her, and everyone else who cares, or doesn’t.
There it is. Bob has had his word!
What Bob neglects to tell people, is that to turn right in a roundabout (in Australia), you actually turn left twice. Bob told me to turn right. And I did. If he’d told me to turn left, then turn left, we wouldn’t be discussing this today! But, the bag might not have this awesome name, so, there you have it.
If you read all the way to the end, then you’ve earned Sammy for Scale:
 I’ve taken up far too much of your valuable sewing time already! To celebrate the new Roundabout Hobo, the entire Pattern Shop is on sale 20% off until Valentine’s Day (Feb 14th).
Happy Sewing!!
-Erin
Well… I feel like I should apologize for suggesting the name… but I won’t! LOL Thanks for the giggle, Bob… but I’m afraid I’d have driven exactly the same way Erin did! ?
Thanks for letting me test the pattern! Sewing one of yours always gives me that feeling of “coming home”… a comfortable place I can trust, y’know? I am always confident that I will have a good sewing experience. This pattern did not disappoint, and I especially loved the new welt pocket technique, which will be my go-to from now on!
And yes! I also adore that little son of yours! ??
Live the Sammy in the Roundabout photo.
*love*
If you turn left and turn left, aren’t you just going the opposite direction. Like if you’re driving north, you would then be driving south (after 2 left turns)?
Just purchased the pattern and read through it………………..I do believe your instructions are getting even BETTER – and since I’ve always thought your previous patterns were impossible to top I can’t figure out how the heck you managed to do THAT??!! Can hardly wait to make this bag (maybe this weekend!!).
Thanks so much for giving us another great new item to create………………………
Also – THANKS for the discount, although I feel like I’m cheating you!!!
I agree with Kathy K!
Aww thank you!! :)
I bought this pattern and can’t wait to sew it! But the fabric I want to use for the exterior is quilting cotton. Instead of Pellon 988 or 50, do you think 2 layers of SF101 on the exterior pieces would work?
Thanks!
Hi! I wouldn’t double layer SF101 without testing it first. I’ve found it can really bubble/wrinkle when you do that. I added a light sew-in layer to the elephants one and it was fine. I would recommend trying that instead.
Thanks!
Do you have any measurements for making the handle longer? I made one of these in only a weekend, and it turned out great, but I saw someone with a cross body hobo at our school, and thought it would be awesome with this pattern. Any suggestions would be appreciated. We are having a “snow day” today, so I’m working on some projects in my UFO stack.
I haven’t done it, but one of my testers did it without any trouble. She added a separate 6.5″ vinyl piece, that kind of looked like a leather cover/sleeve you’d see on a duffle or messenger bag strap. I don’t think it was enough to hold it cross body, though. You could simply extend the pattern piece quite a bit, usually a minimum “strap drop” for a cross body bag is 45″, so you’d want to extend the strap to at least 23″ on each side from the zipper tab mark. It will take extra fabric, though. (Use a measuring tape over your shoulder to check.) I would consider making it narrower towards the top for a cross body bag. The chunky look works because it’s a short strap, but wrapping that much fabric across your body might look silly. Just follow the curve to taper it in. I’ll have to try one one day! You all know how I love cross-body bags. :)