
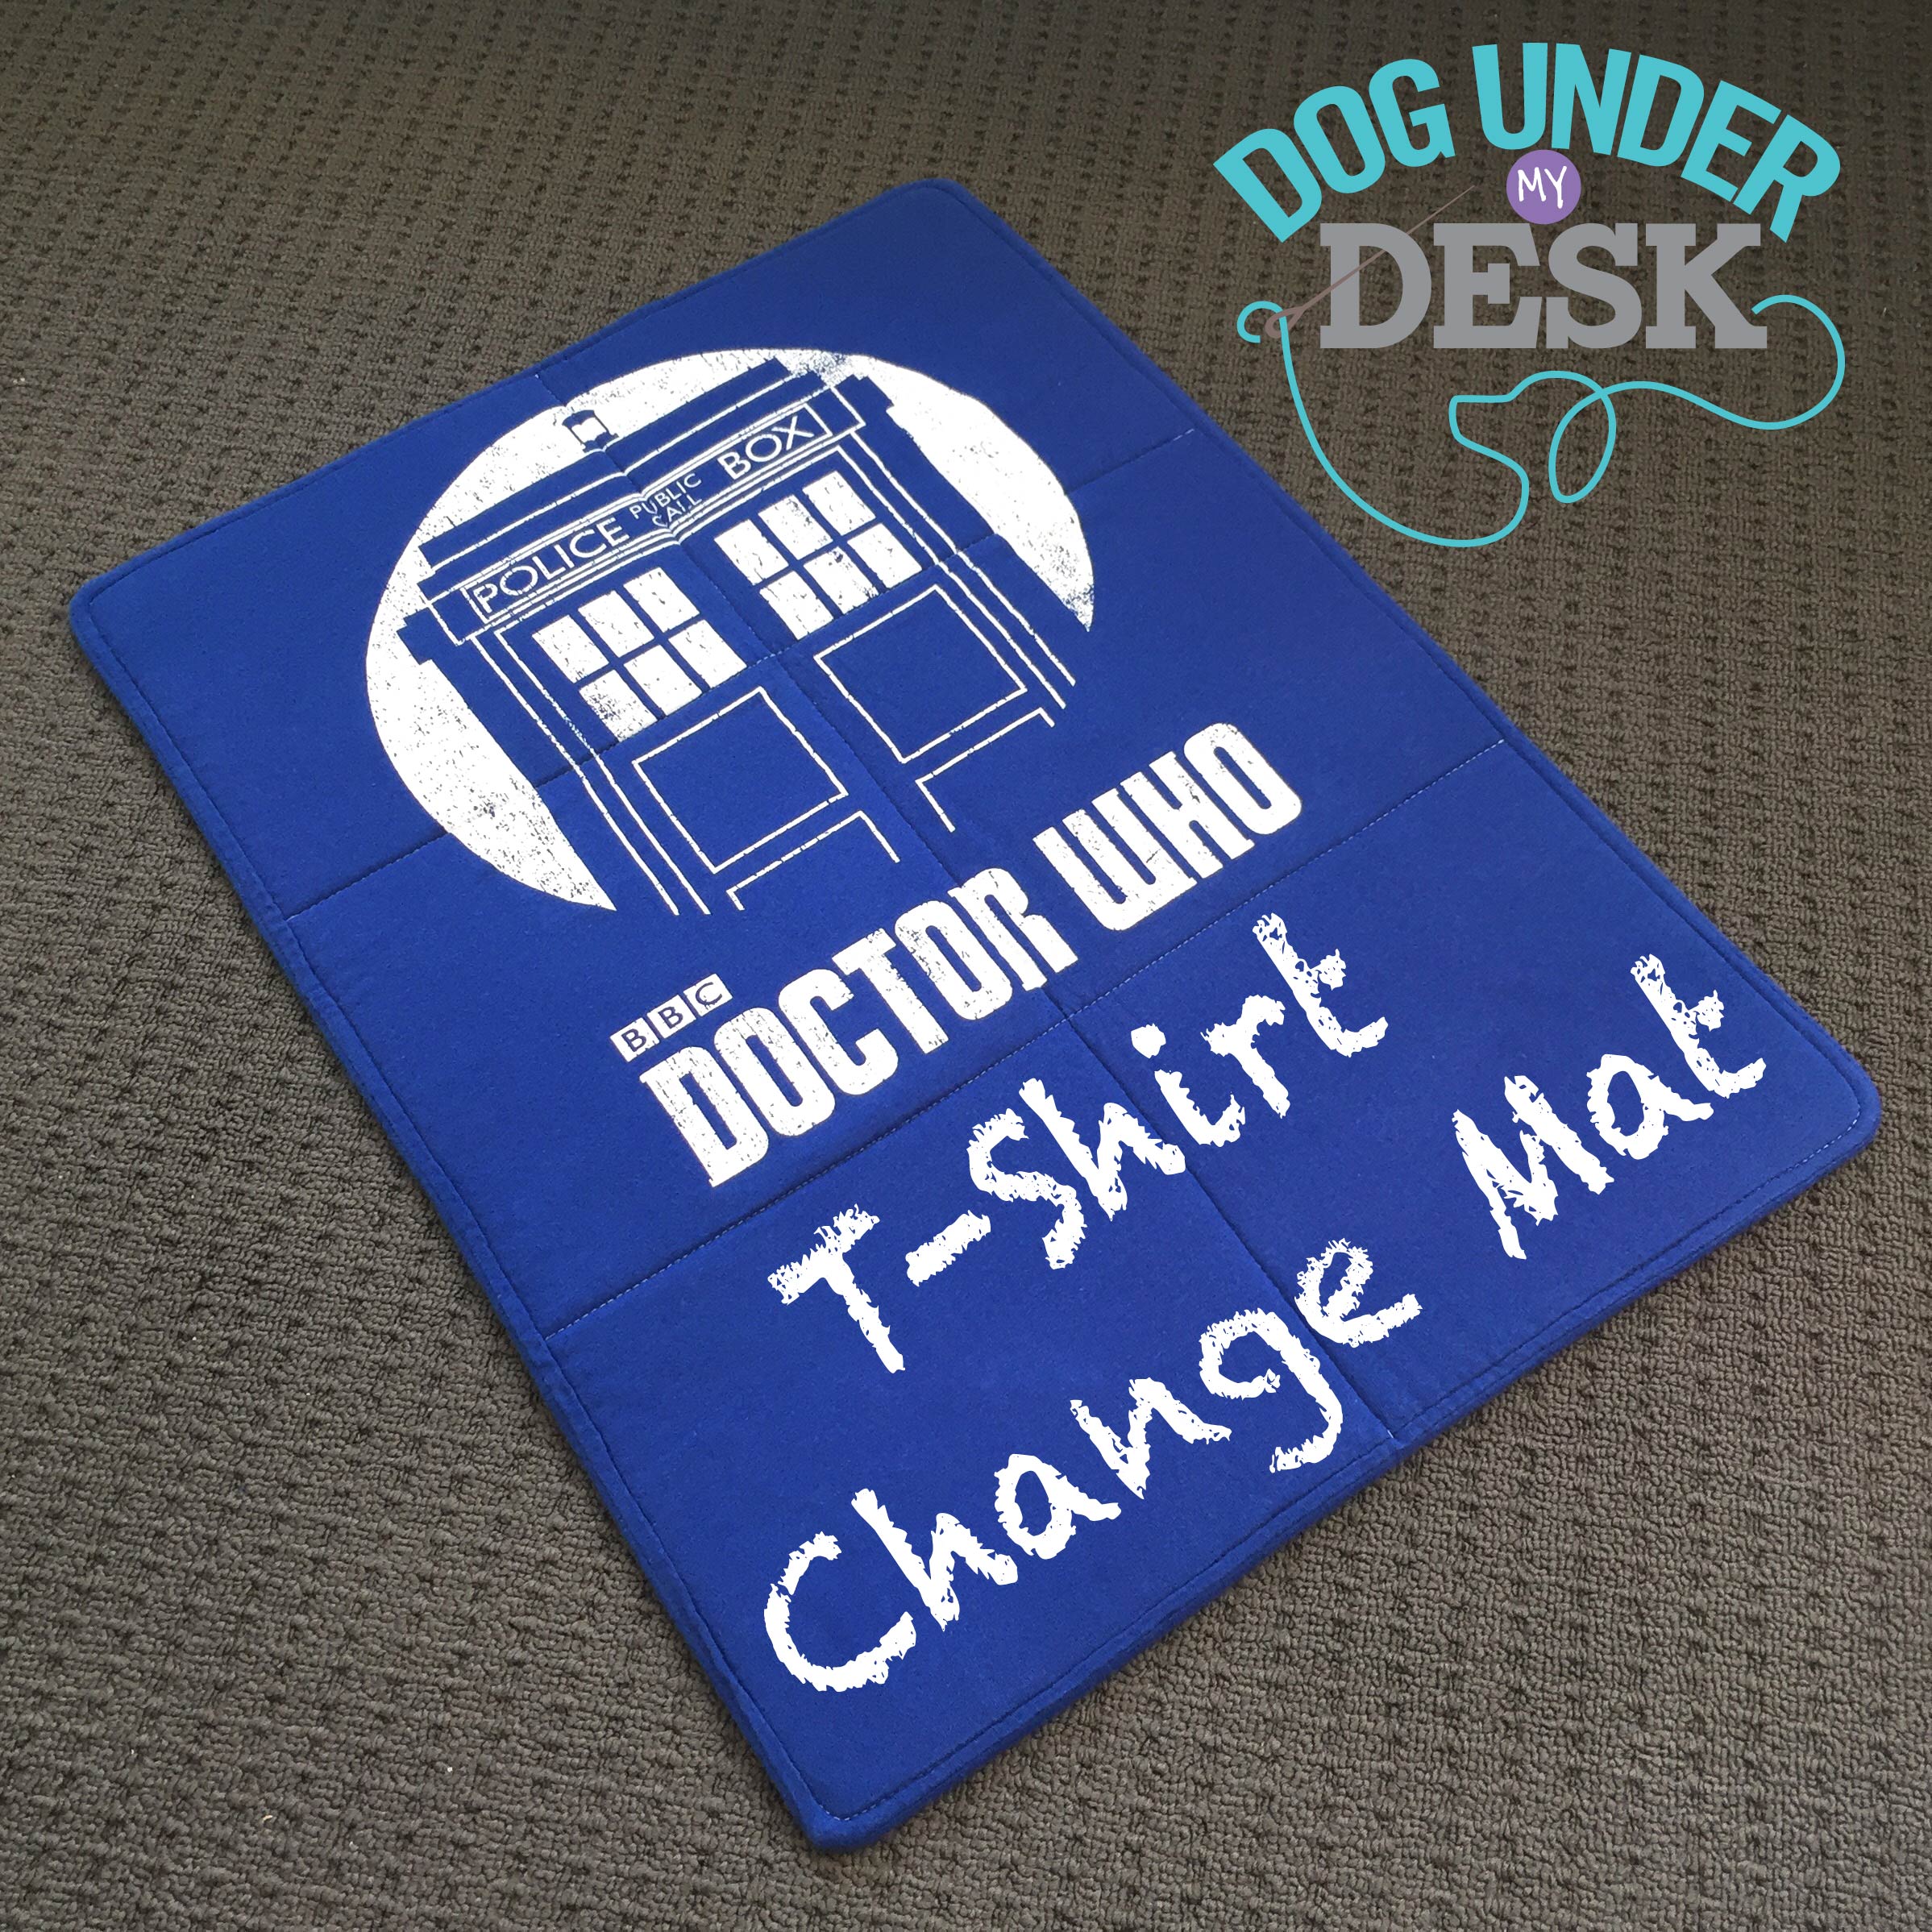
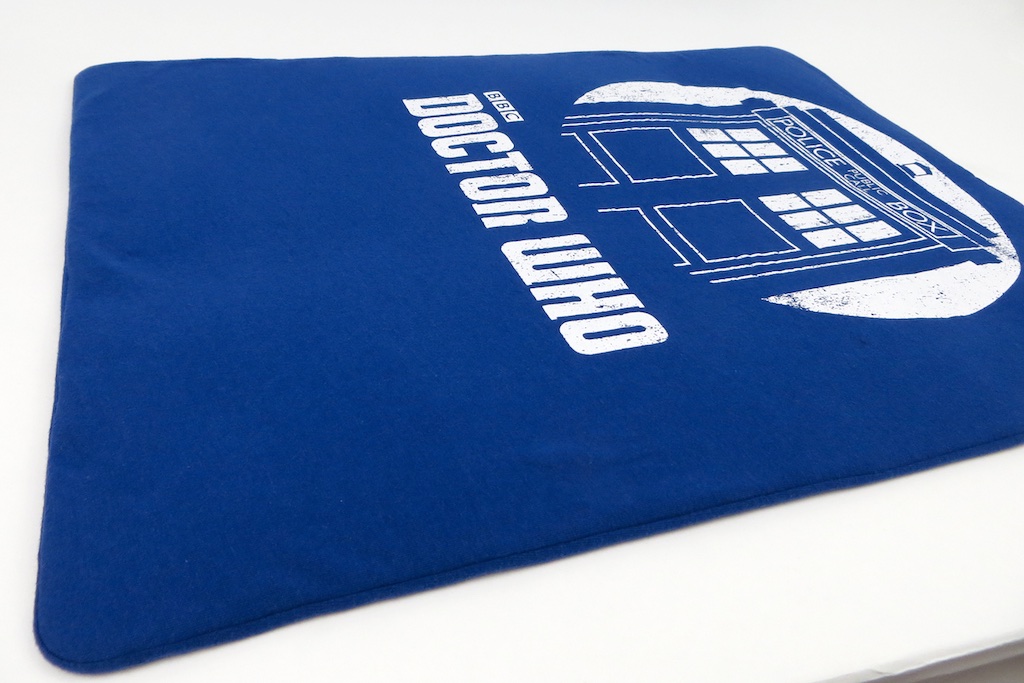
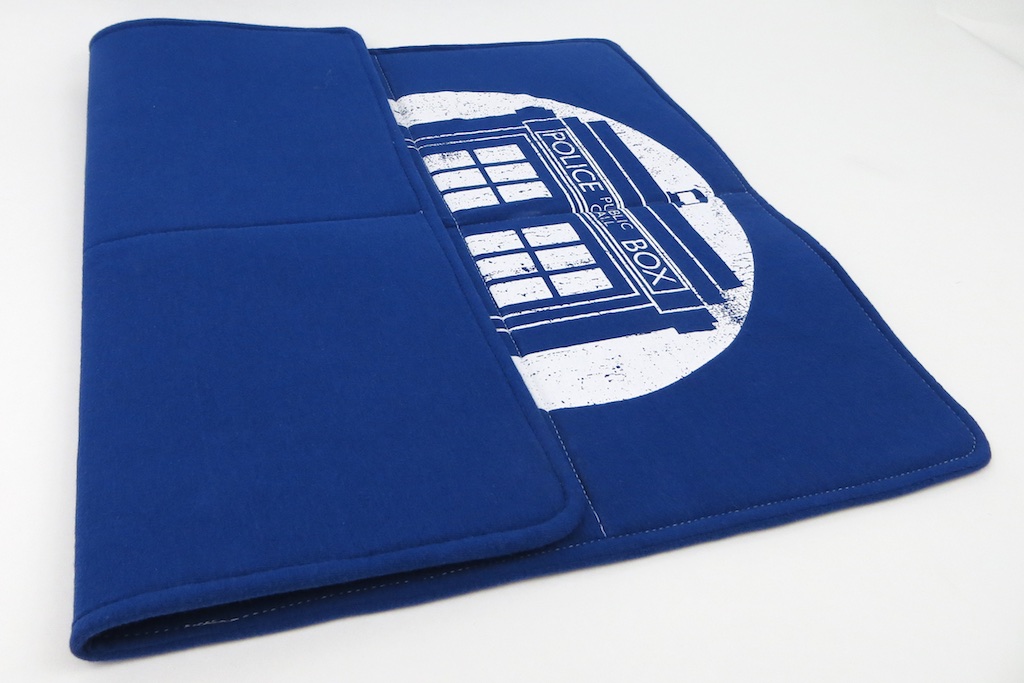
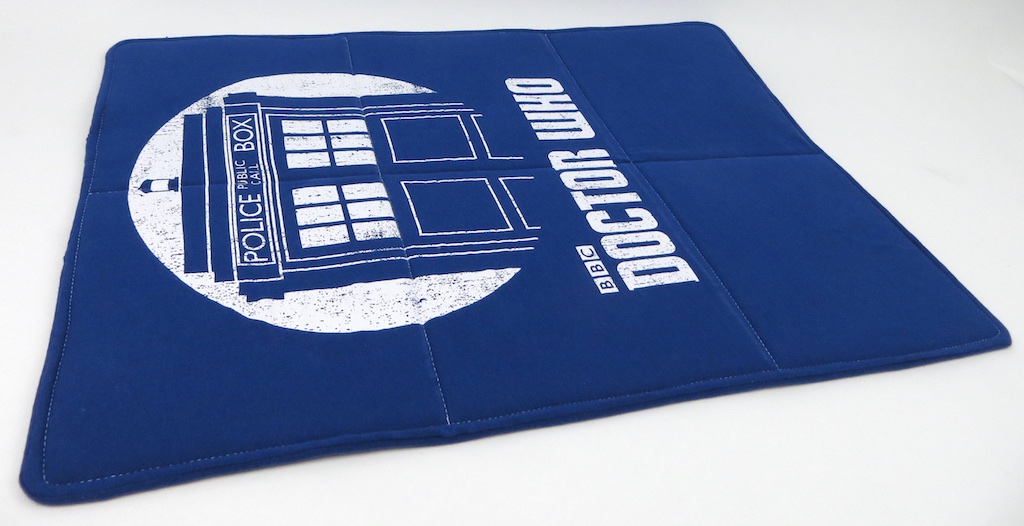
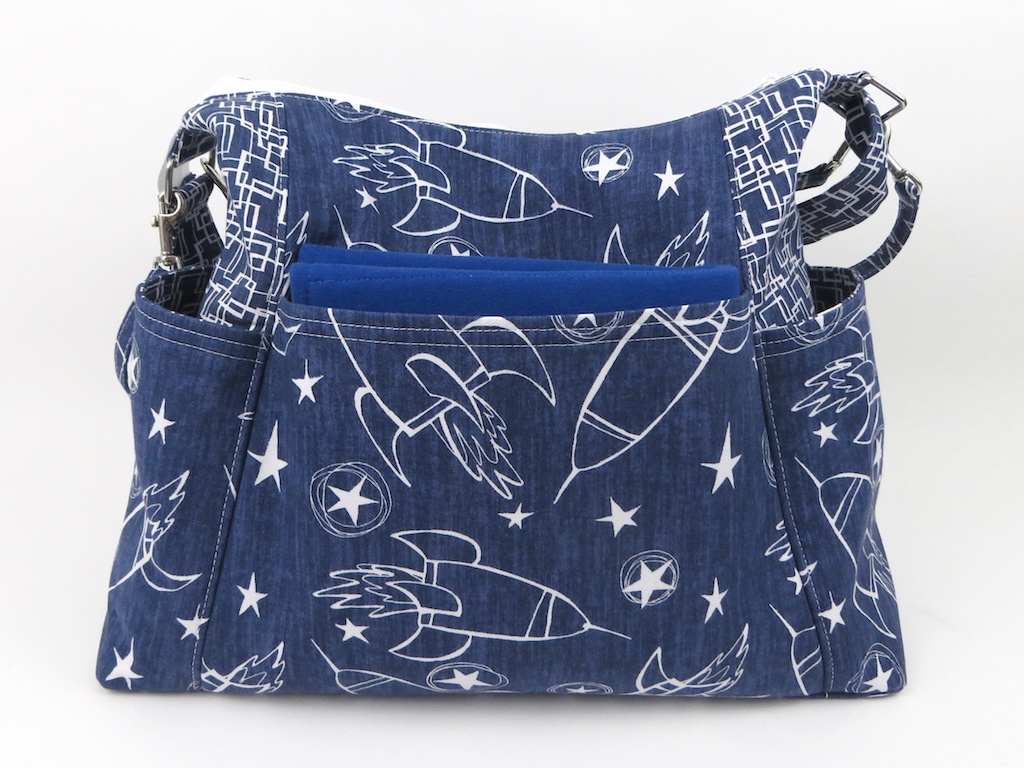
Since the new bag has a diaper bag size, a change mat tutorial was sort of required. But there are at least 300 change mat tutorials with quilting cotton… so rather than waste your cute fabric on a what could end in a laundry disaster, I propose this!
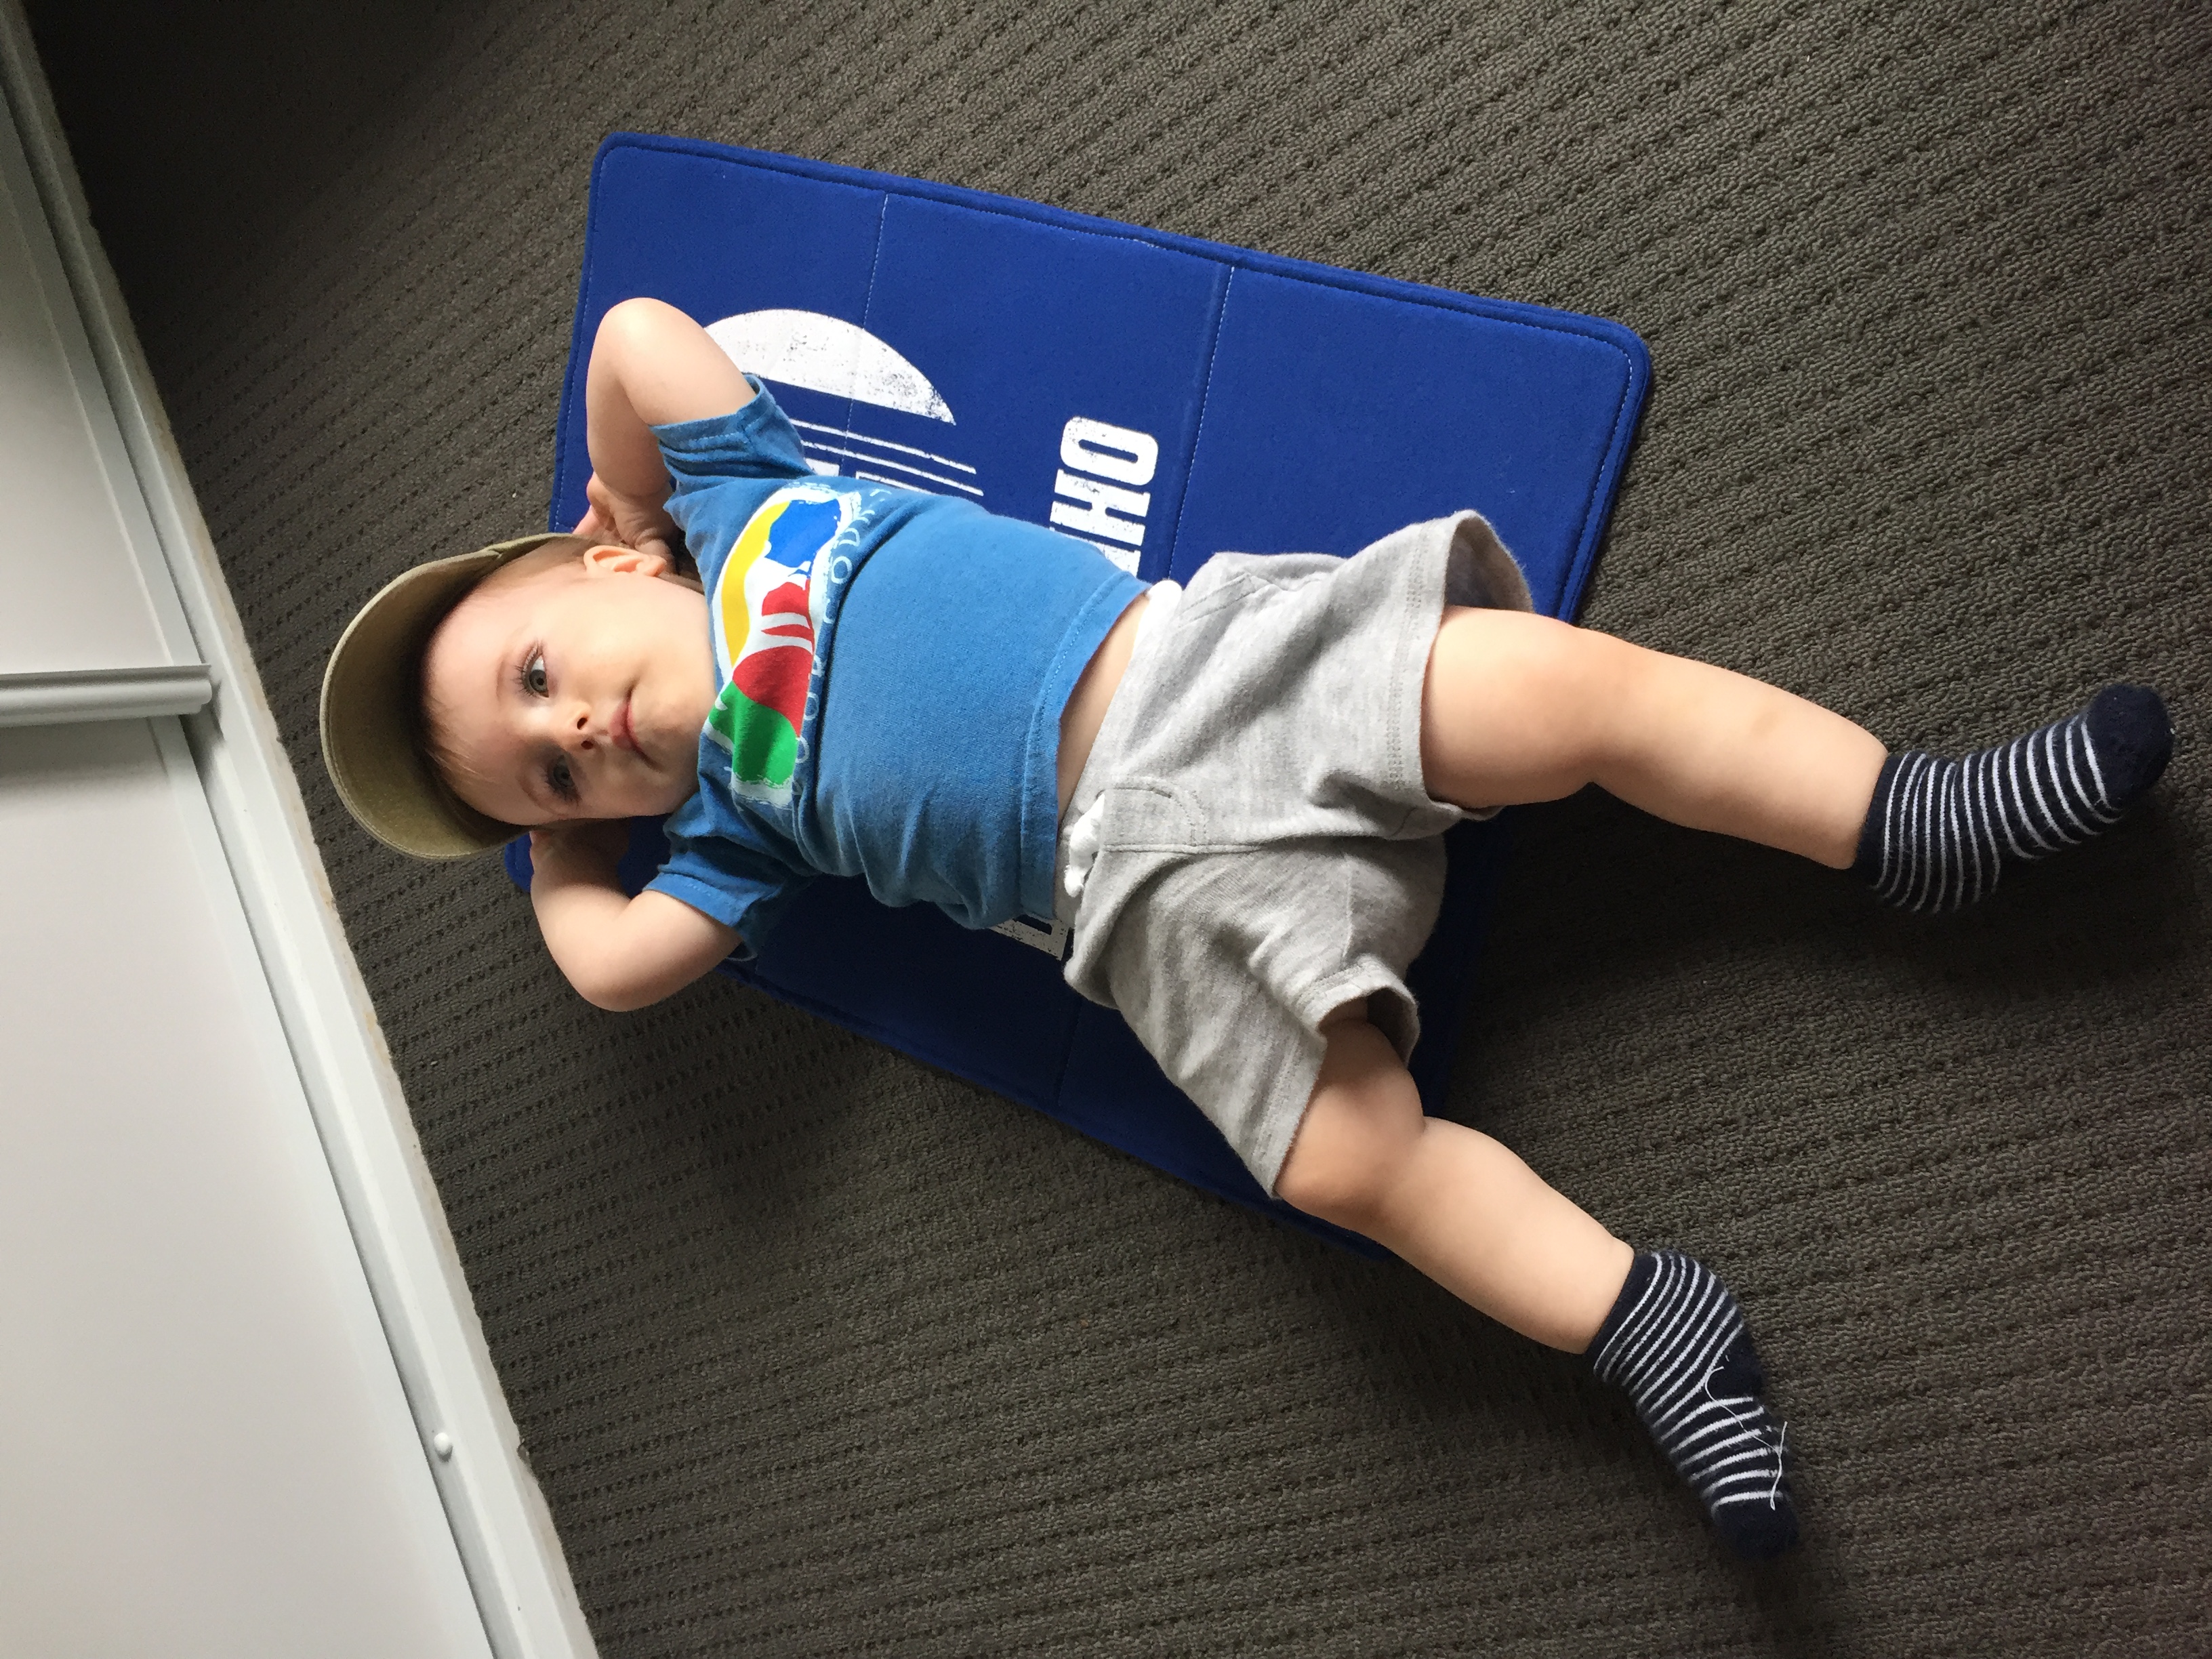
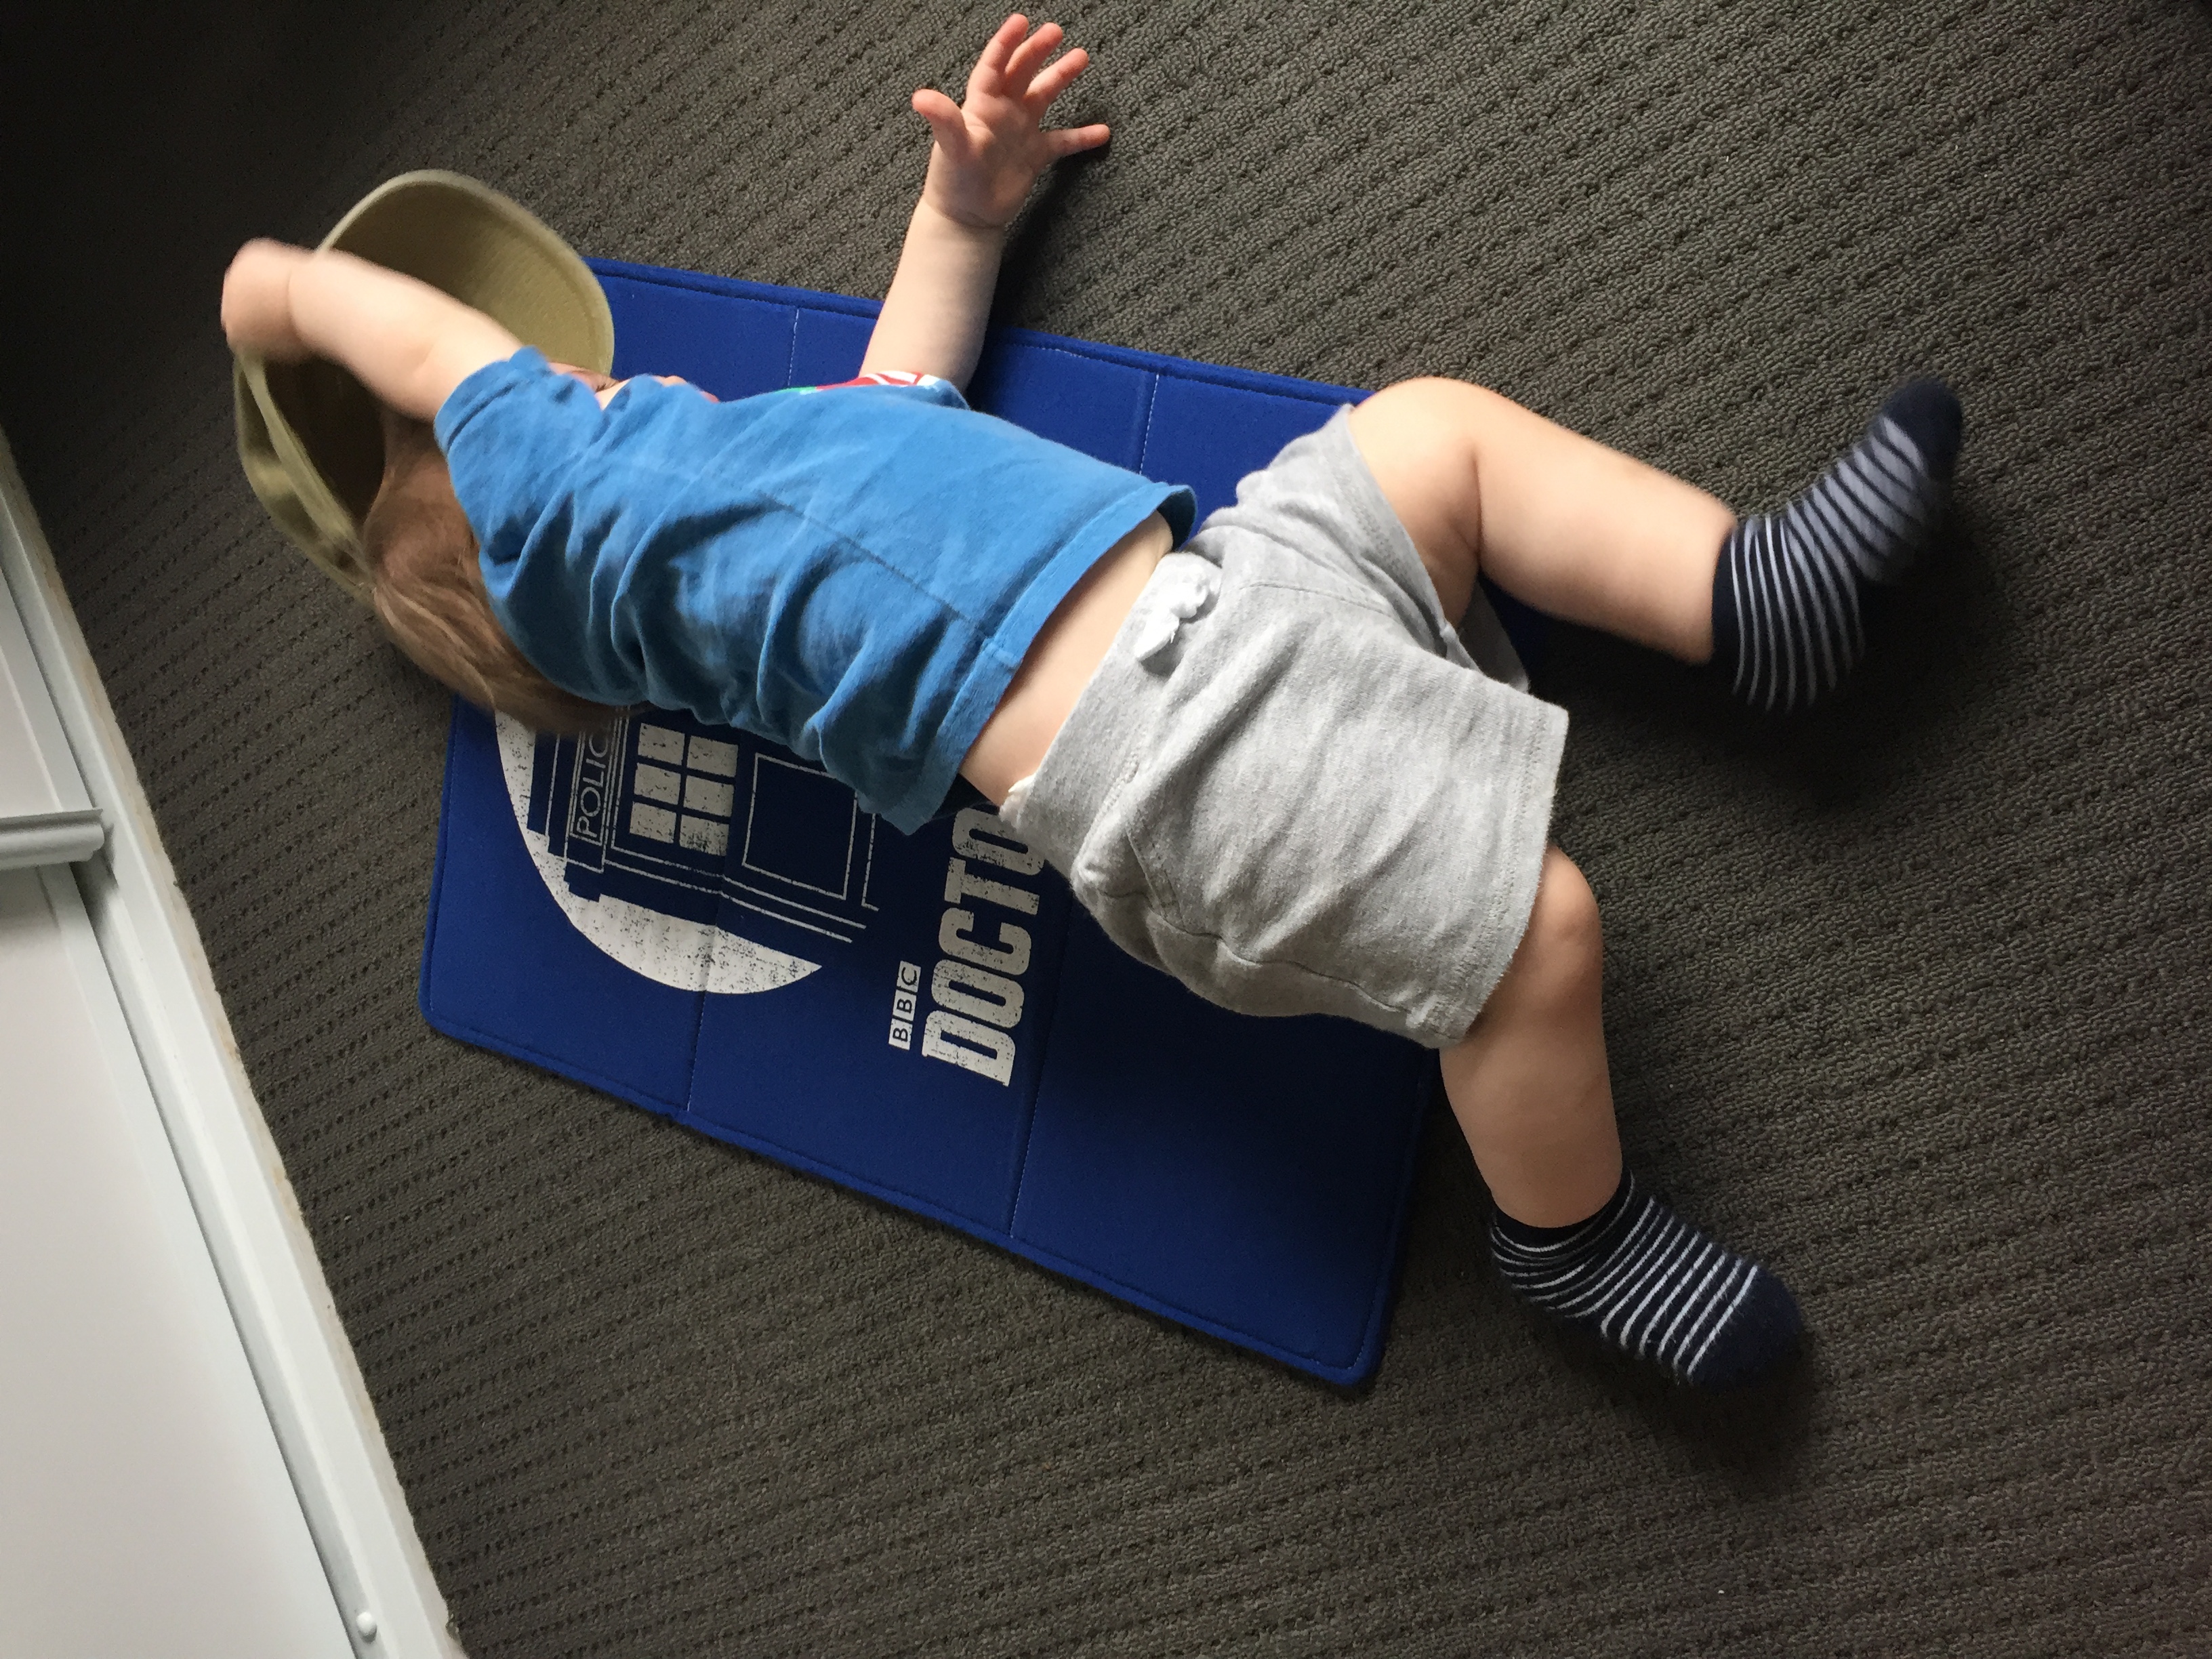
Do you like Emmett’s ability to lounge? He was practicing wearing his hat. :)
So, full disclosure, I don’t like to use fancy change mats when I’m out. I use cheap disposable change mats, because baby change rooms here are so gross that I either change Emmett in his stroller or if completely necessary, I use a disposable mat on the table because I don’t want to put a mat back in my bag after its been on the table. That said, this system provides absolutely no padding for his head, so the compromise is one that I could wash the minute I got home (that means no un-washable, only-wipeable combinations of laminated fabric and cotton/nylon, which is like 90% of what I see at the store?) I tested this one and it came through the laundry brilliantly!
Materials:
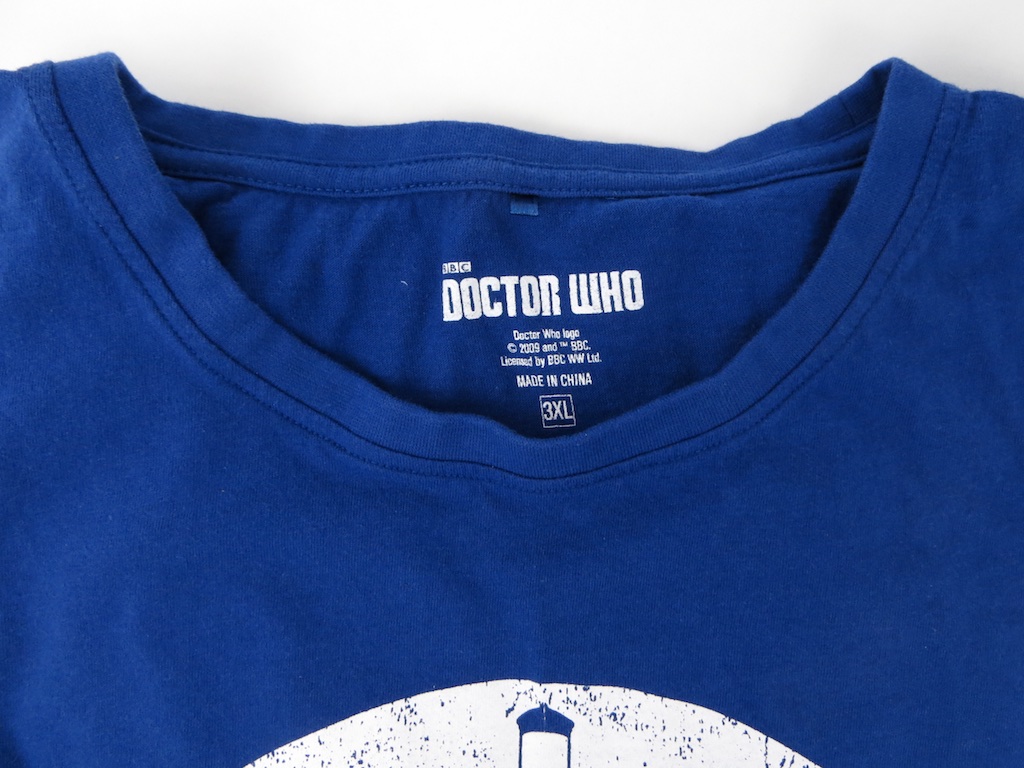
-1 geeky-or-otherwise t-shirt, as large as possible
-Enough bag making foam or batting to fit your mat, I used half of an 18″ x 58″ package of sew-in Bosal In-R-Form.
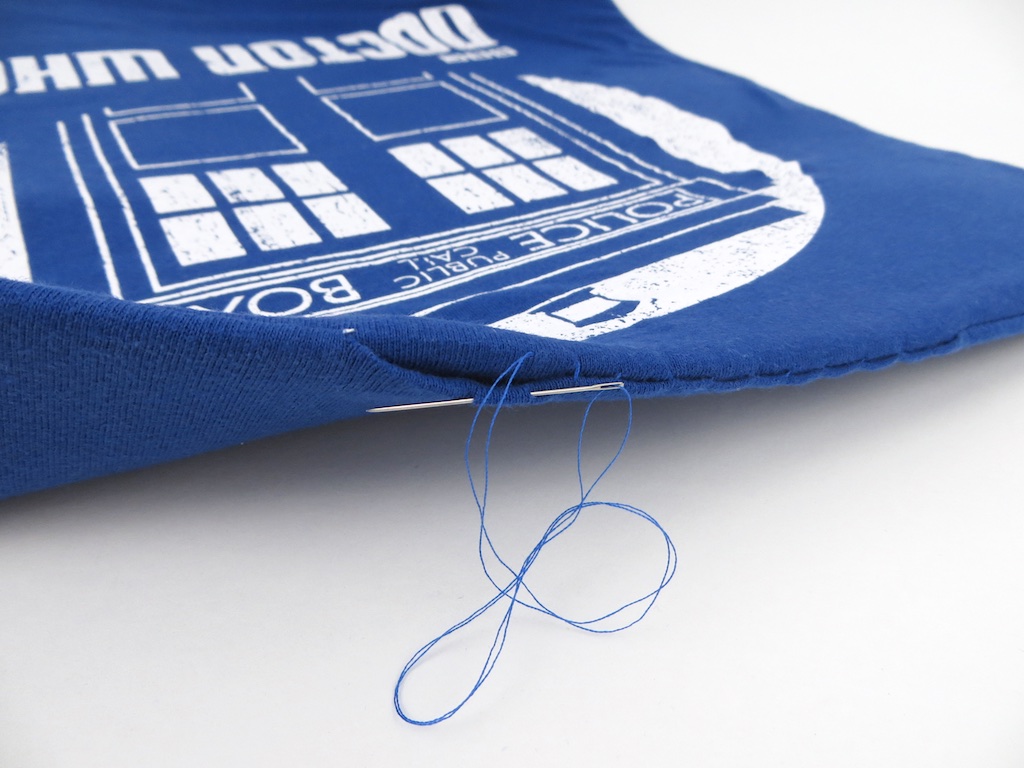
-Pins, thread, a walking foot, a hand sewing needle, and jersey machine needles

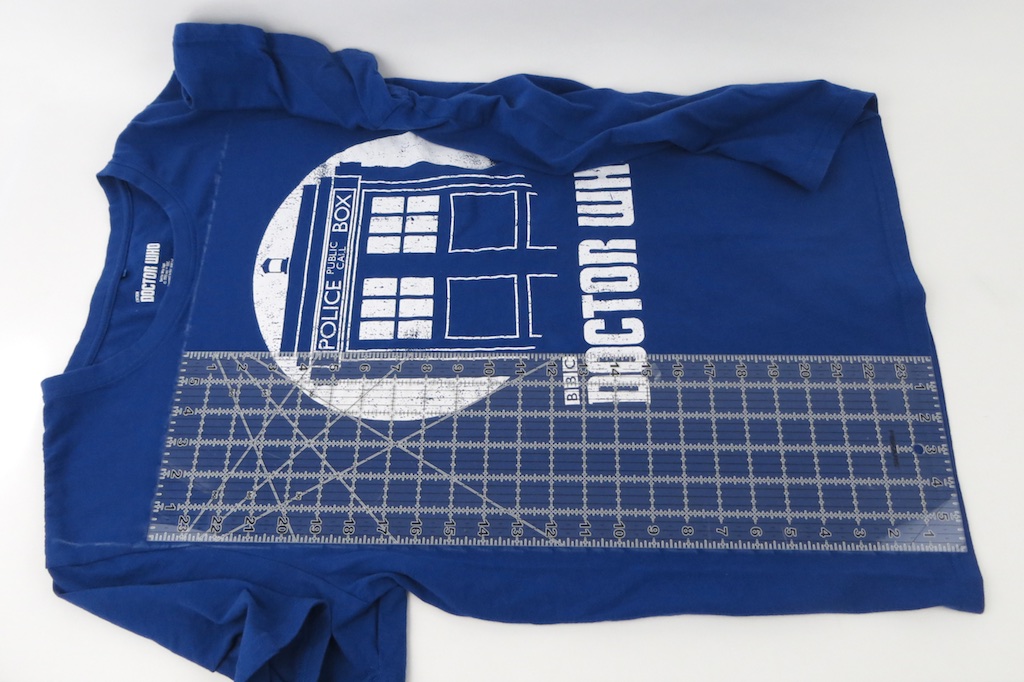
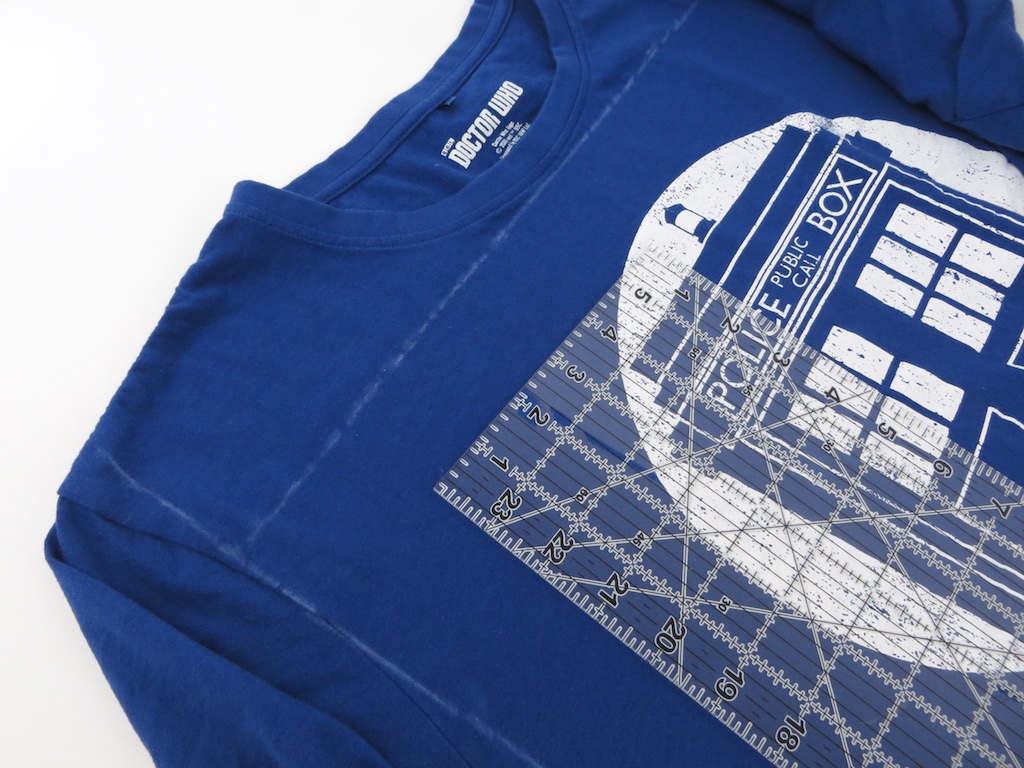
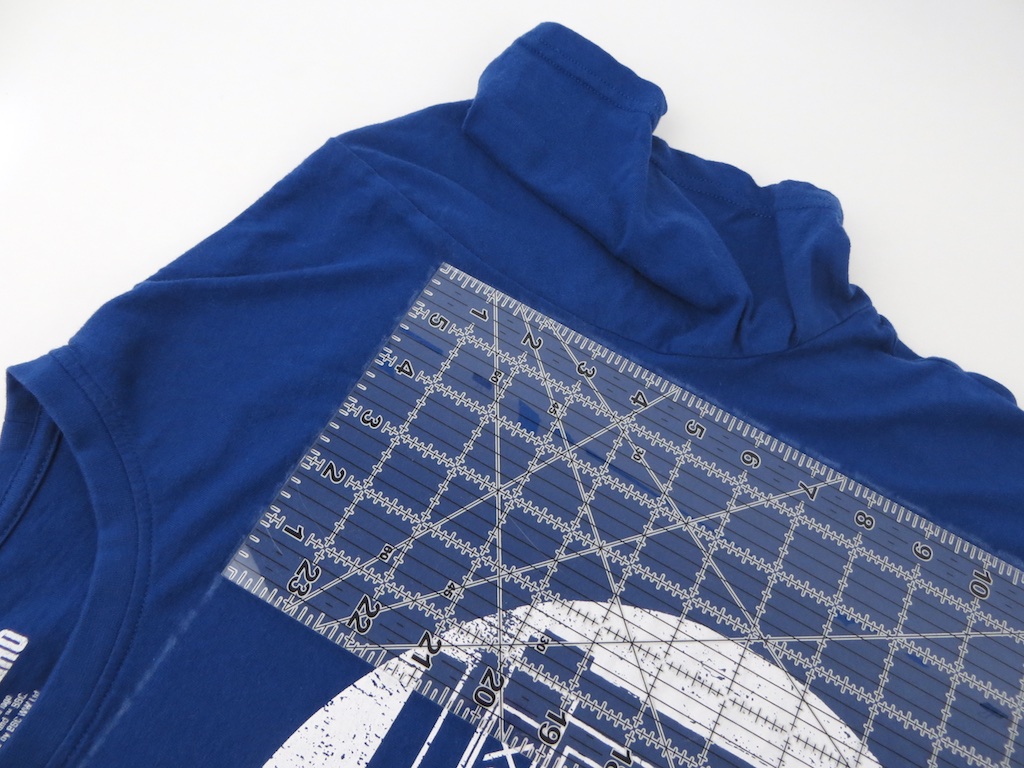
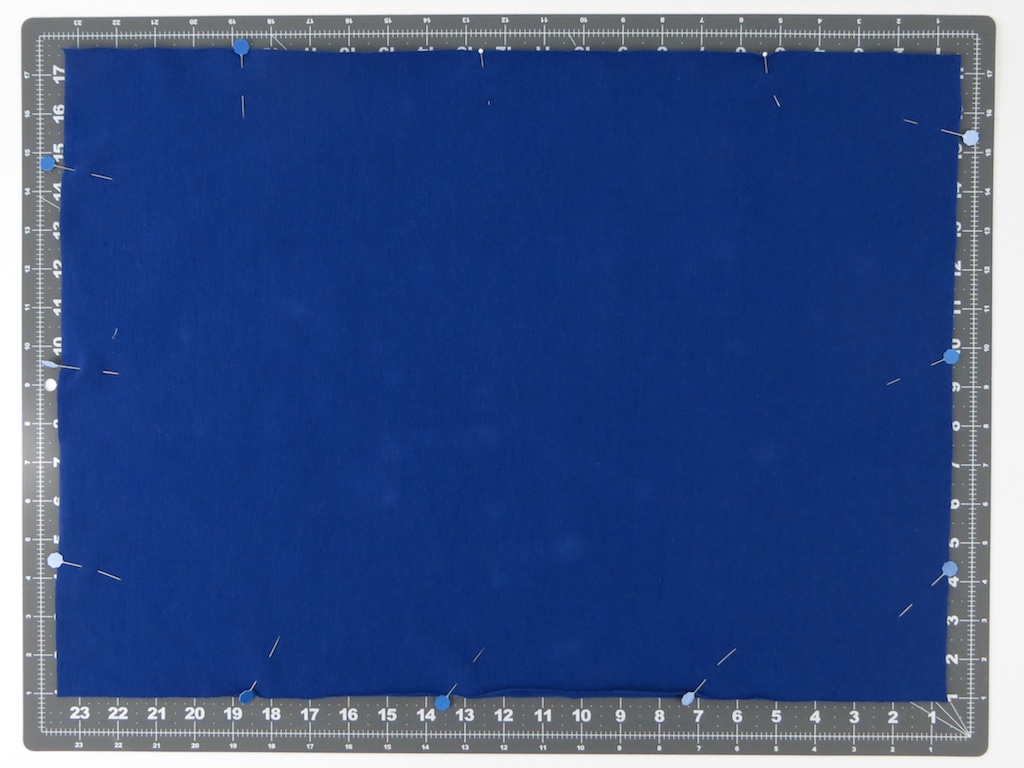
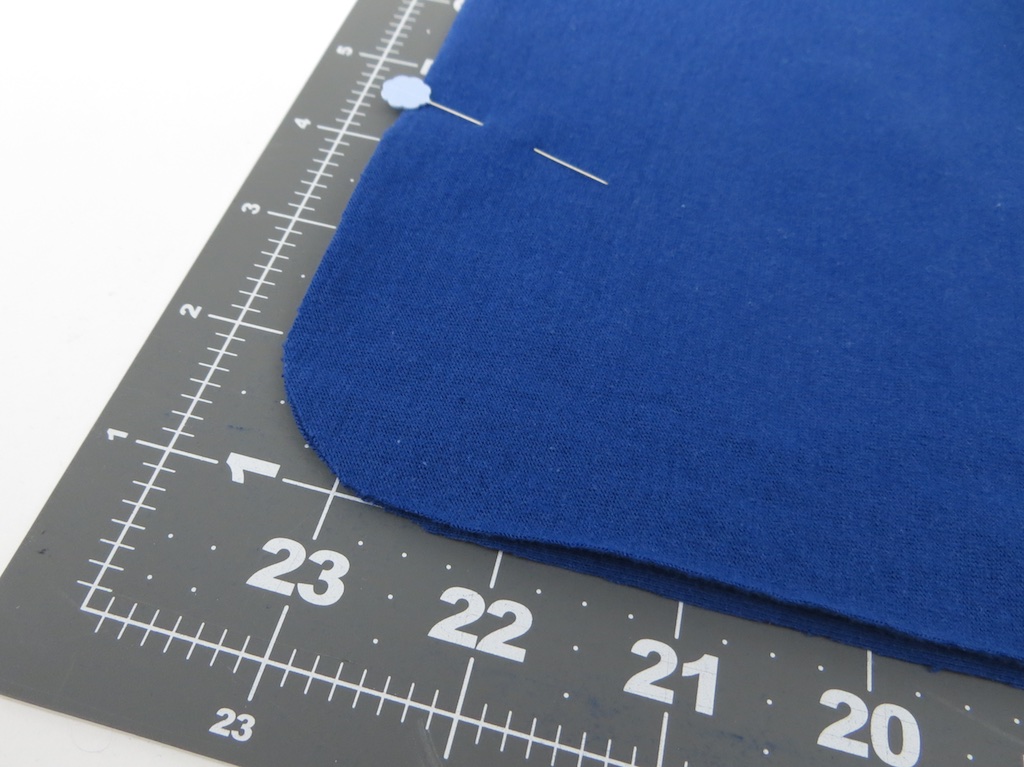
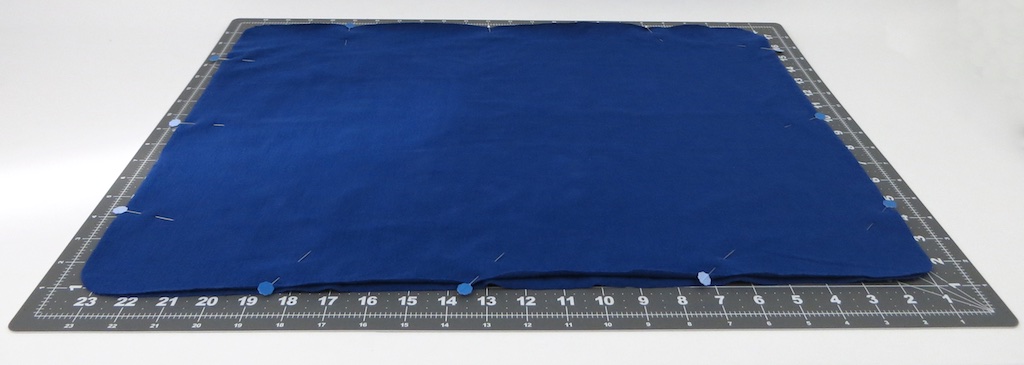
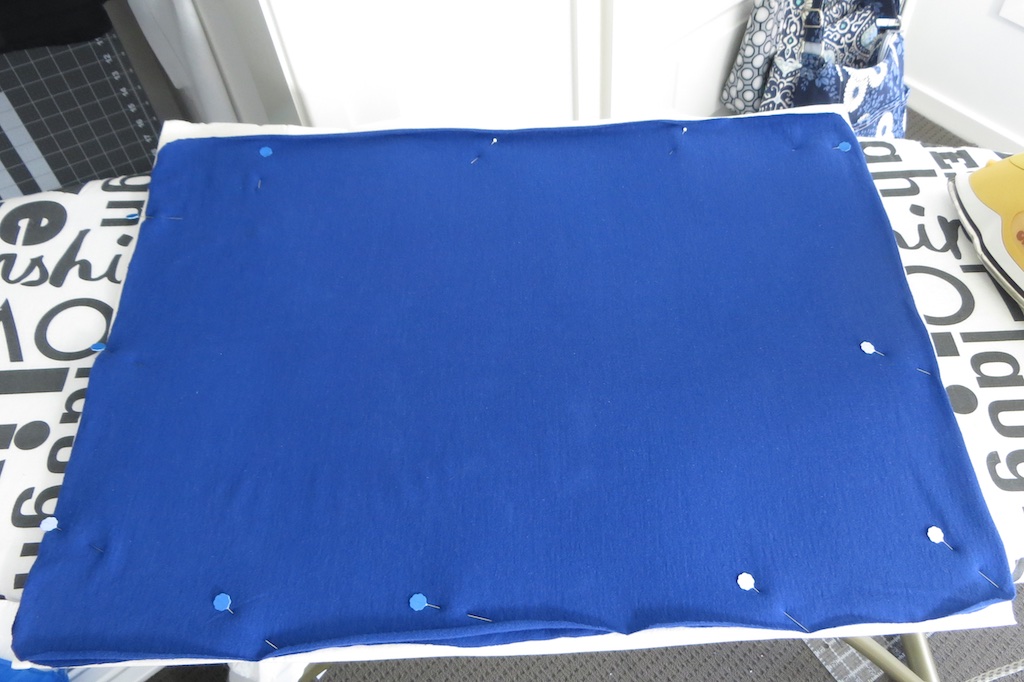
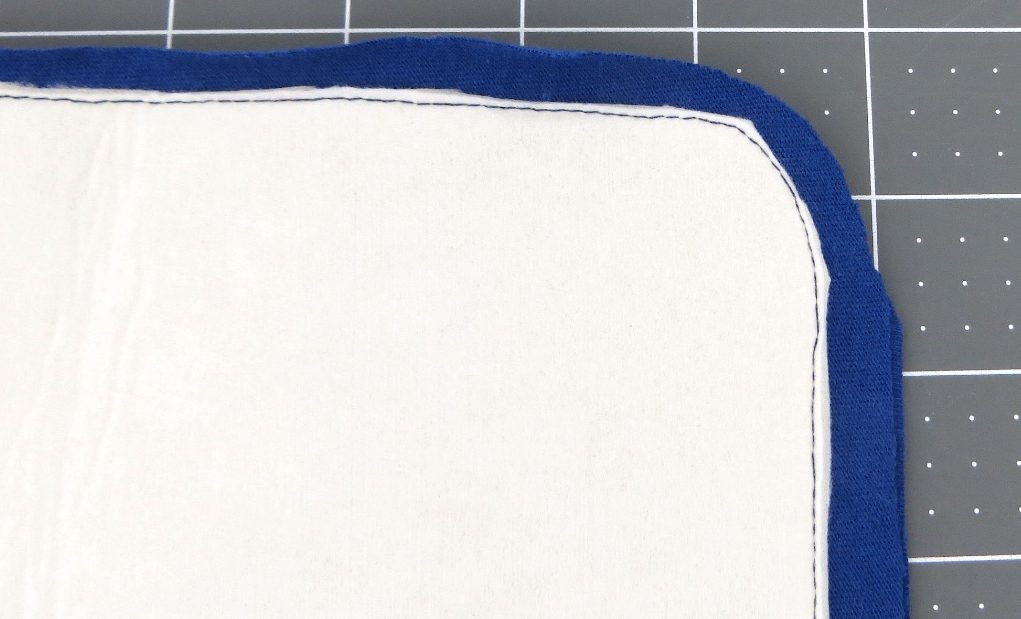
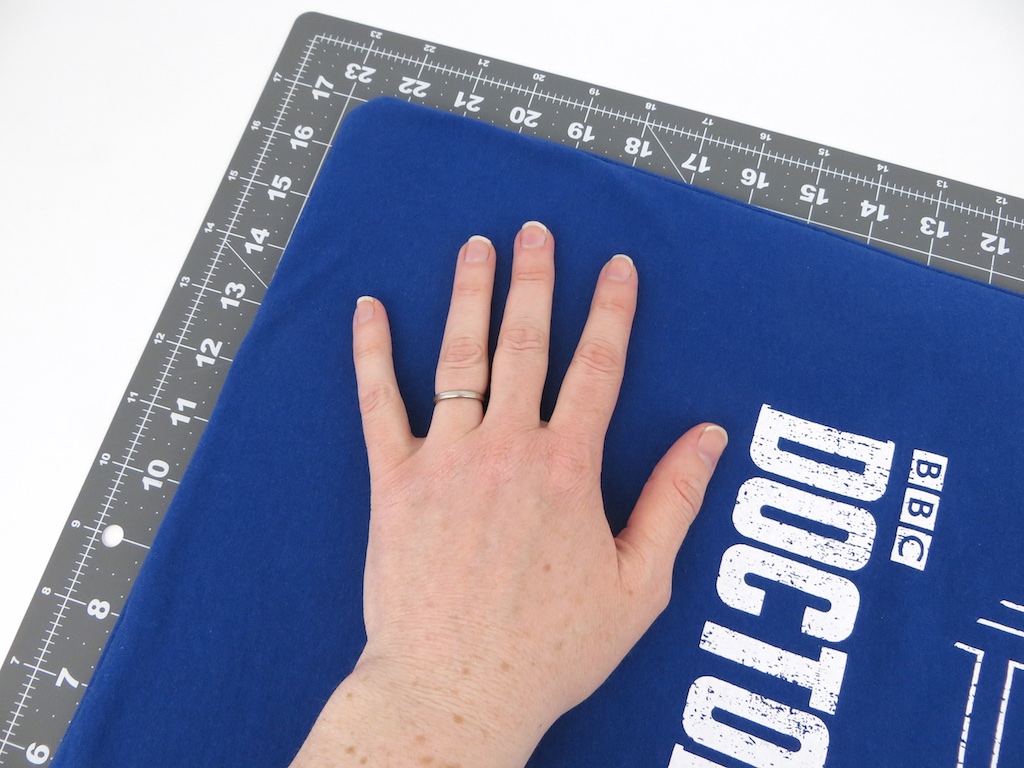
Cut a piece of foam larger than the rectangle and smooth the fabric out against the foam. I placed the foam next to the wrong side the screen print.
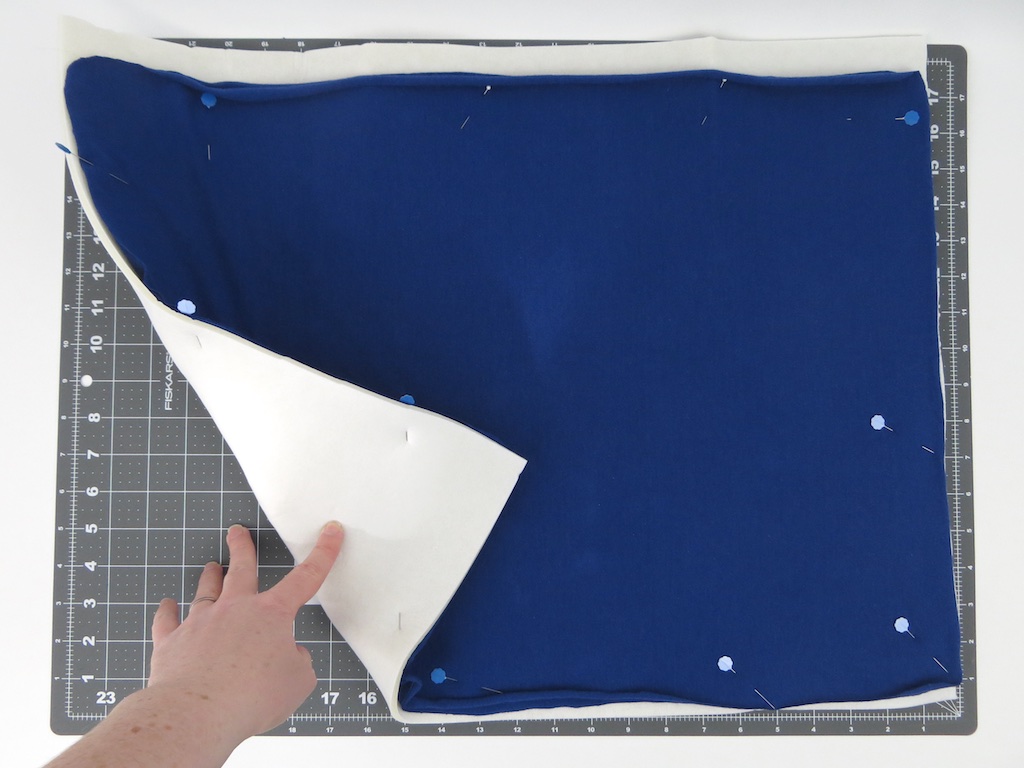
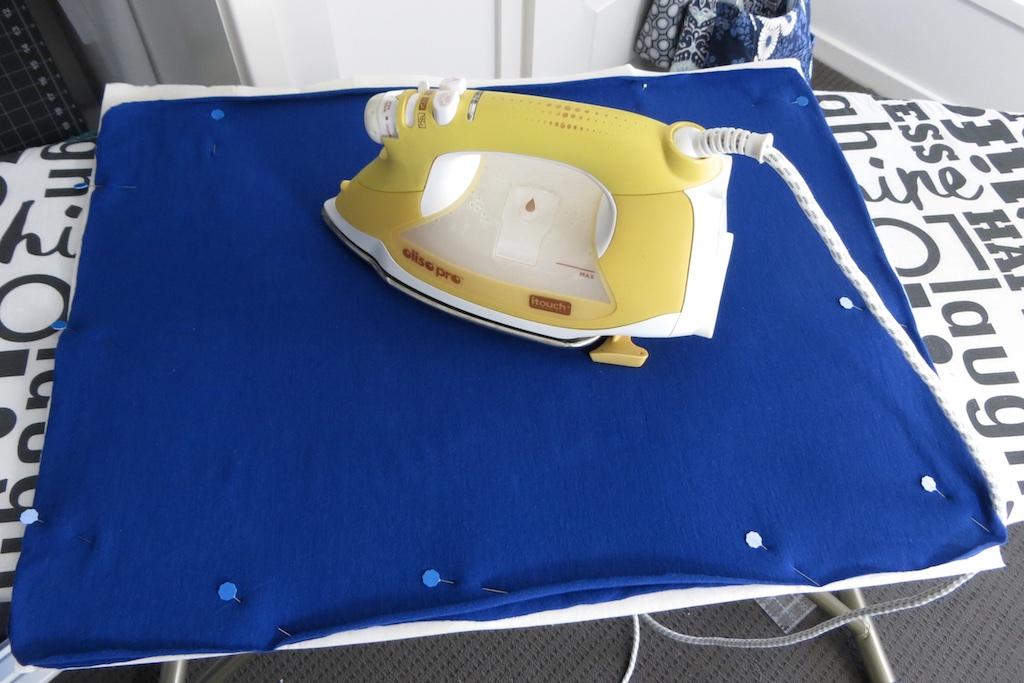
Press lightly from the middle out and remove the pins one by one and re-pin with the foam.
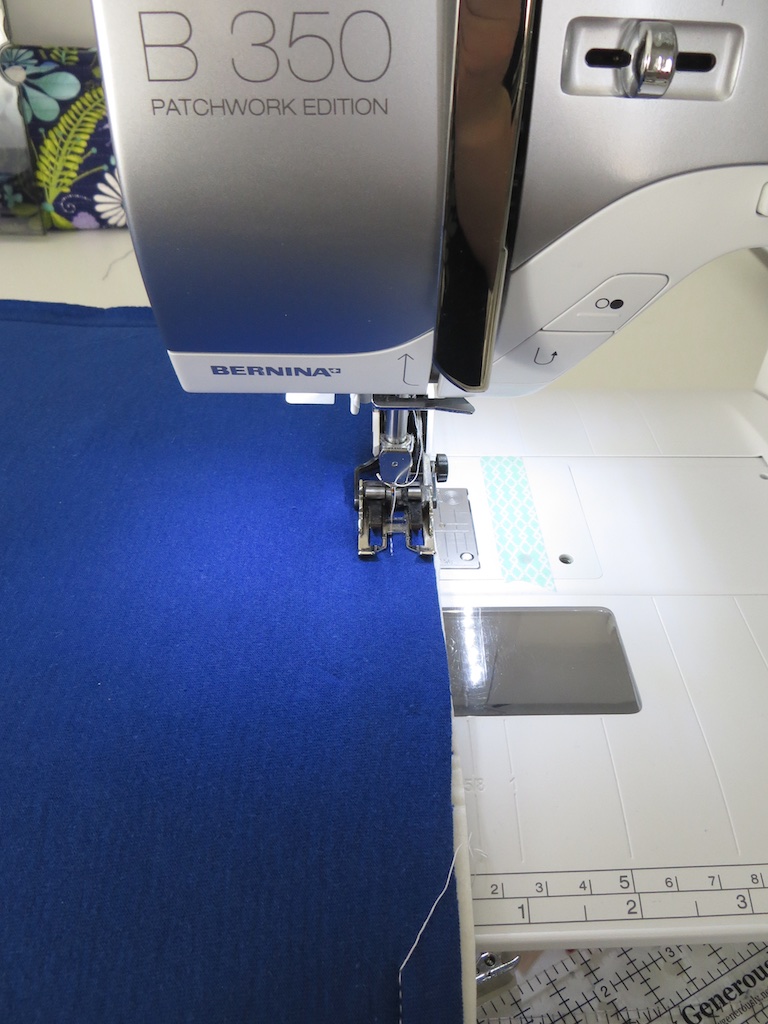
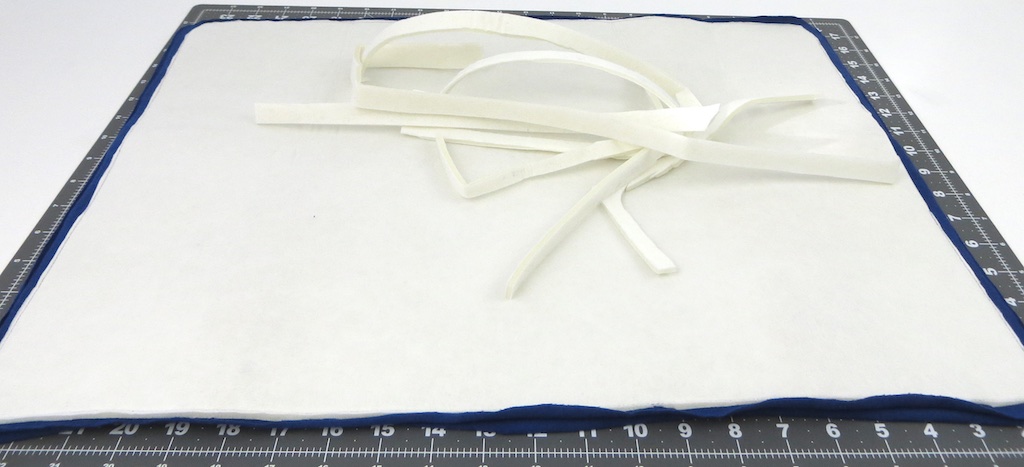


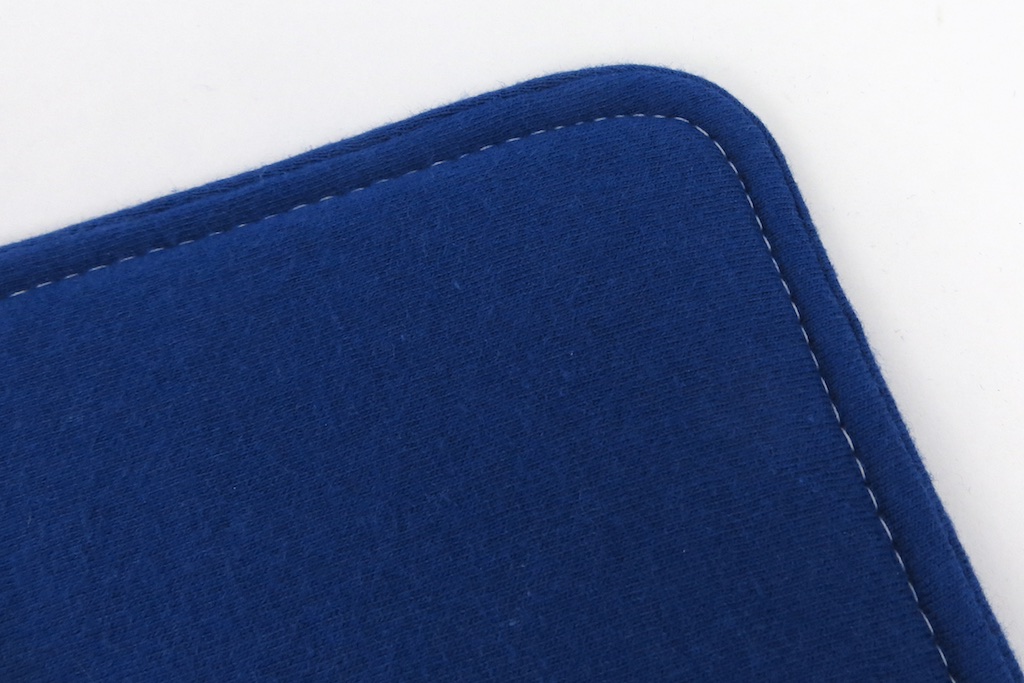


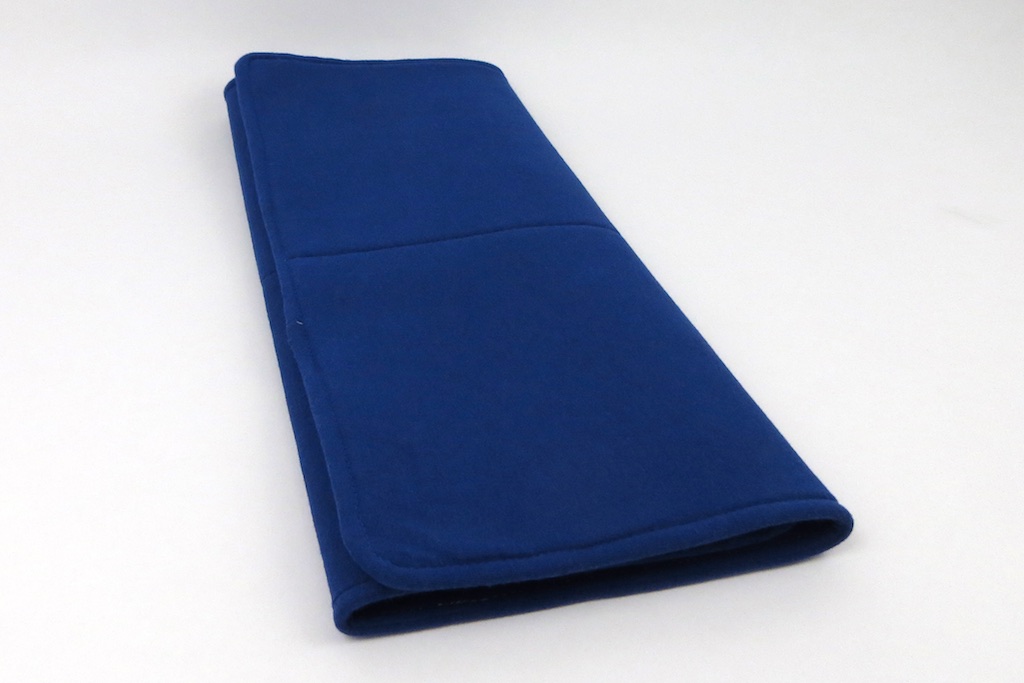
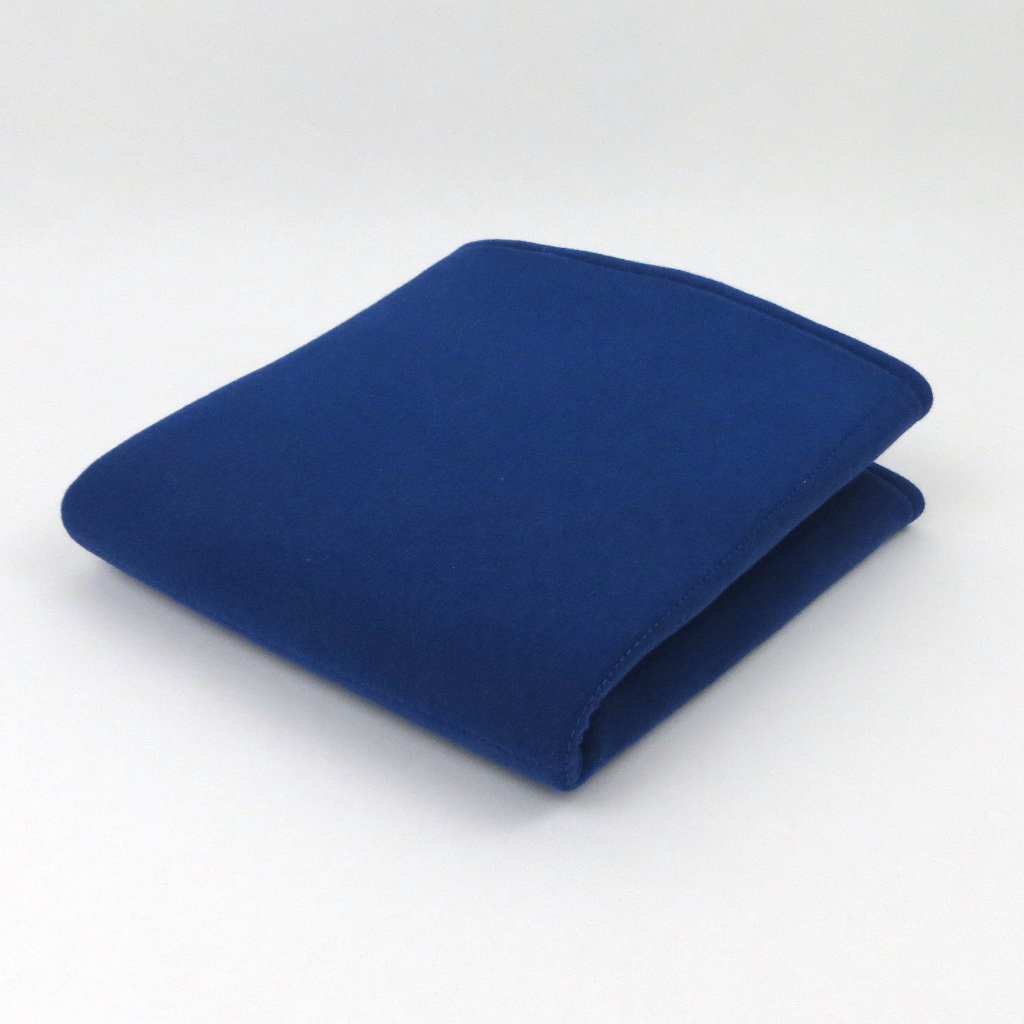
Fold in thirds the other way to mark the other fold lines. Stitch.
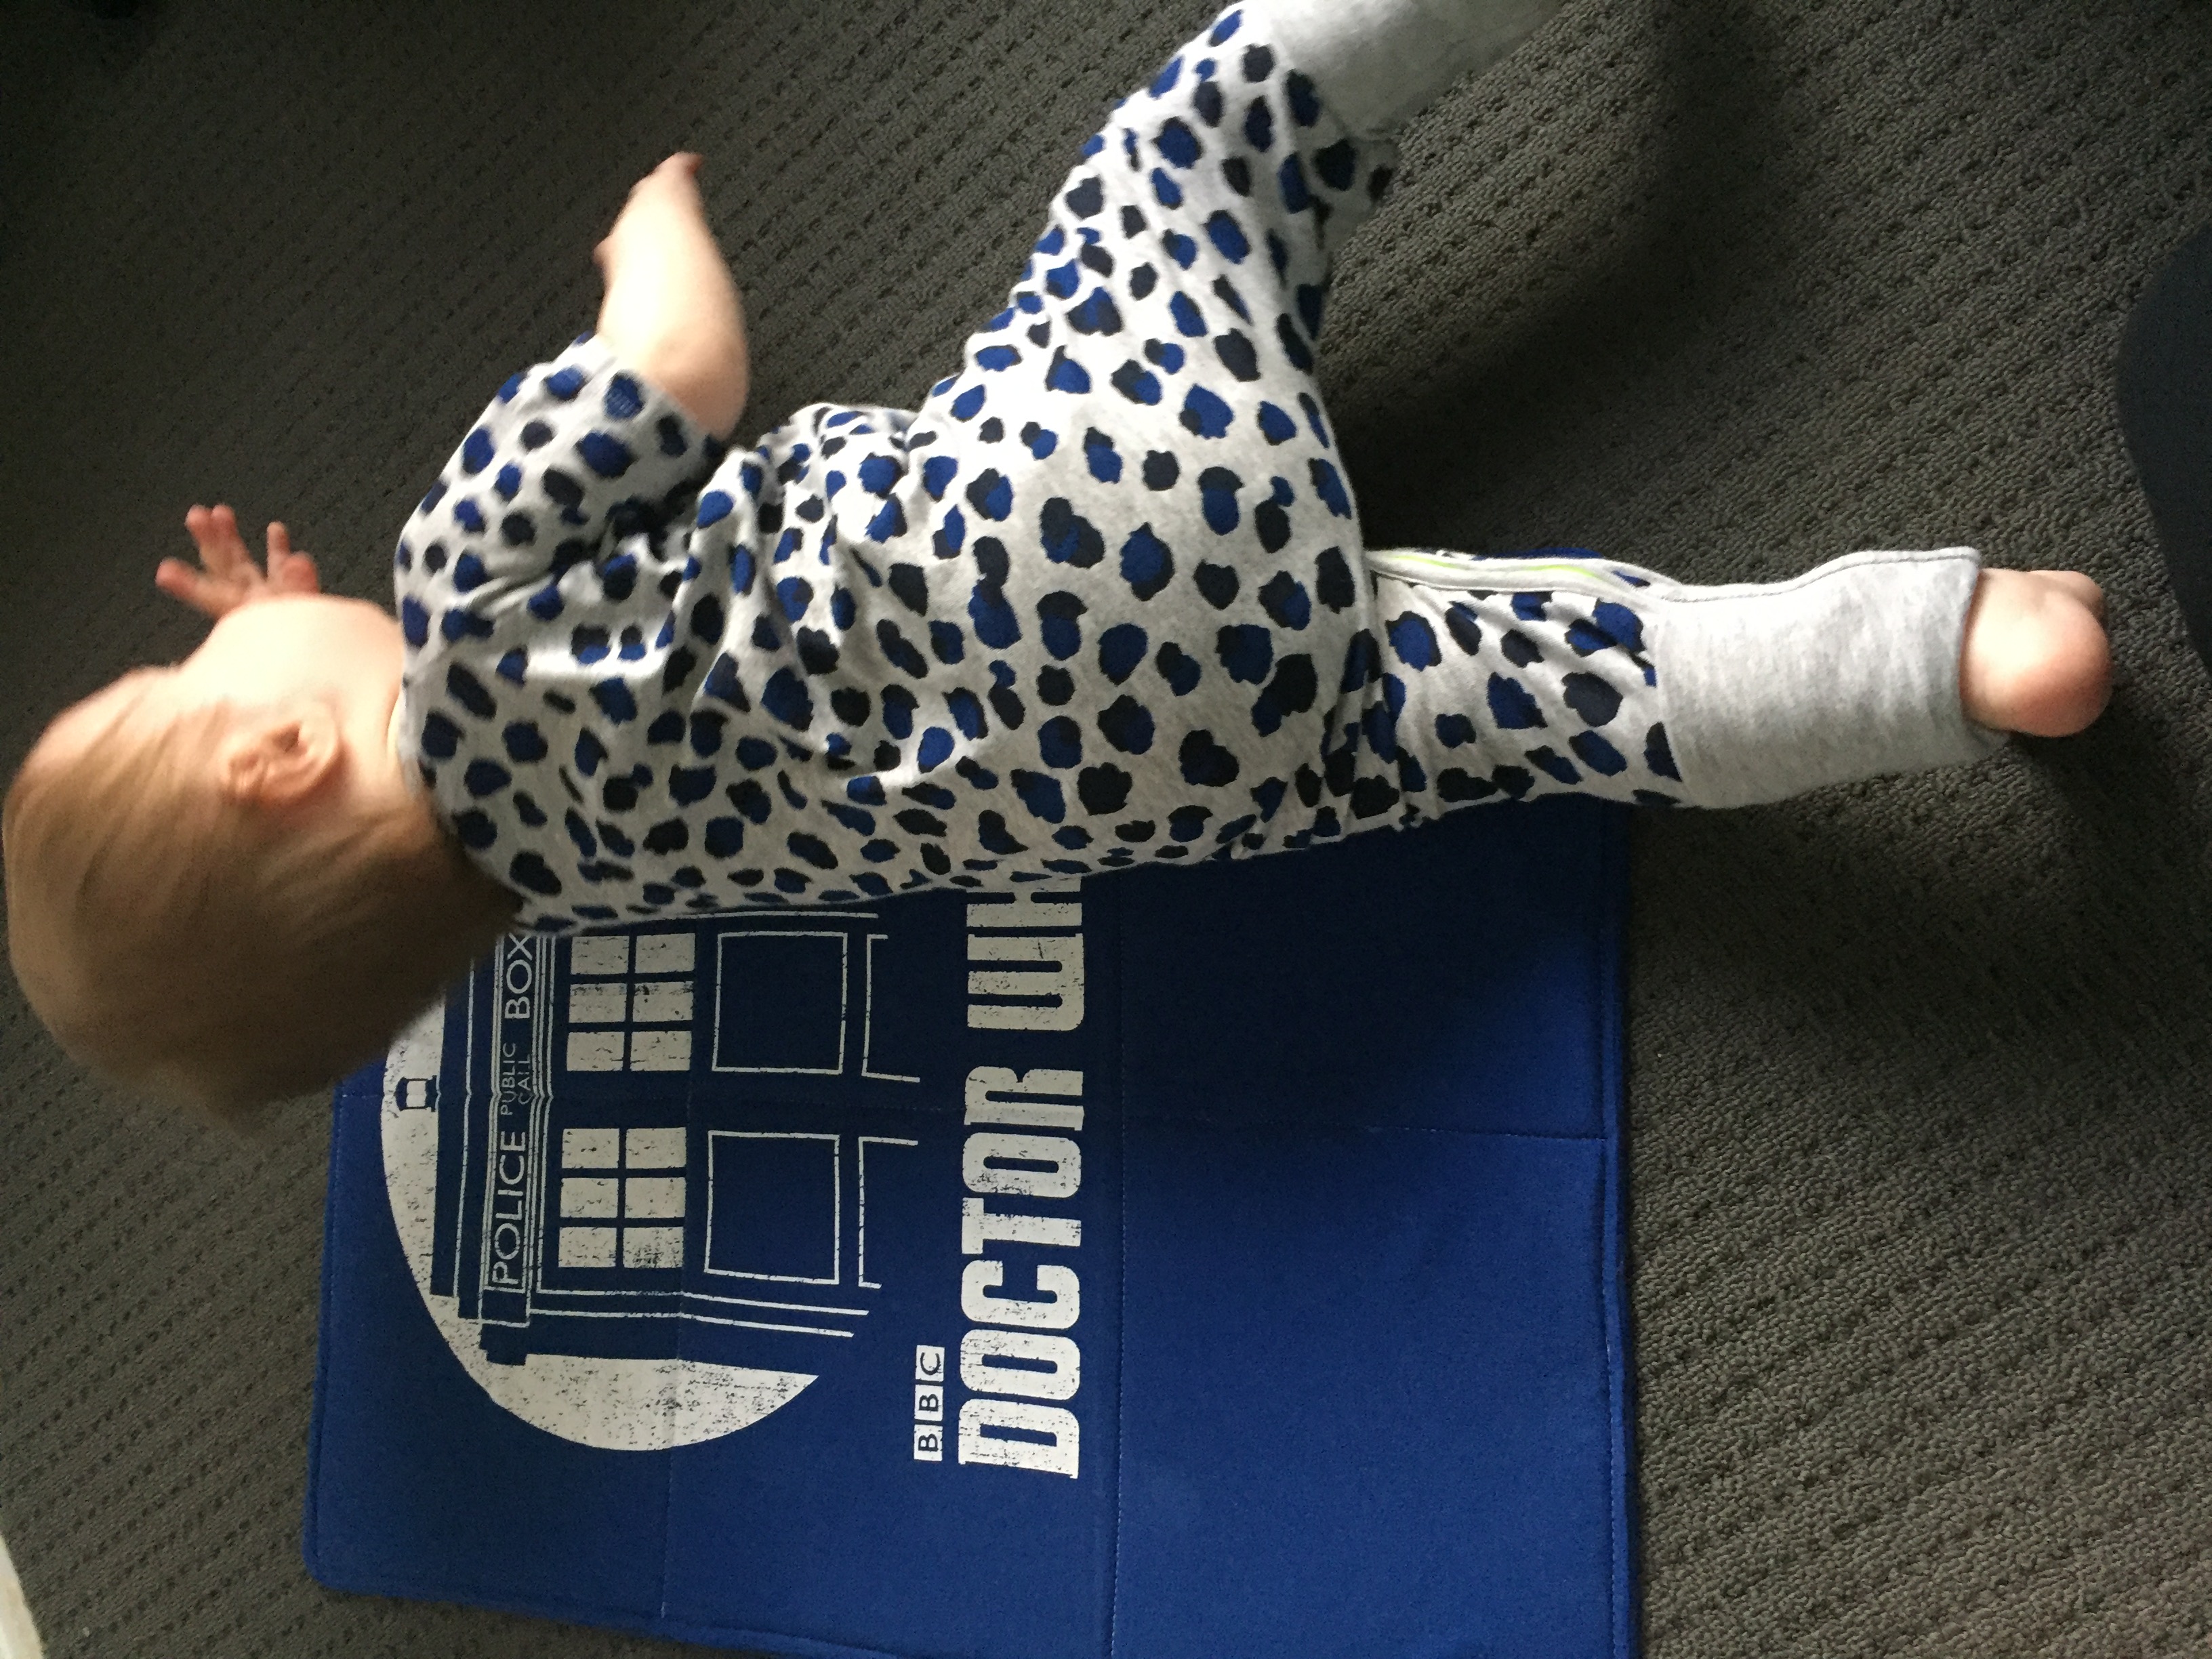
In case you thought Emmett held still for long… goodbye hat!

Great changing pad, even though I have no little ones, I still like how you reused the t-shirt. Thanks for sharing another great project.
Thanks for this tutorial. I love the simplicity and washability of it.
Love the Idea! Your tutorials are excellent. Just what I need to make to go with baby quilts I send to family.
Love the changing pad! Thank you (for all your patterns and tutorials).
Also get a kick out of the pics you share of Emmett. My daughter could not keep a hat on her little guy either. Finally told him he couldn’t go outside without his hat. That was all it took. Of course, he was a little older than Emmett.