
Hi! Update of updates will come soon but this was too fun to not share!
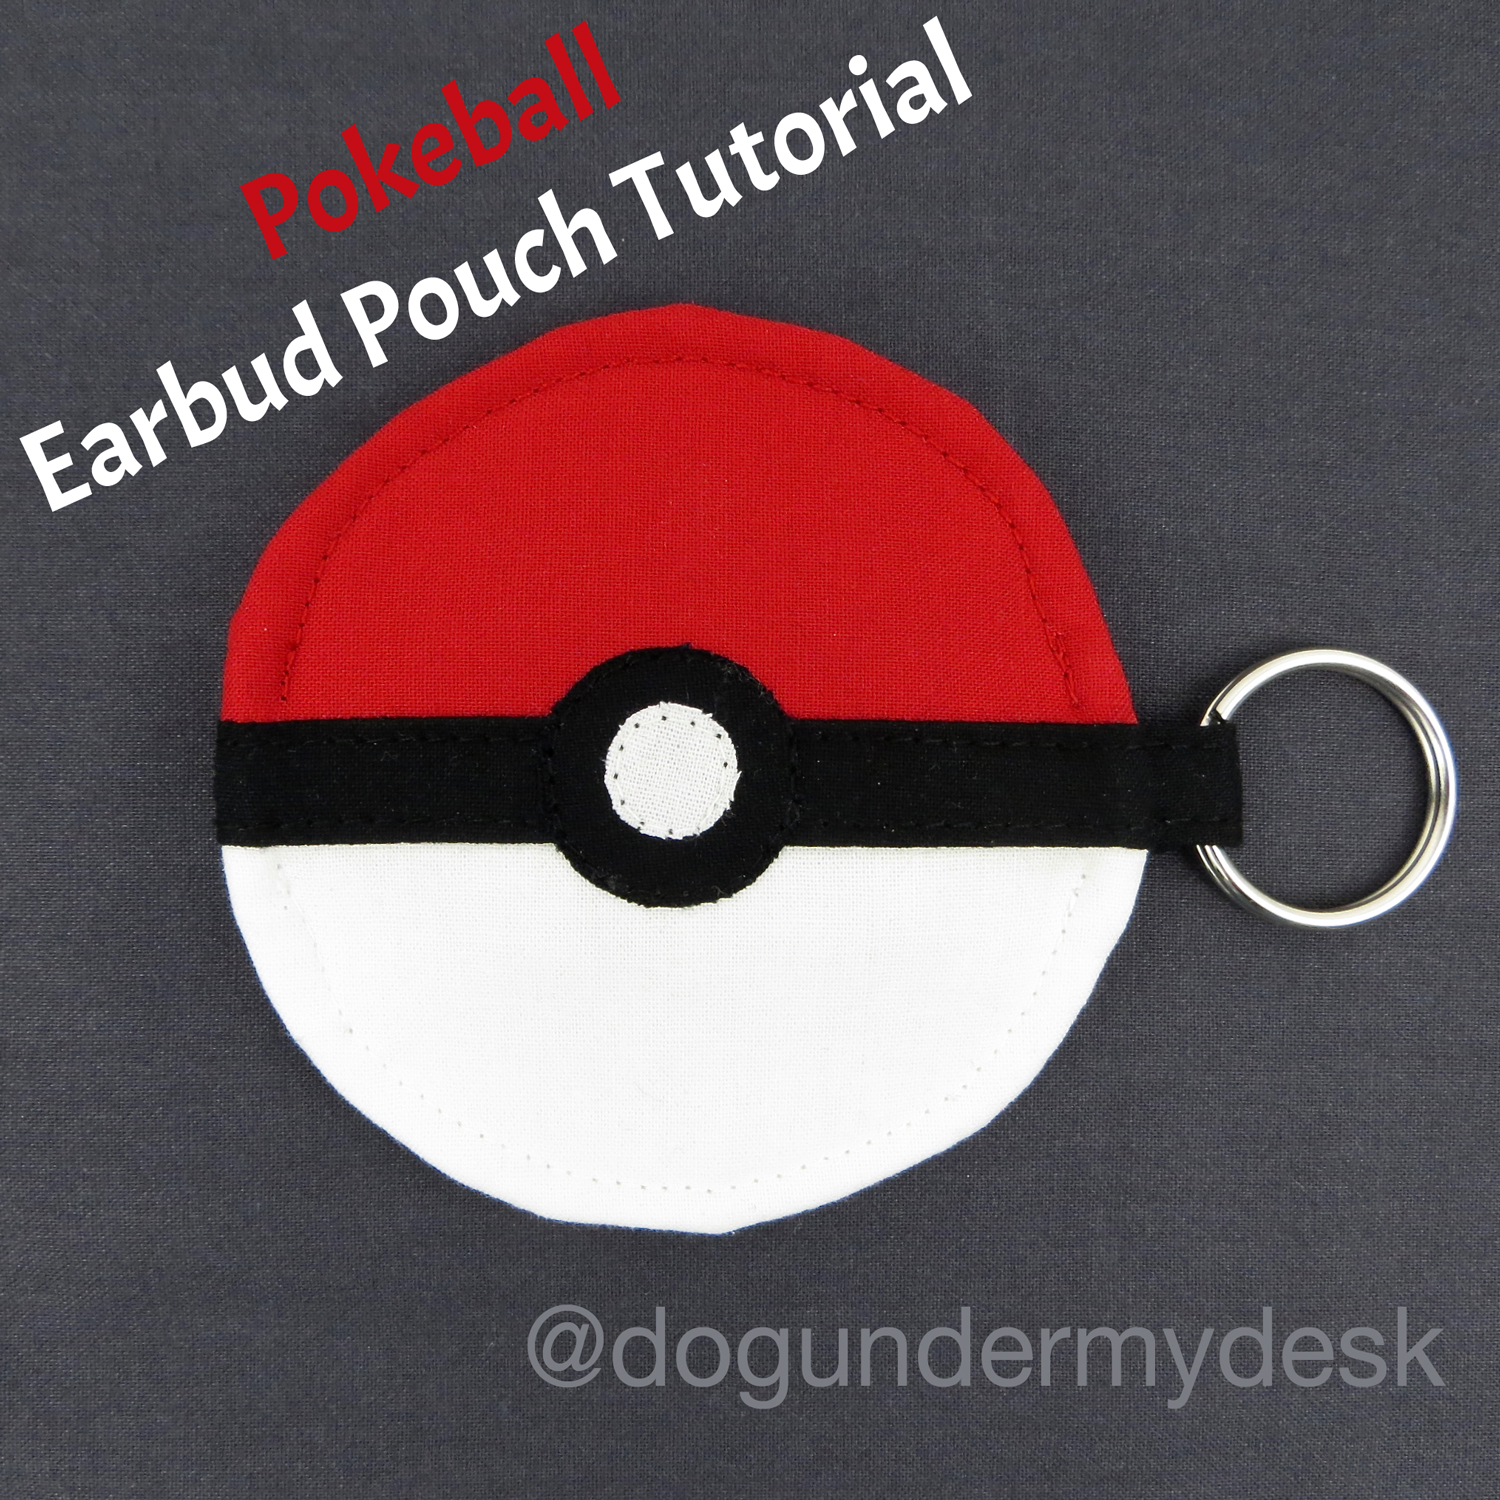
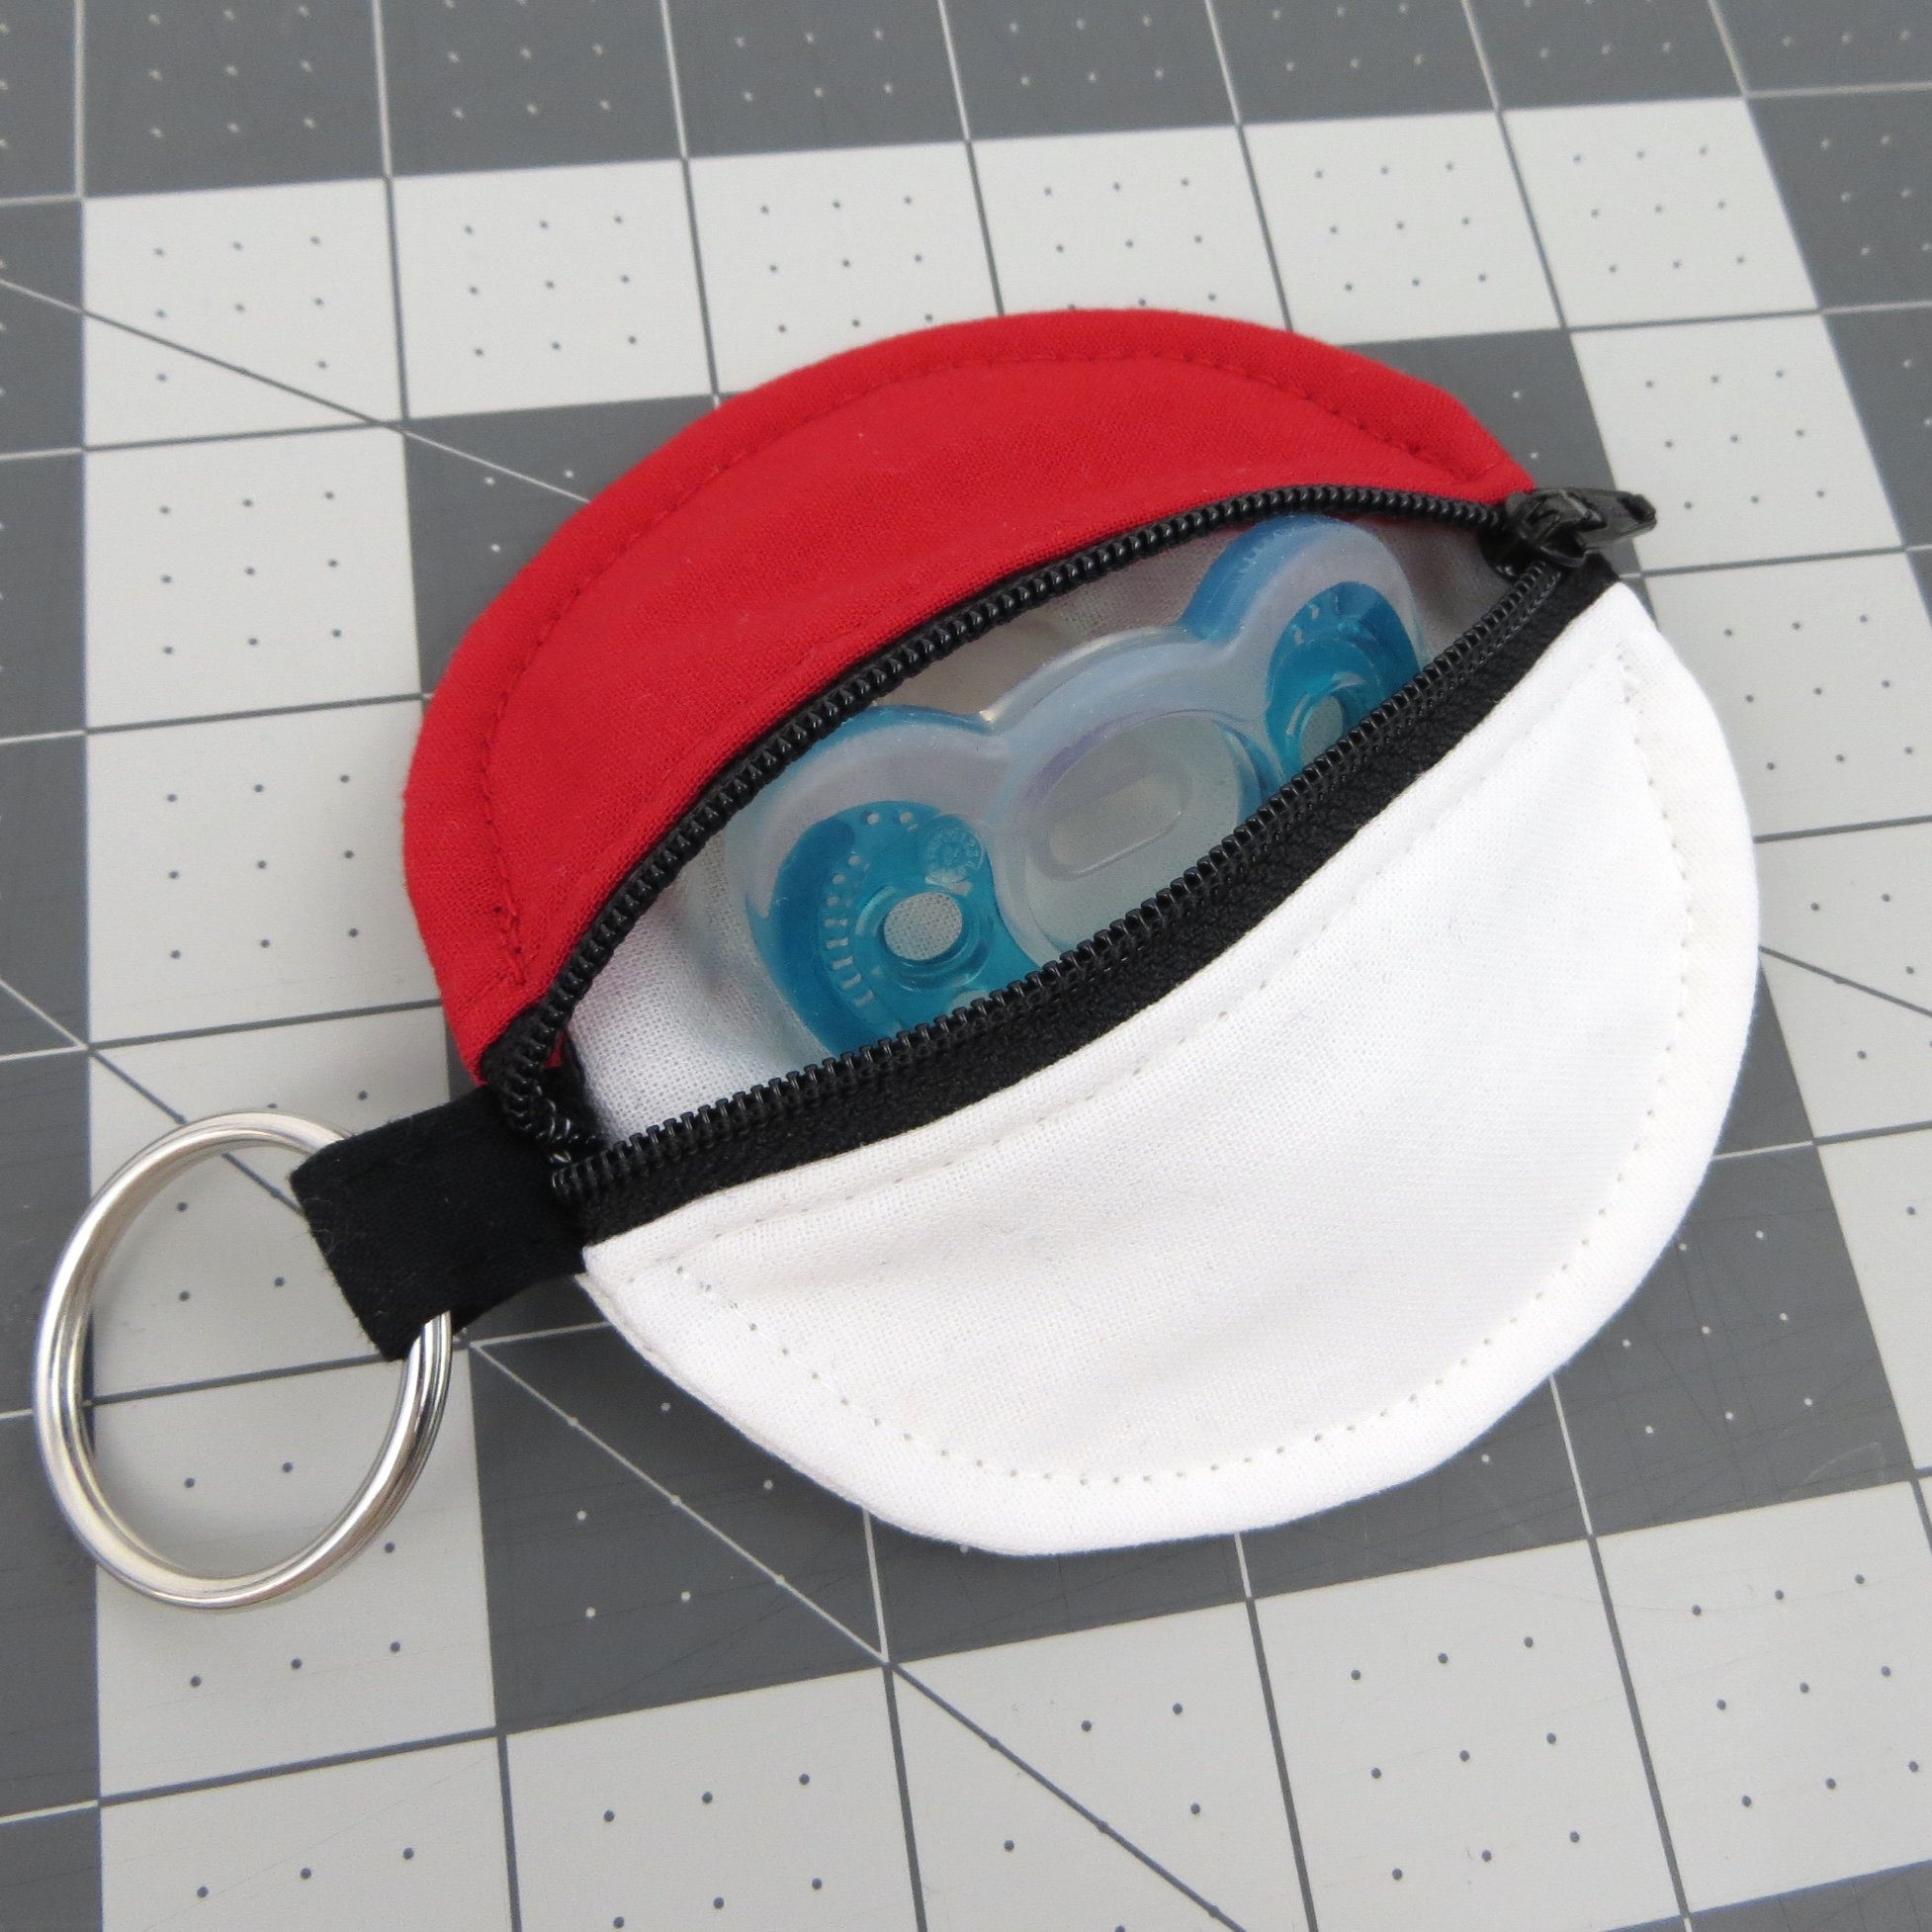
I made one of these a few weeks ago almost as a joke. Bob had been playing Pokemon Go like crazy and even made Emmett an email address and a Pokemon Go account so he could “play” too (of course he caught a Pikachu first go, overachieving little 10 month old!) Since Emmett doesn’t exactly have an iPod (although I’m sure he’d like one to play Emma Wiggle on repeat) I figured he could put his pacifier in it. :P
A few members of the Facebook group saw it and started making them with felt and applique, which is so cool! But, I do have a clever way to piece it that I wanted to show you. It’s silly, but I have moved my sewing room 4 or 5 times since my last pattern, and I have a different computer, different sewing machine, different lights… so I wanted to make sure everything worked and this was a good way to test it.
Now, this is based on my infamous Circle Zip Earbud Pouch tutorial which you will need to reference HERE or you can purchase the bright, twice as detailed, printable pattern HERE. For quick access, you can find the template HERE.
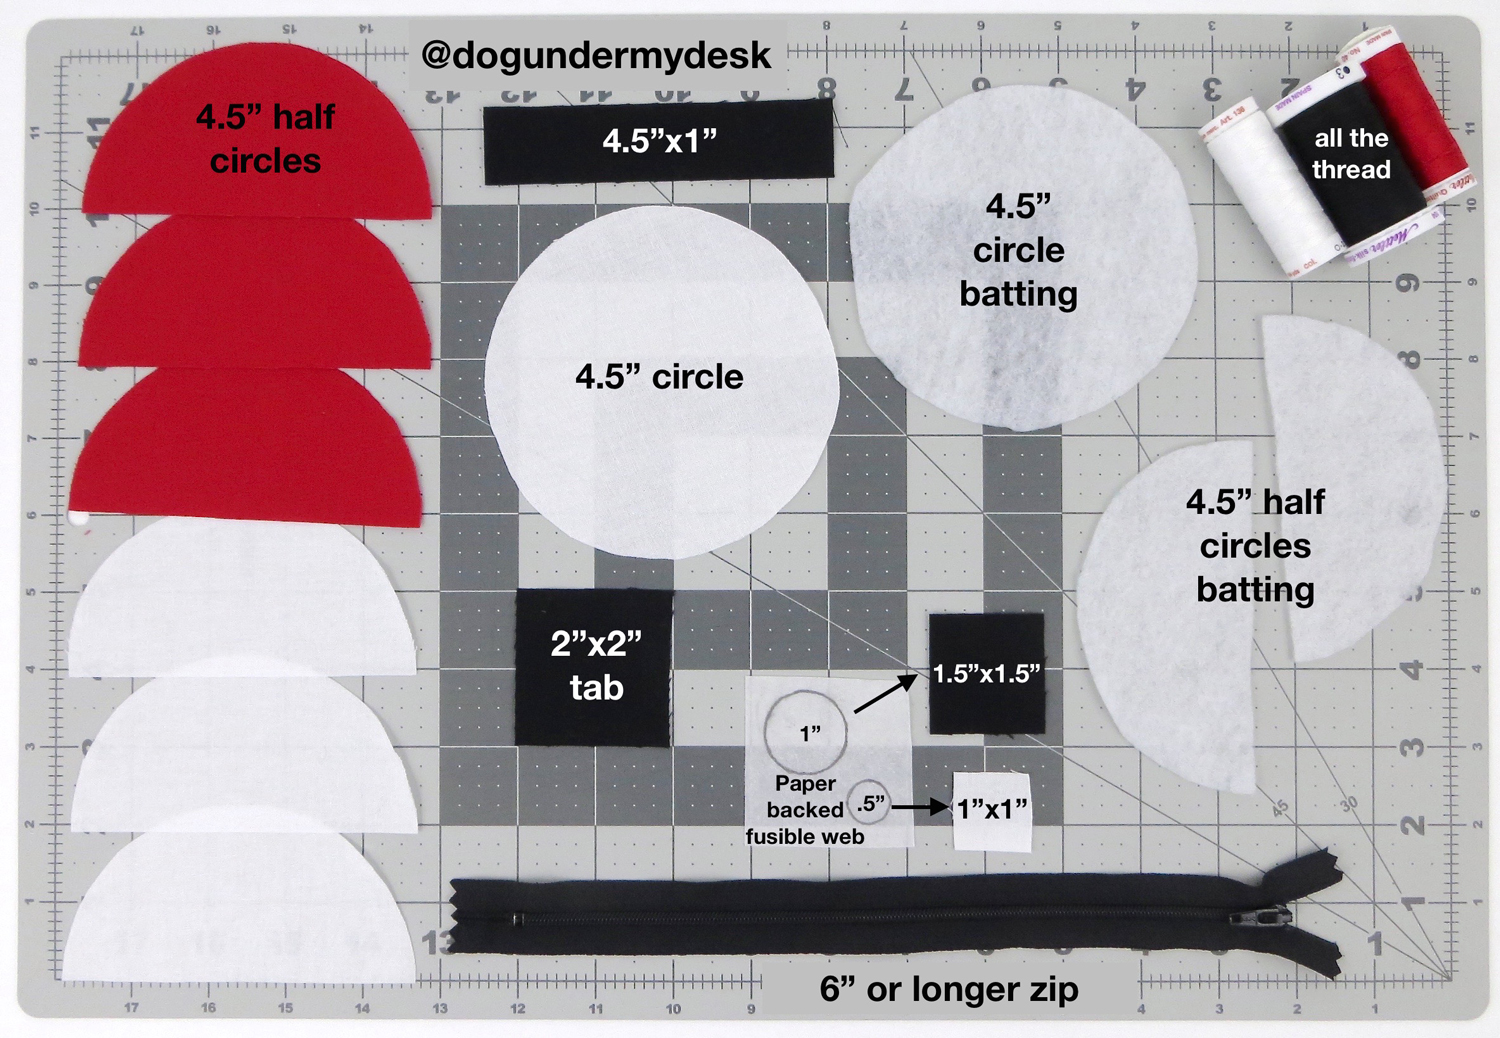
You will need:
3 – 4.5″ red half circles
3 – 4.5″ white half circles
1 – 4.5″ white circle
1 – 4.5″ circle of batting (I’m using Pellon 988 poly fleece)
2 – 4.5″ half circles of batting
1 – 1″ x 4.5″ strip of black fabric
1 – 2″ x 2″ tab of black fabric
1 – 1.5″ x 1.5″ piece of black fabric for the large circle
1 – 1″ x 1″ piece of white fabric for the small circle
1 – 6″ or longer 1″ wide NYLON dress zipper (not a handbag zip, not a metal zip!)
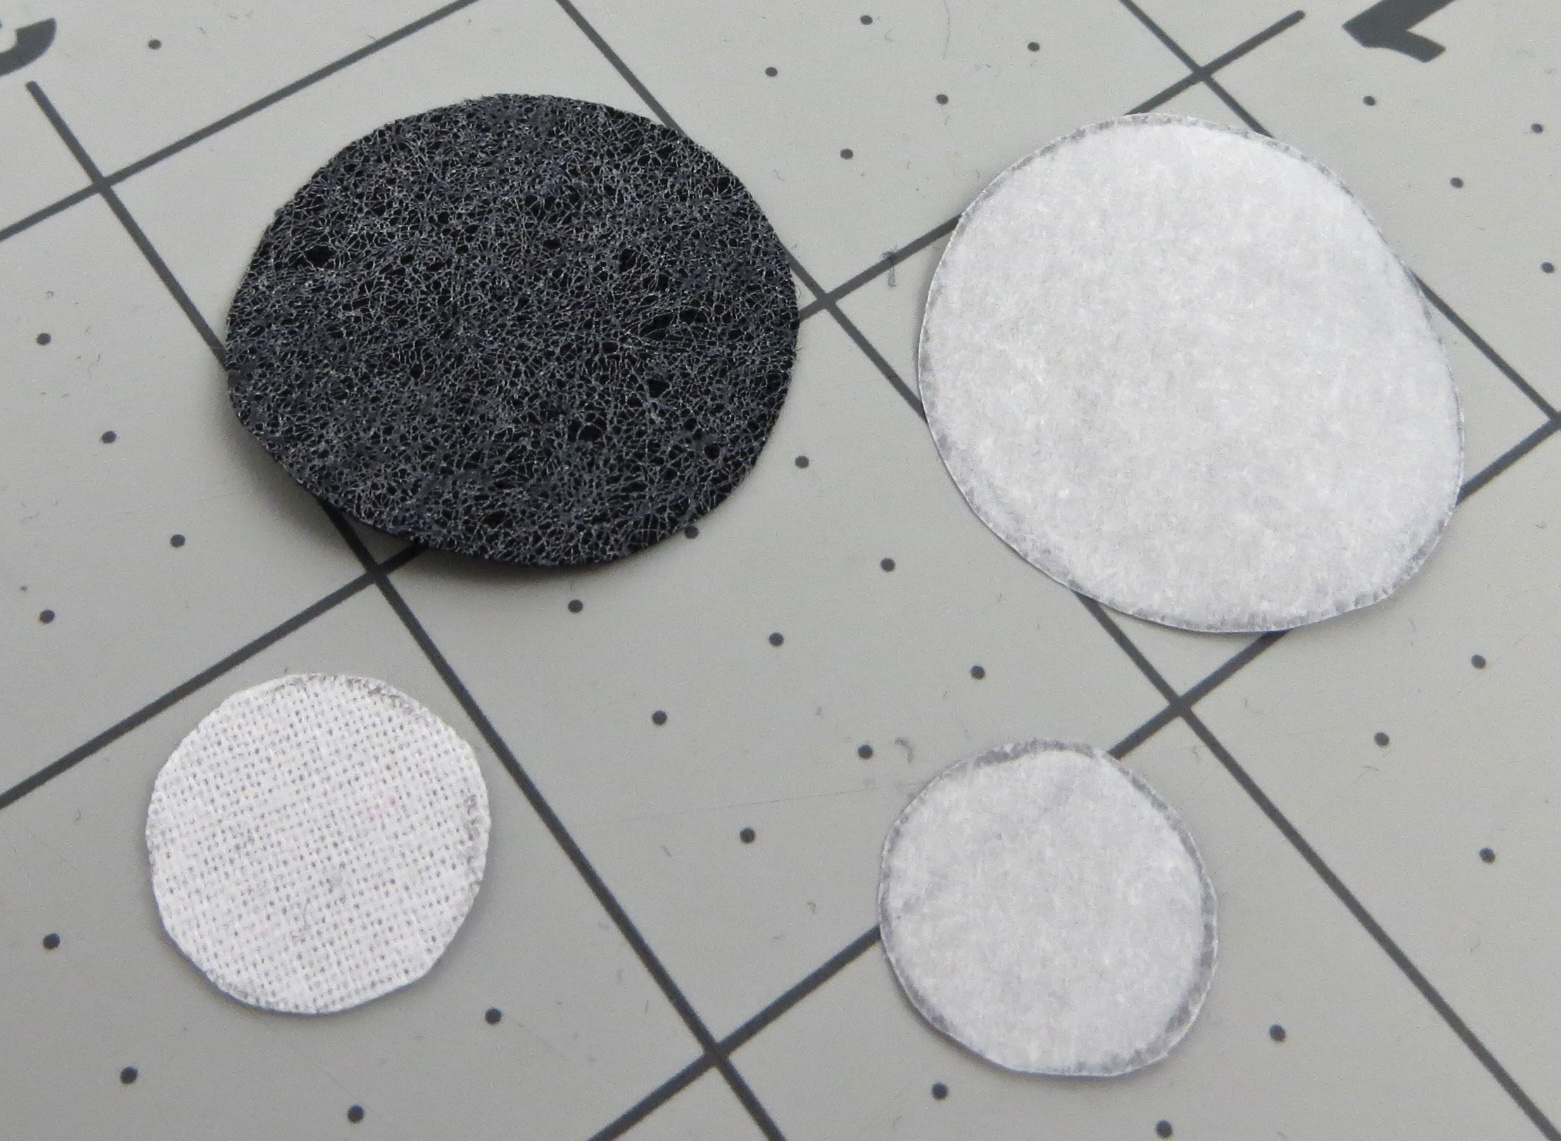
1 – 2″ x 2″ or larger piece of *sewable* paper backed fusible web (This is Heat n Bond Lite)
Red, black, and white thread
I use a 90/14 Sharp/Microtex or topstitch needle
A 1/4″ piecing (quilting) foot is helpful, as are a zipper foot and walking foot
CUT ALL THE THINGS
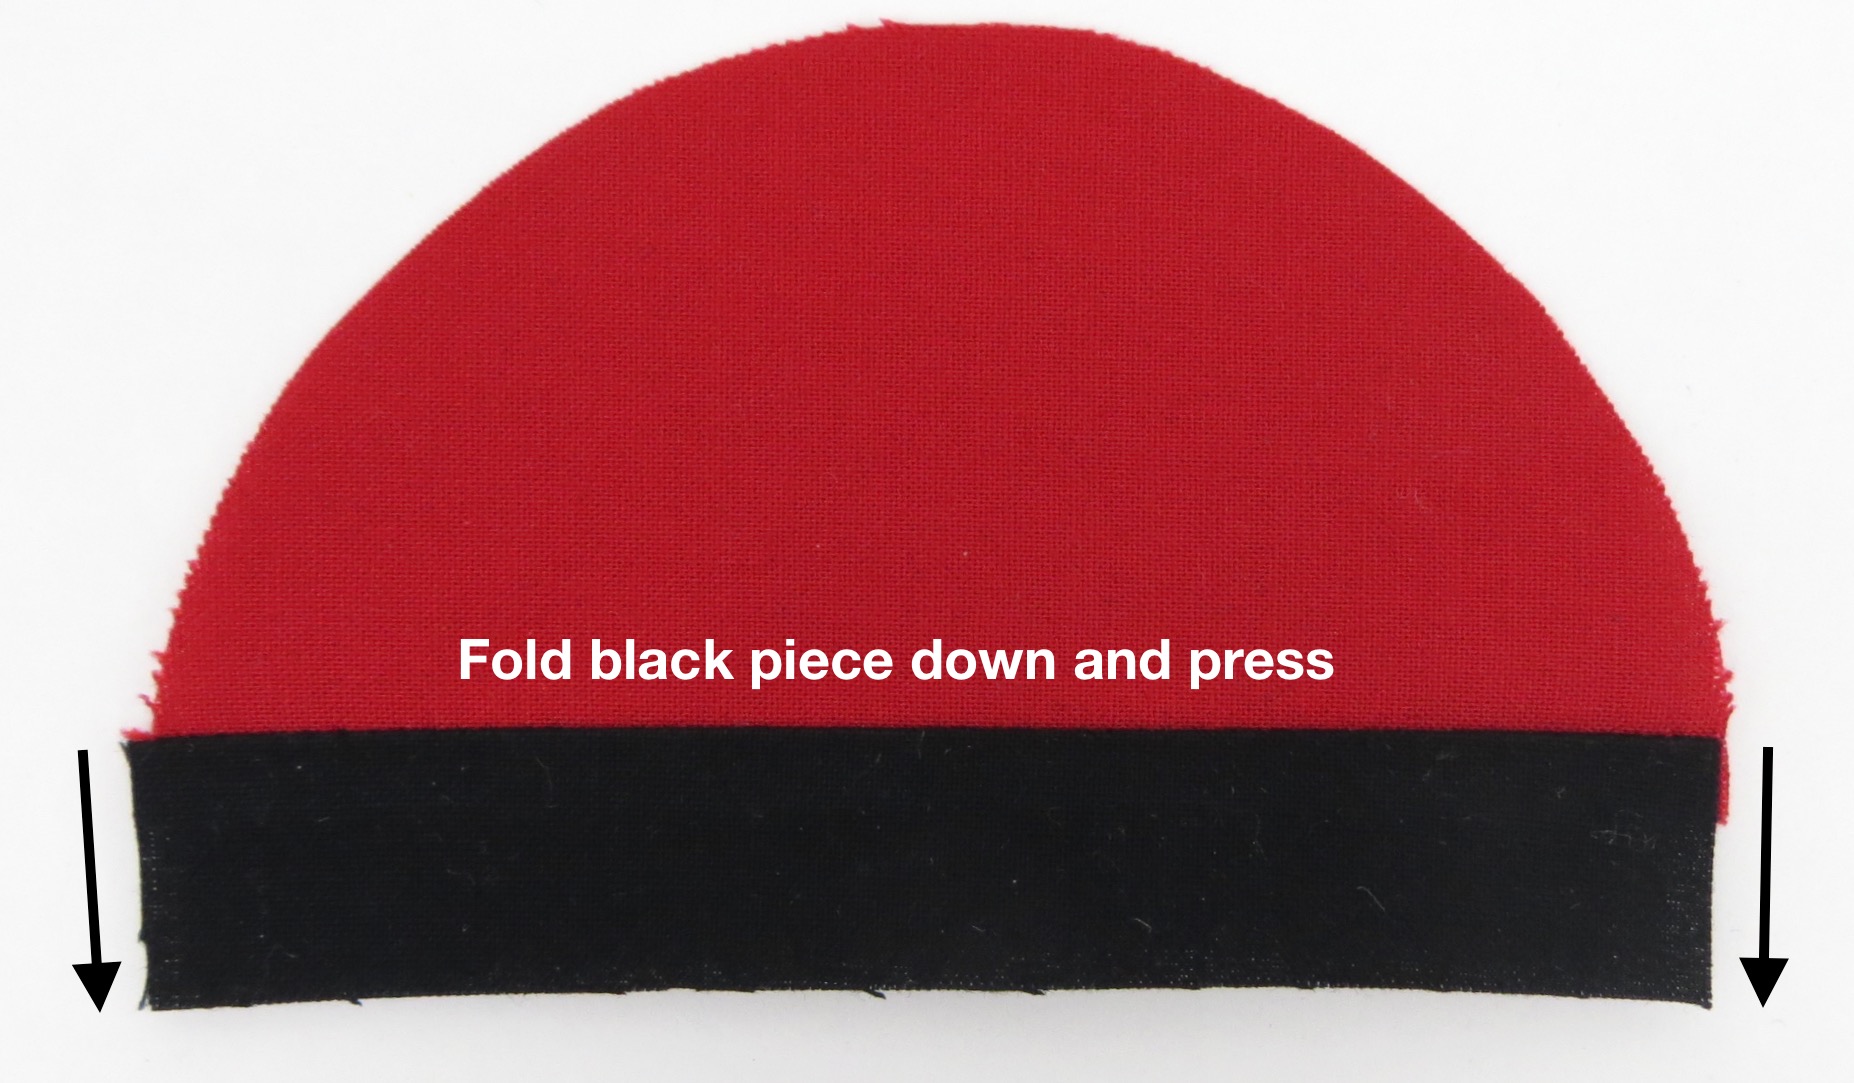
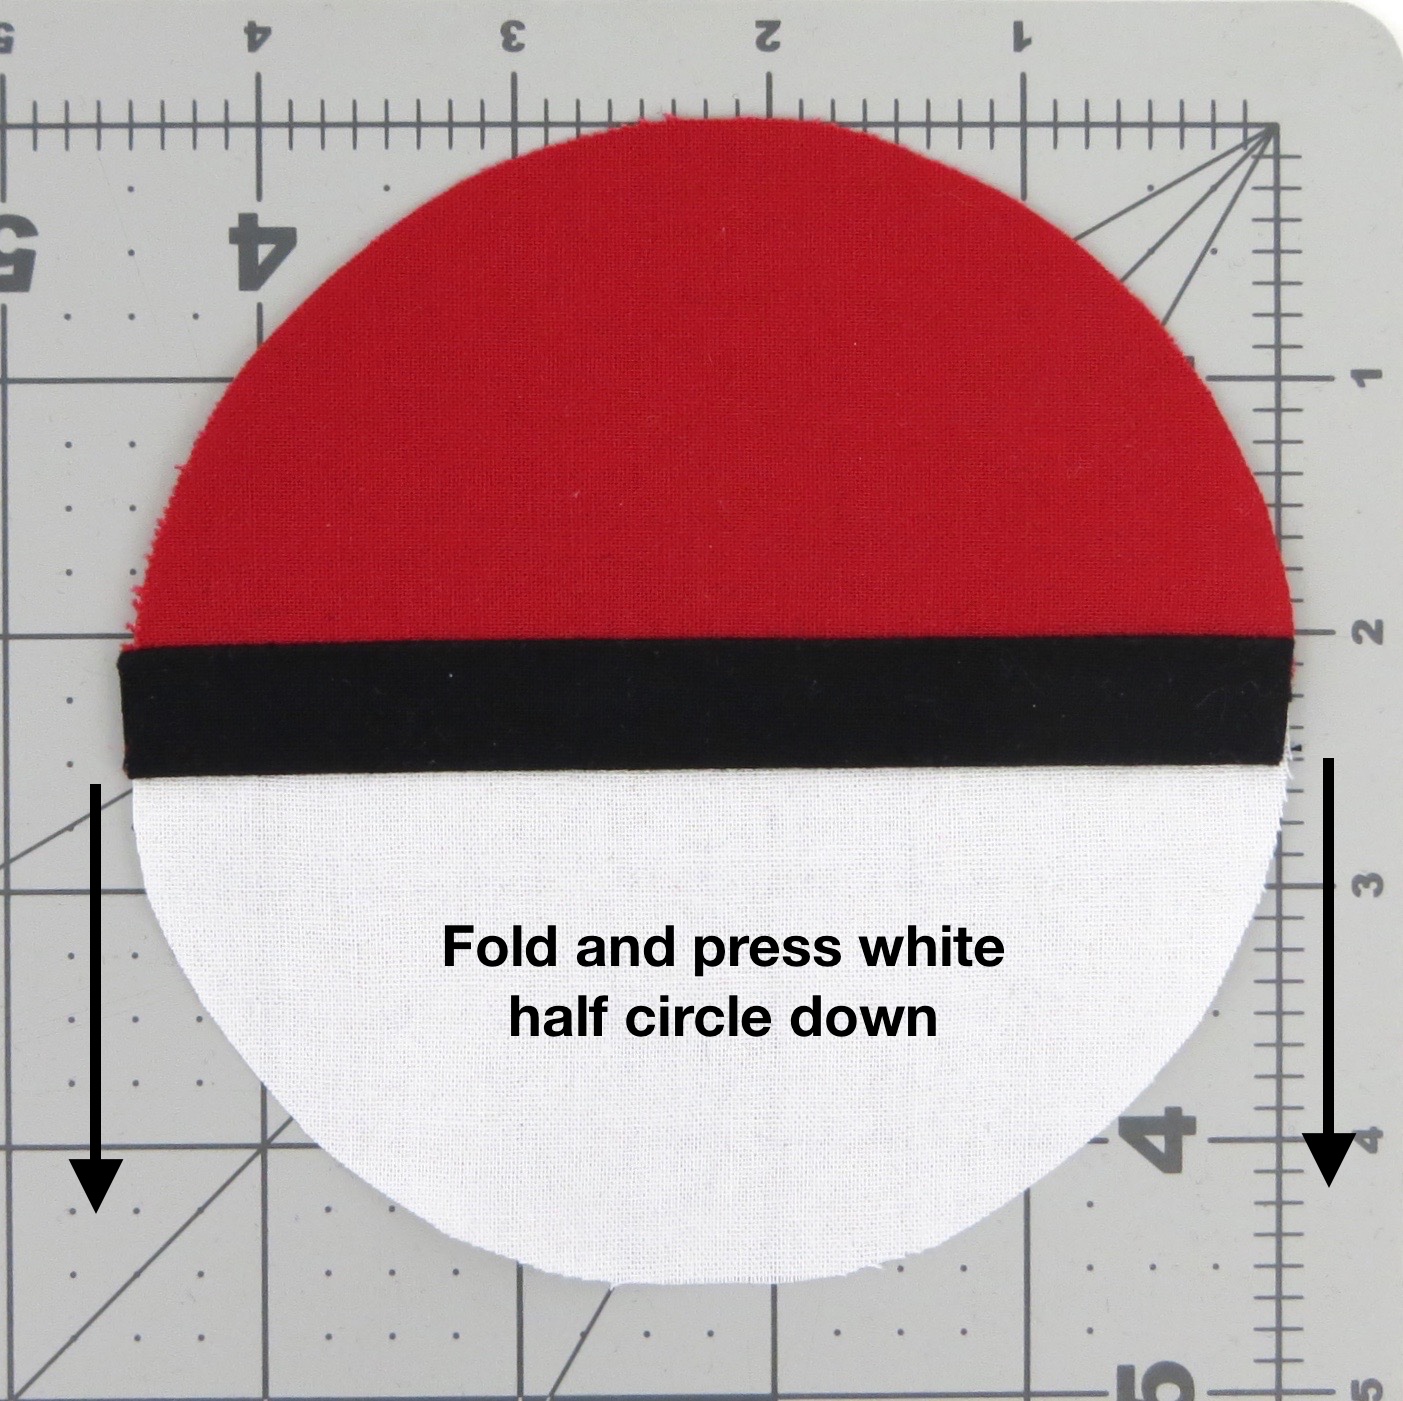
Line up the raw edges of one red half circle and the 4.5″ x 1″ strip of black fabric. Sew a 1/4″ seam, backstitching at the beginning and end.

Fold the black strip down and press.
Place a white half circle on top, aligning the raw edges with the black strip. Sew a 1/4″ seam, backstitching at the beginning and end.
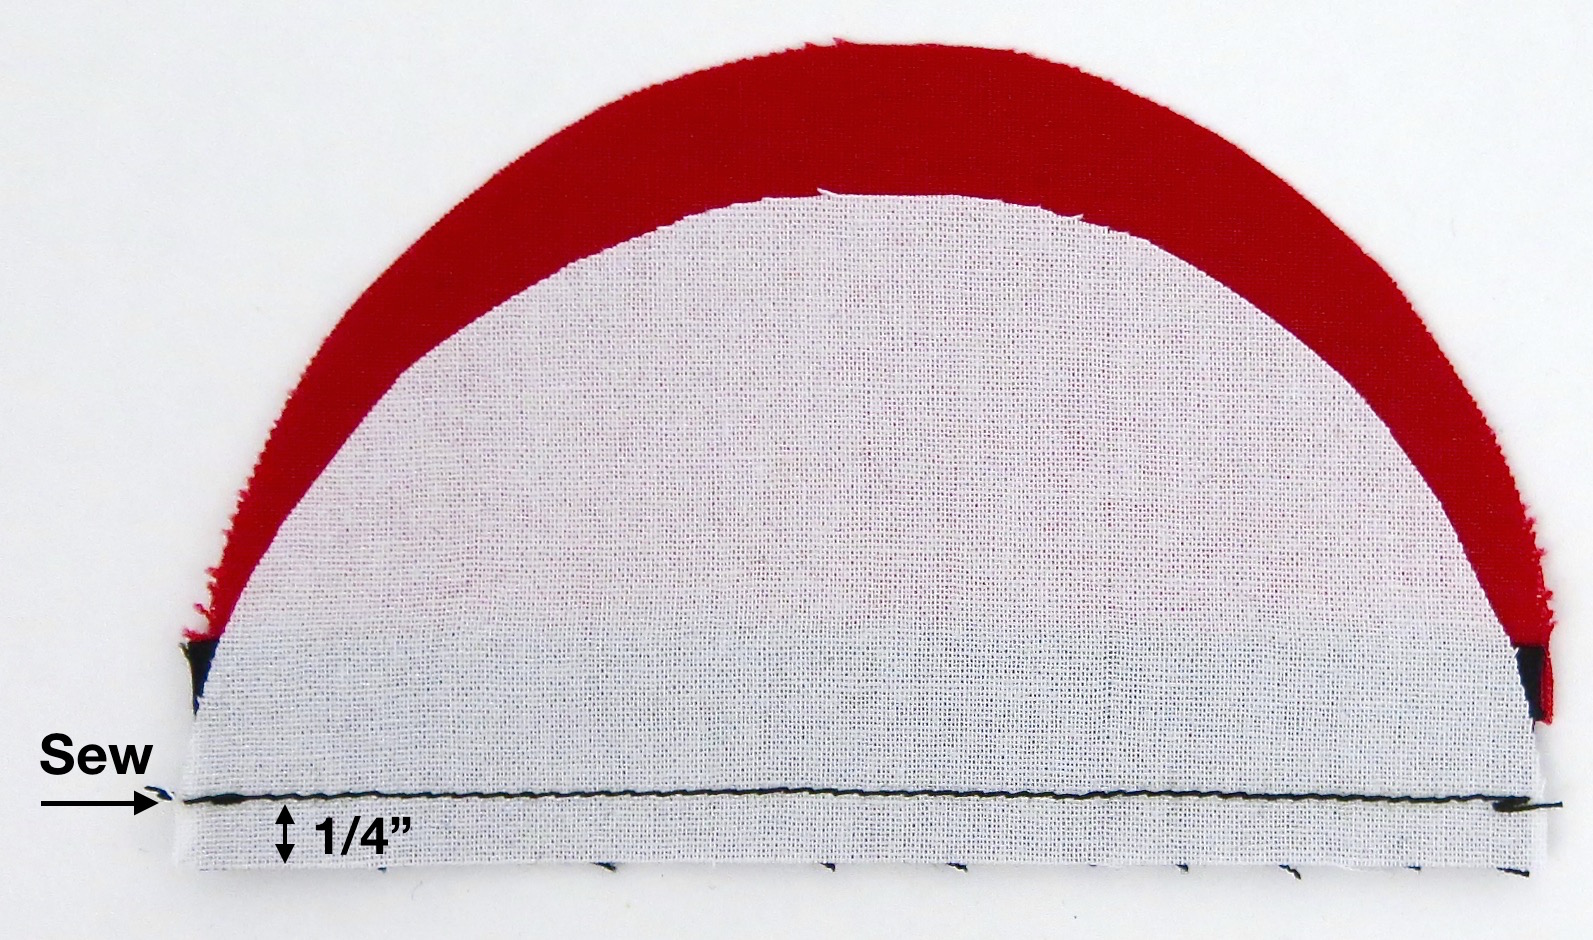
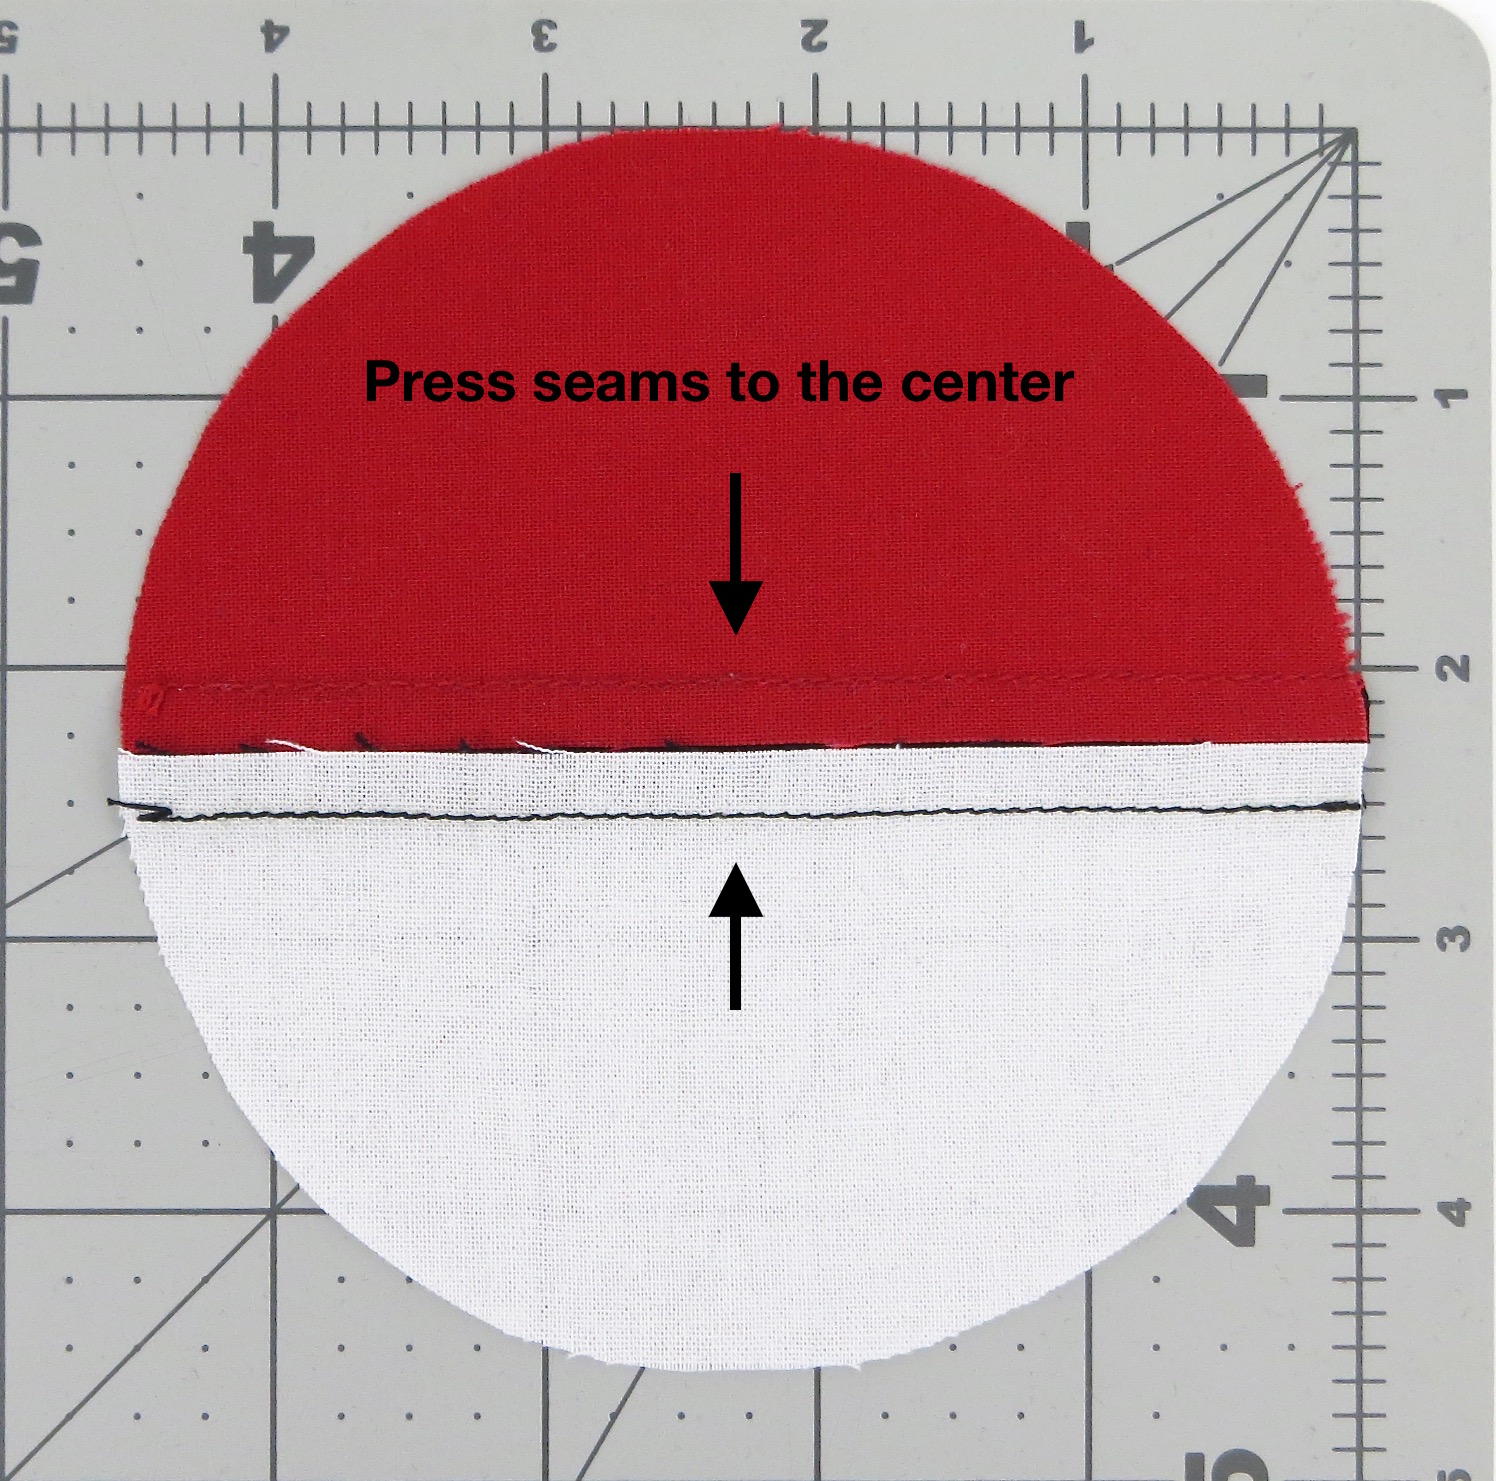
Fold the white half circle down and press. Press the seams towards the middle of the black strip.
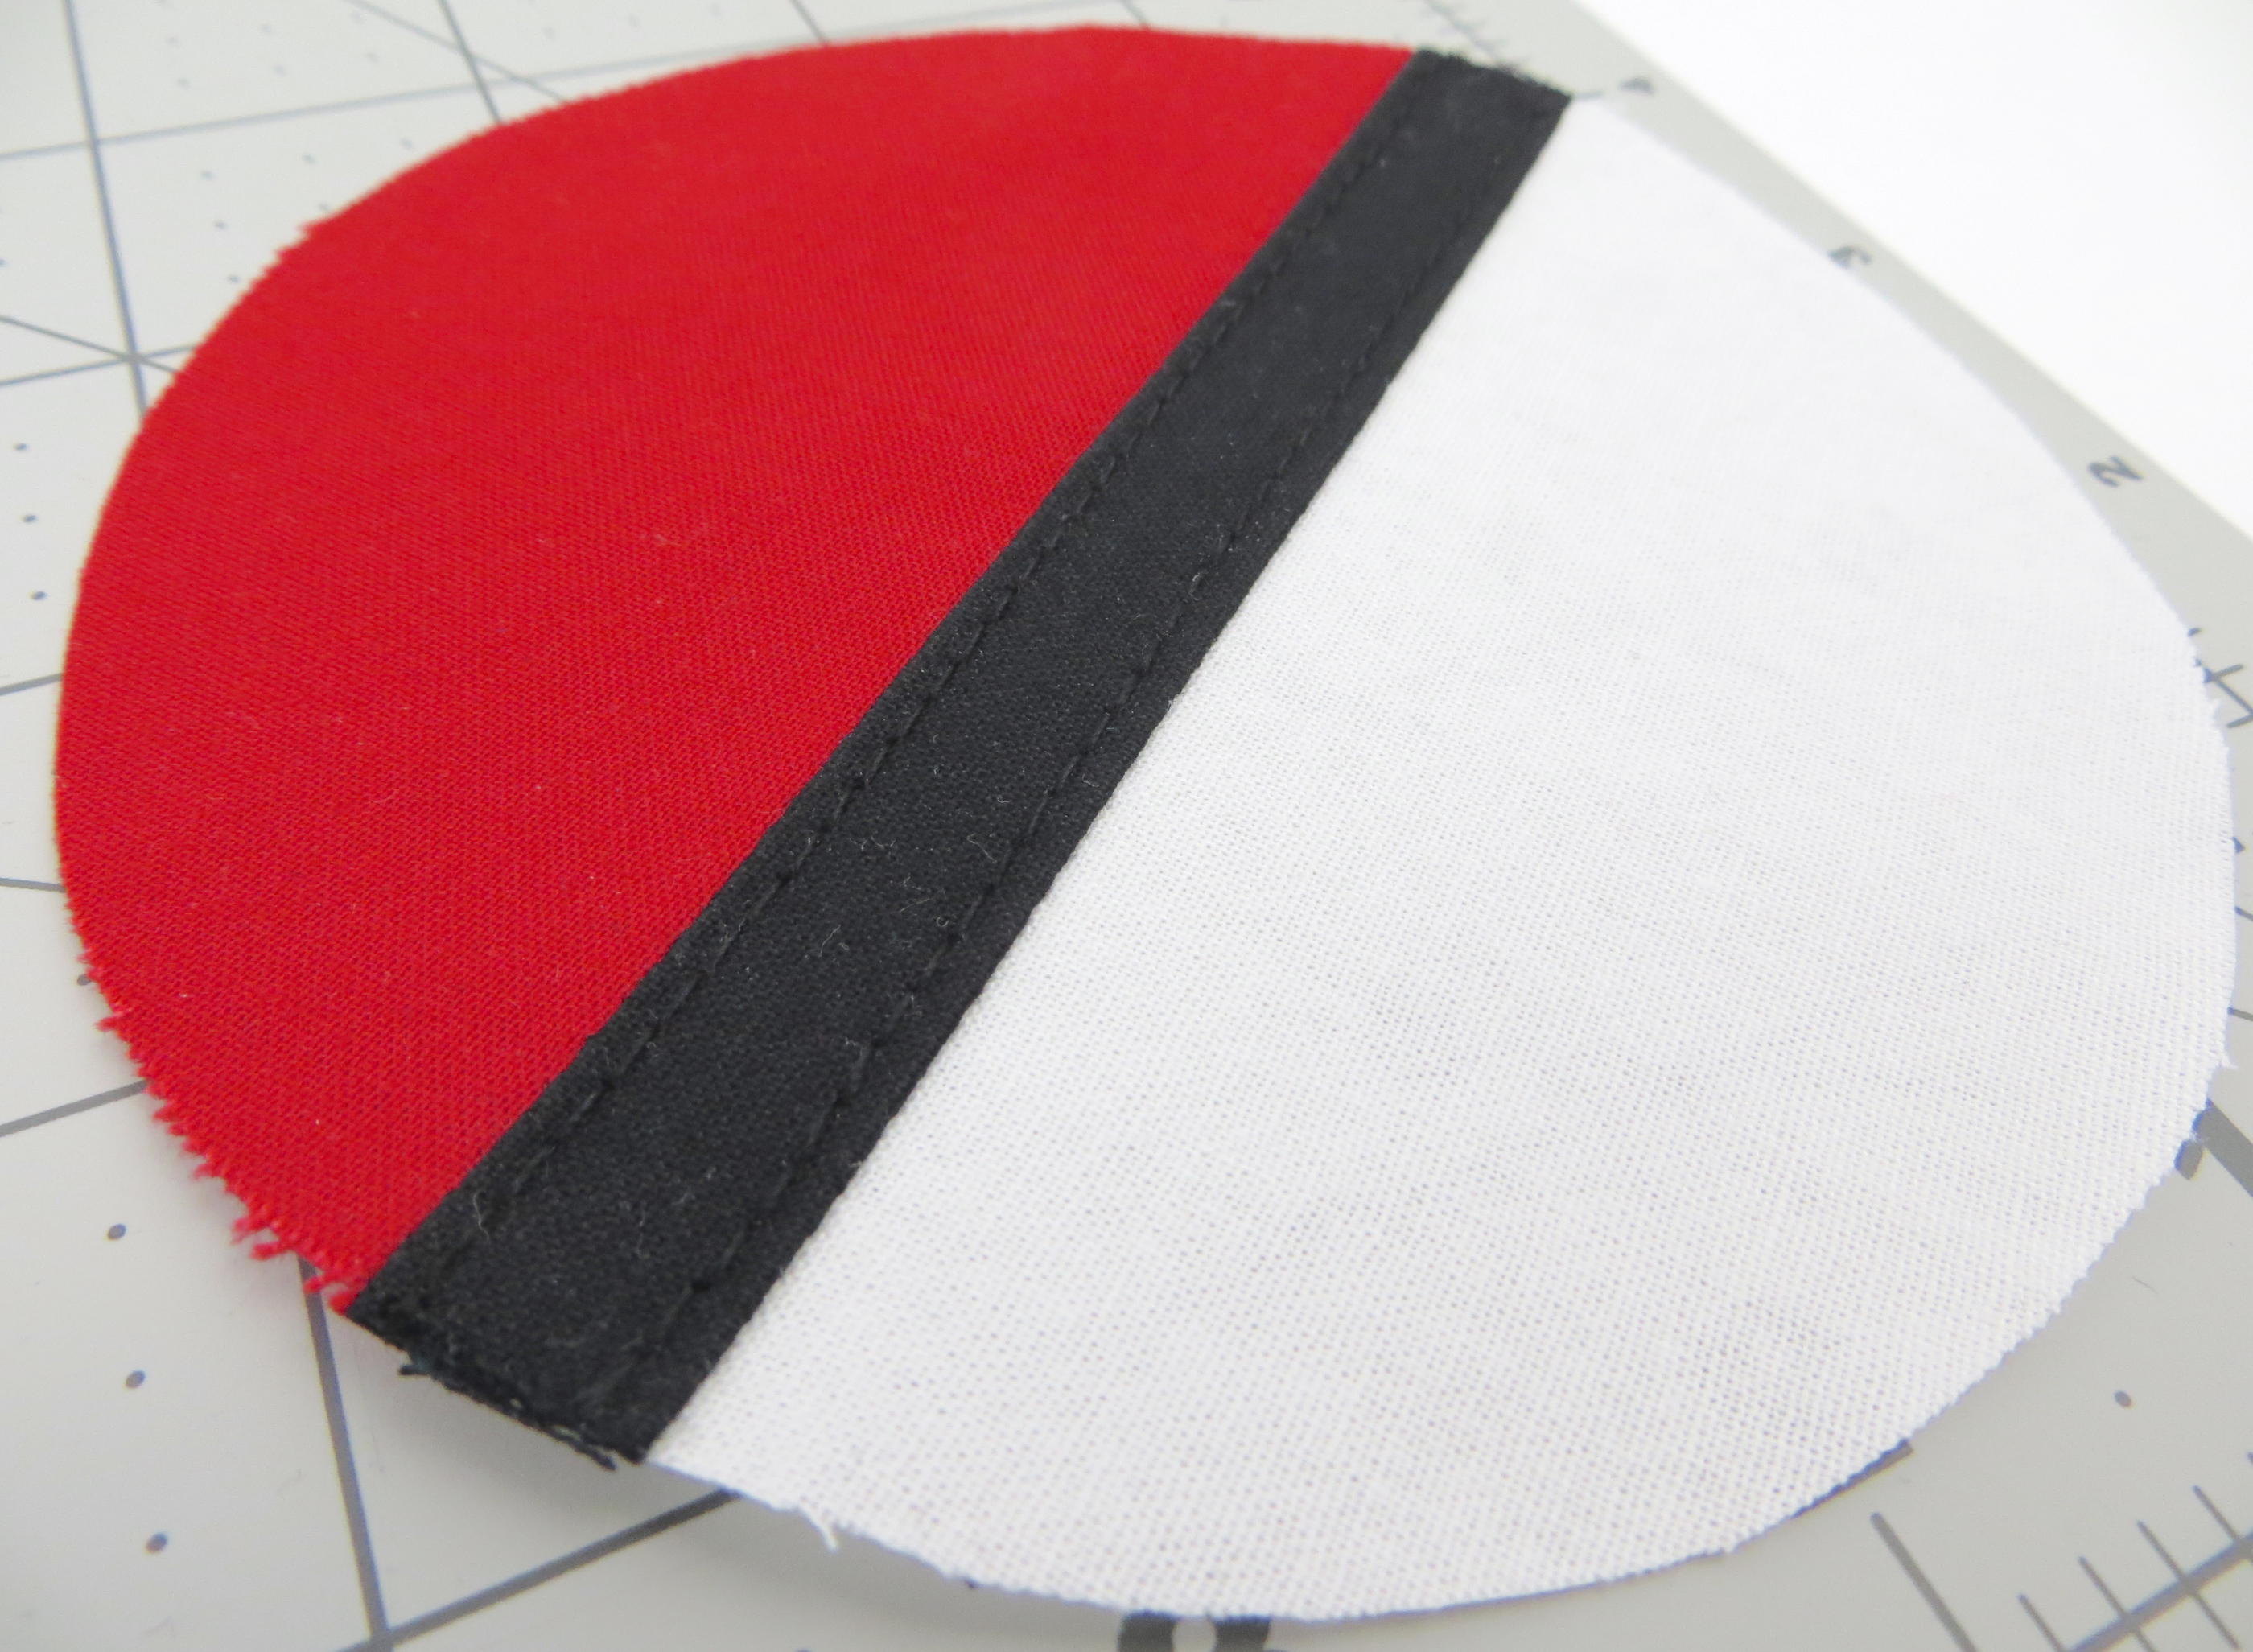
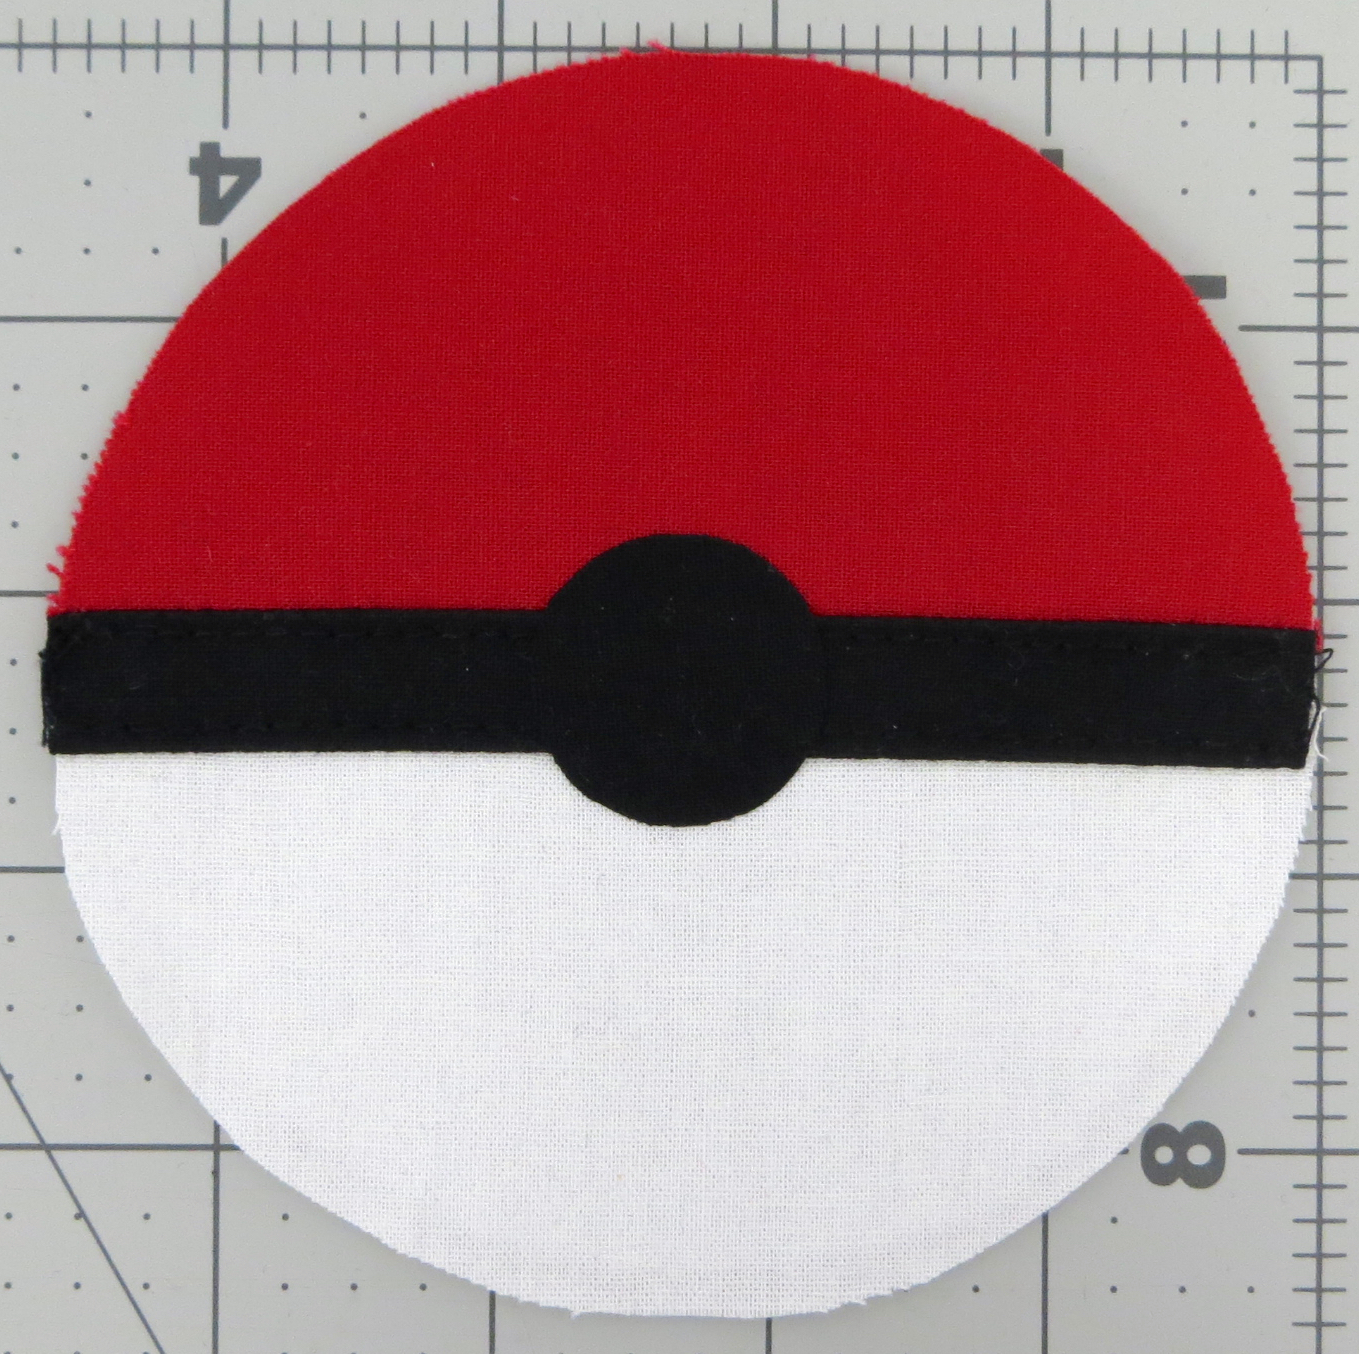
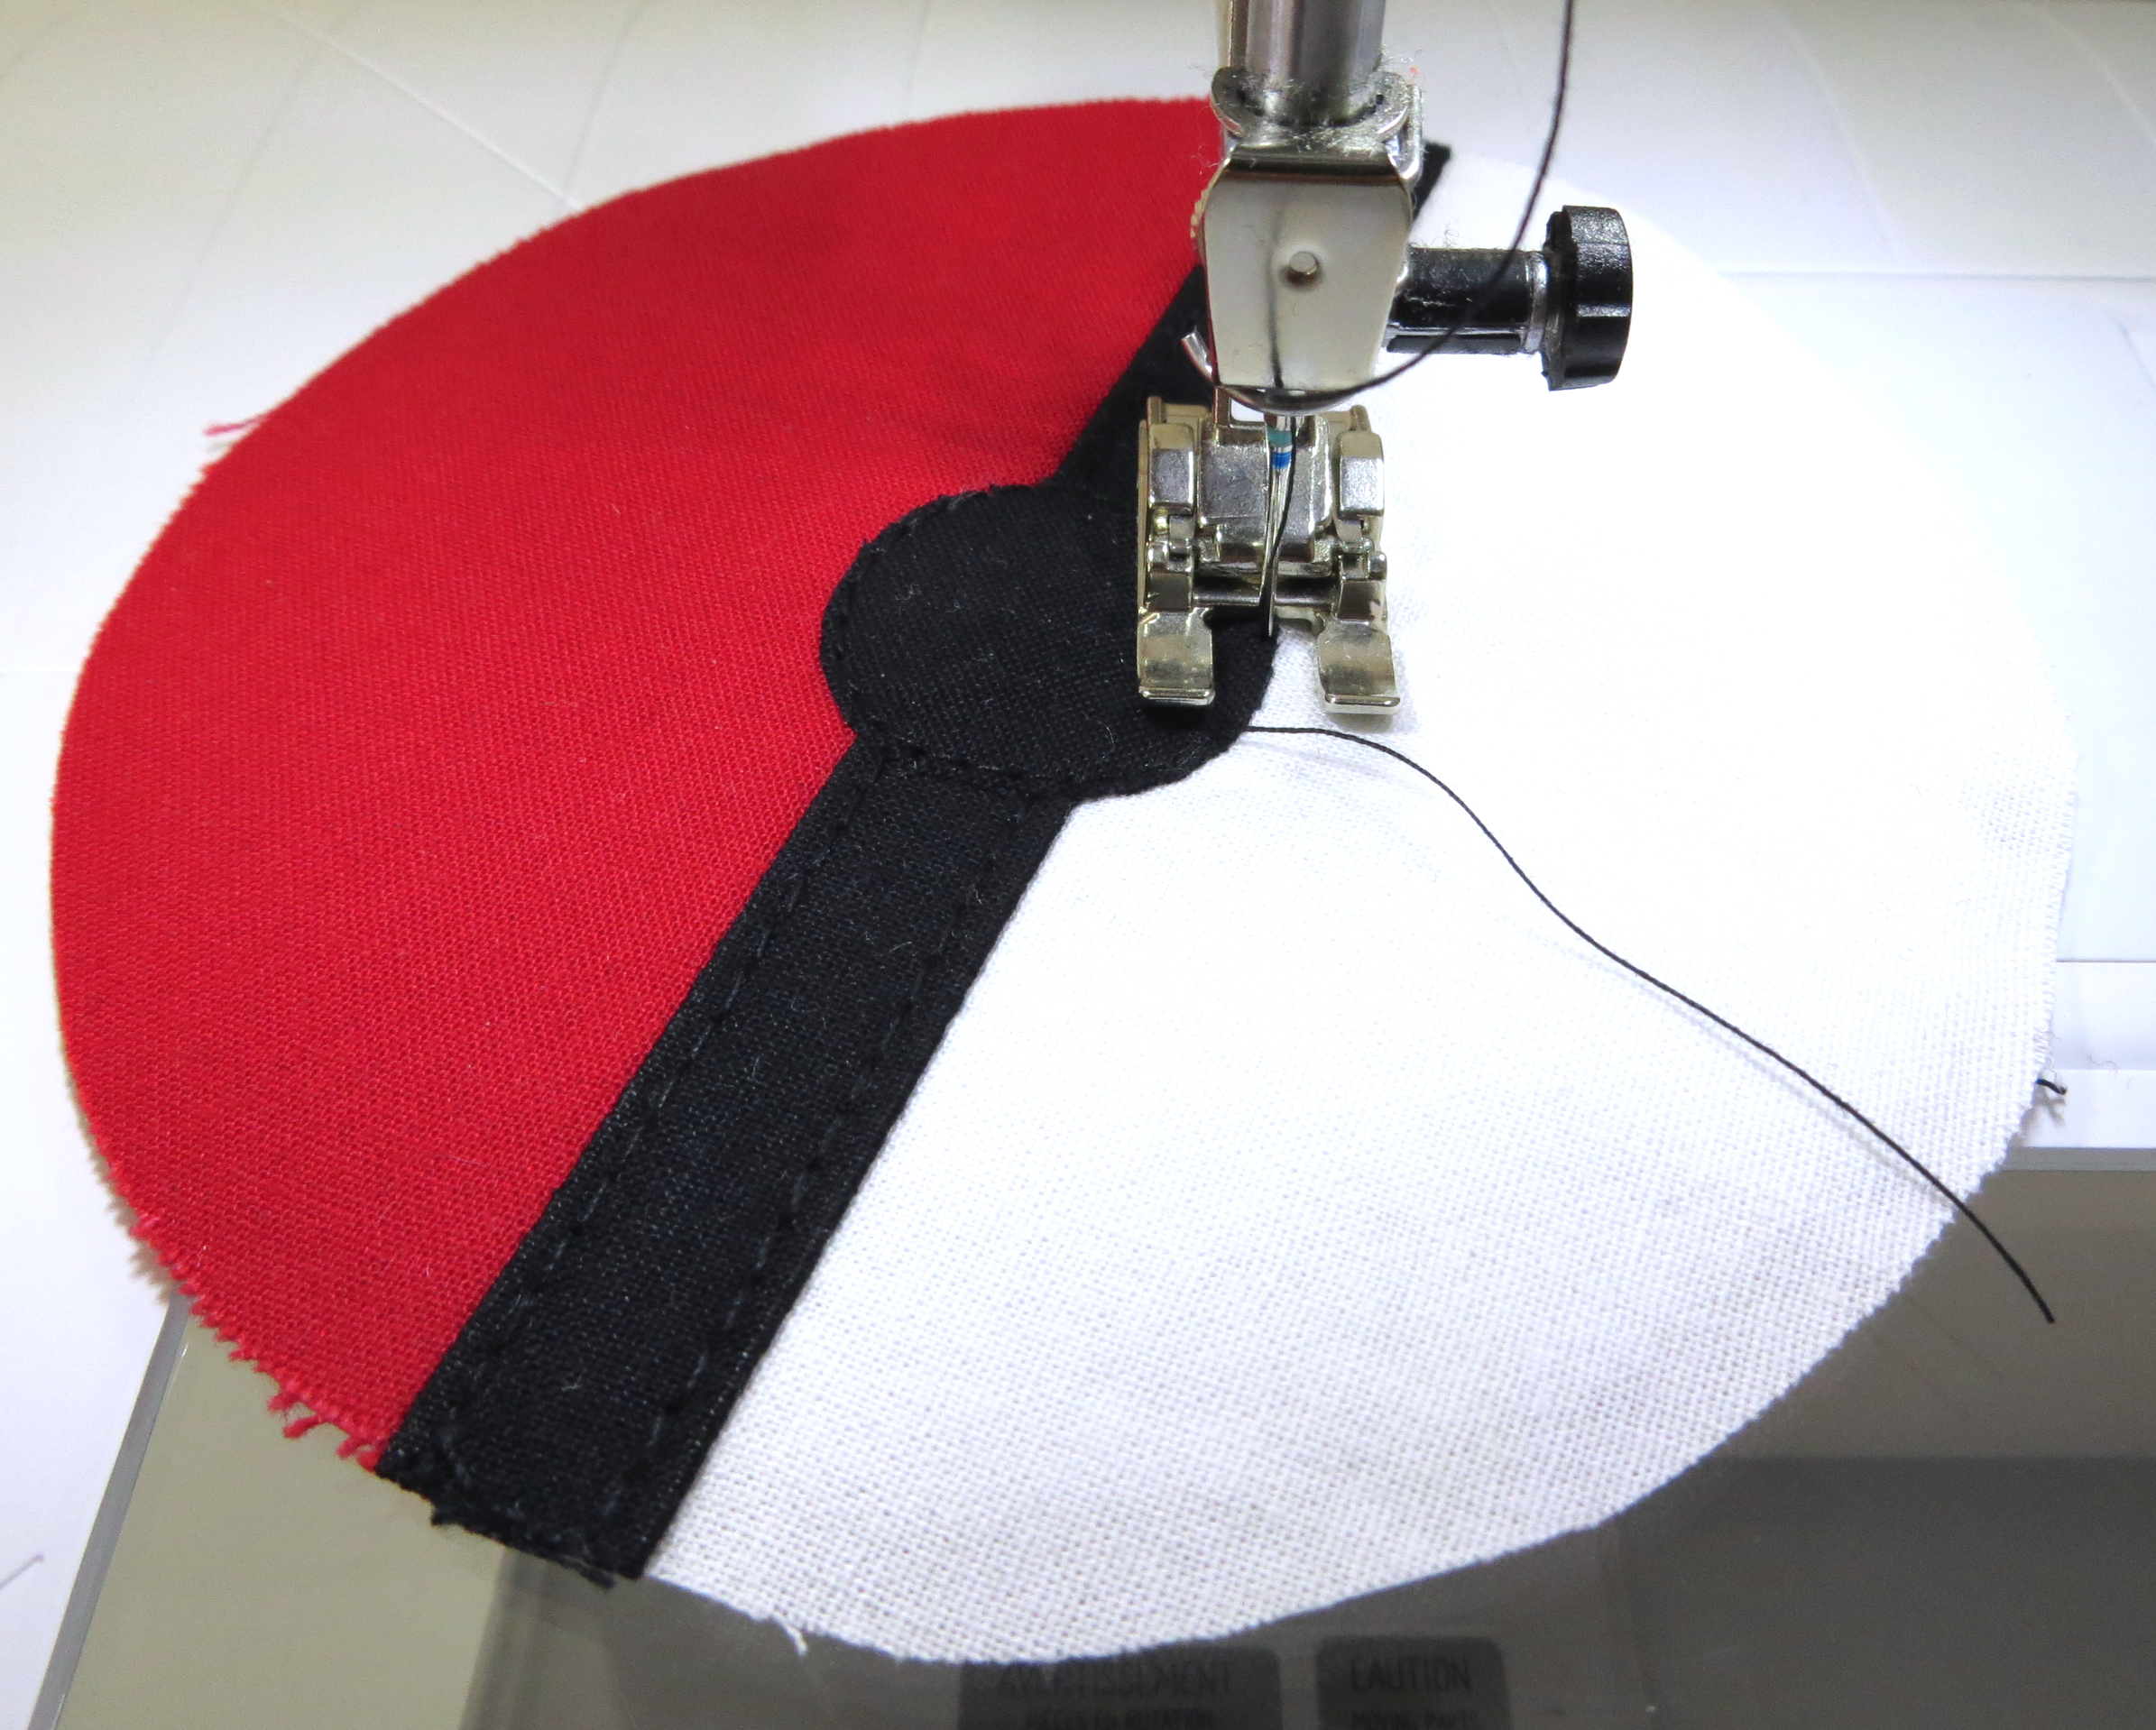
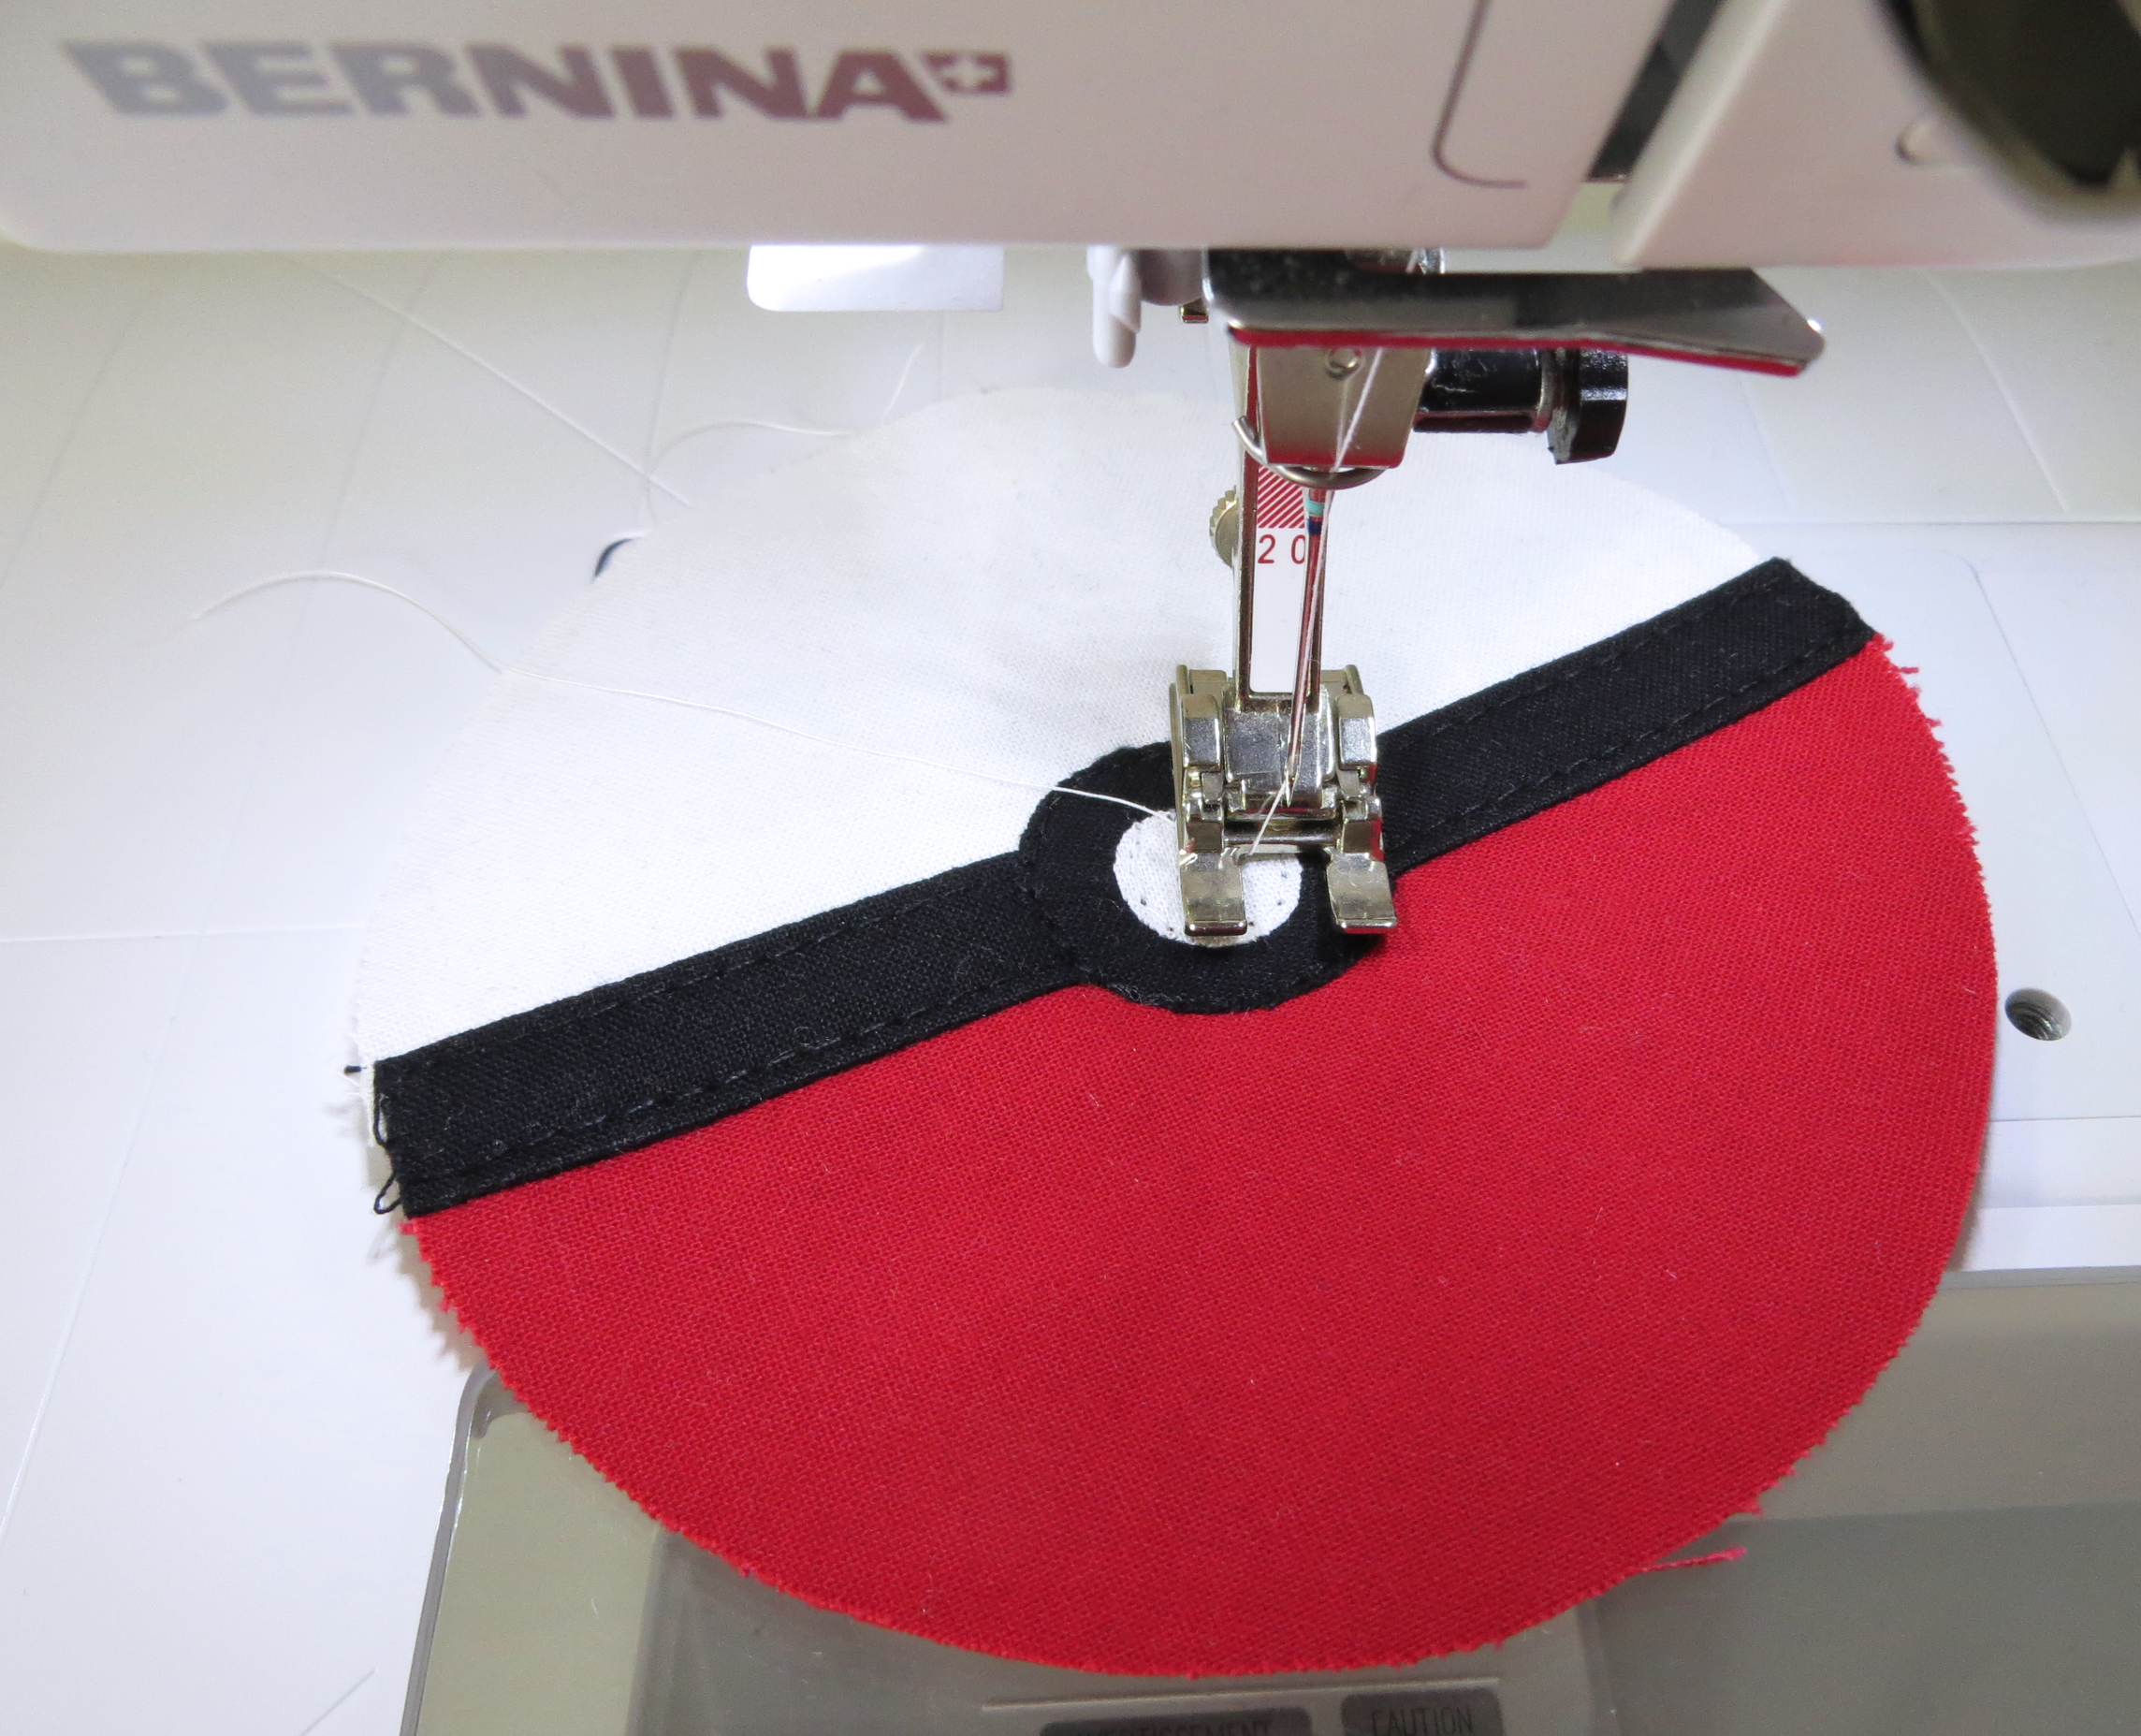
Topstitch with black thread 1/8″ from the both inside edges of the black fabric.
Rough cut the two circles from the fusible web. I traced the ends of a spool of thread and a tube of chapstick to draw these circles on the paper backing of the fusible web. :)
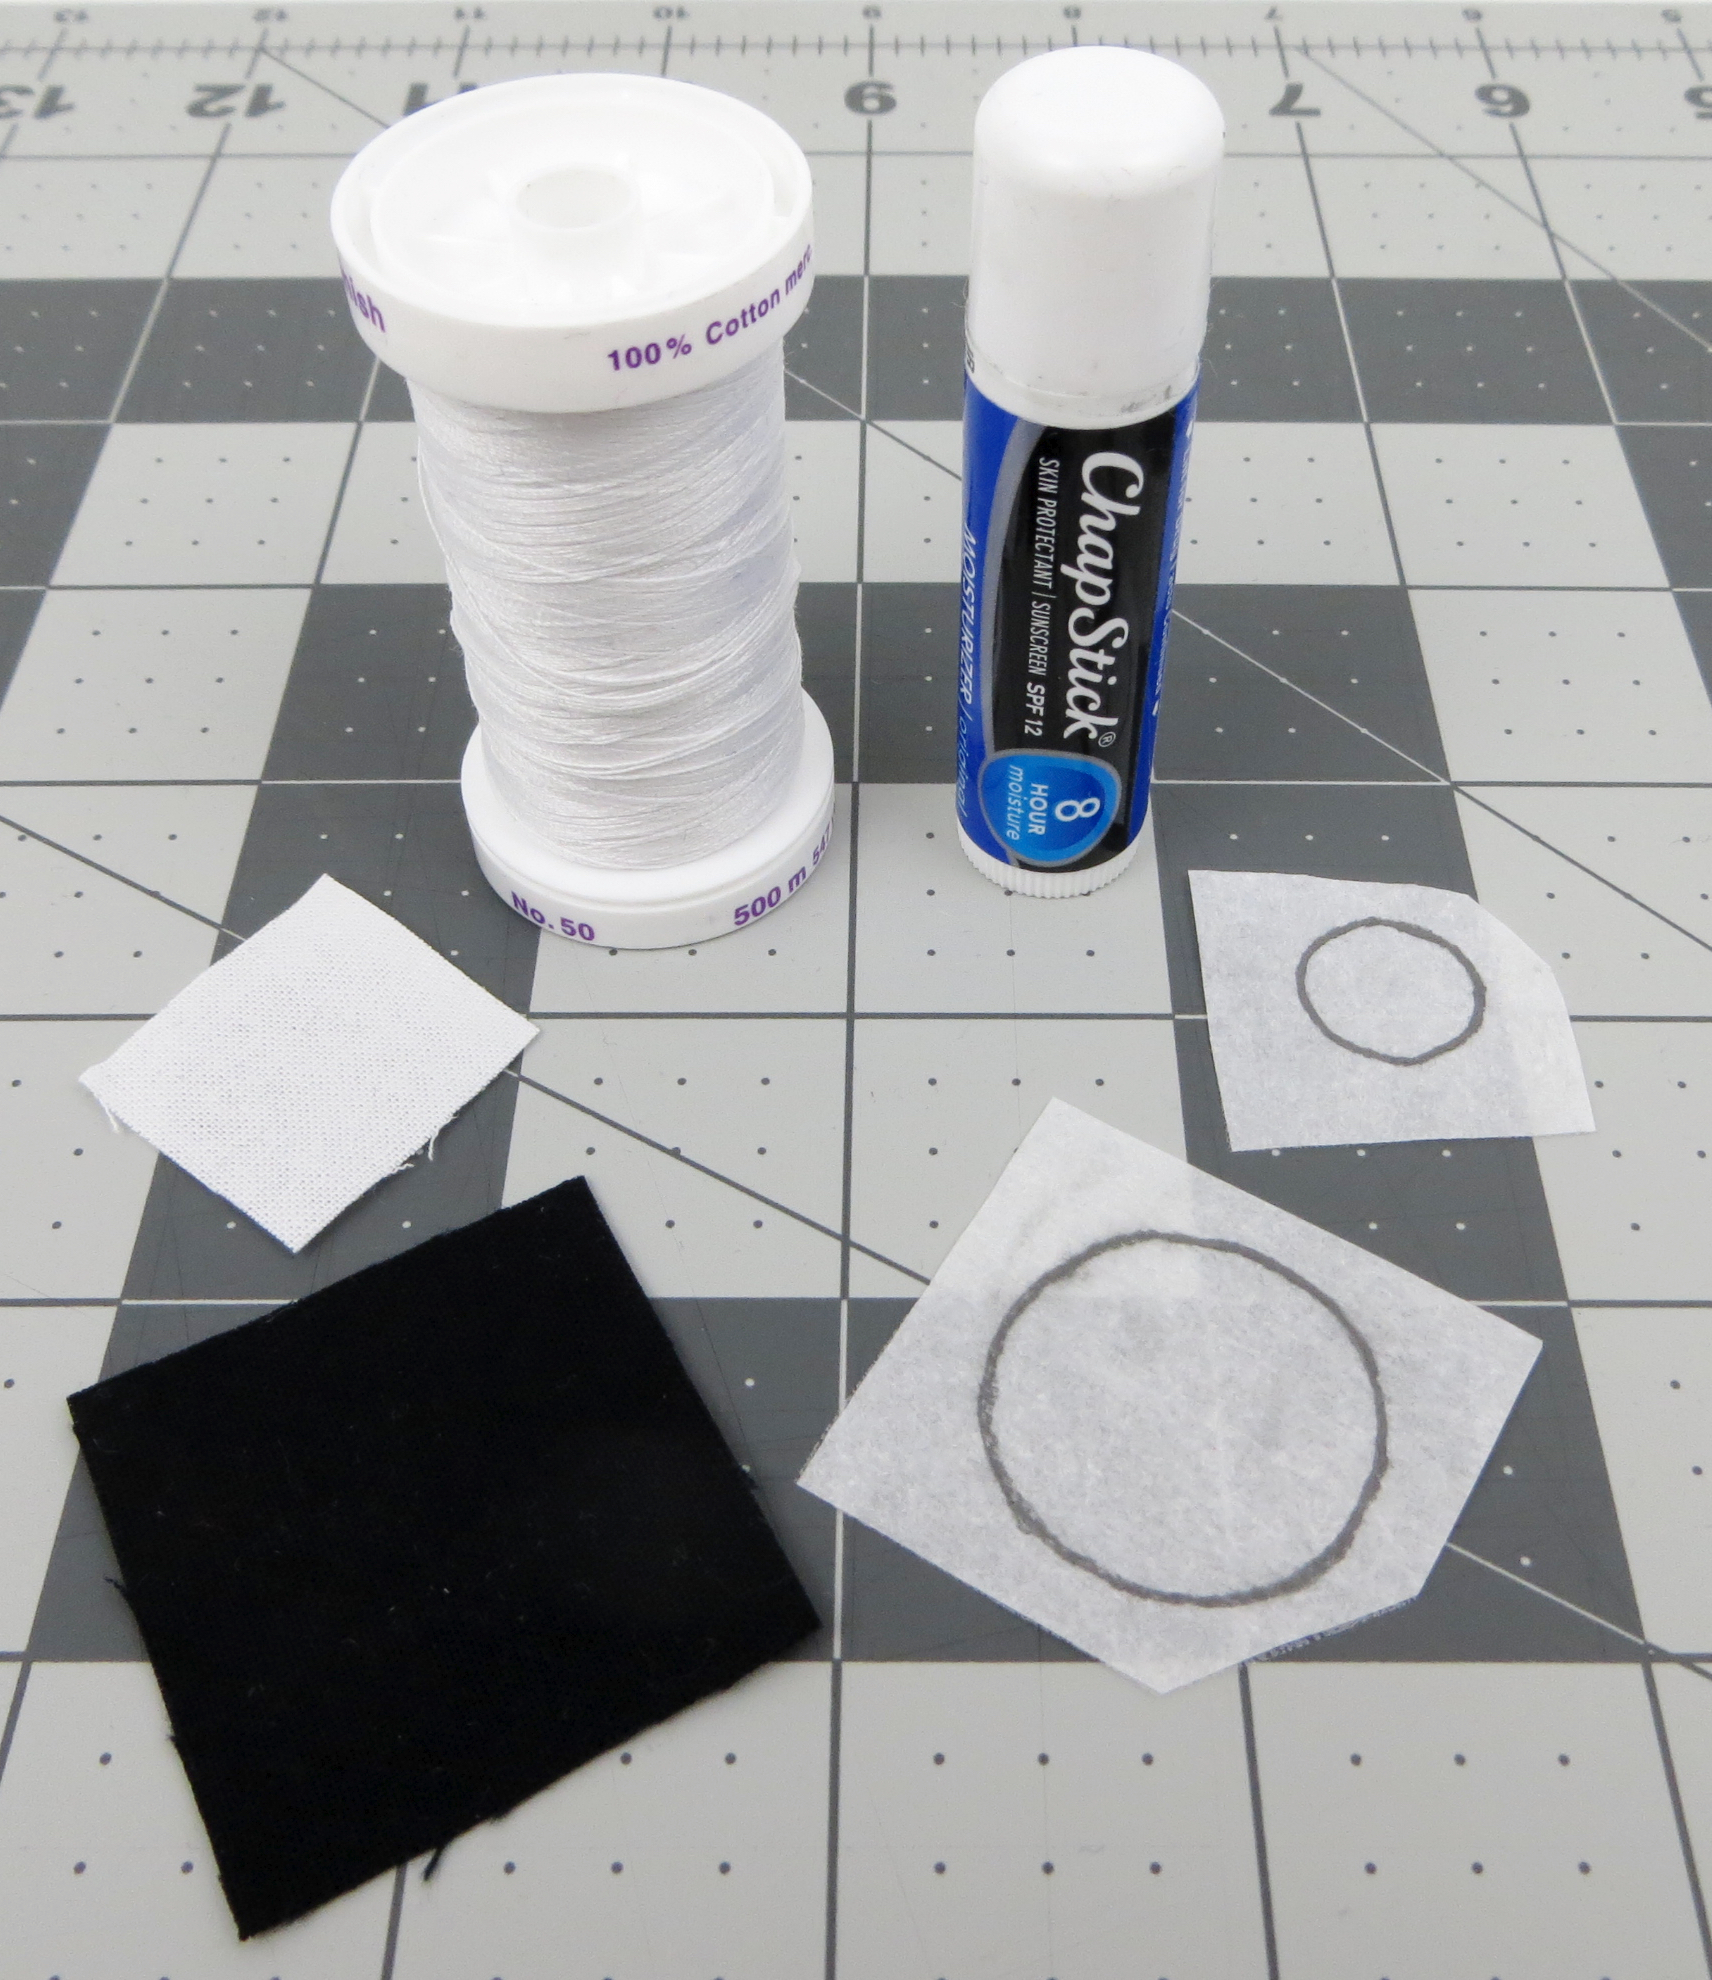
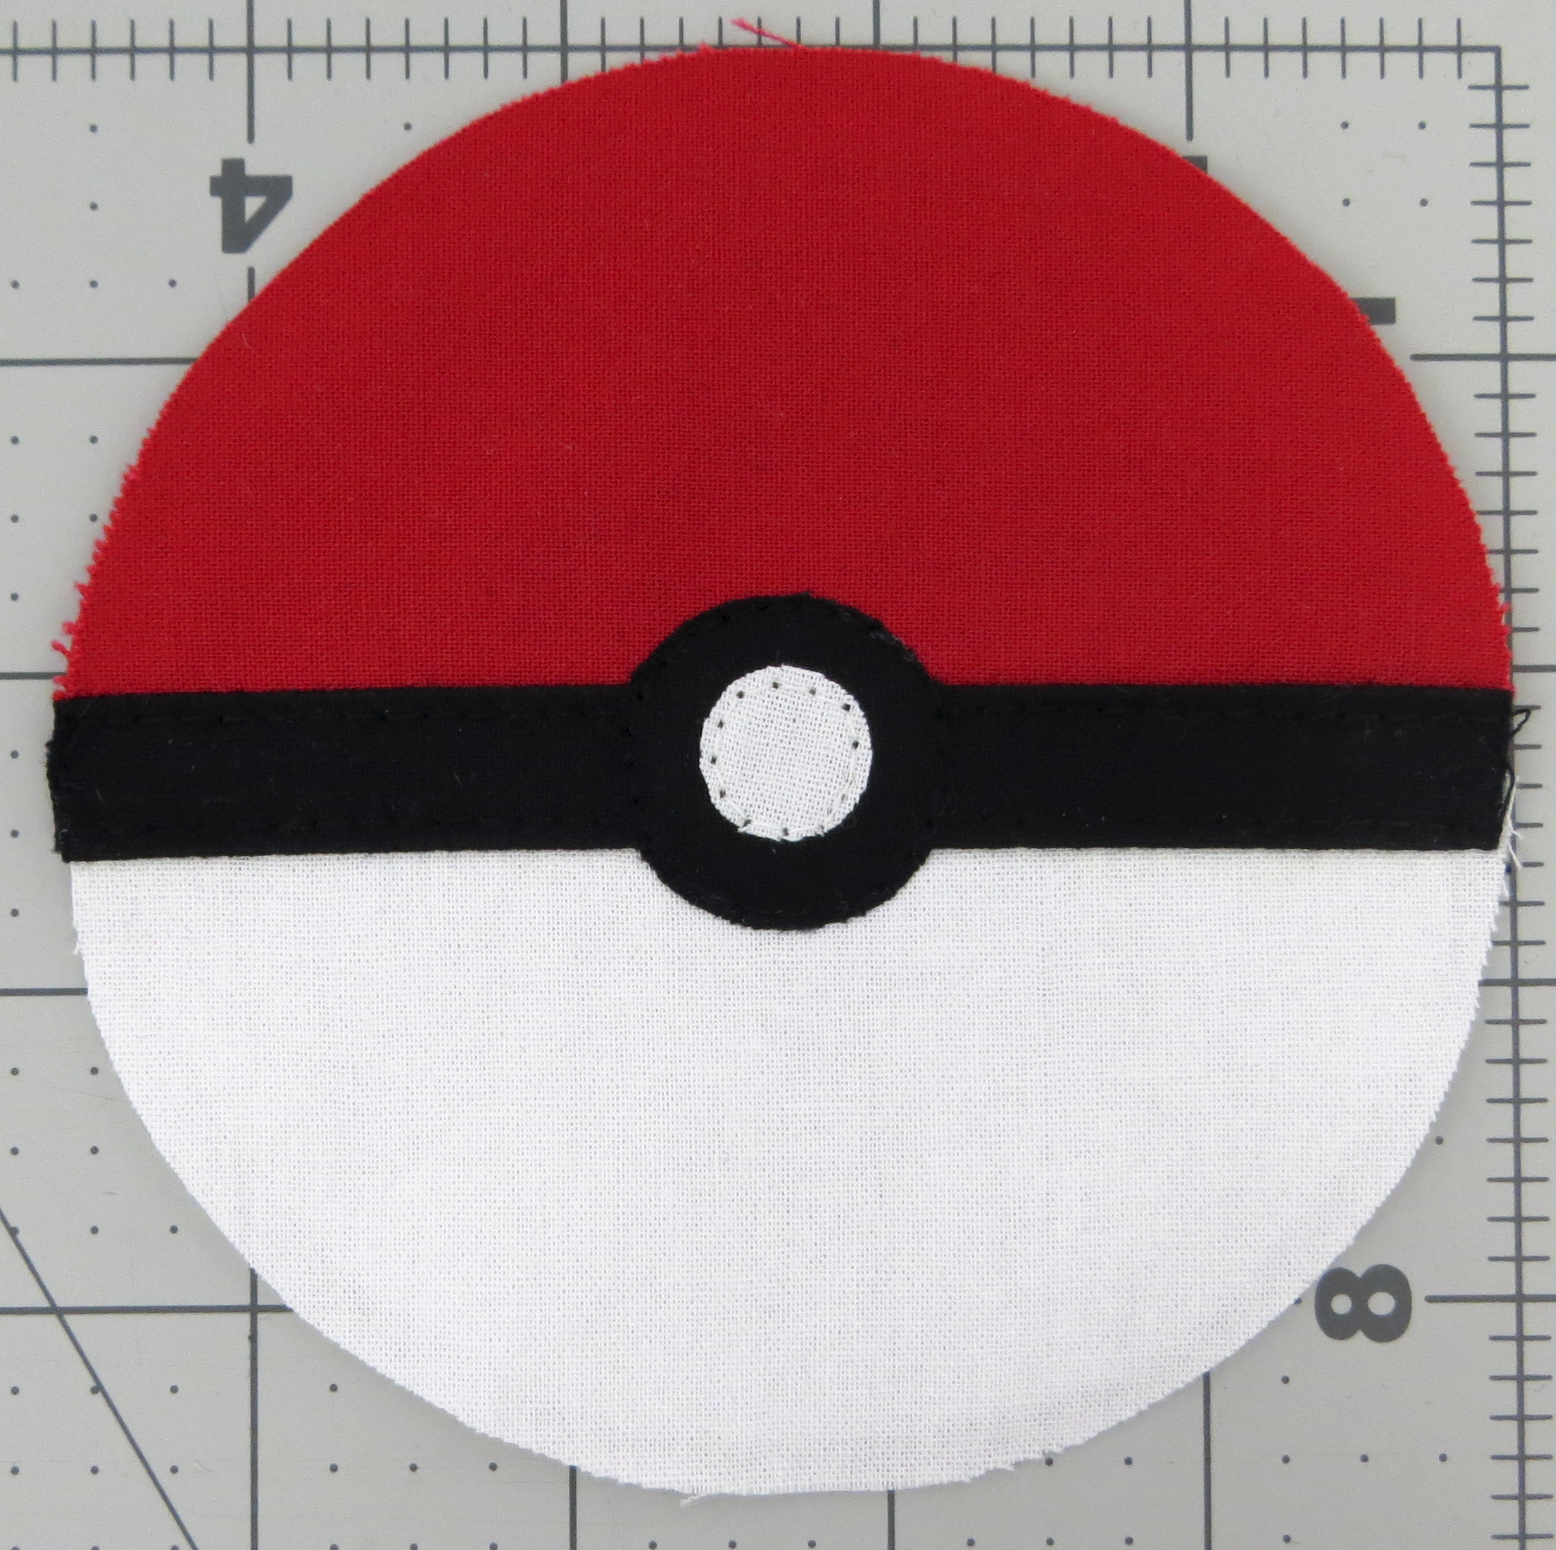
Press the large circle onto the black fabric. Press the small circle onto the white fabric. Just 2-3 seconds is enough. Use a press cloth!

CUT OUT the two circles. Remove the paper (the glue should be left behind.)


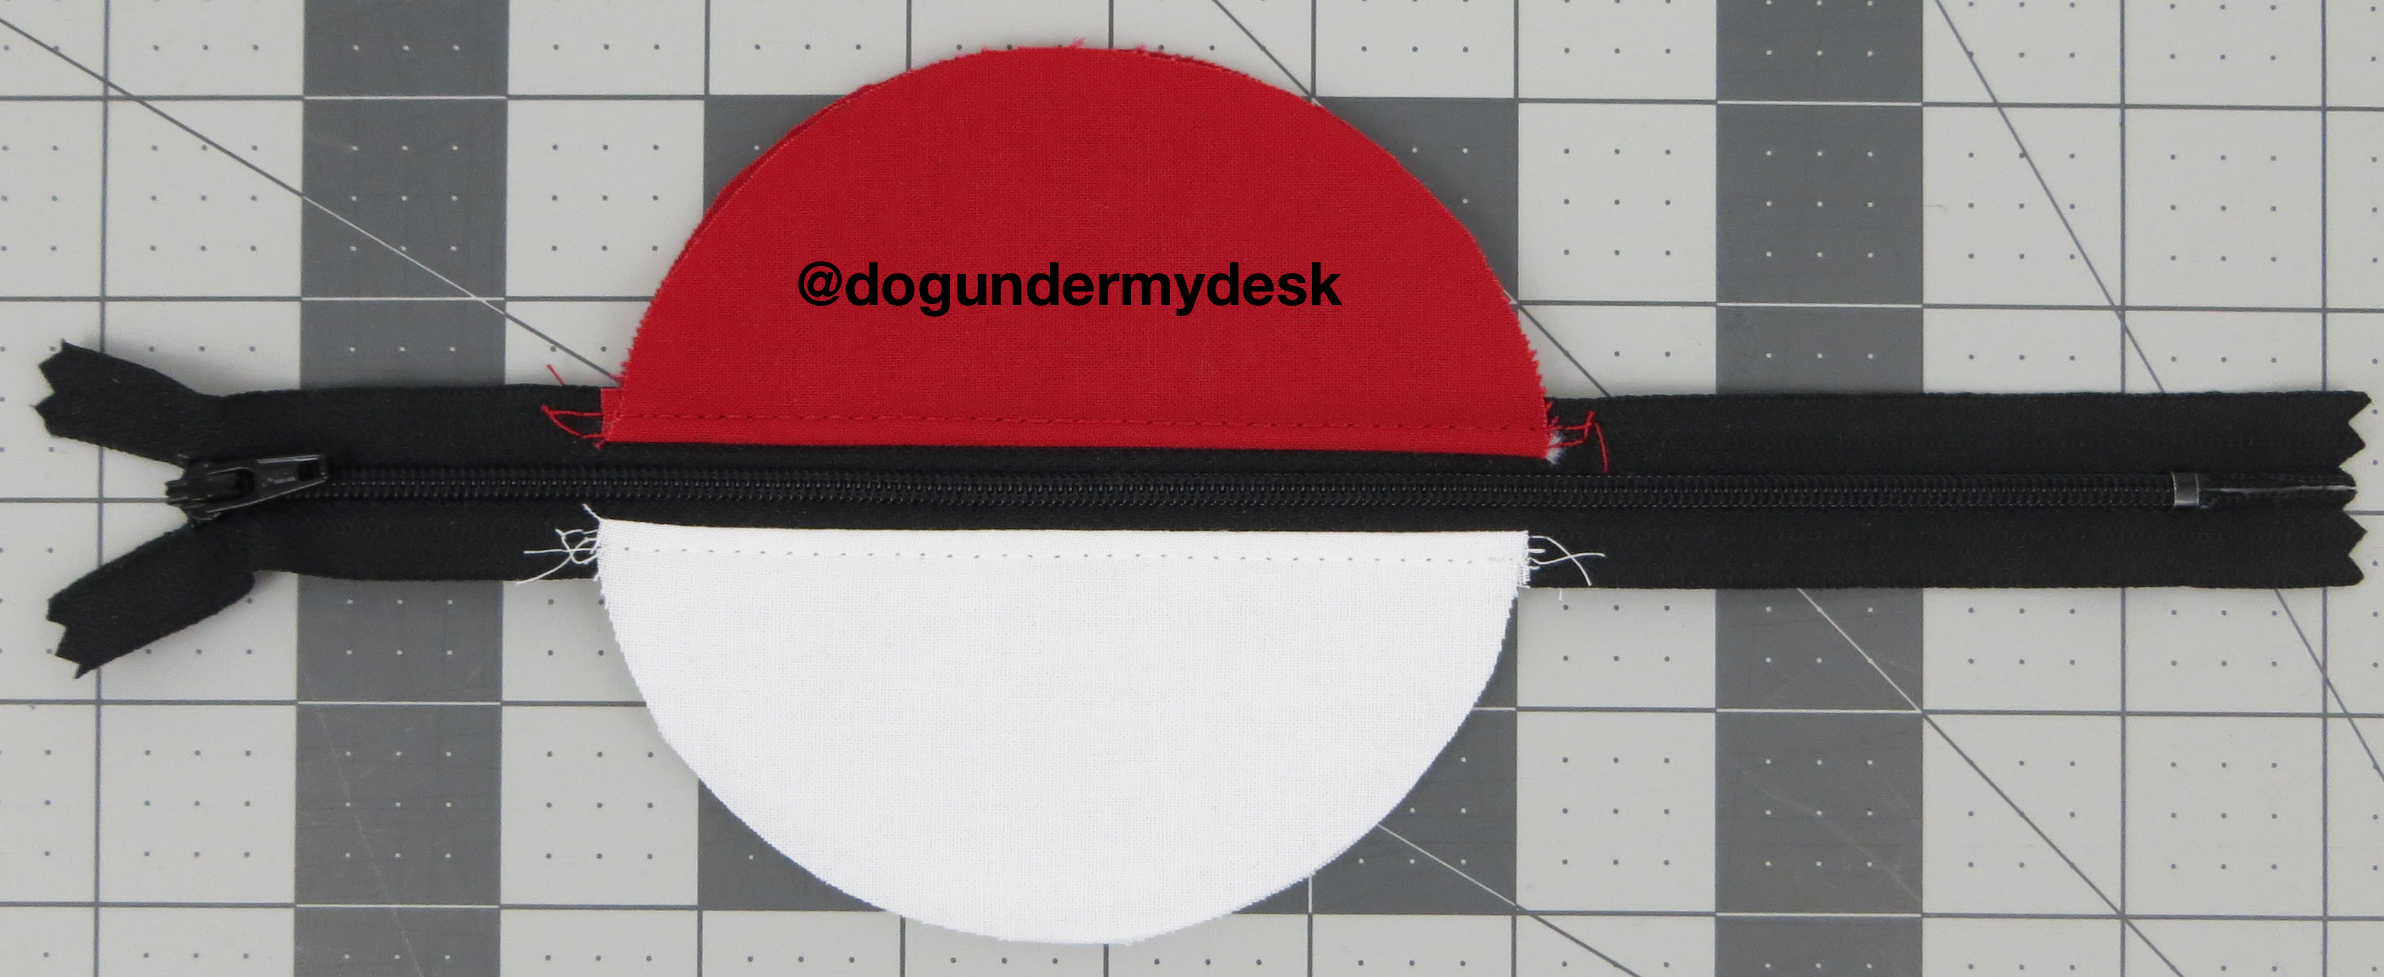
Complete the rest of the earbud pouch as per the tutorial/pattern directions. Make sure you match the red and white before sewing around the circle, and swap out the thread to match the colors, including half way through the final topstitch.
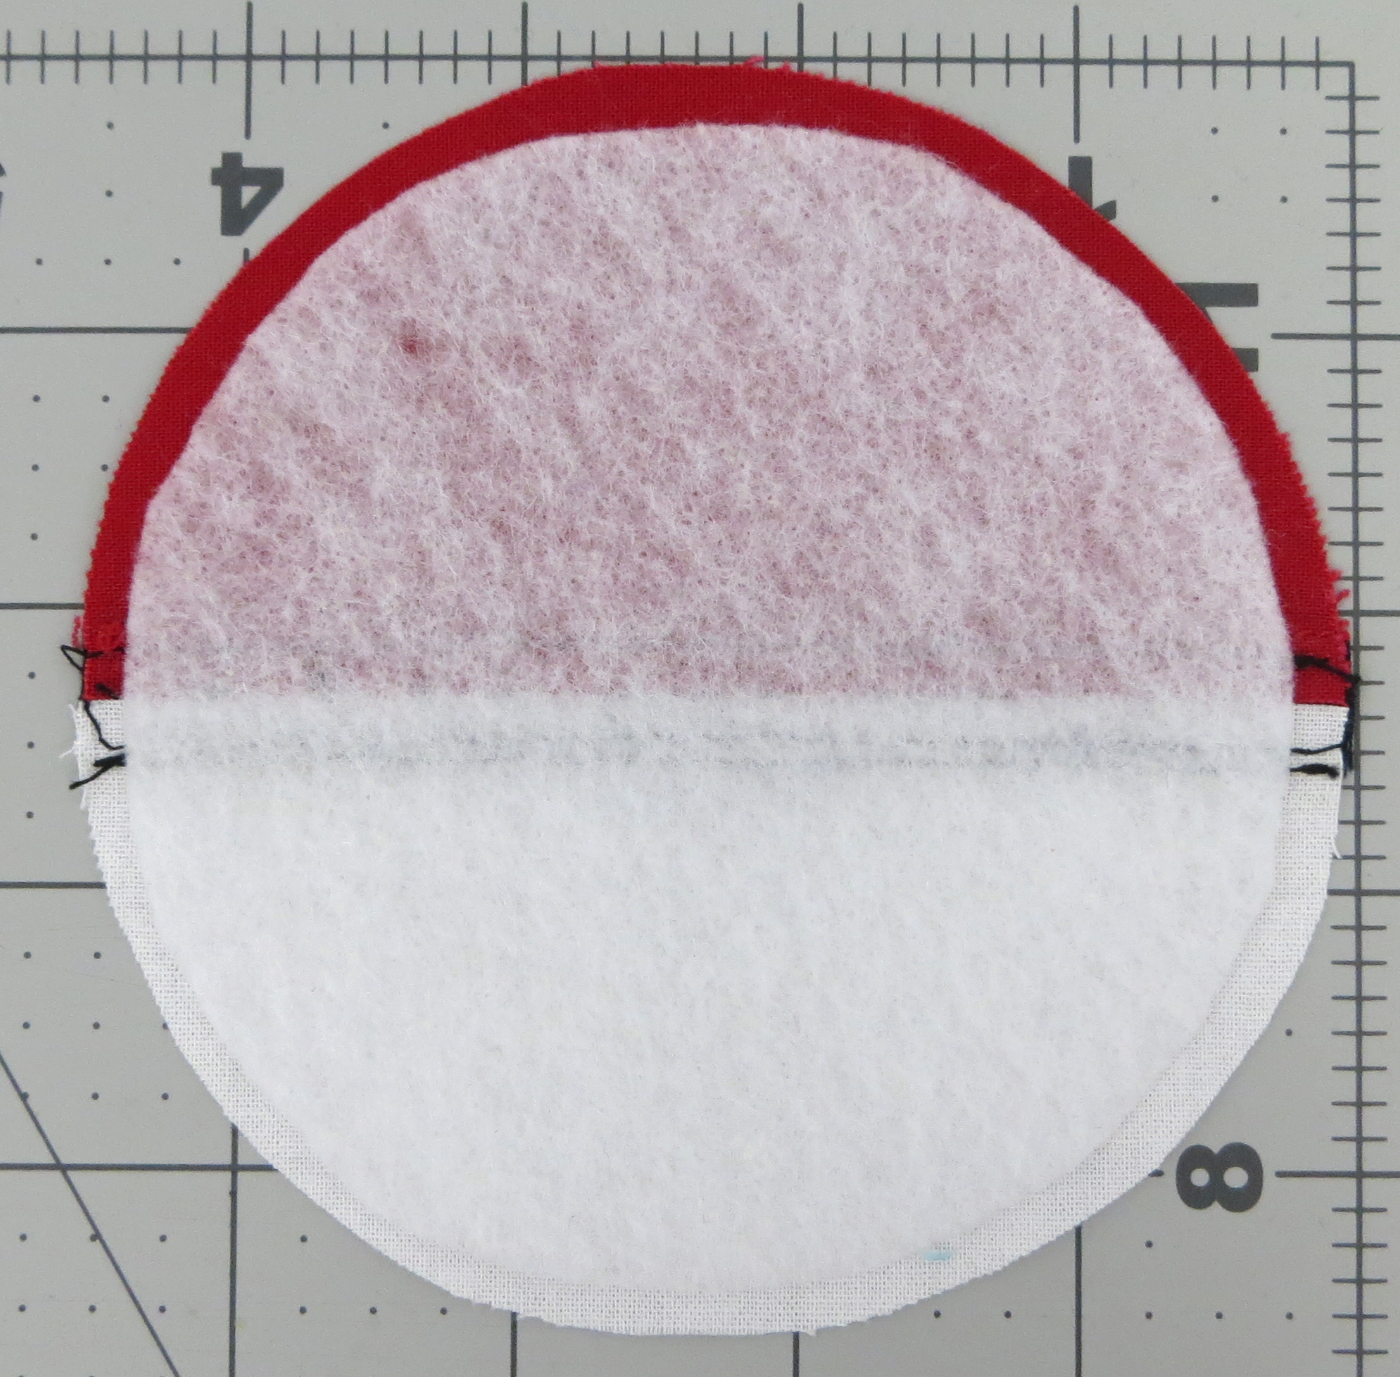
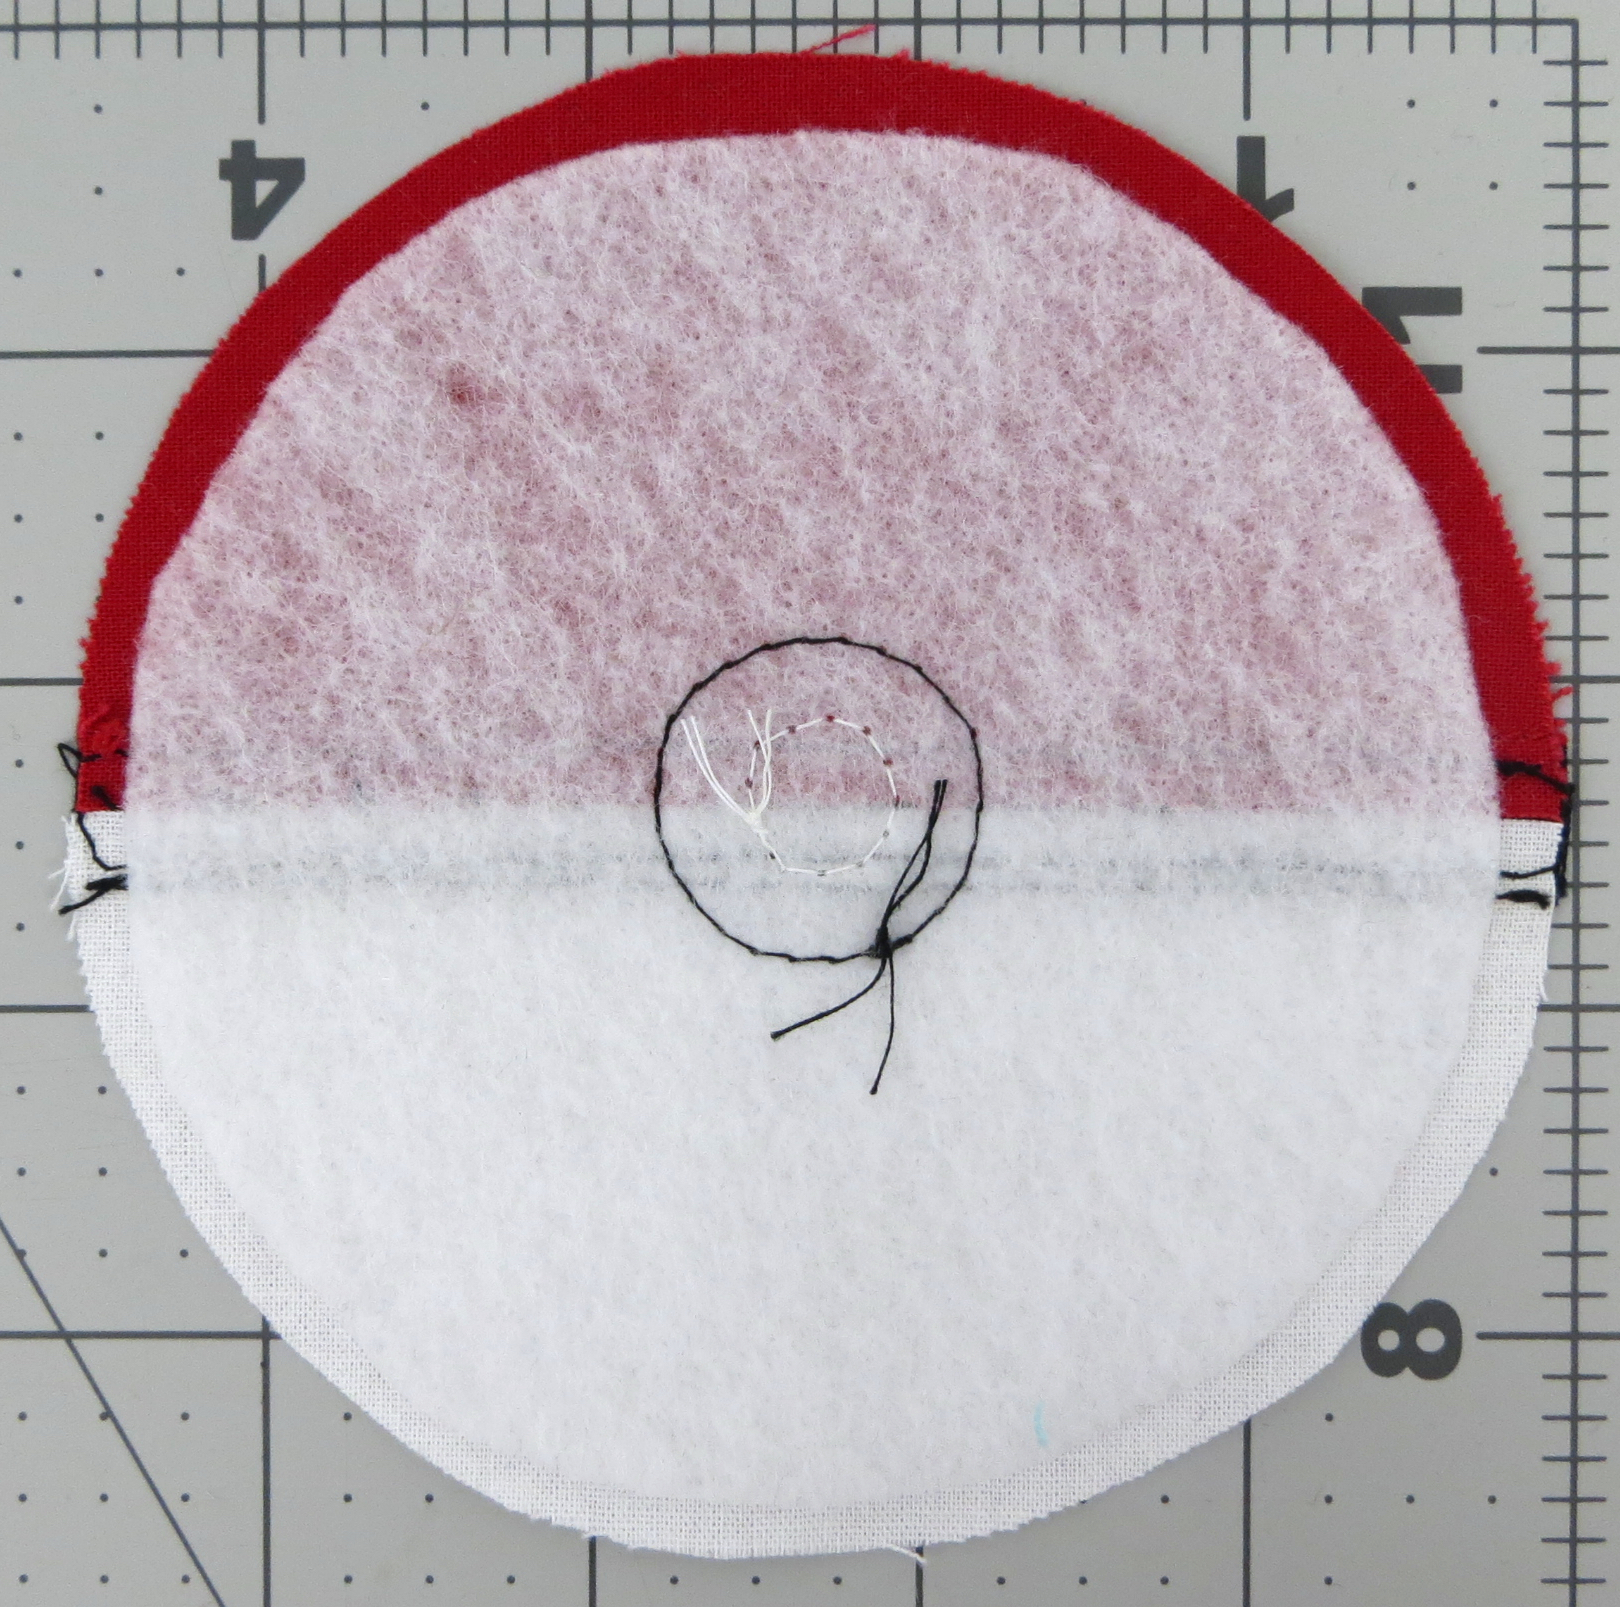
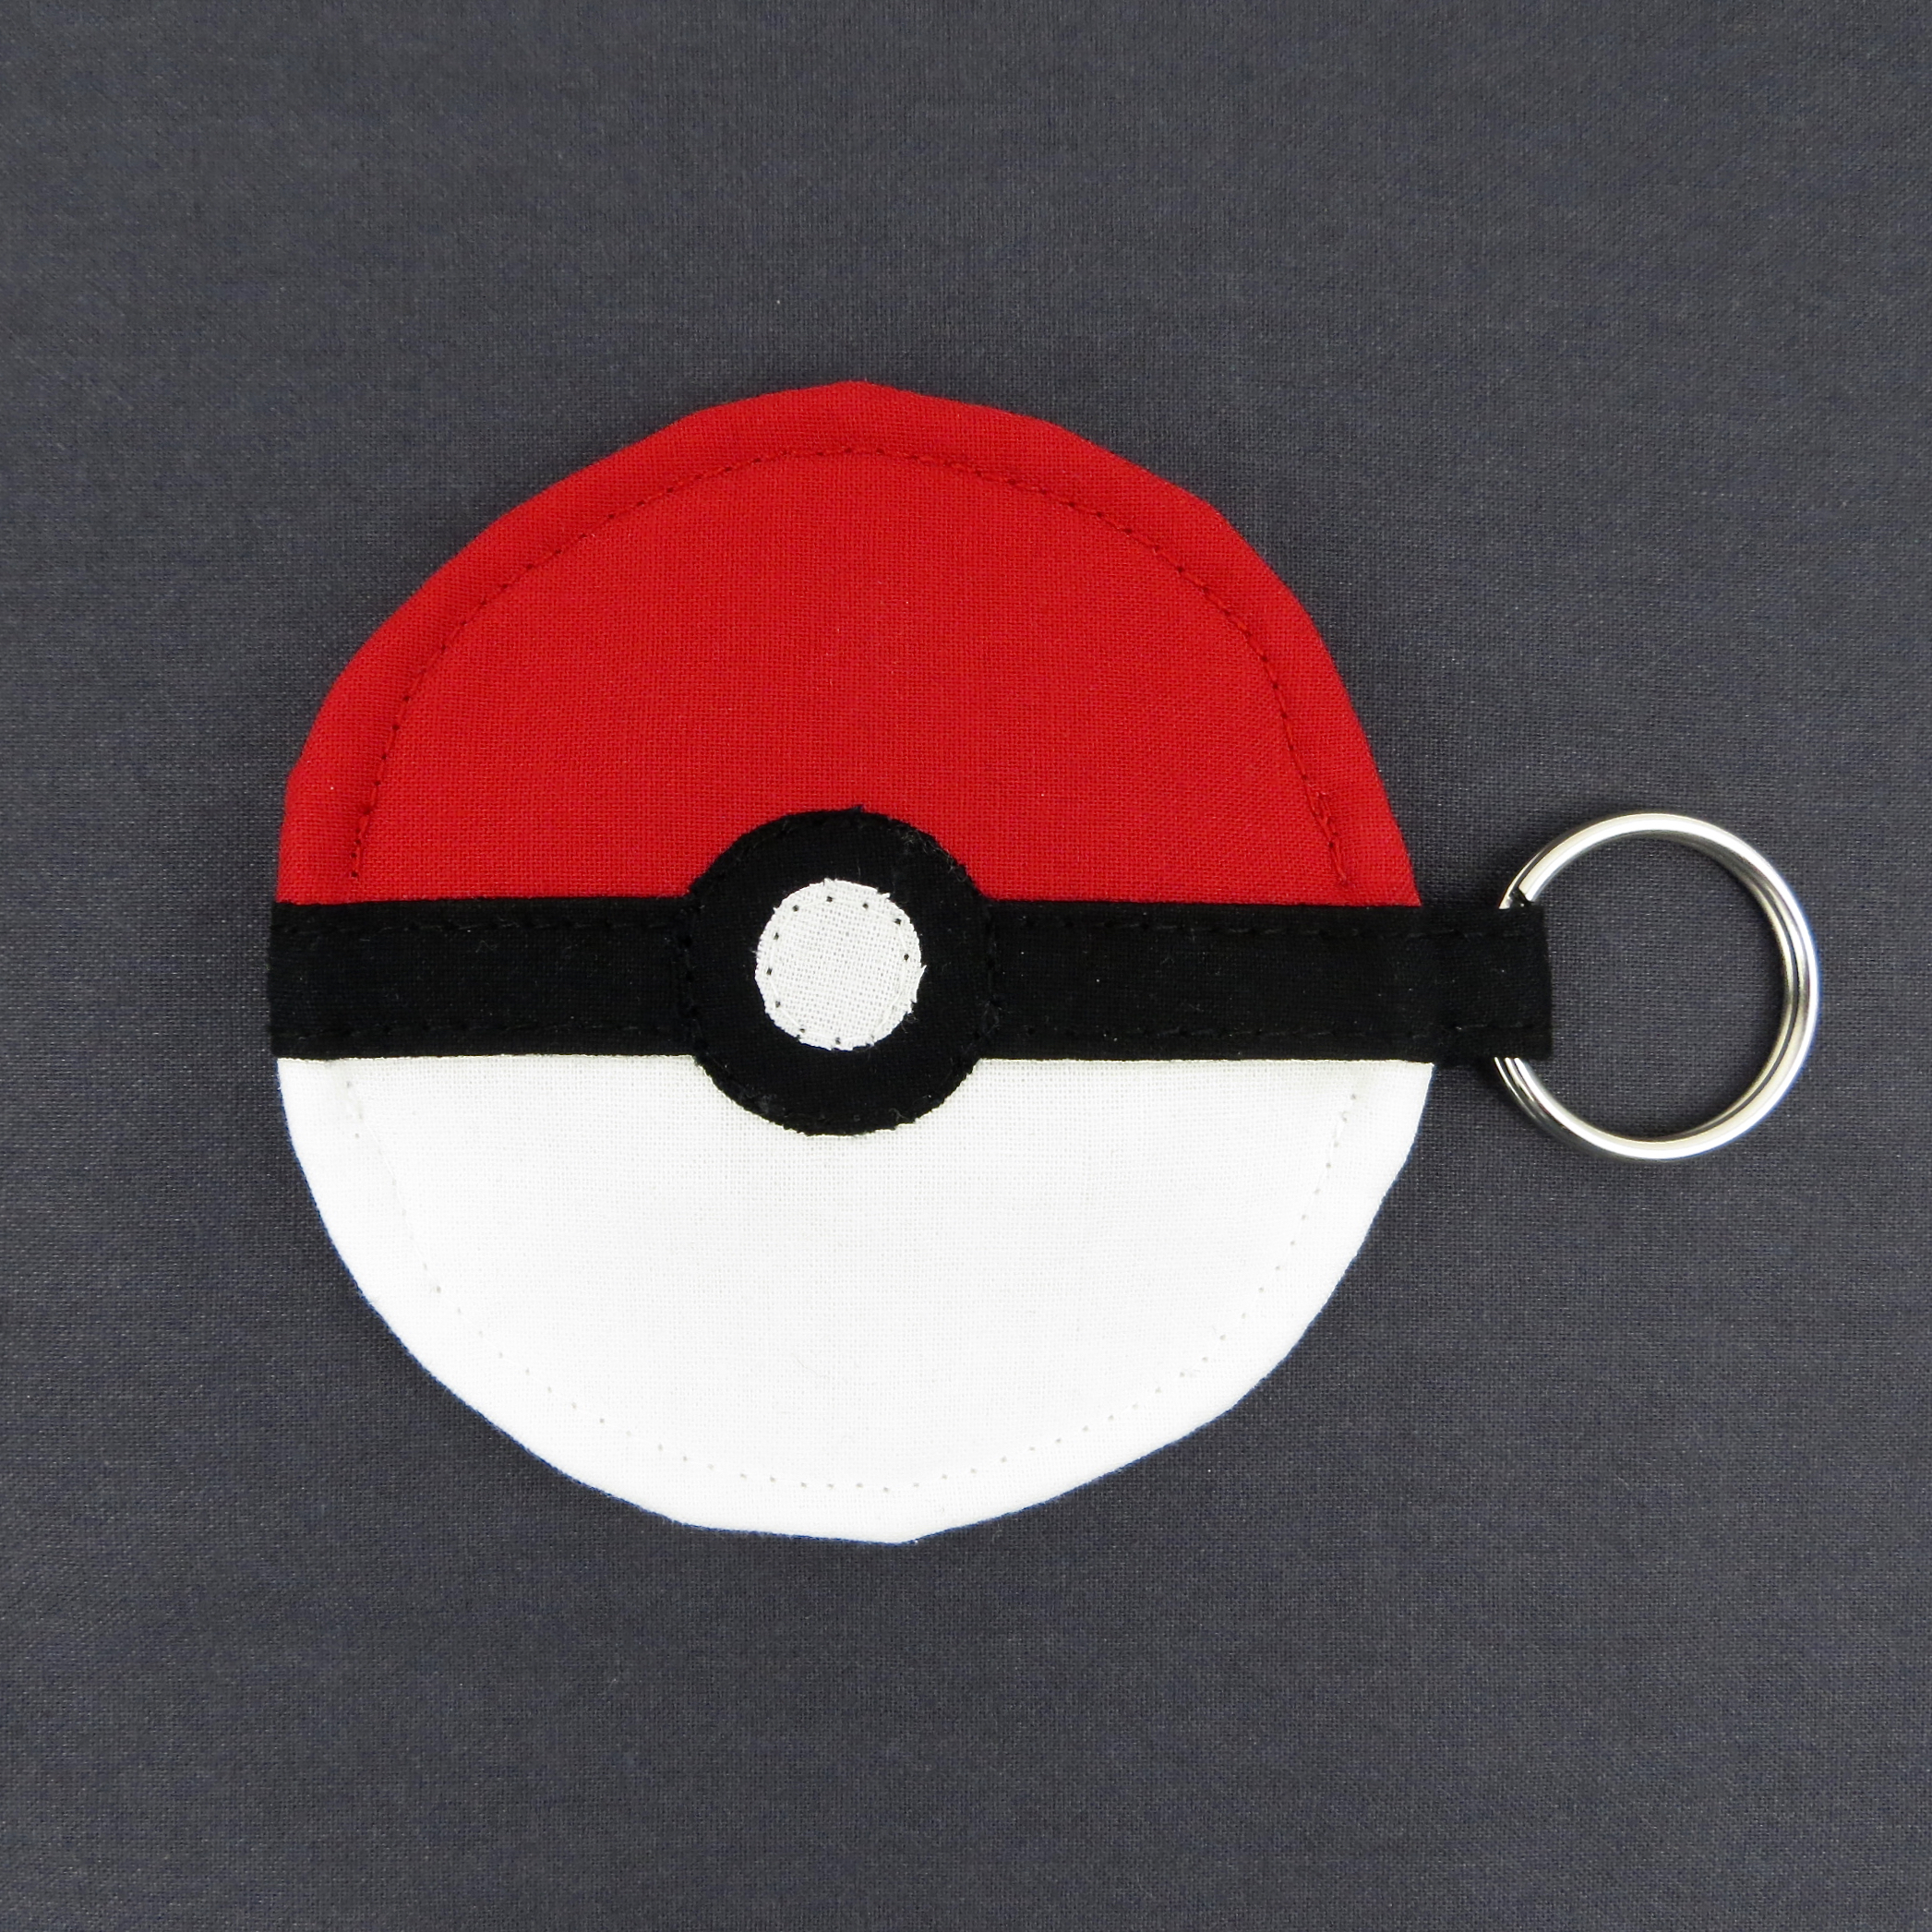
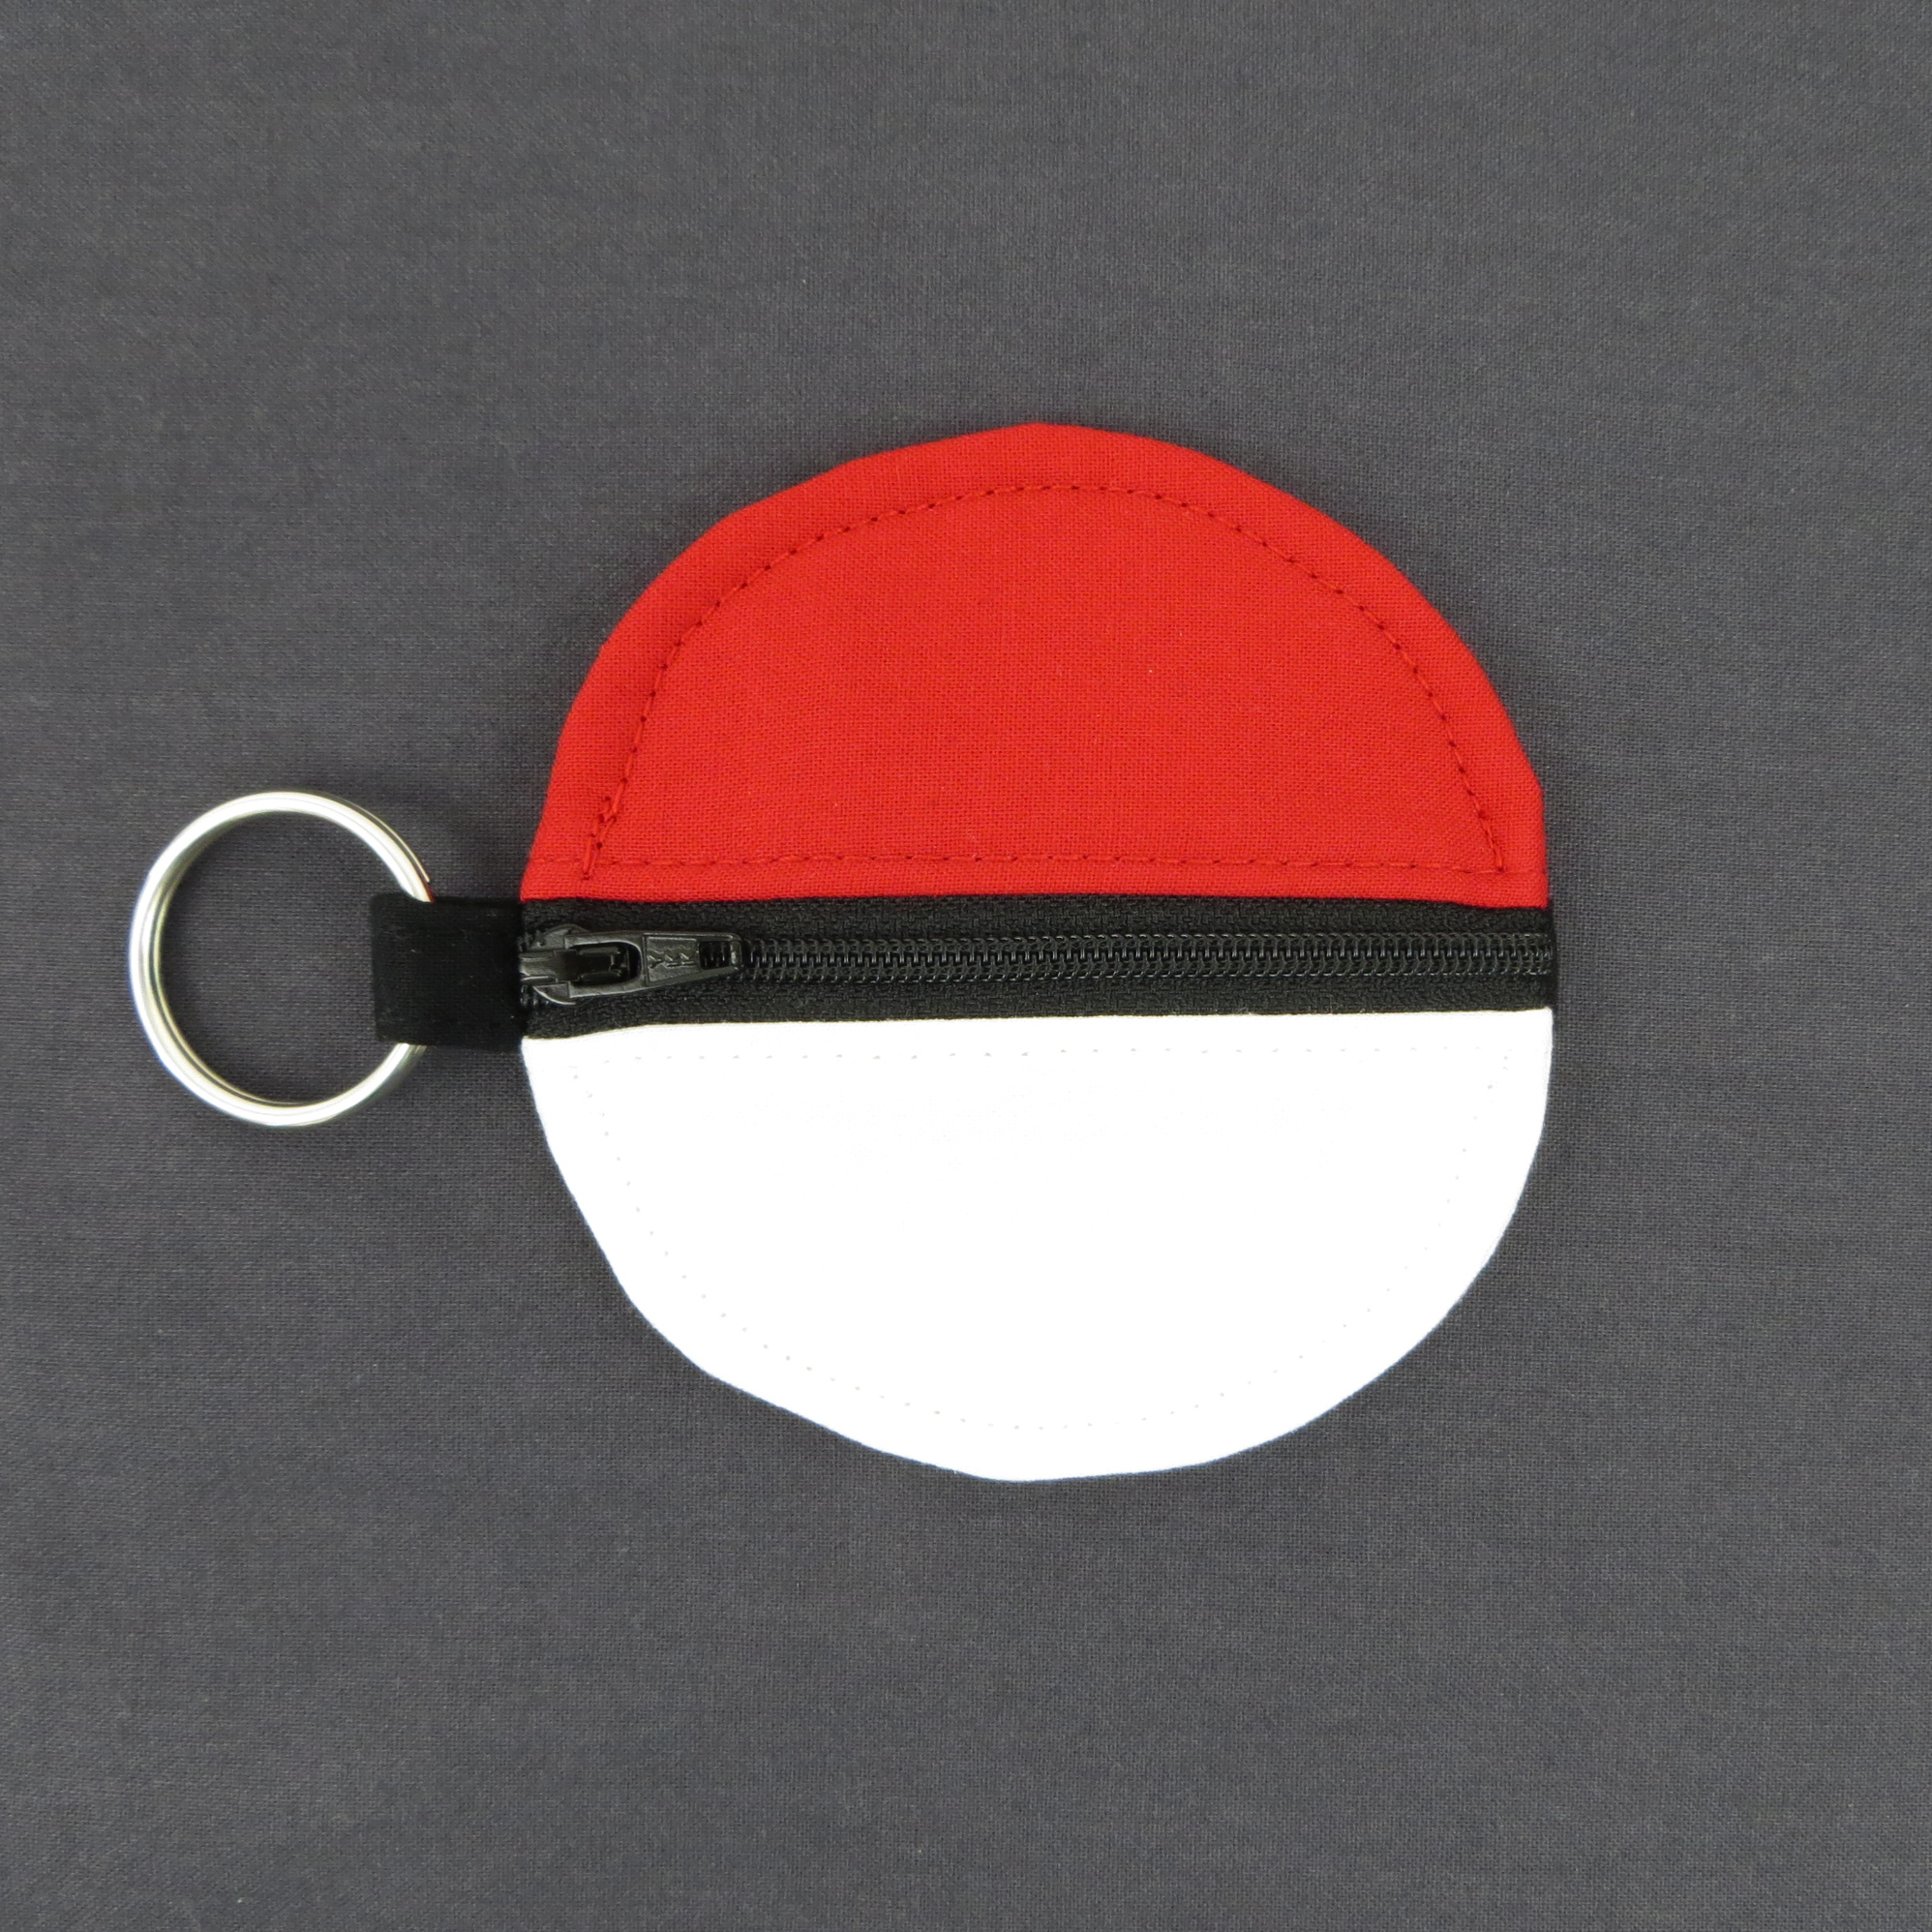
Front and back:
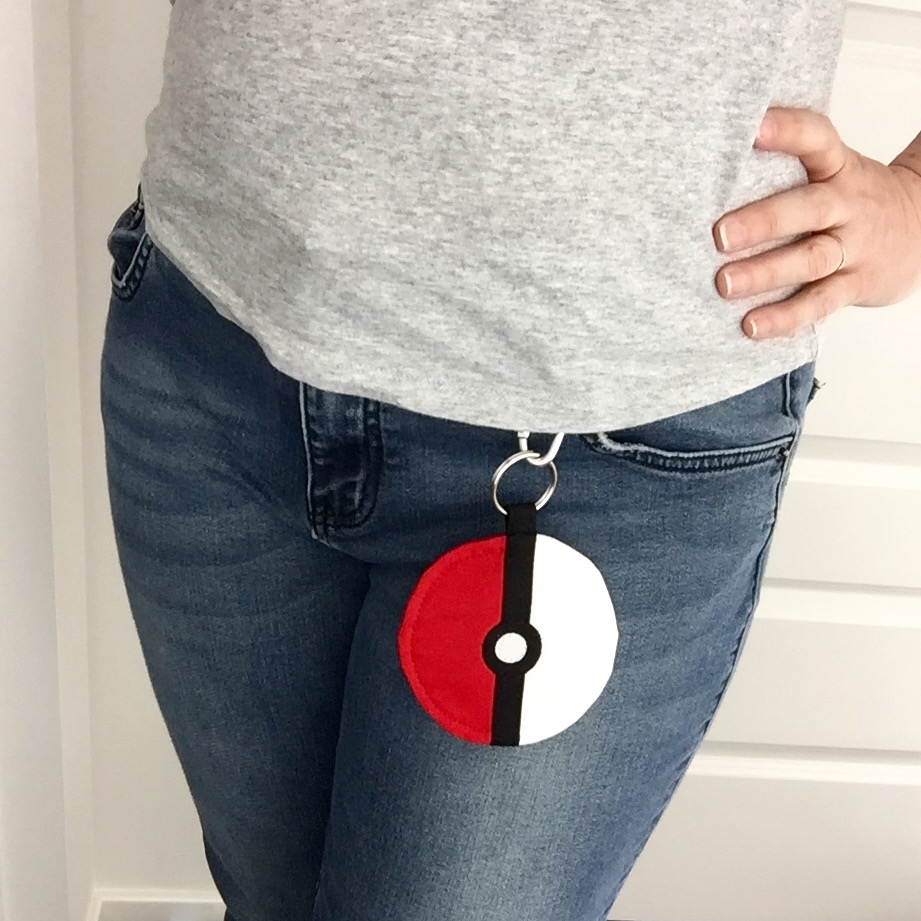

If you make one, don’t forget to tag @dogundermydesk on Instagram or share a picture in the discussion group on Facebook!
You can find the geeky variations of the earbud pouch here and if you need something bigger to hold more than just your earbuds, you might find a pattern you like in the Pattern Shop!
Posting this now, because I should be sewing. (I’m actually making a lot of progress behind the scenes consider the baby is “exceeding his milestones” AKA climbing the kitchen cart to push the buttons on the waffle maker while saying UP!)
I just wanted to say that this tutorial has been made dozens of times for Christmas and birthday presents, or just for fun to use up little scraps. I always get comments on them and many have uses completely unrelated to earbuds!
Congrats on getting back in the groove! I like how you pieced the circle. I was lazy and just used felt for the black & white strip and accent circles.
Your photography skills are still there.
Thank you so much Erin can’t wait to make them for Xmas presents.
Having only recently found your blog and store, and embarking on a journey of sewing my handwoven fabric, I was disappointed to have not known about your site when it was active. Today, I found this update, and am so happy you are back. Handwoven fabric is troublesome because its typically fairly thick and tends to unravel, but I’ve been learning the gospel of interfacing! Thanks again for having all these great instructions, and I hope to see more new great ideas.
By the way, I’m working on the two zip hipster!
Love the way you sew in the zipper on such a small project. I learned something new.
É uma ótima ideia para presente de Natal. Obrigada pela linda inspiração.
Erin,
My husband and I are fortunate to travel a few times a year. I like to give a small gifts to those who are especially helpful to us. The ear bud pouches are perfect! The women who receive them are always very appreciative and several are in “awe” of the zippers, too! I’ll have 3 in my hand and they have a choice. So far your ear buds have been given to tour guides in Europe, flight attendants who do that “little something extra”, hotel staff and more.
Thank you for providing a means to say thank you to those who serve and often don’t receive a compliment!