

Supplies
Quilting Cotton – You can piece from as little as 1/2 yard, but to cut on the grain you will need at least 1 1/4 yards (45″) depending on your waist measurement + 8″
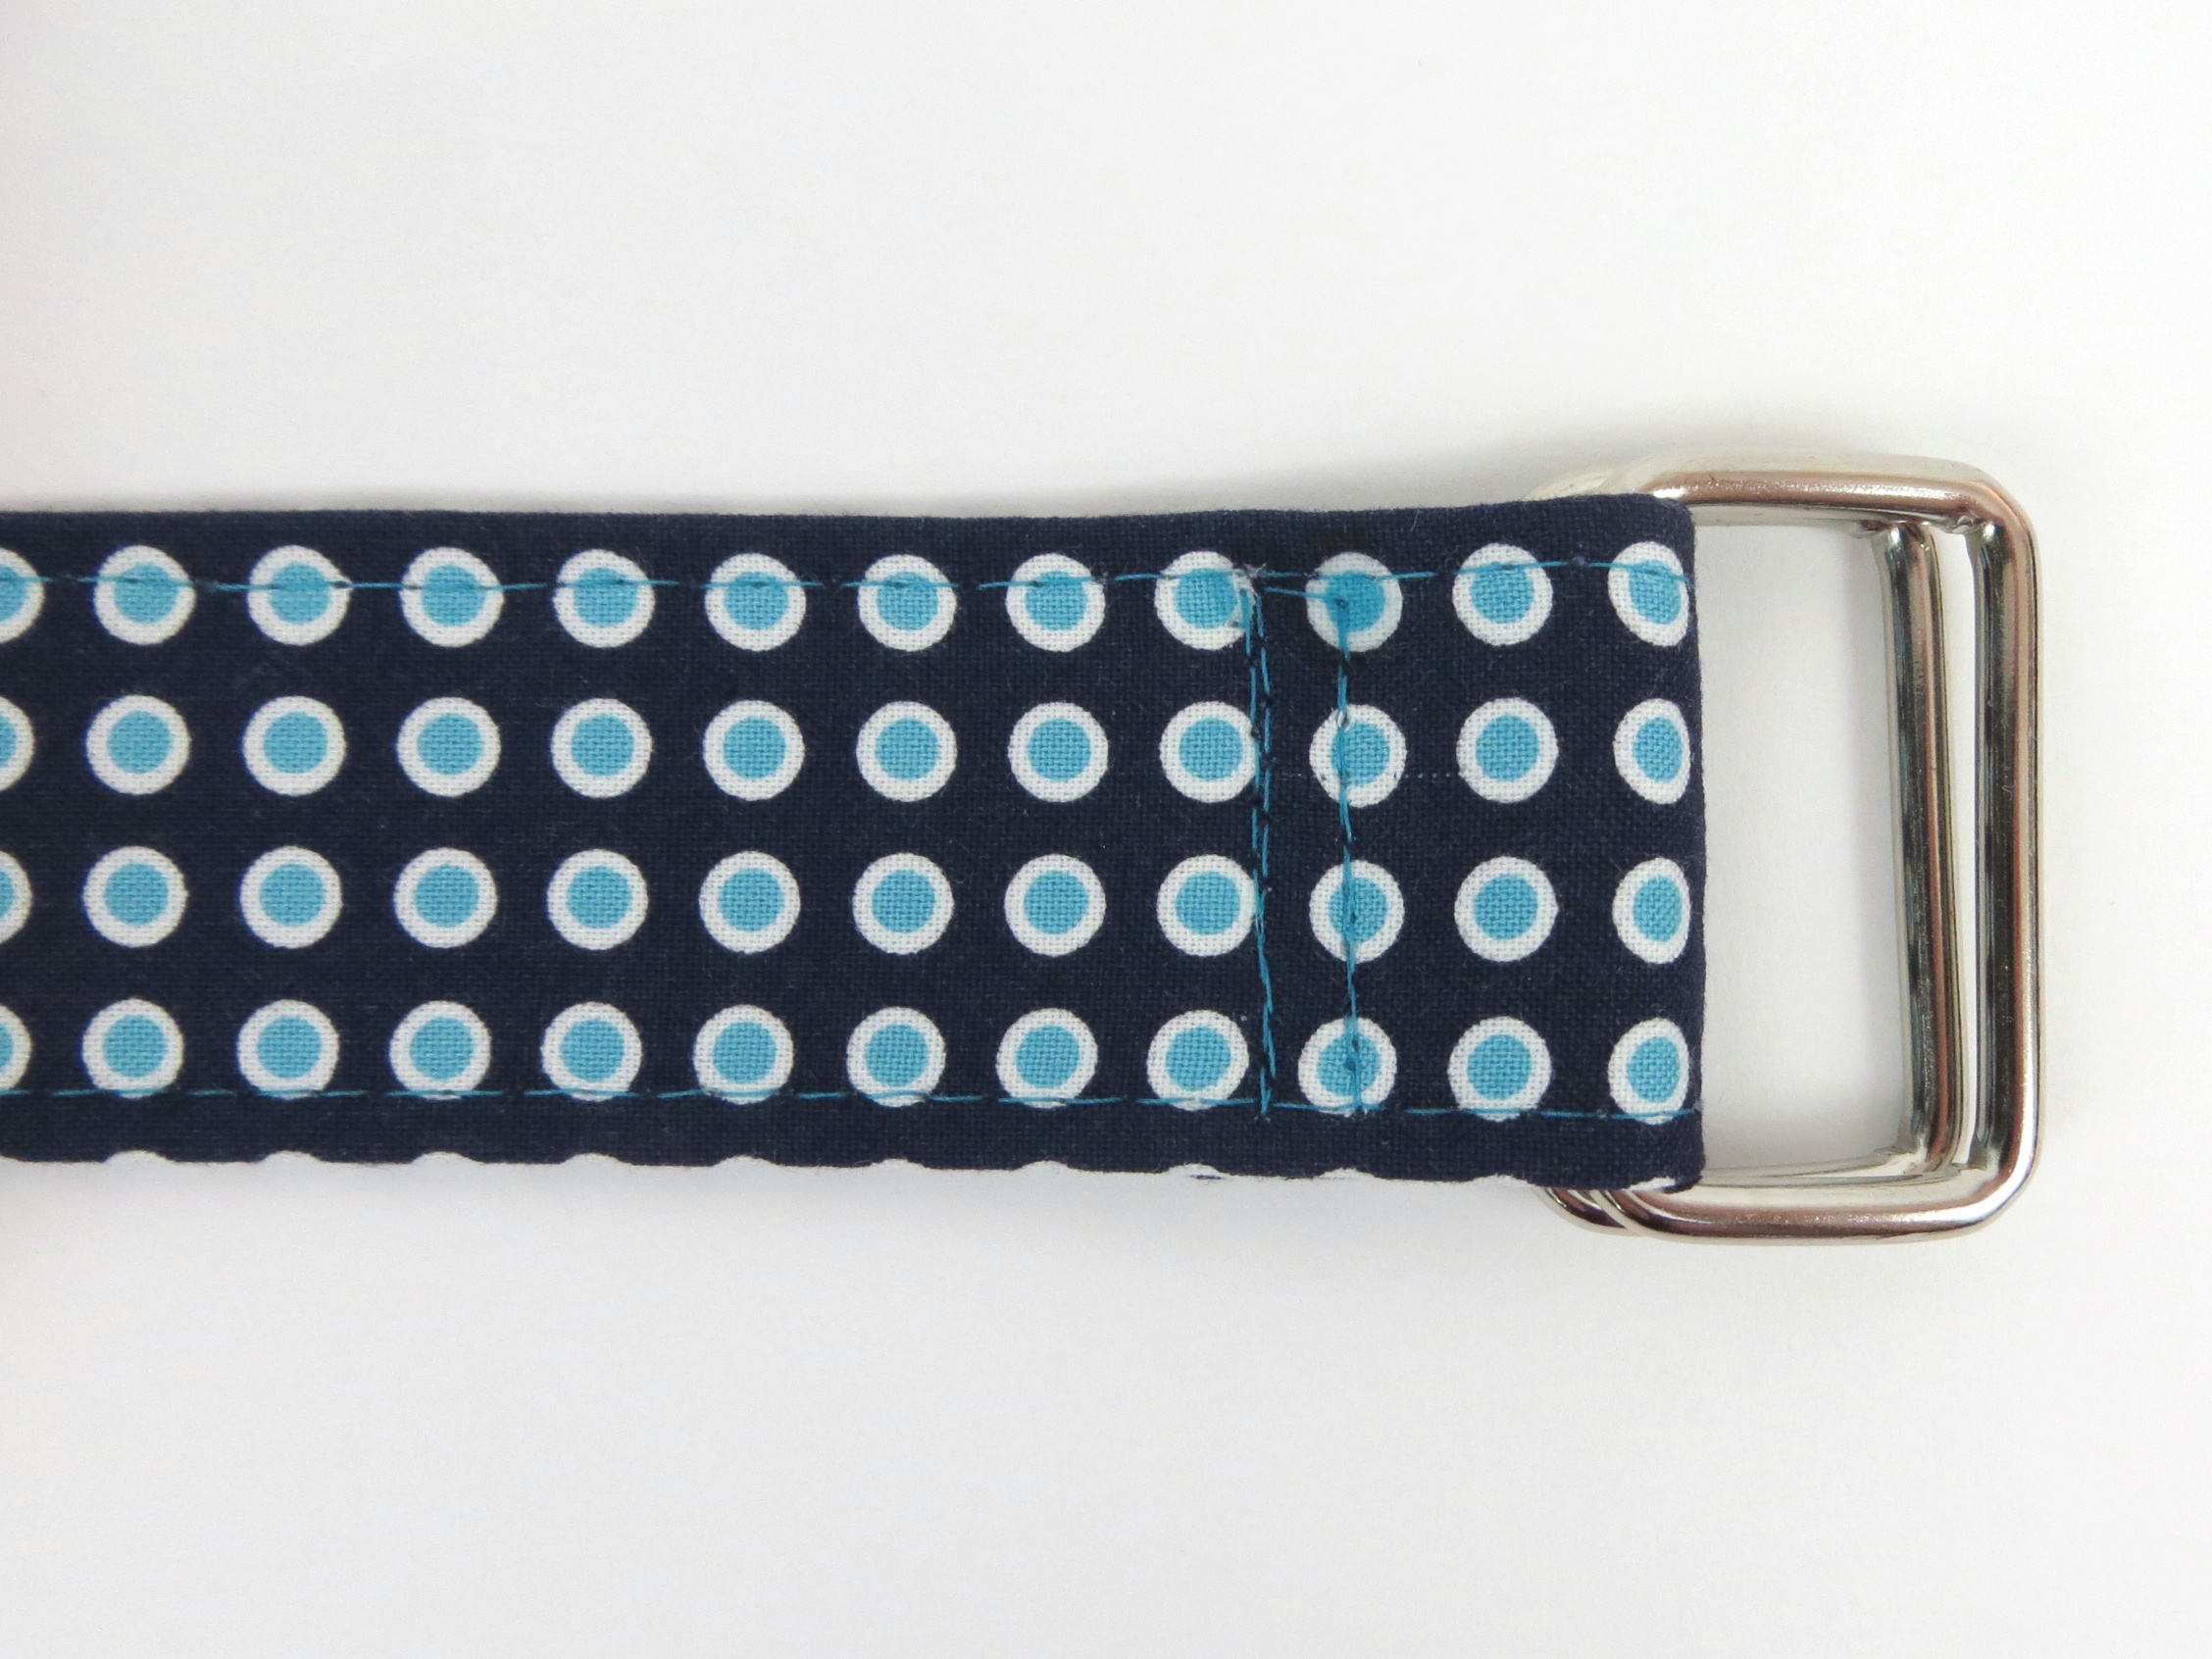
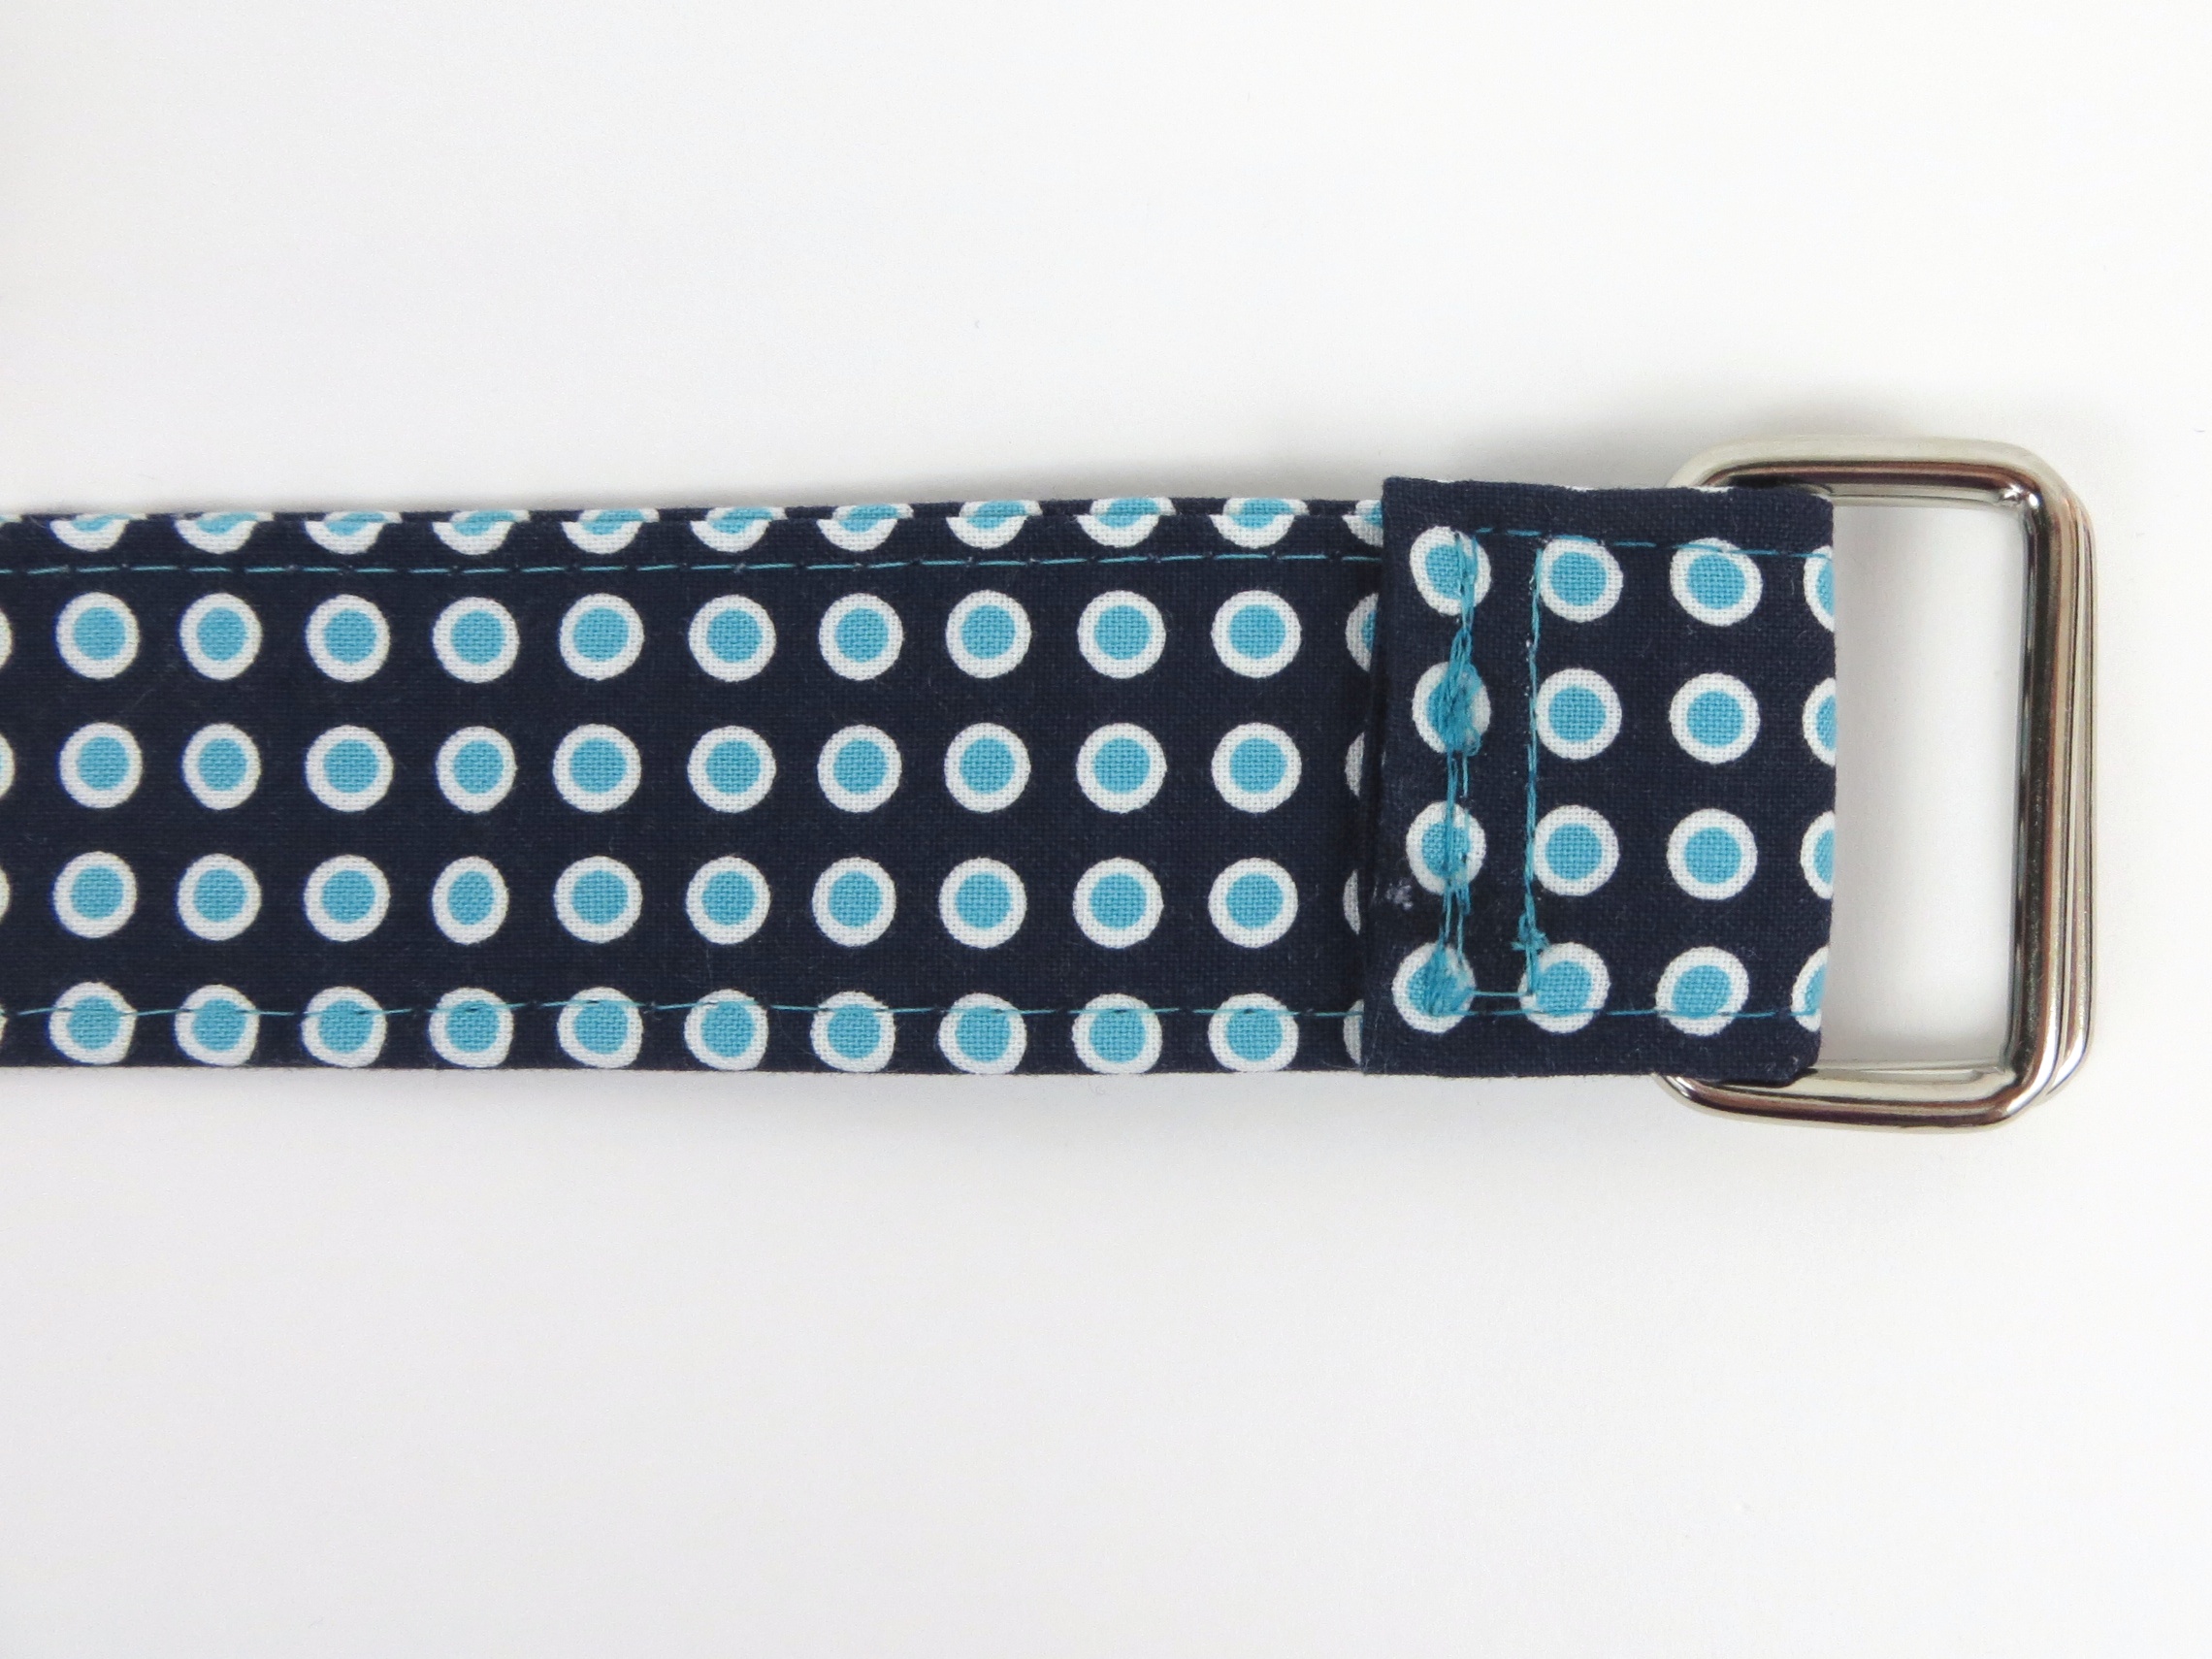
Two D-Rings or Rectangle Rings
Woven Fusible Interfacing like SF-101 – At least 1/2 yard
Extra heavy weight firm interfacing like Peltex or Pellon Deco-Fuse 520 – At least 1/4 yard
90 or 100 topstitch/denim/sharp needles
Click to enlarge any of the photos.
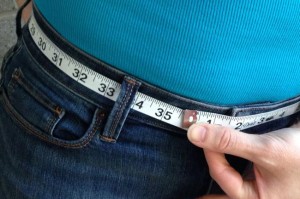
 You’ll need to start with a little math. Measure your waist where you want your belt. I put the measuring tape through the belt loops on my jeans and got just under 36″.
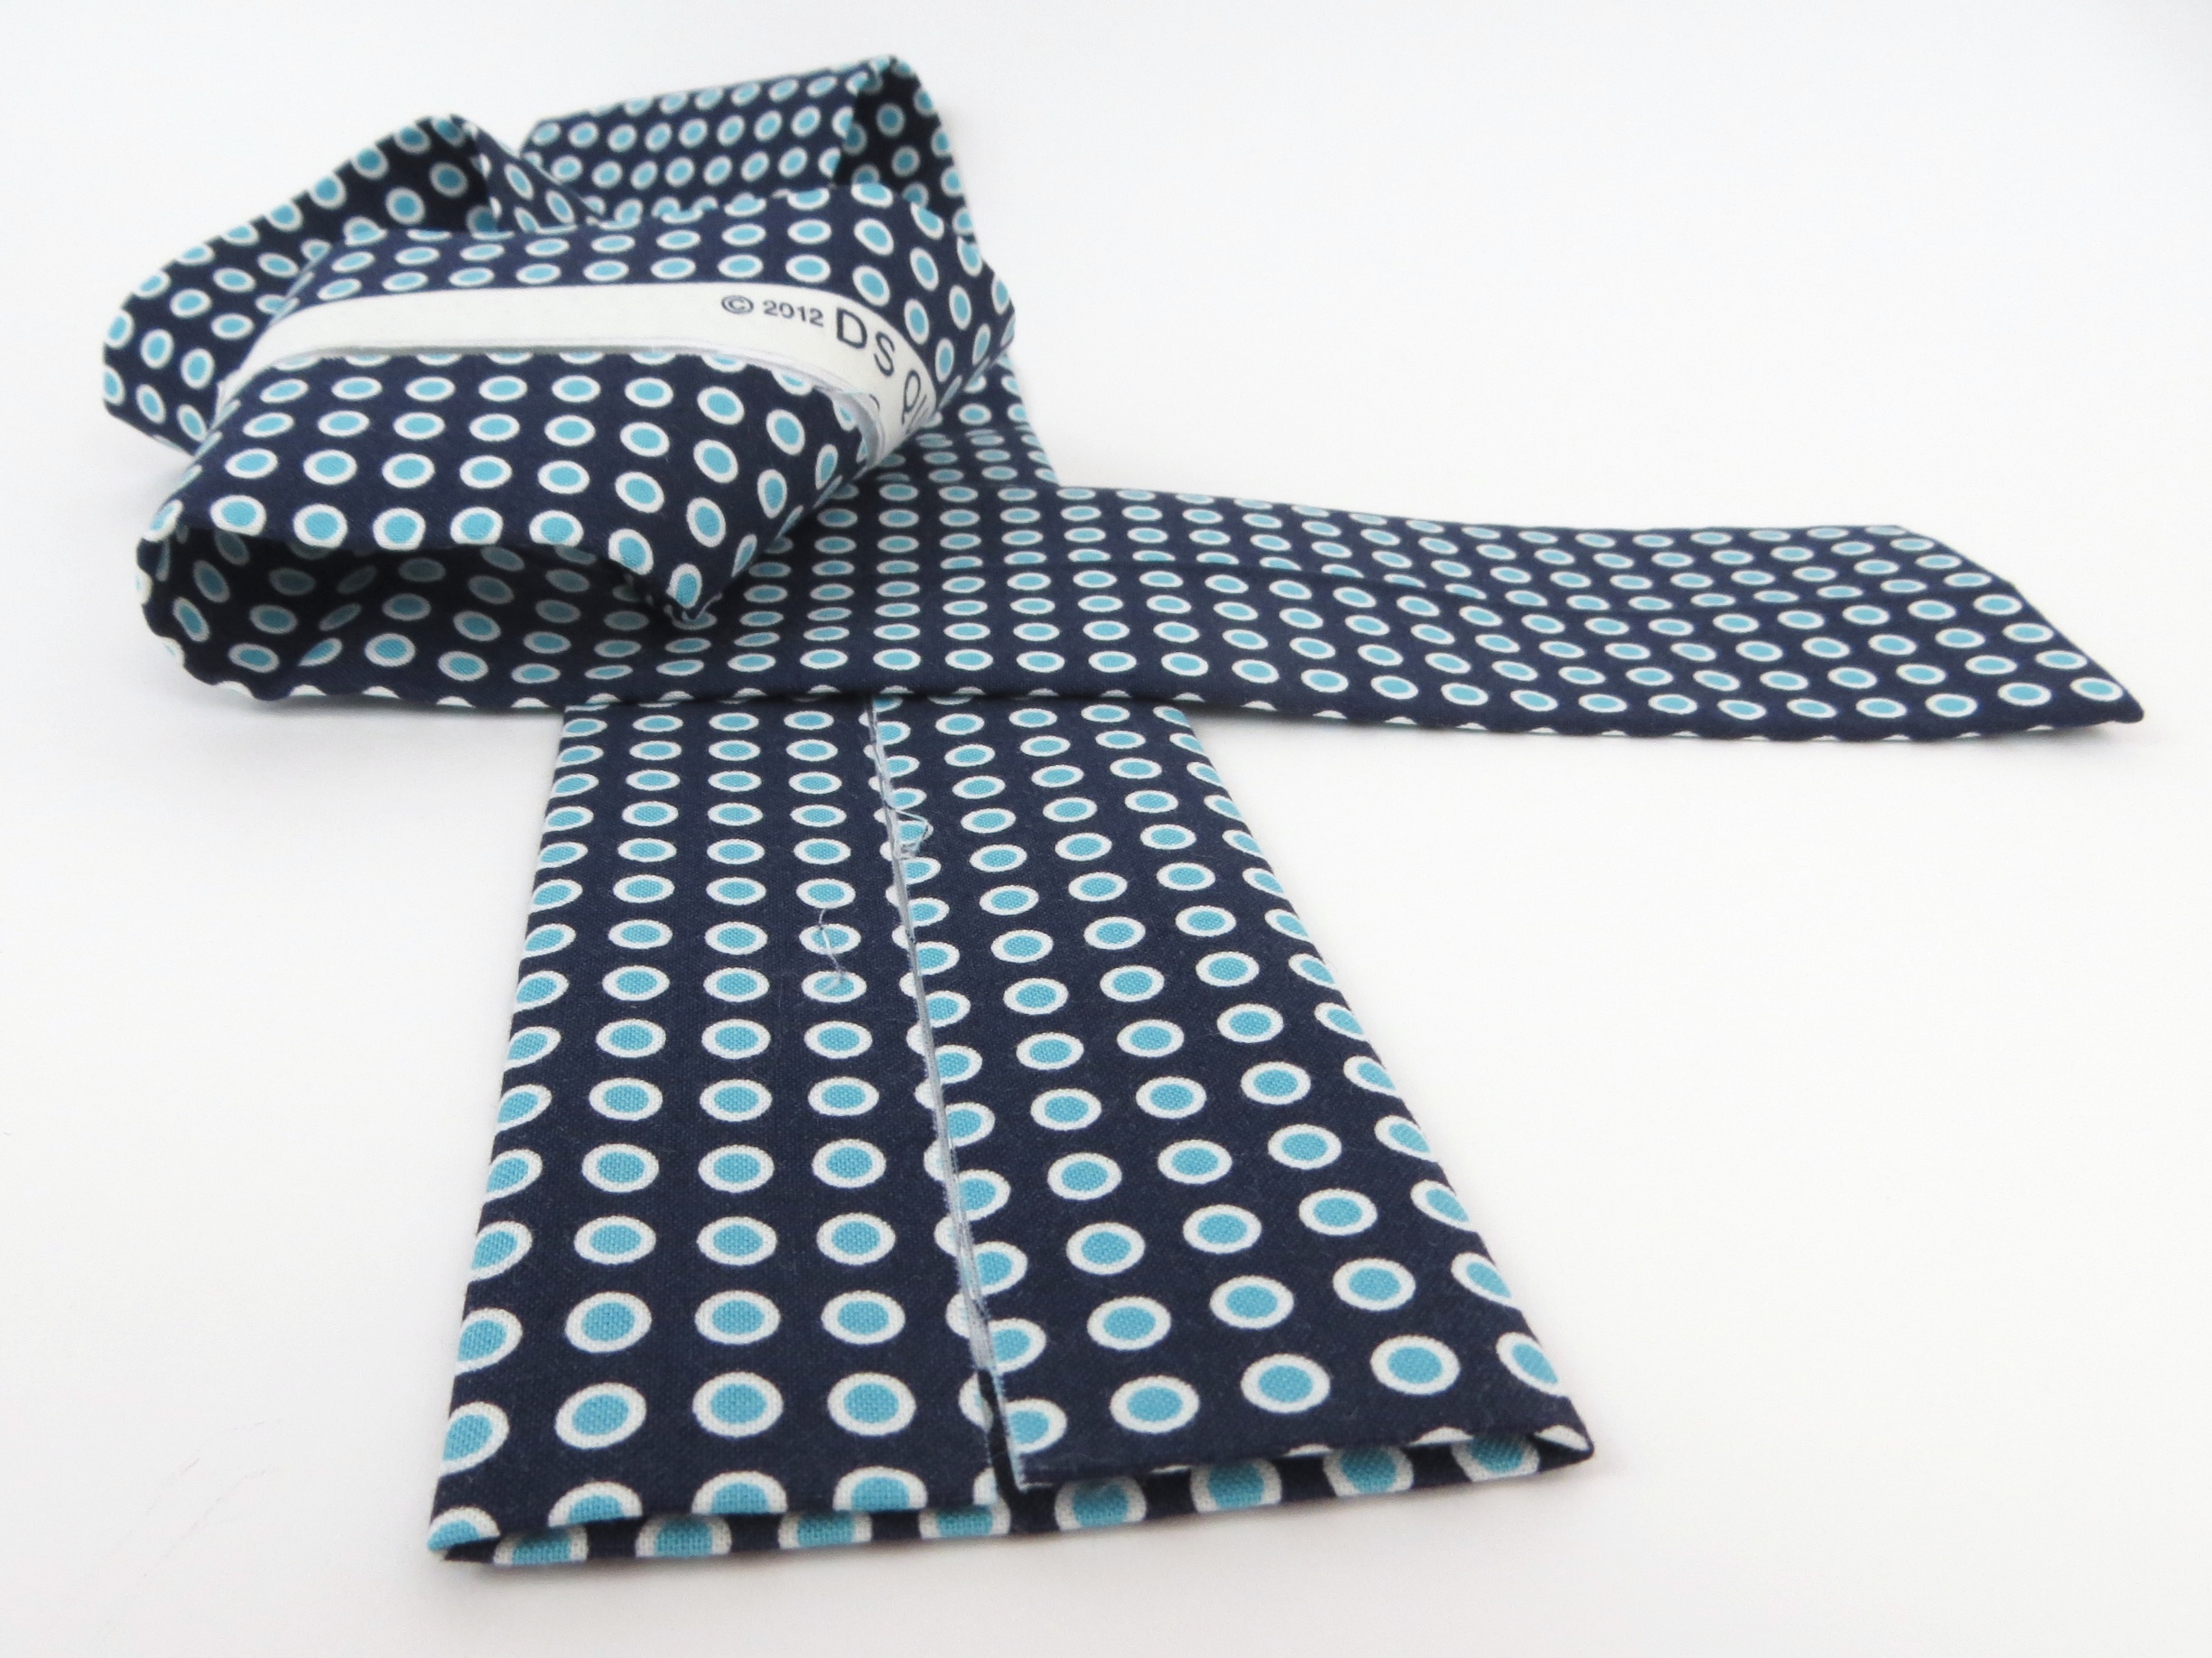
 Add 8″ to your waist measurement. So mine is 36″ + 8″ = 44″ and I cut my fabric 6″ wide by 44″ long.
PIECING INSTRUCTIONS – Skip if you have enough length for the entire belt.
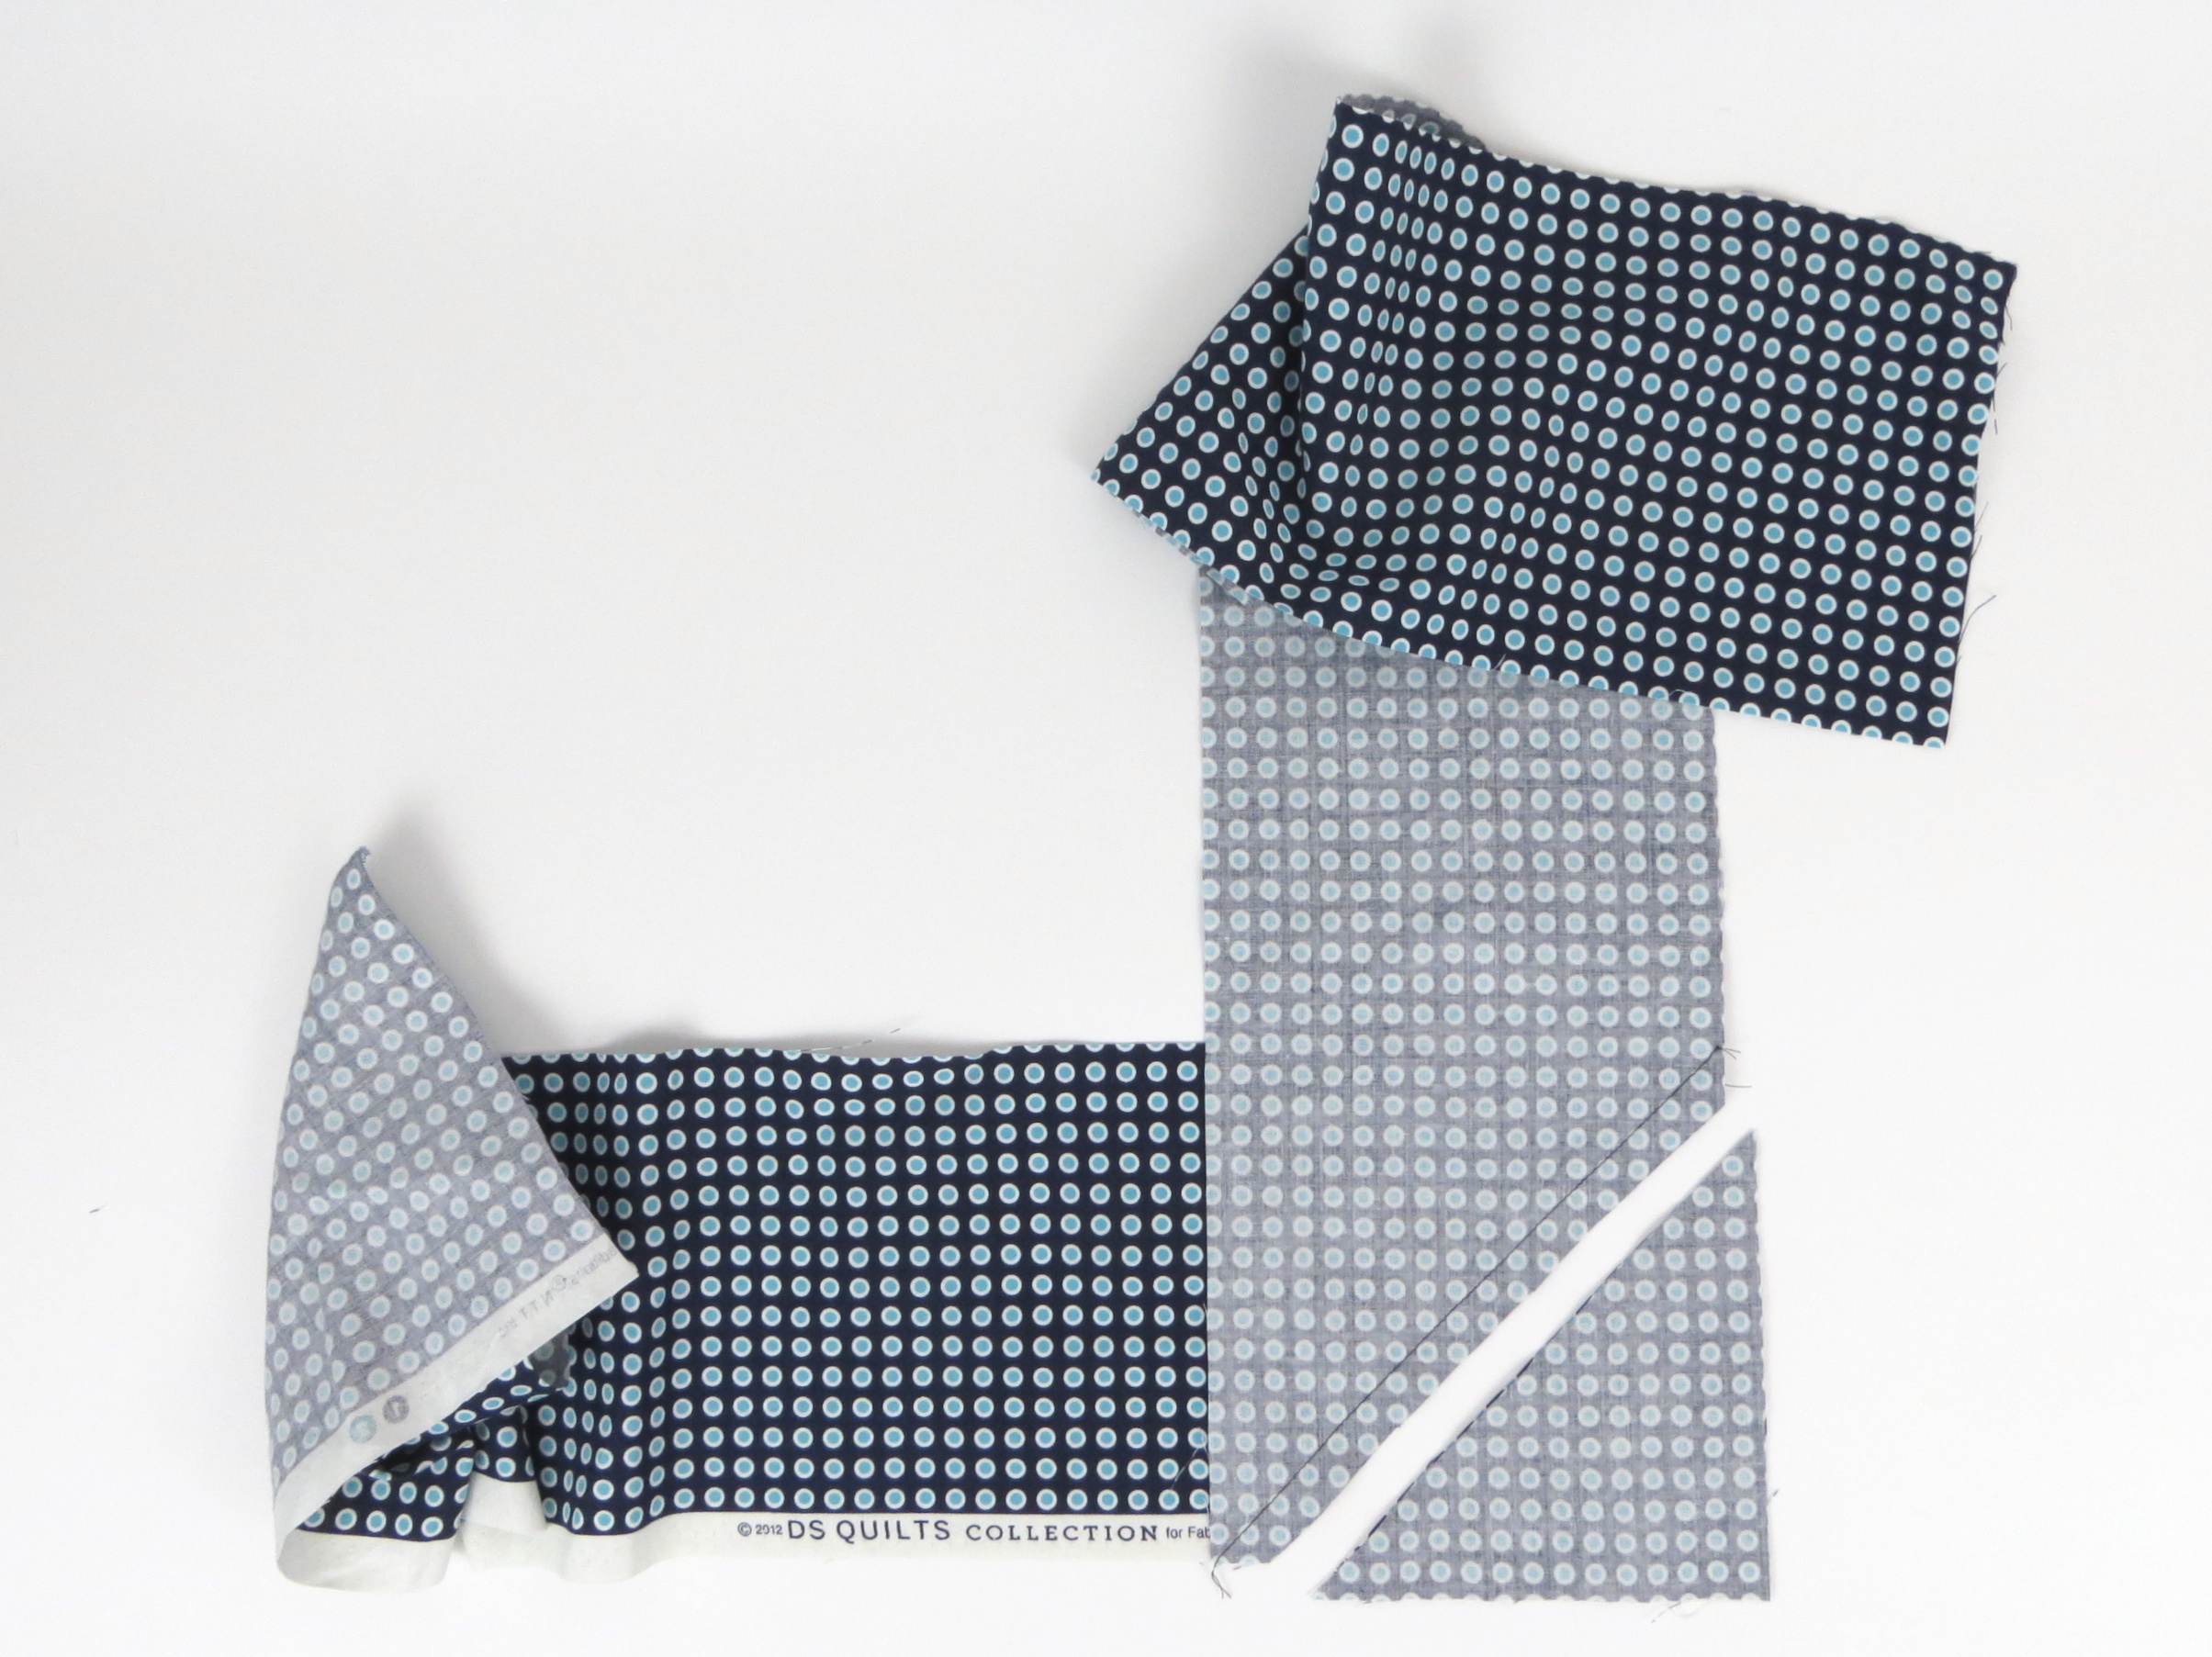
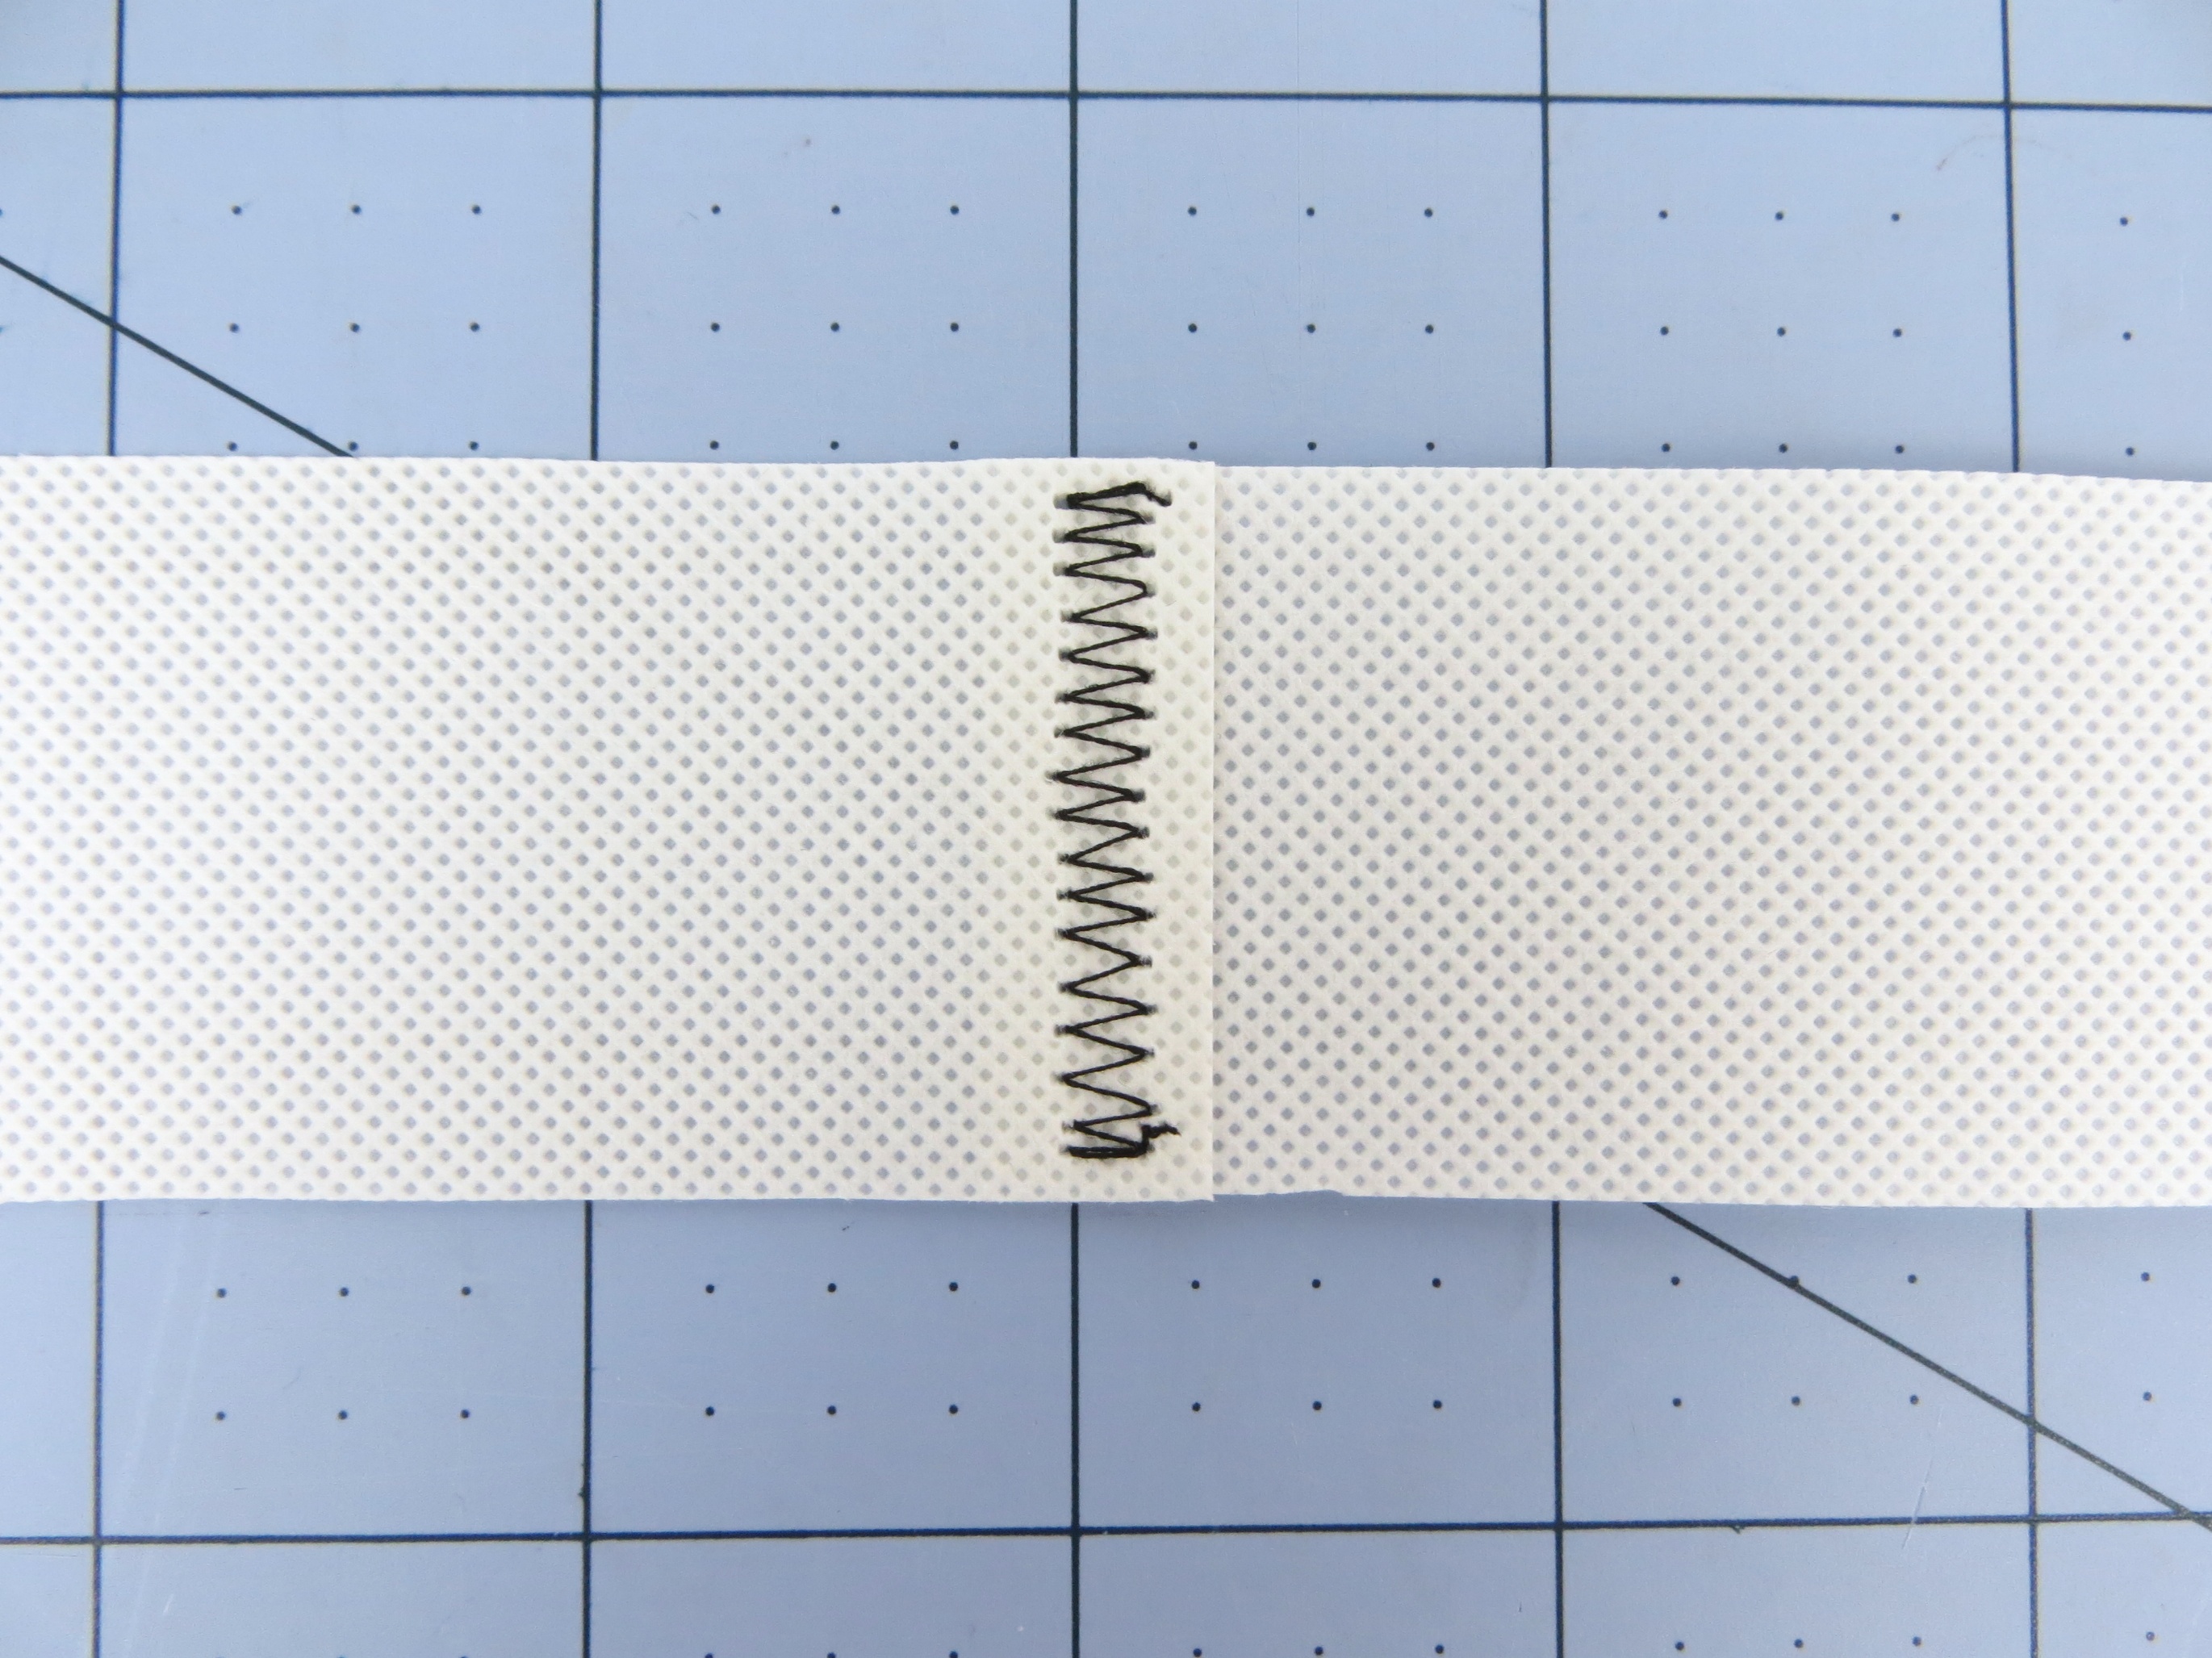
Add 6″ to the total length, so for me it was 44″ + 6″ = 50″. Try to cut two equal pieces so the seam will be in the back. I cut two pieces each 6″ wide x 25″ long.
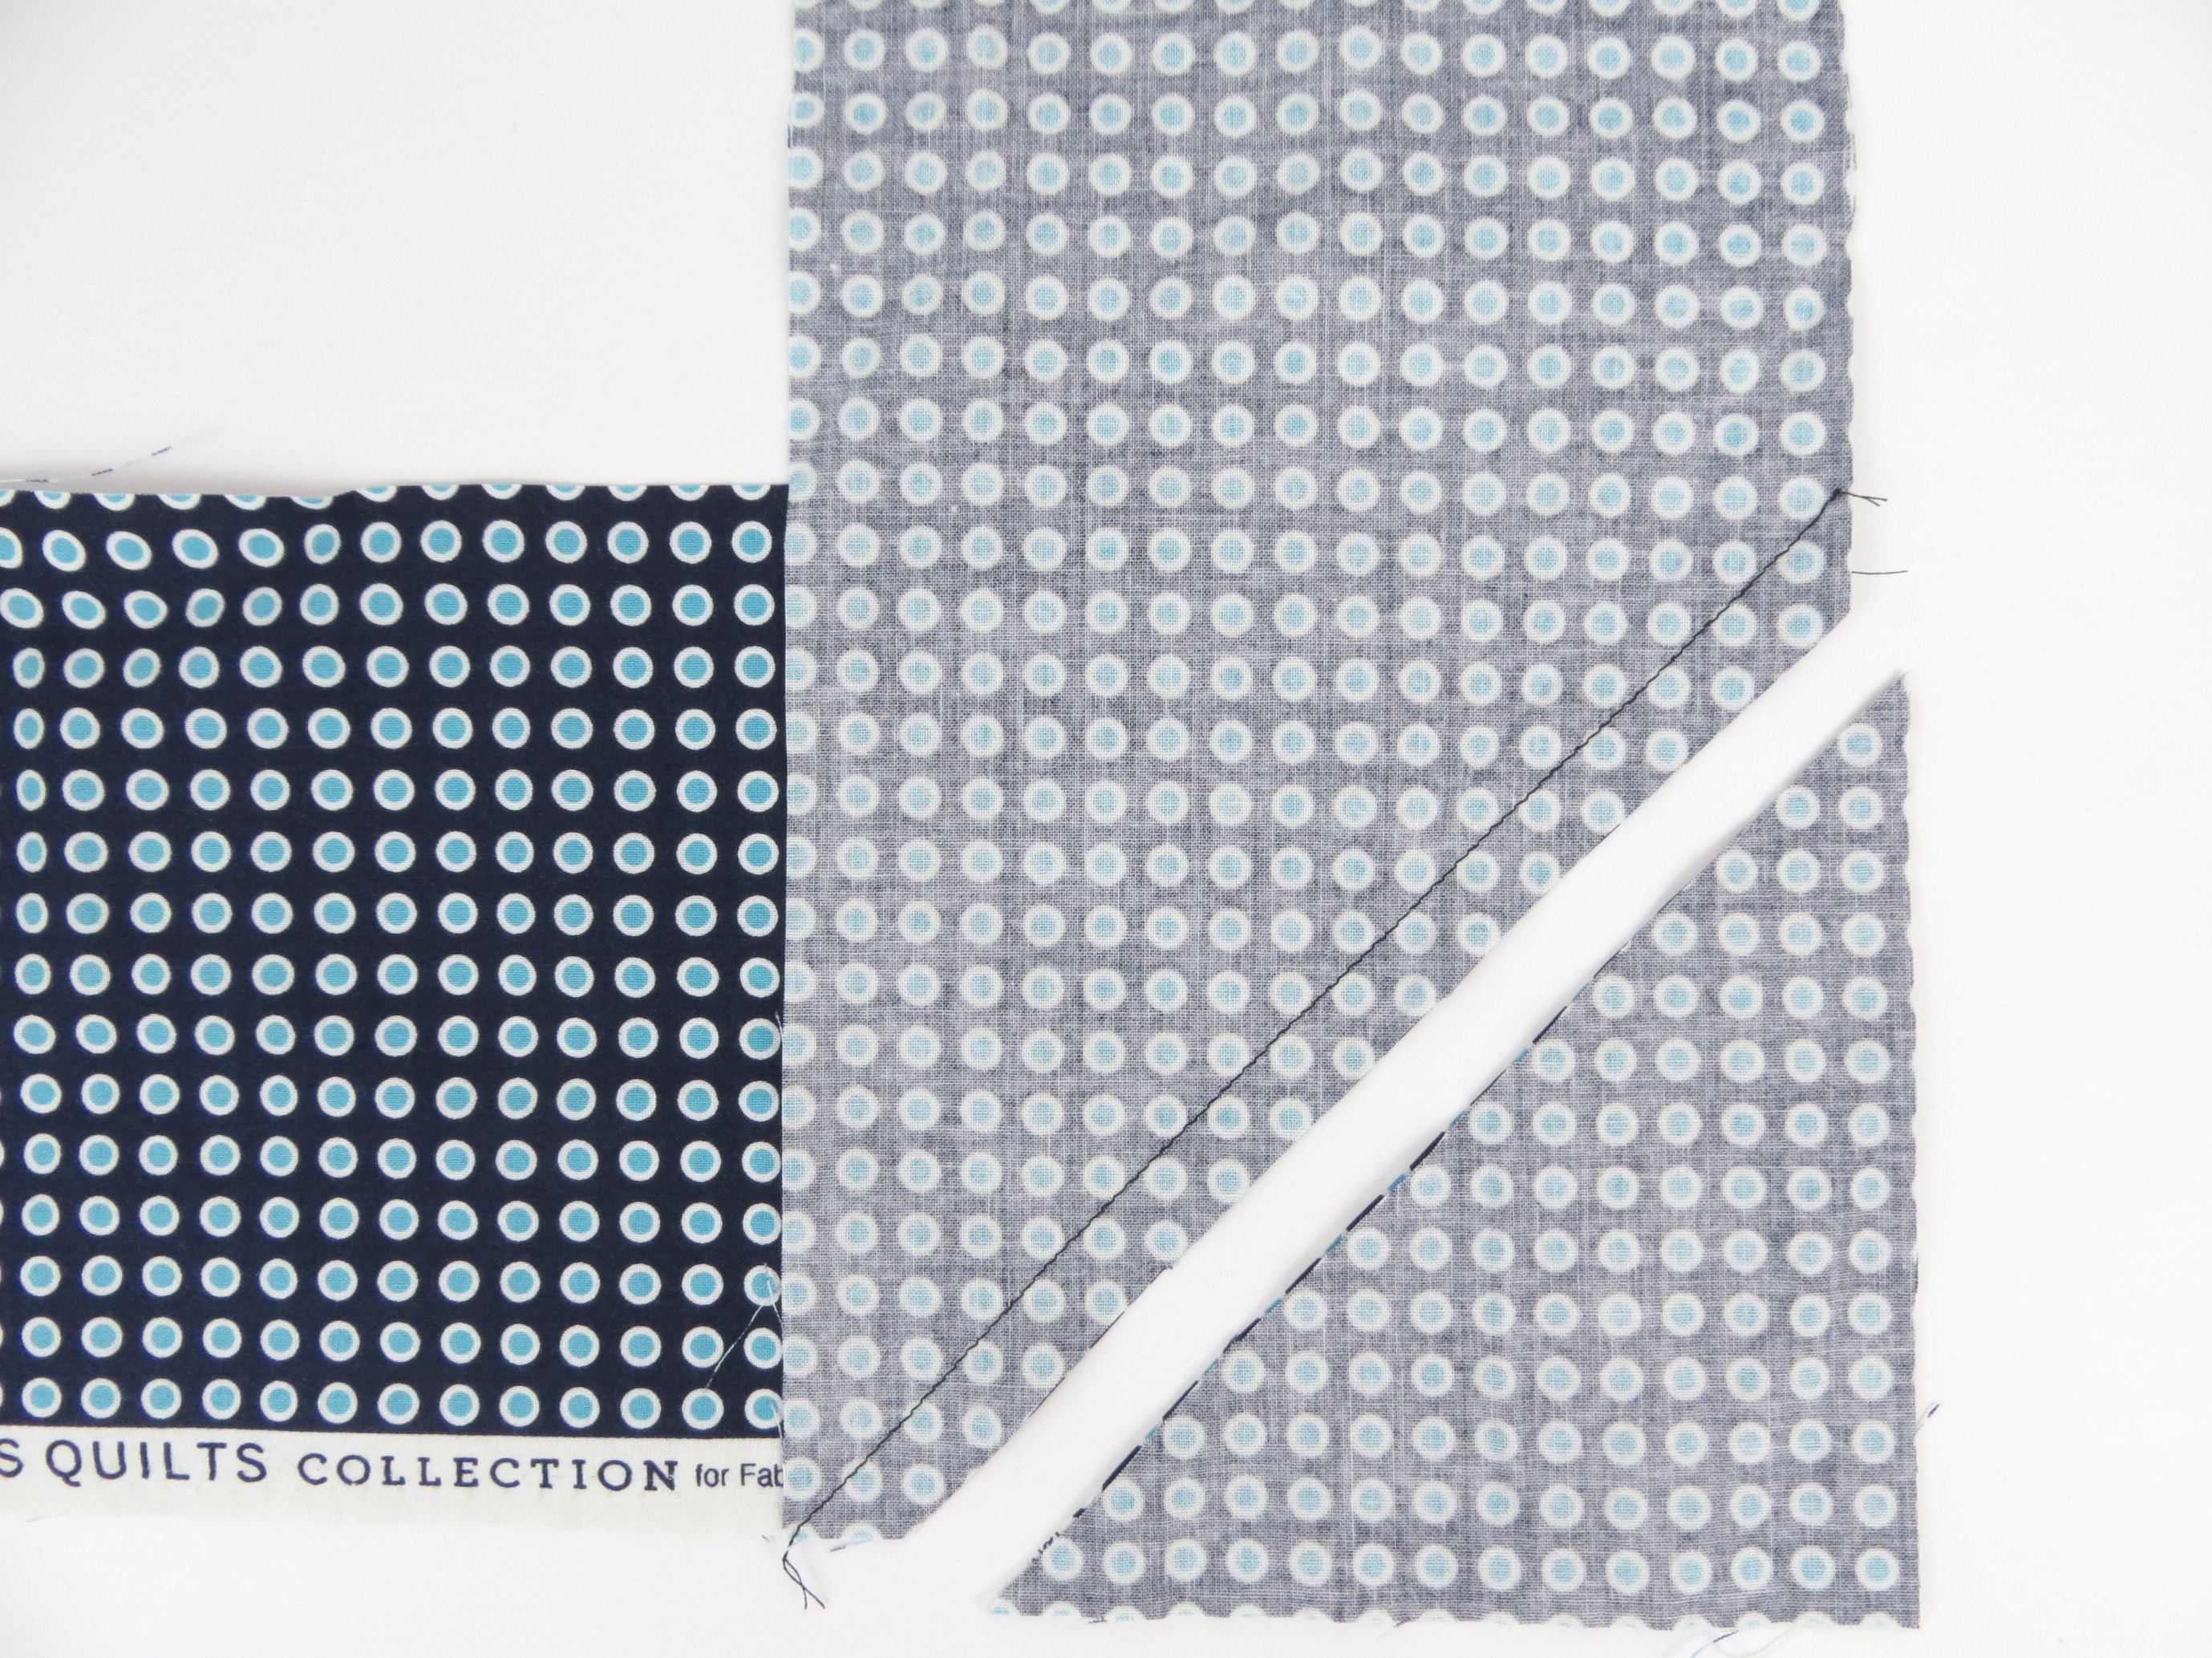
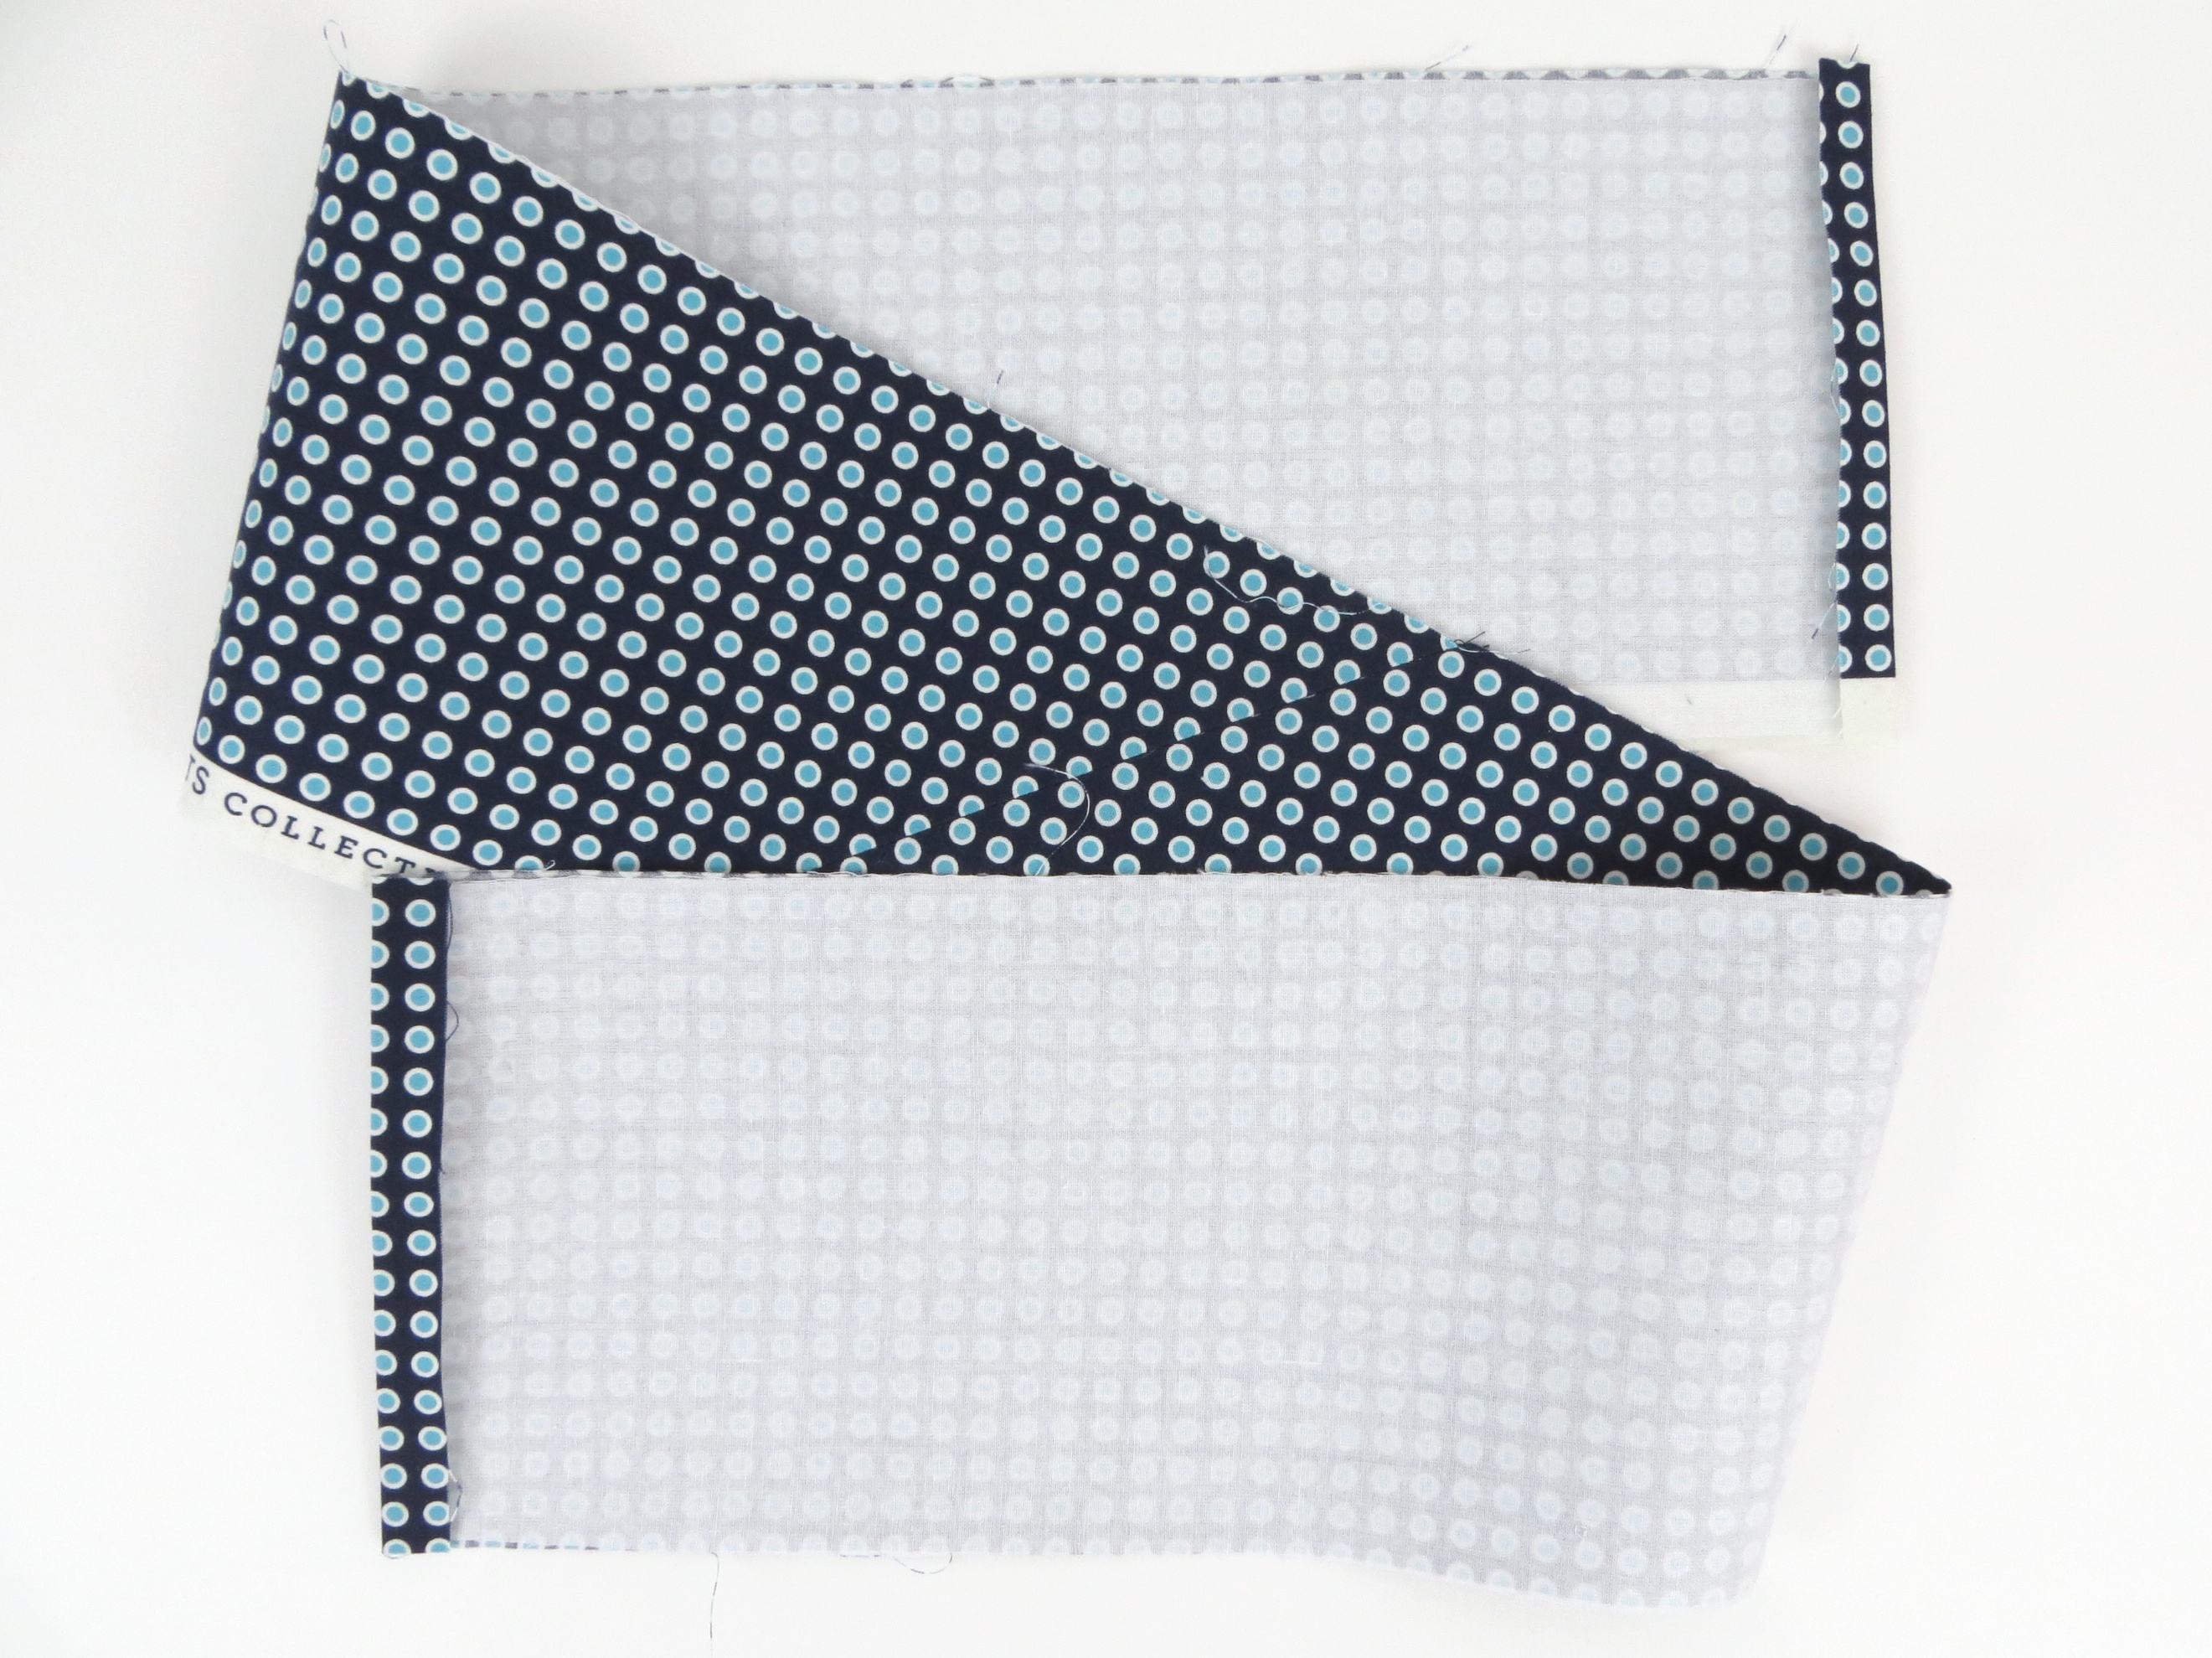
Place fabric right sides together at a 90 degree angle. Sew across from corner to corner (where the fabric meets) and trim to a 3/8″ seam allowance.

SKIP TO HERE if you are not piecing your fabric:
Cut fusible interfacing 1″ shorter than your fabric length x 6″ wide. Fuse 1/2″ away from both ends. Fuse right over the pieced seam that you pressed open.

If you don’t have the full length of interfacing, just place 6″ wide scraps end to end. This is a great way to use up interfacing!

Press 1/2″ on both ends over to the wrong side.
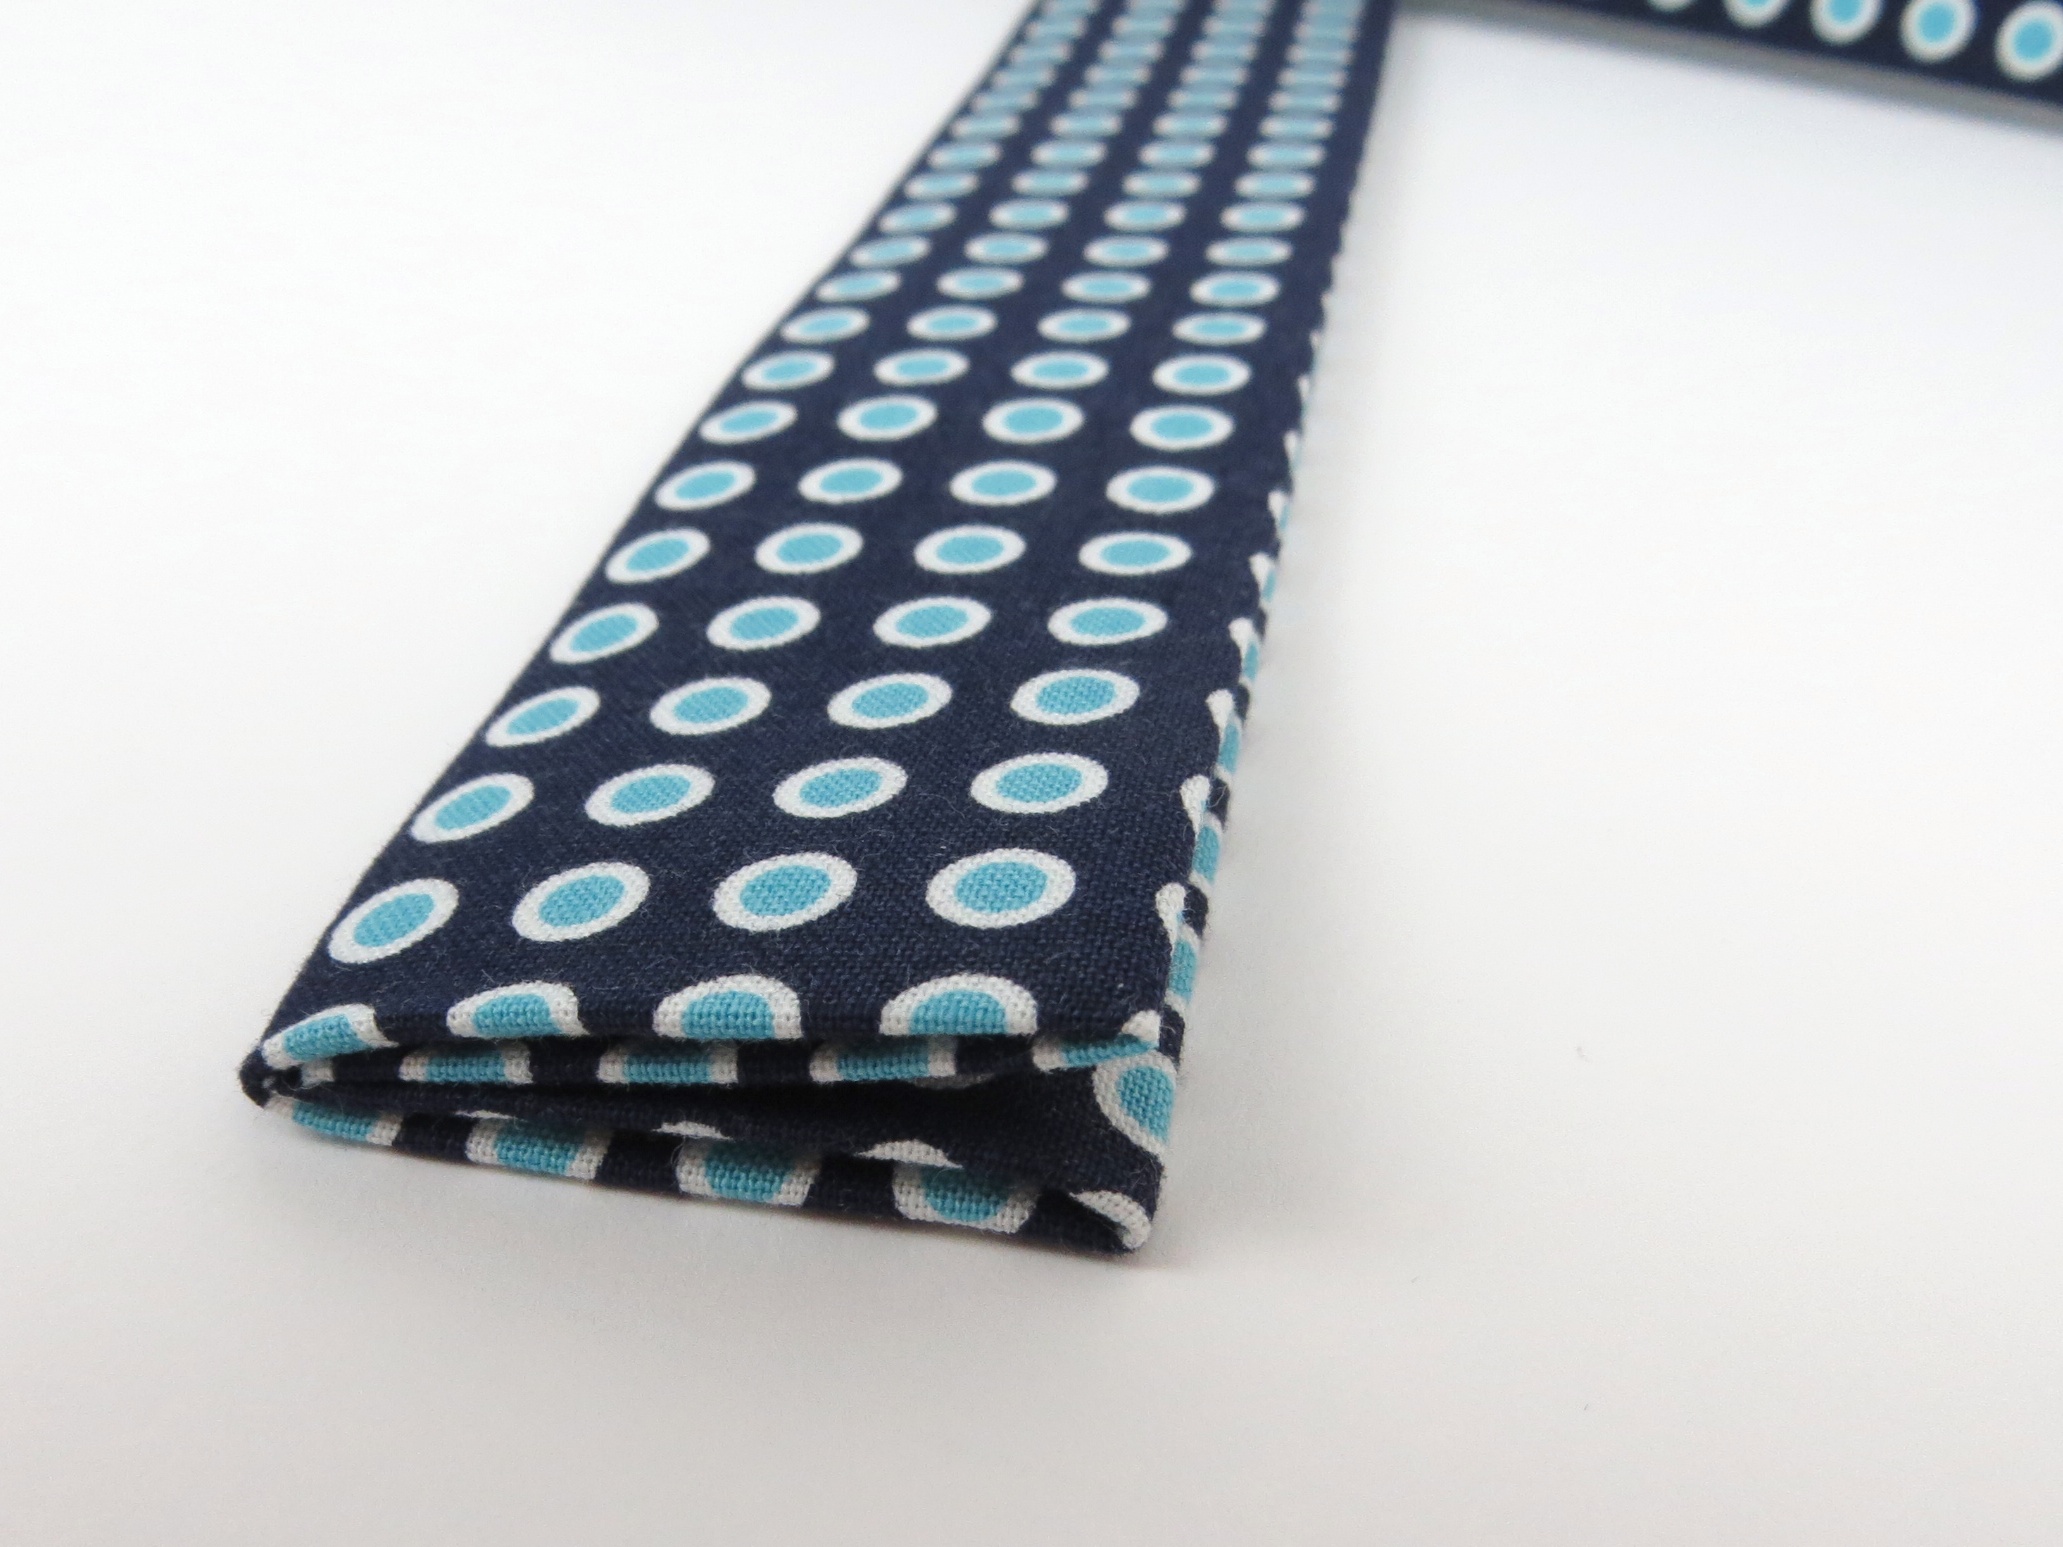
Fold in half lengthwise, unfold, refold to the center.

Cut extra firm interfacing 2″ shorter than the fabric length x 1 3/8″ wide.
Unfold and place the interfacing into one side of the belt starting at the fold on one edge.
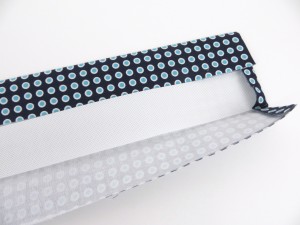
Stop 1″ from the other edge (trim if necessary.)
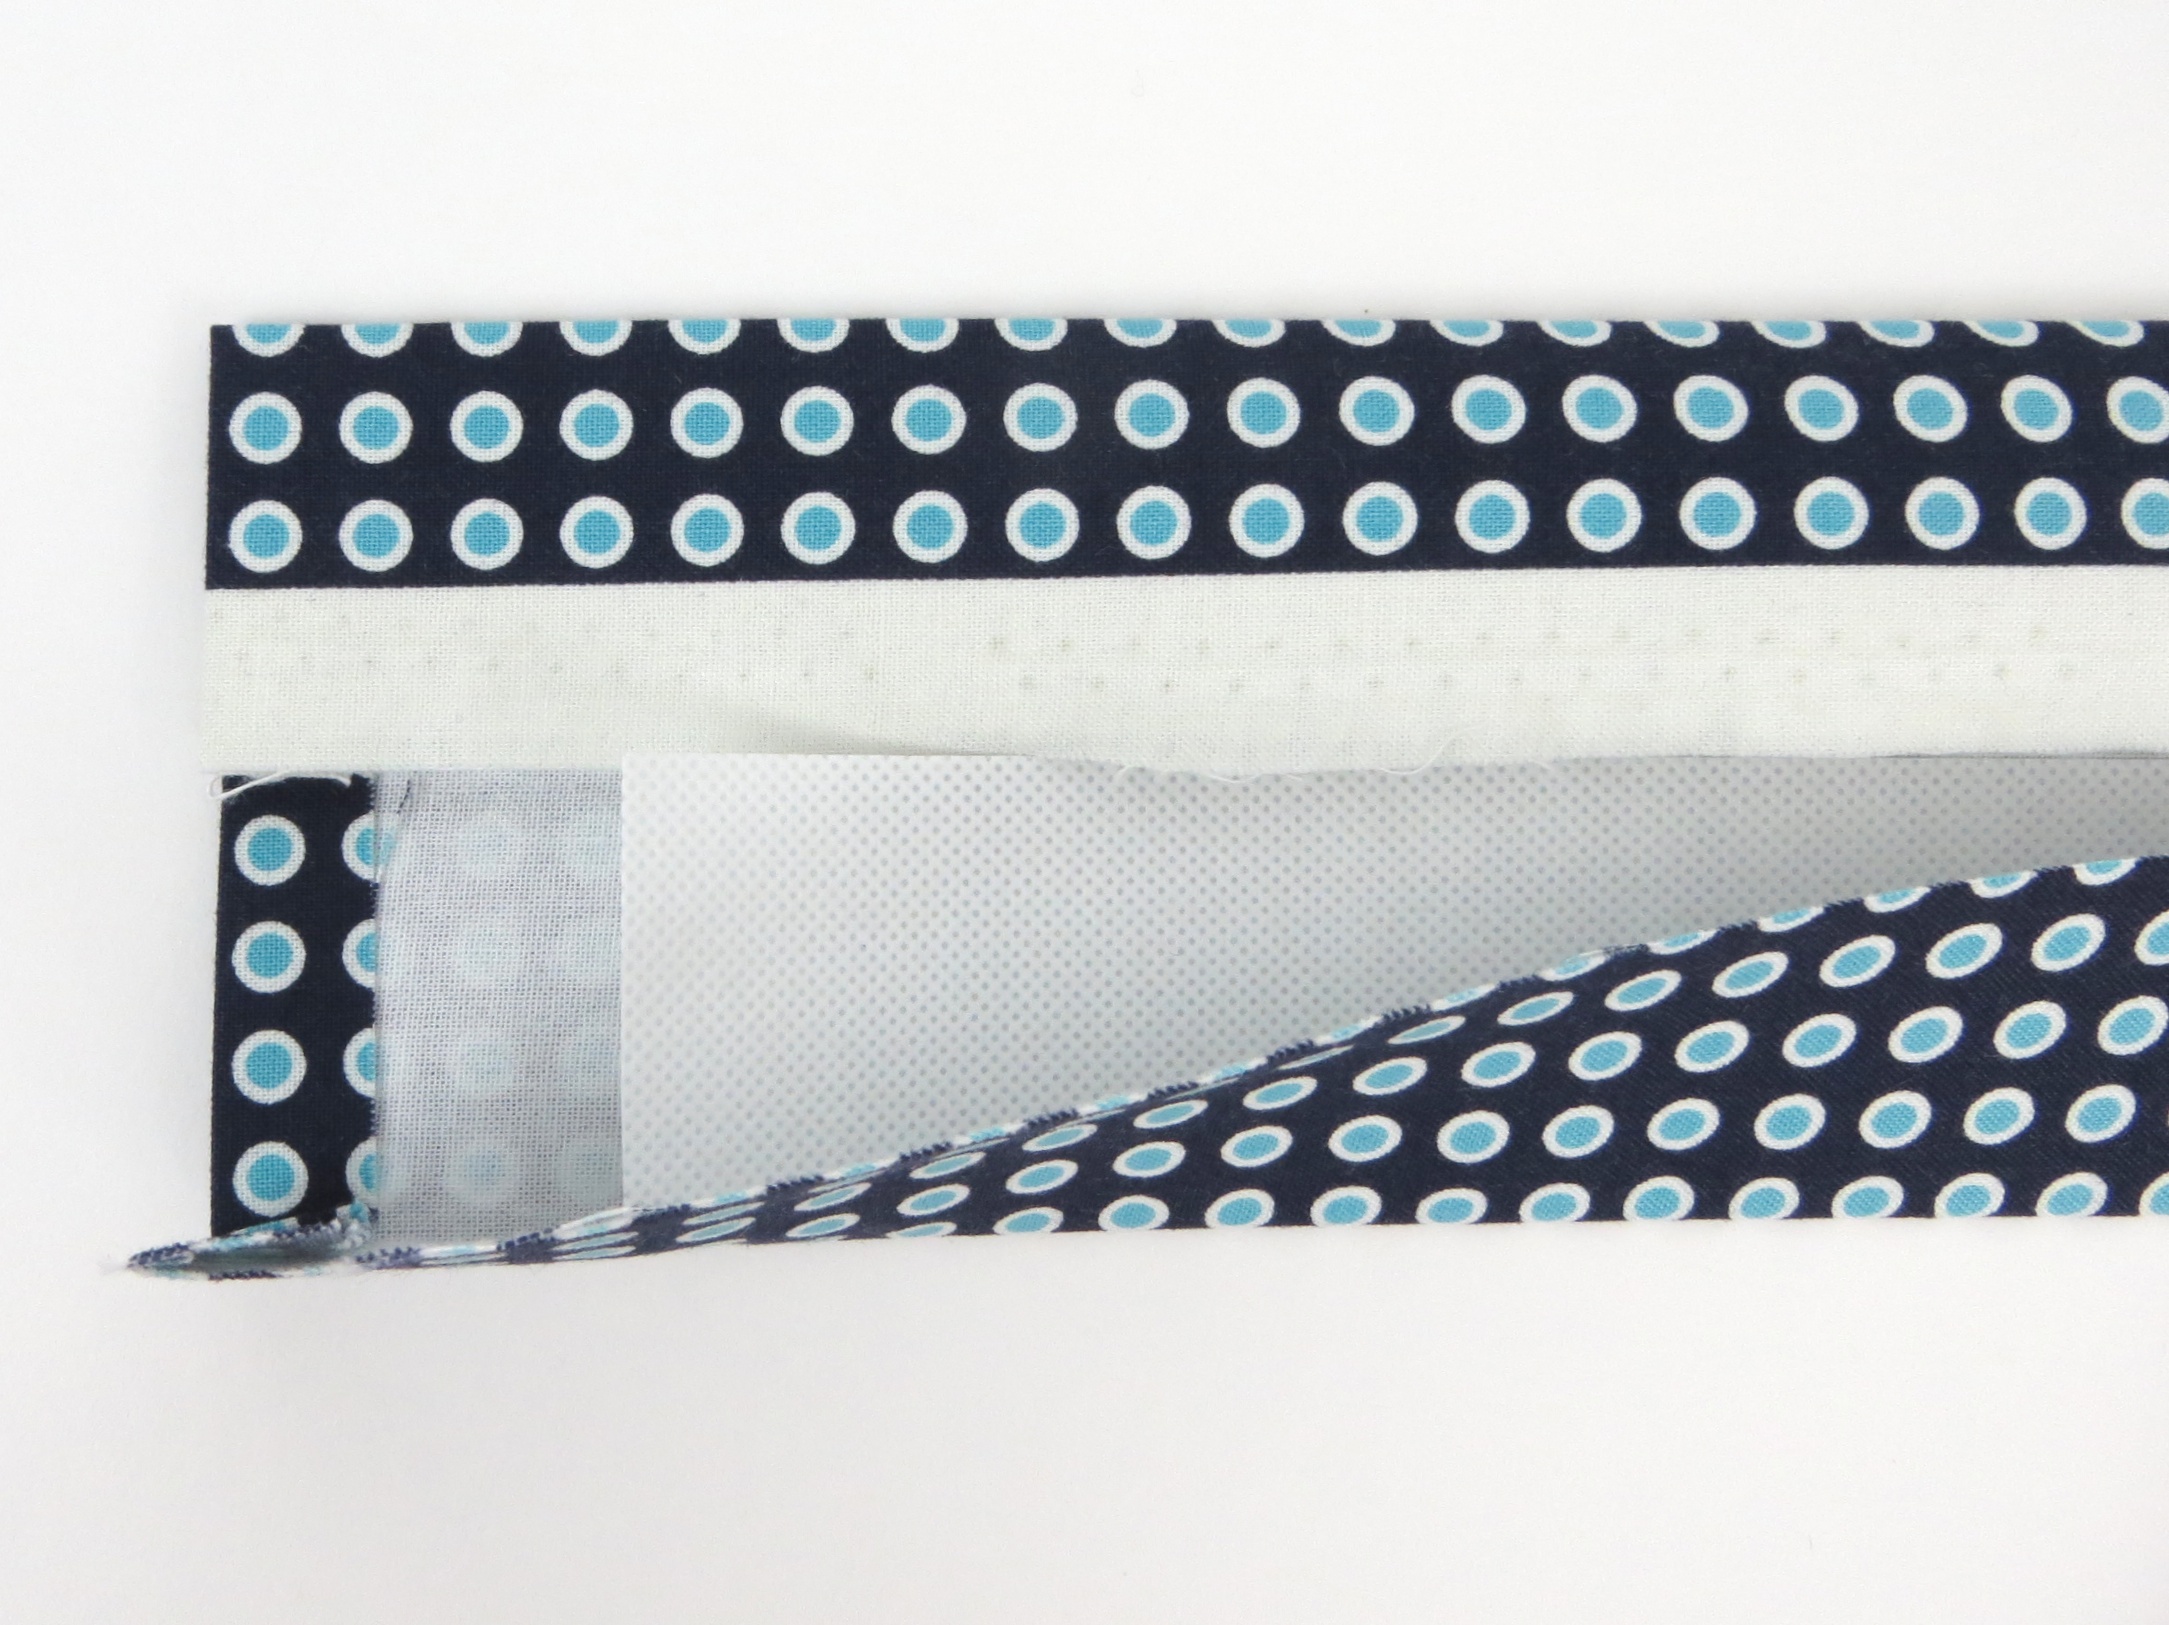
Fold raw edges to the center and press.
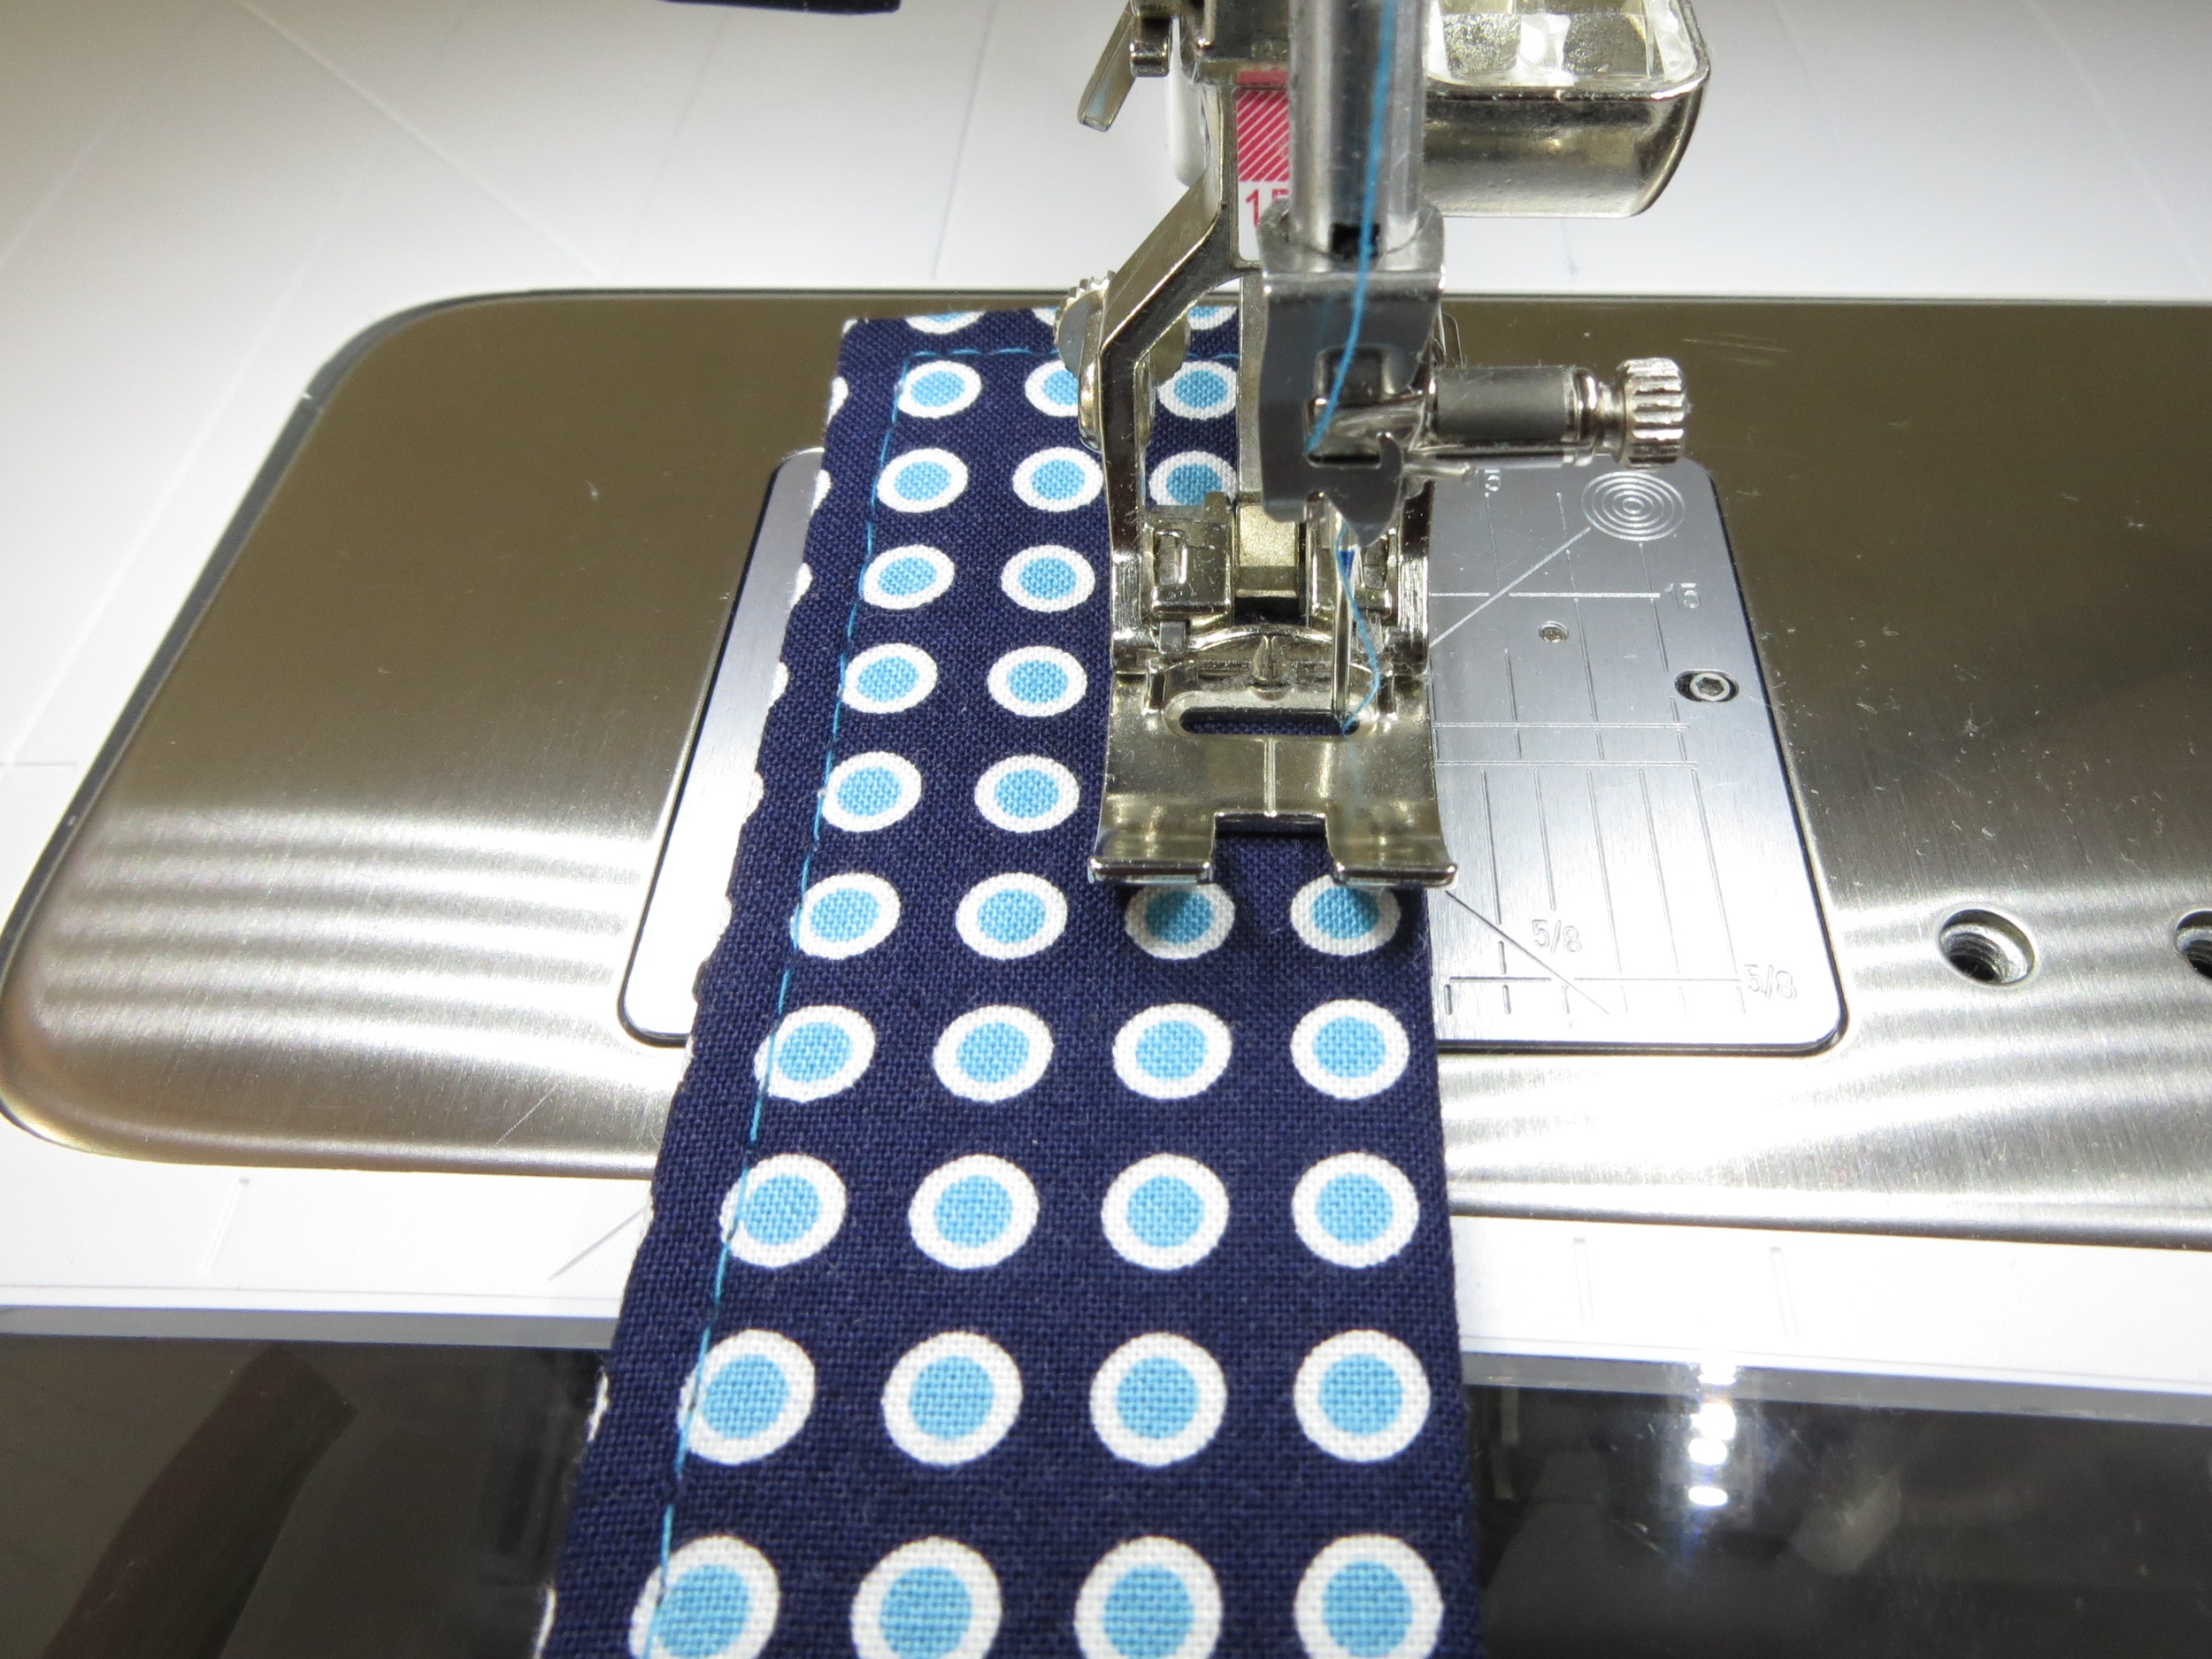
Topstitch 1/8″ away from the edge all the way around.
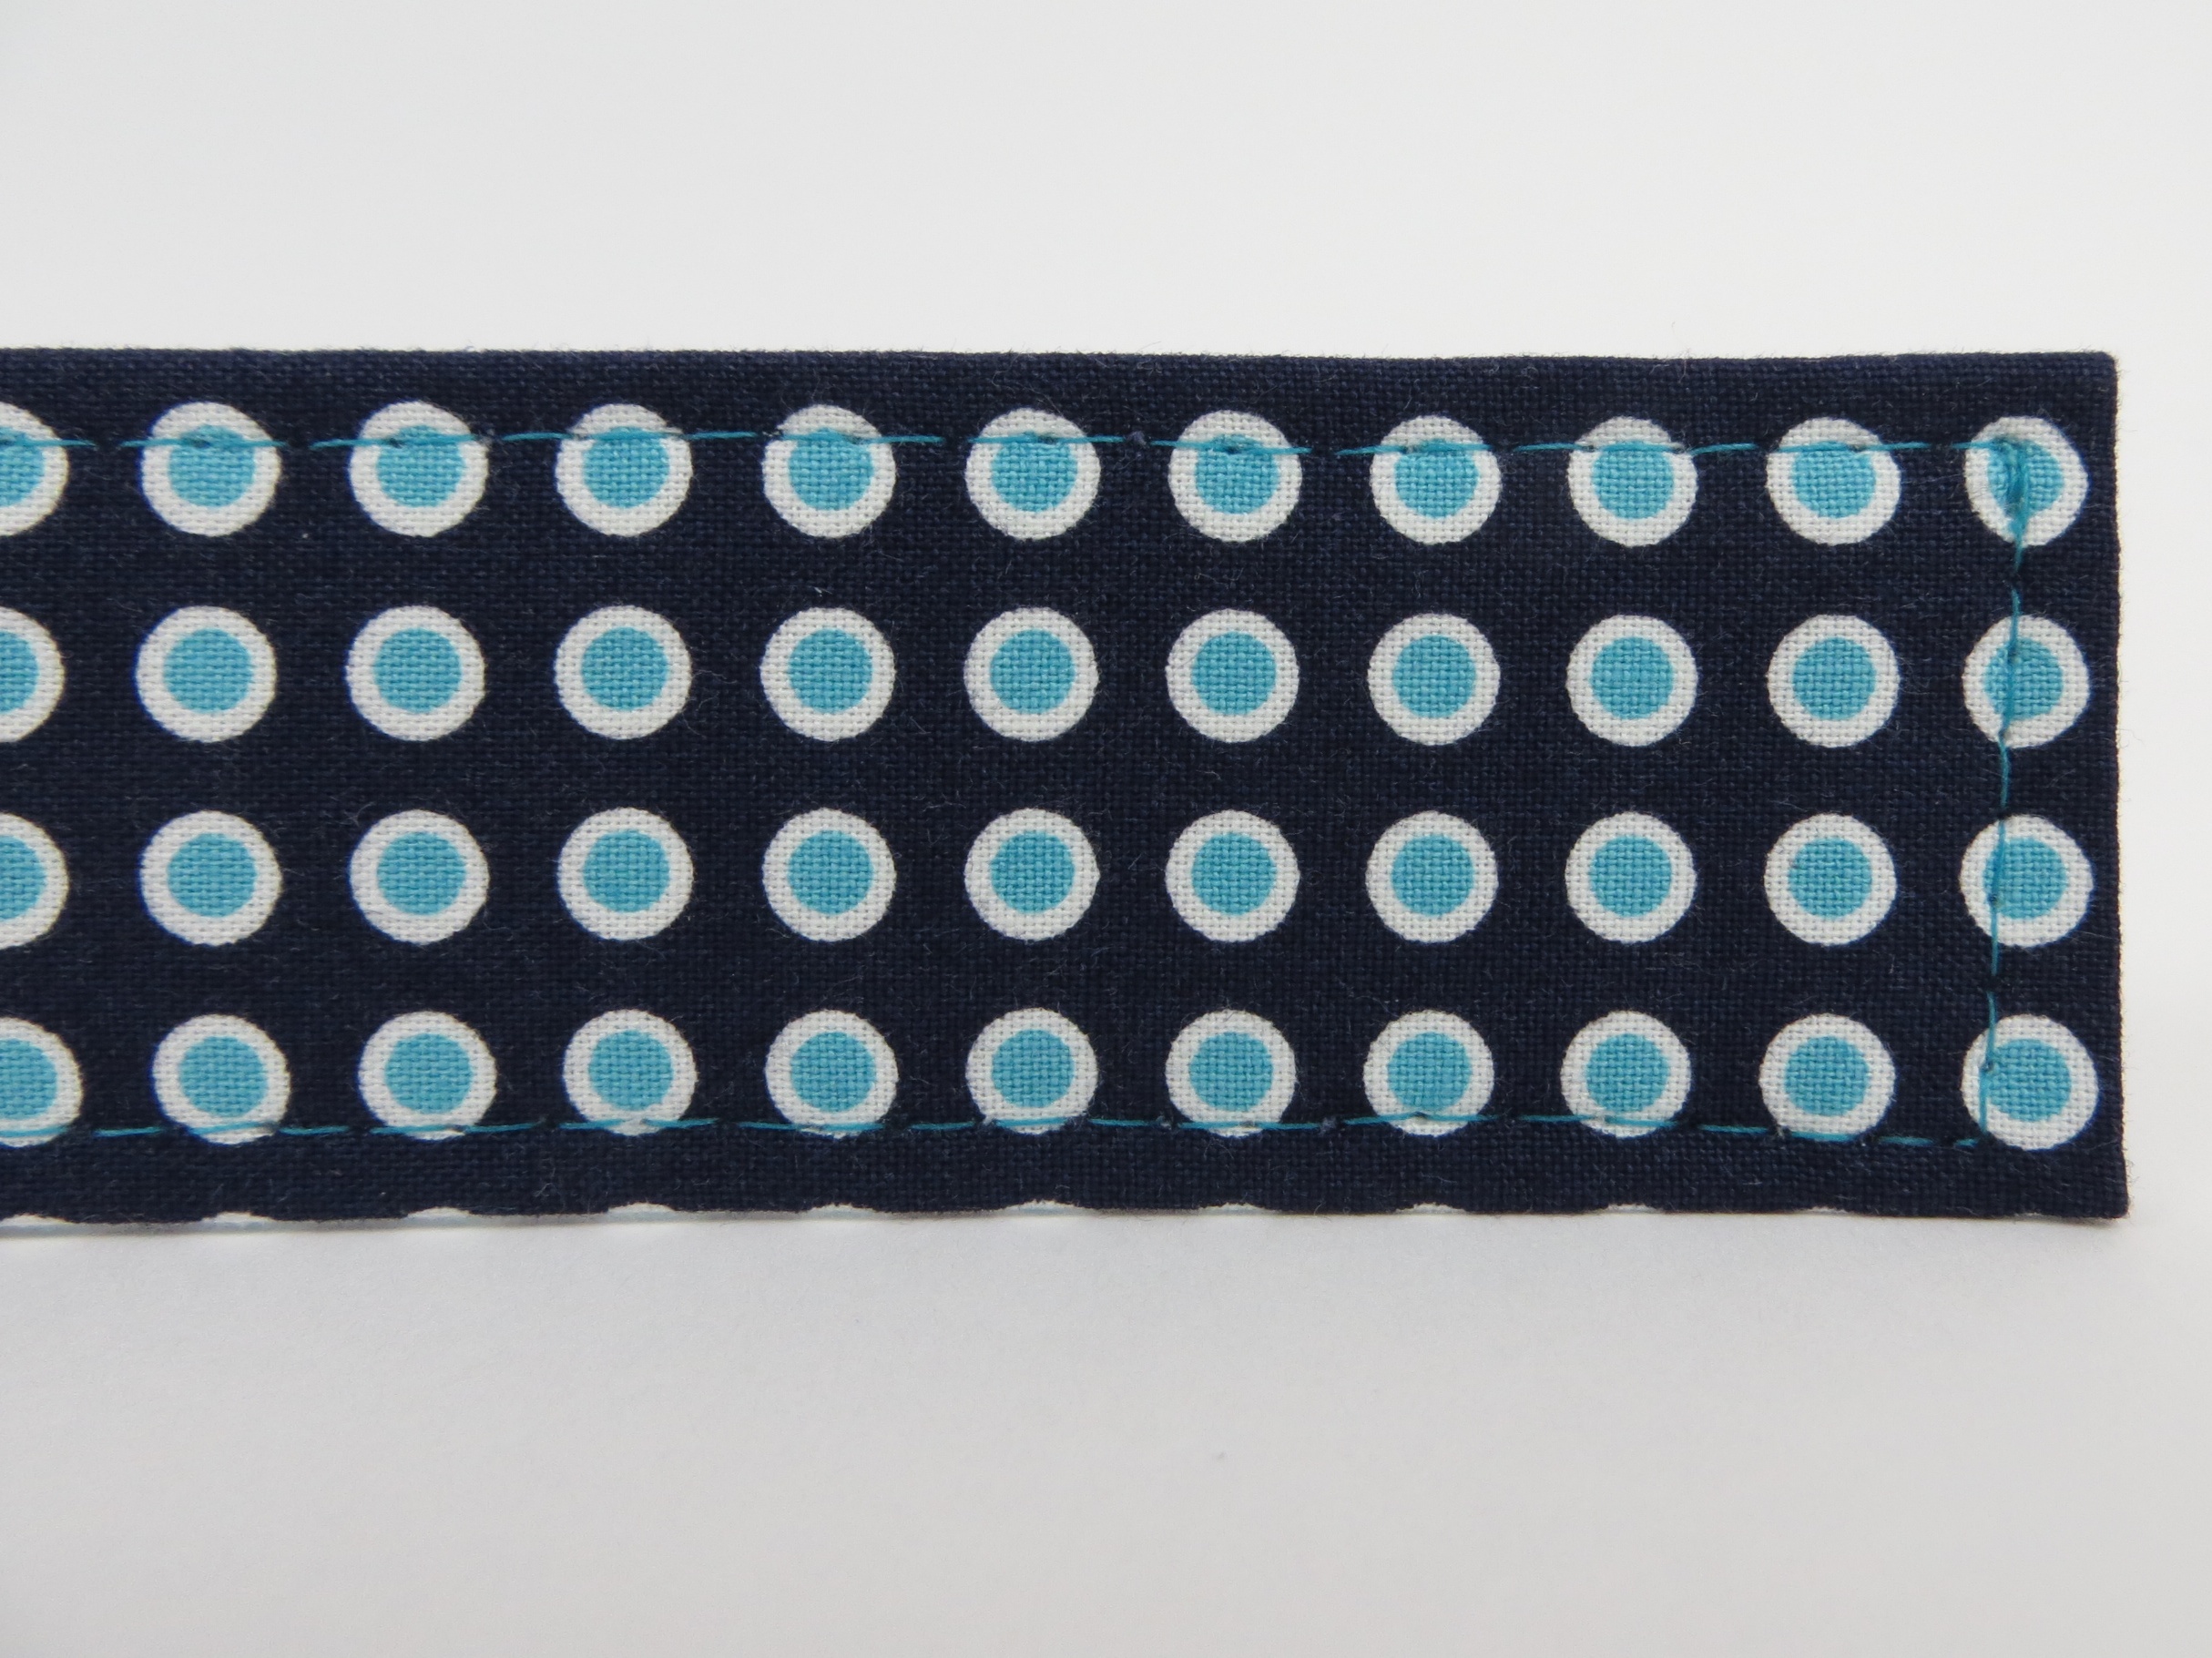

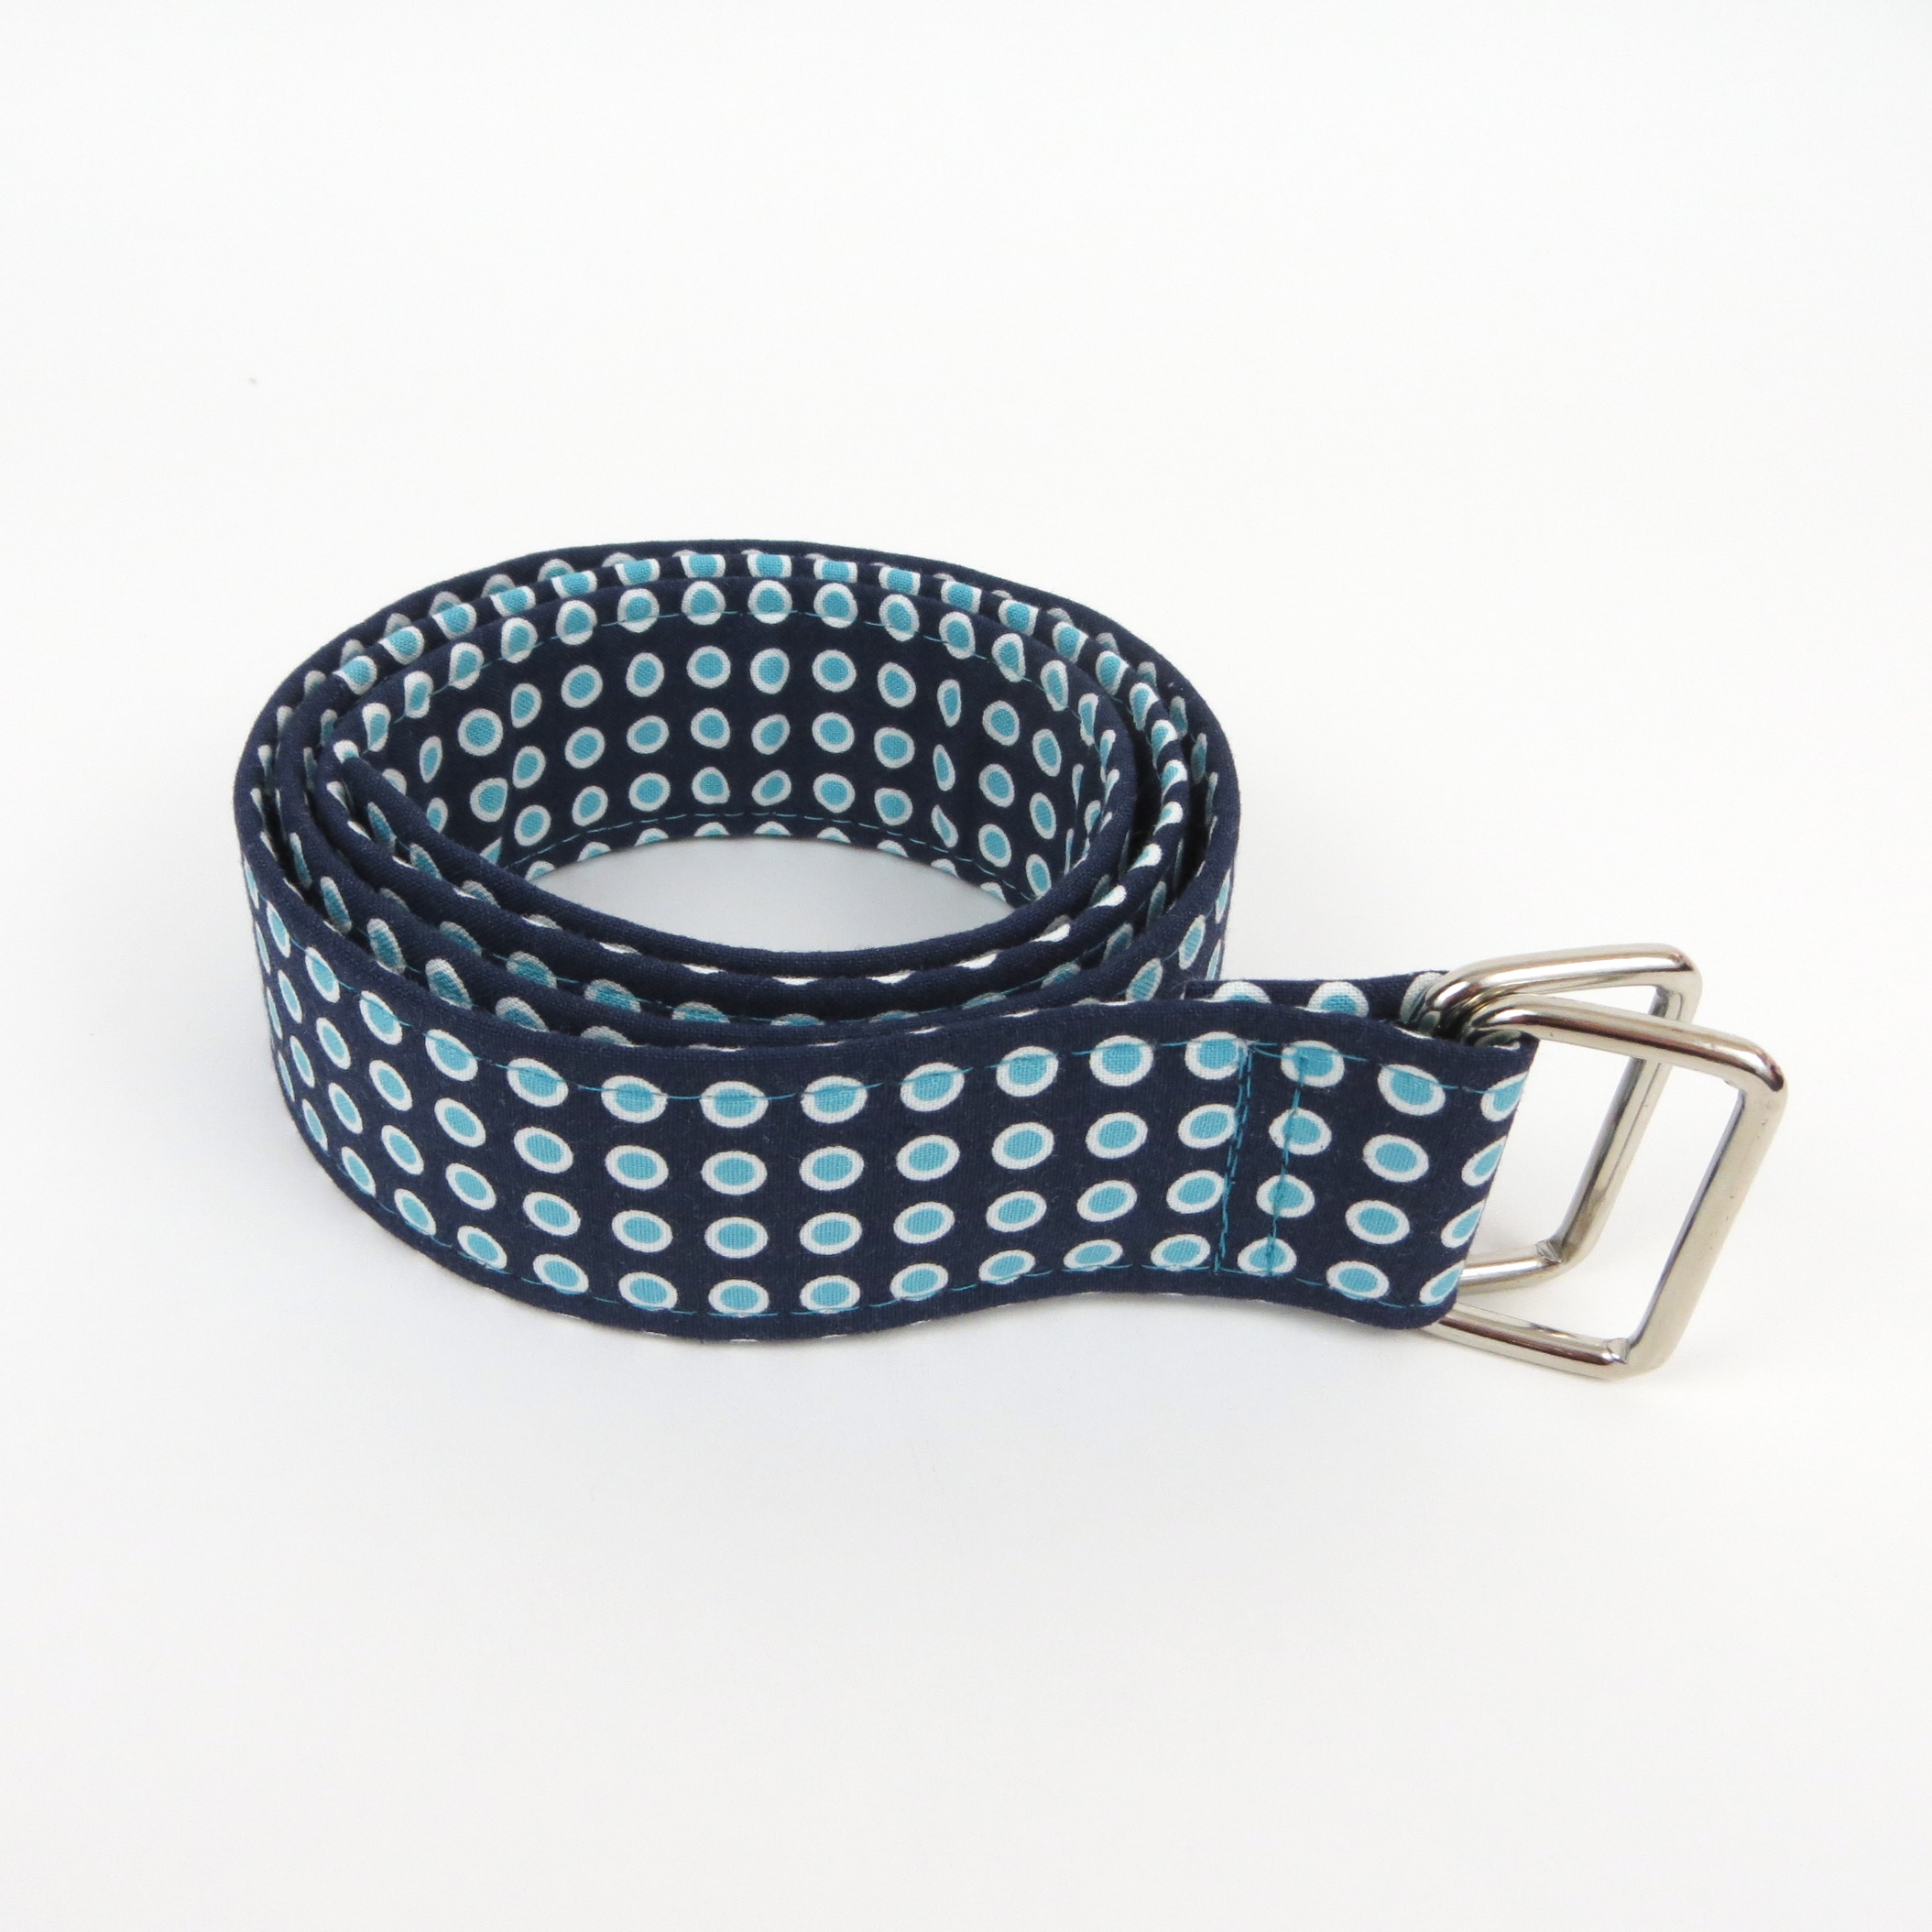
Done!
[…] It’s A Cinch! Belt Tutorial […]
I think I have to try this! I’m always looking for cute belts!