

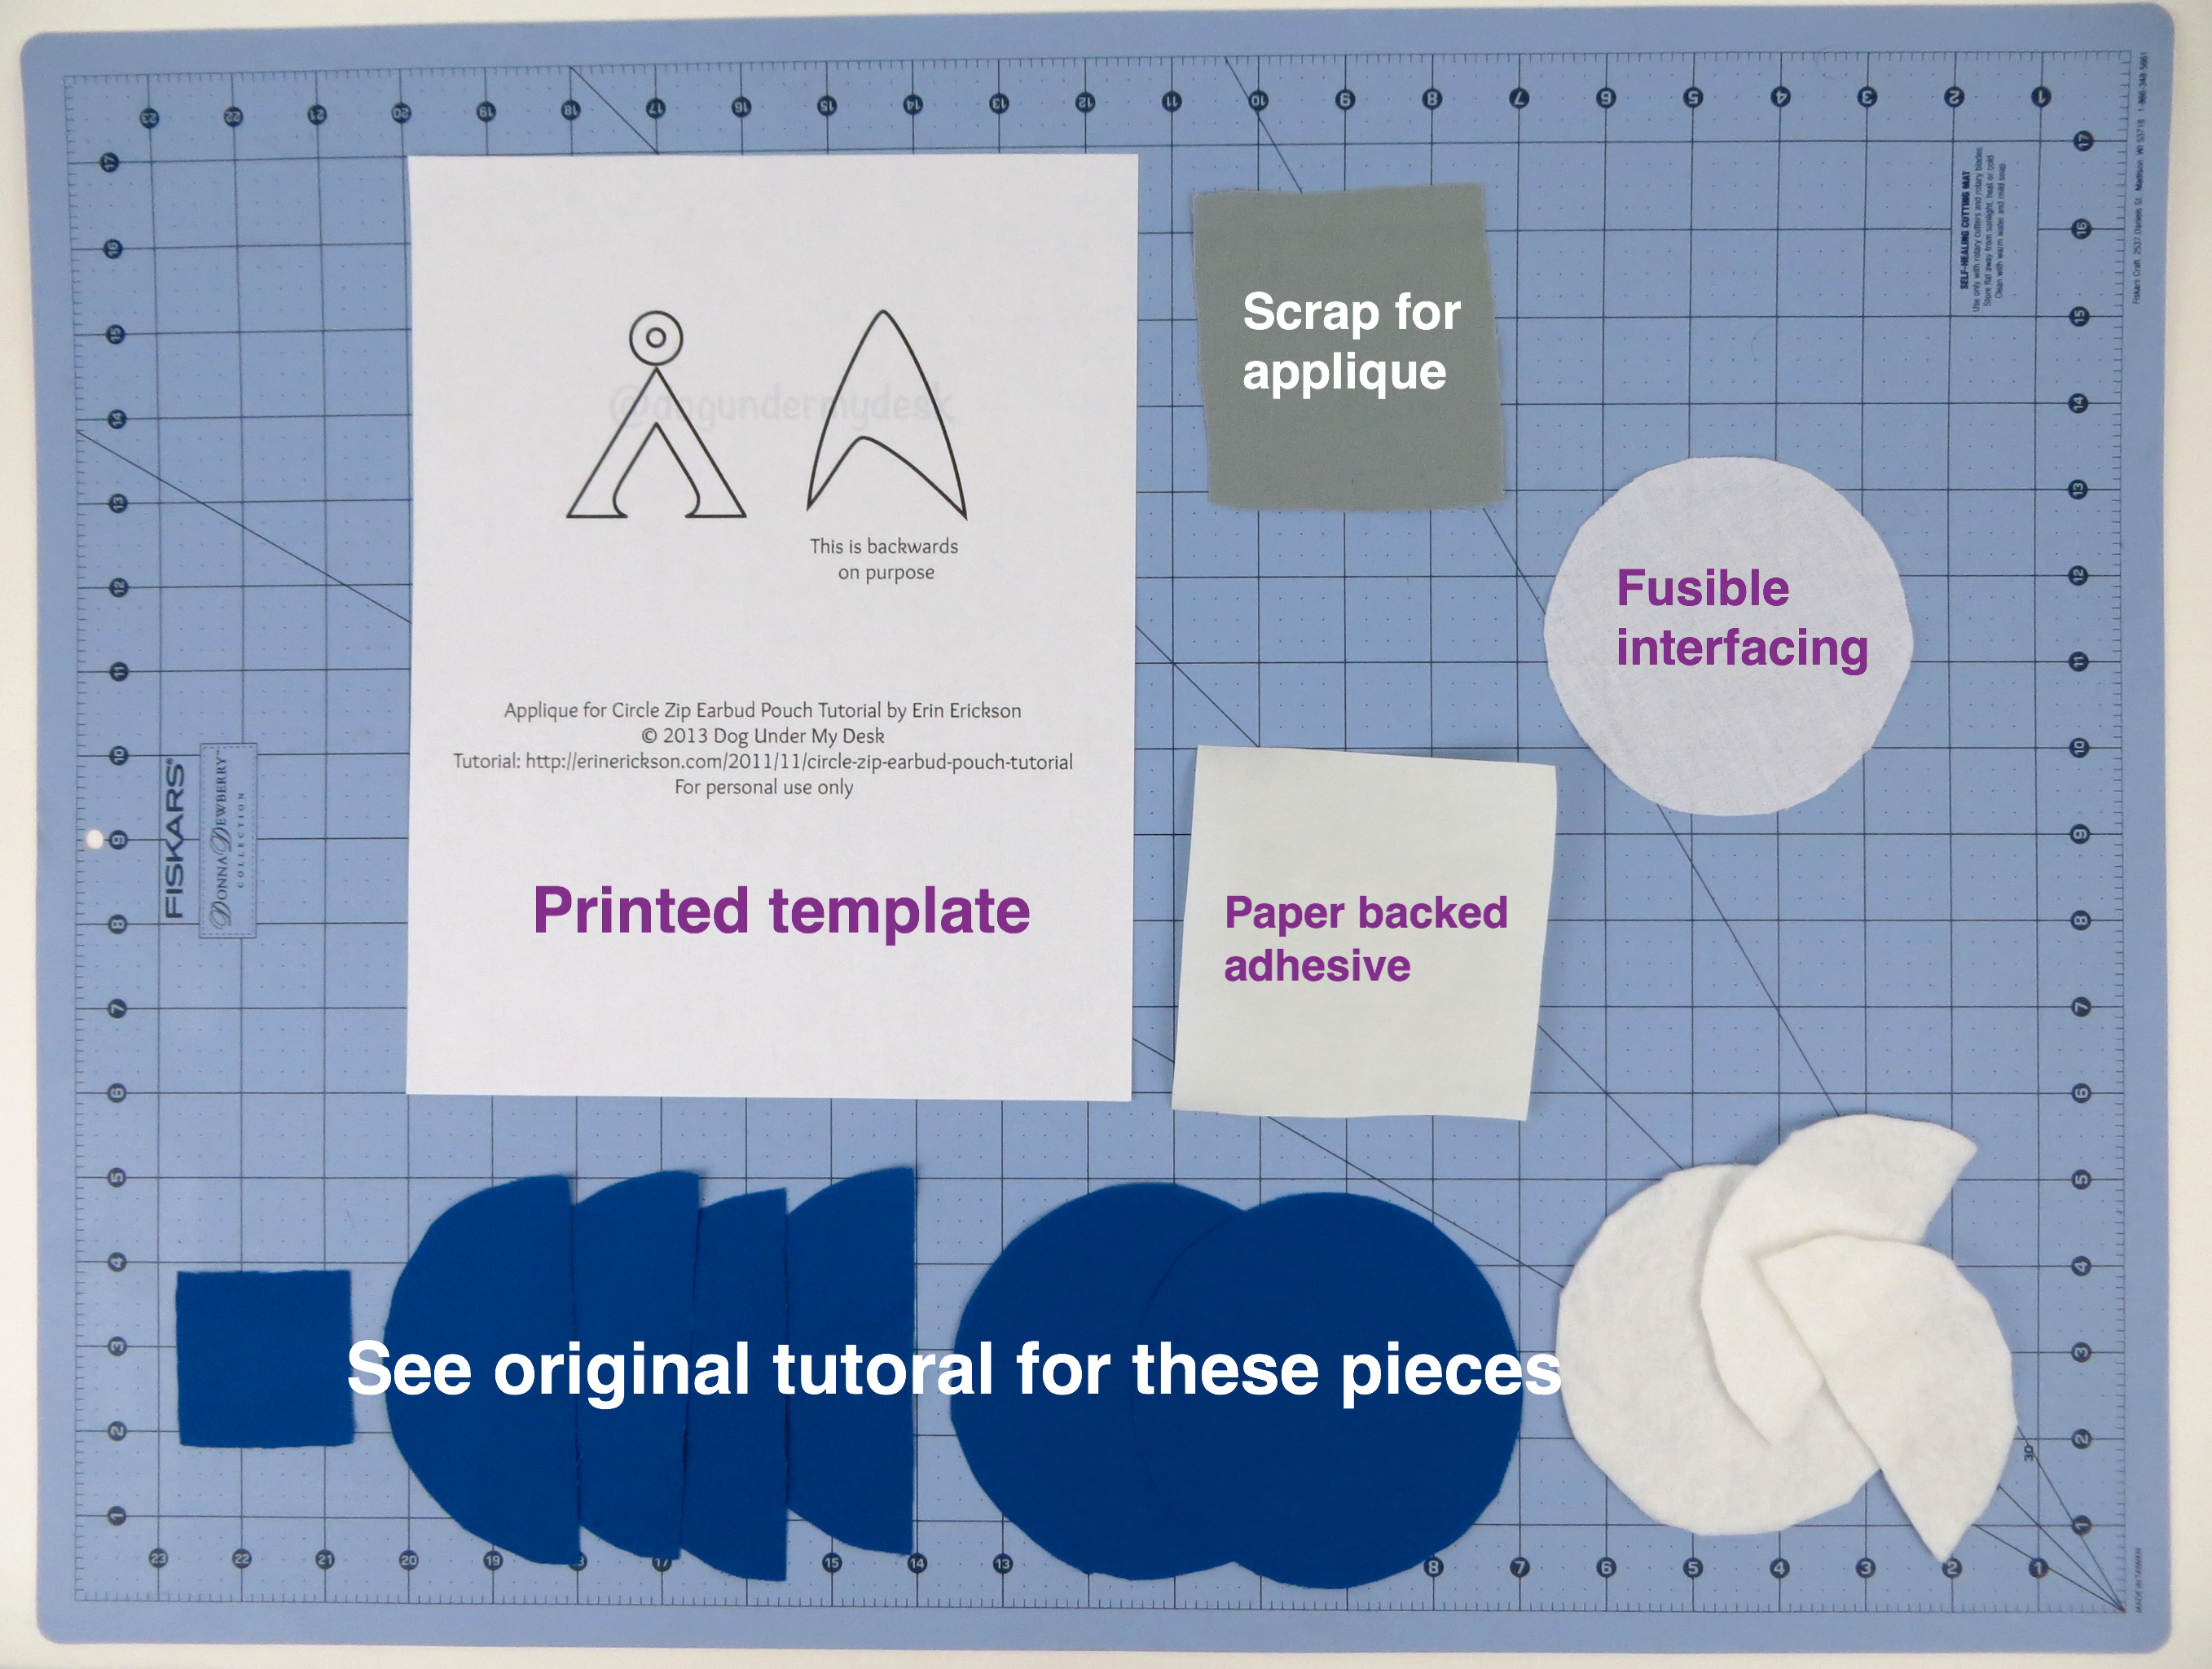
In additional to all the materials you need for the earbud pouch, you will need:
- A printed template (or your own design… but you’ll need to print it reversed)
- A scrap of fabric for your applique design
- A square of *sewable* paper backed iron-on adhesive like HeatnBond Lite
- A circle of fusible interfacing
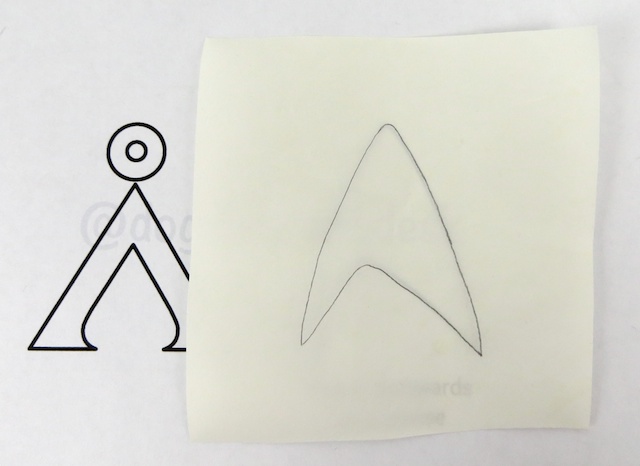
 Place the paper backed adhesive over the template, paper side up. Lightly trace the outline onto the paper. I use a pencil, but just use something that won’t smear or come off when you iron it. Ballpoint pen, sharpie but let it dry, that sort of thing.
 Do not cut out the design yet. Place the bumpy, glue side down on the WRONG side of the fabric. If you’re using solids it probably doesn’t matter which side. Make sure the fusible piece is smaller than your fabric. Cover this with a press cloth and lightly press with your iron to adhere.
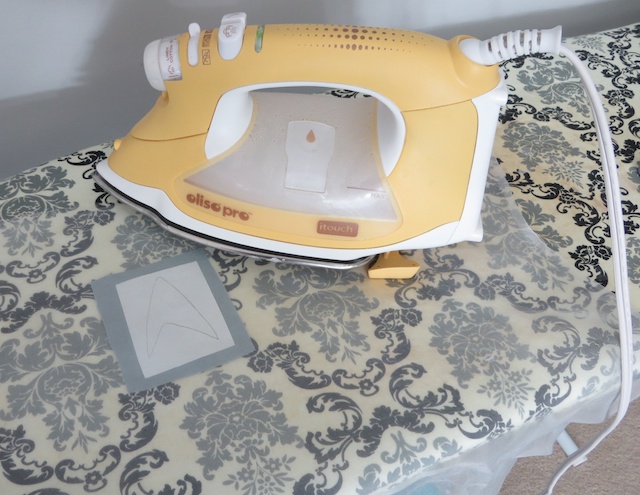 Flip over to the right side of the fabric and press well with steam. (This is what I do, but read the directions for the product that you use.)
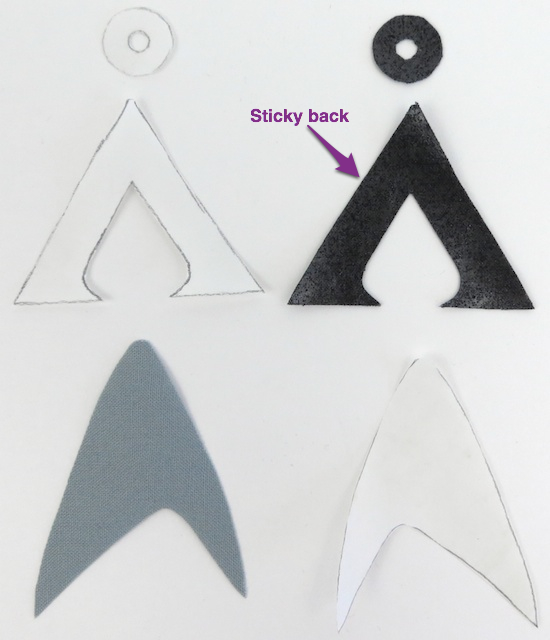
 With the paper still attached, cut out the piece(s) with the sharpest scissors you own.
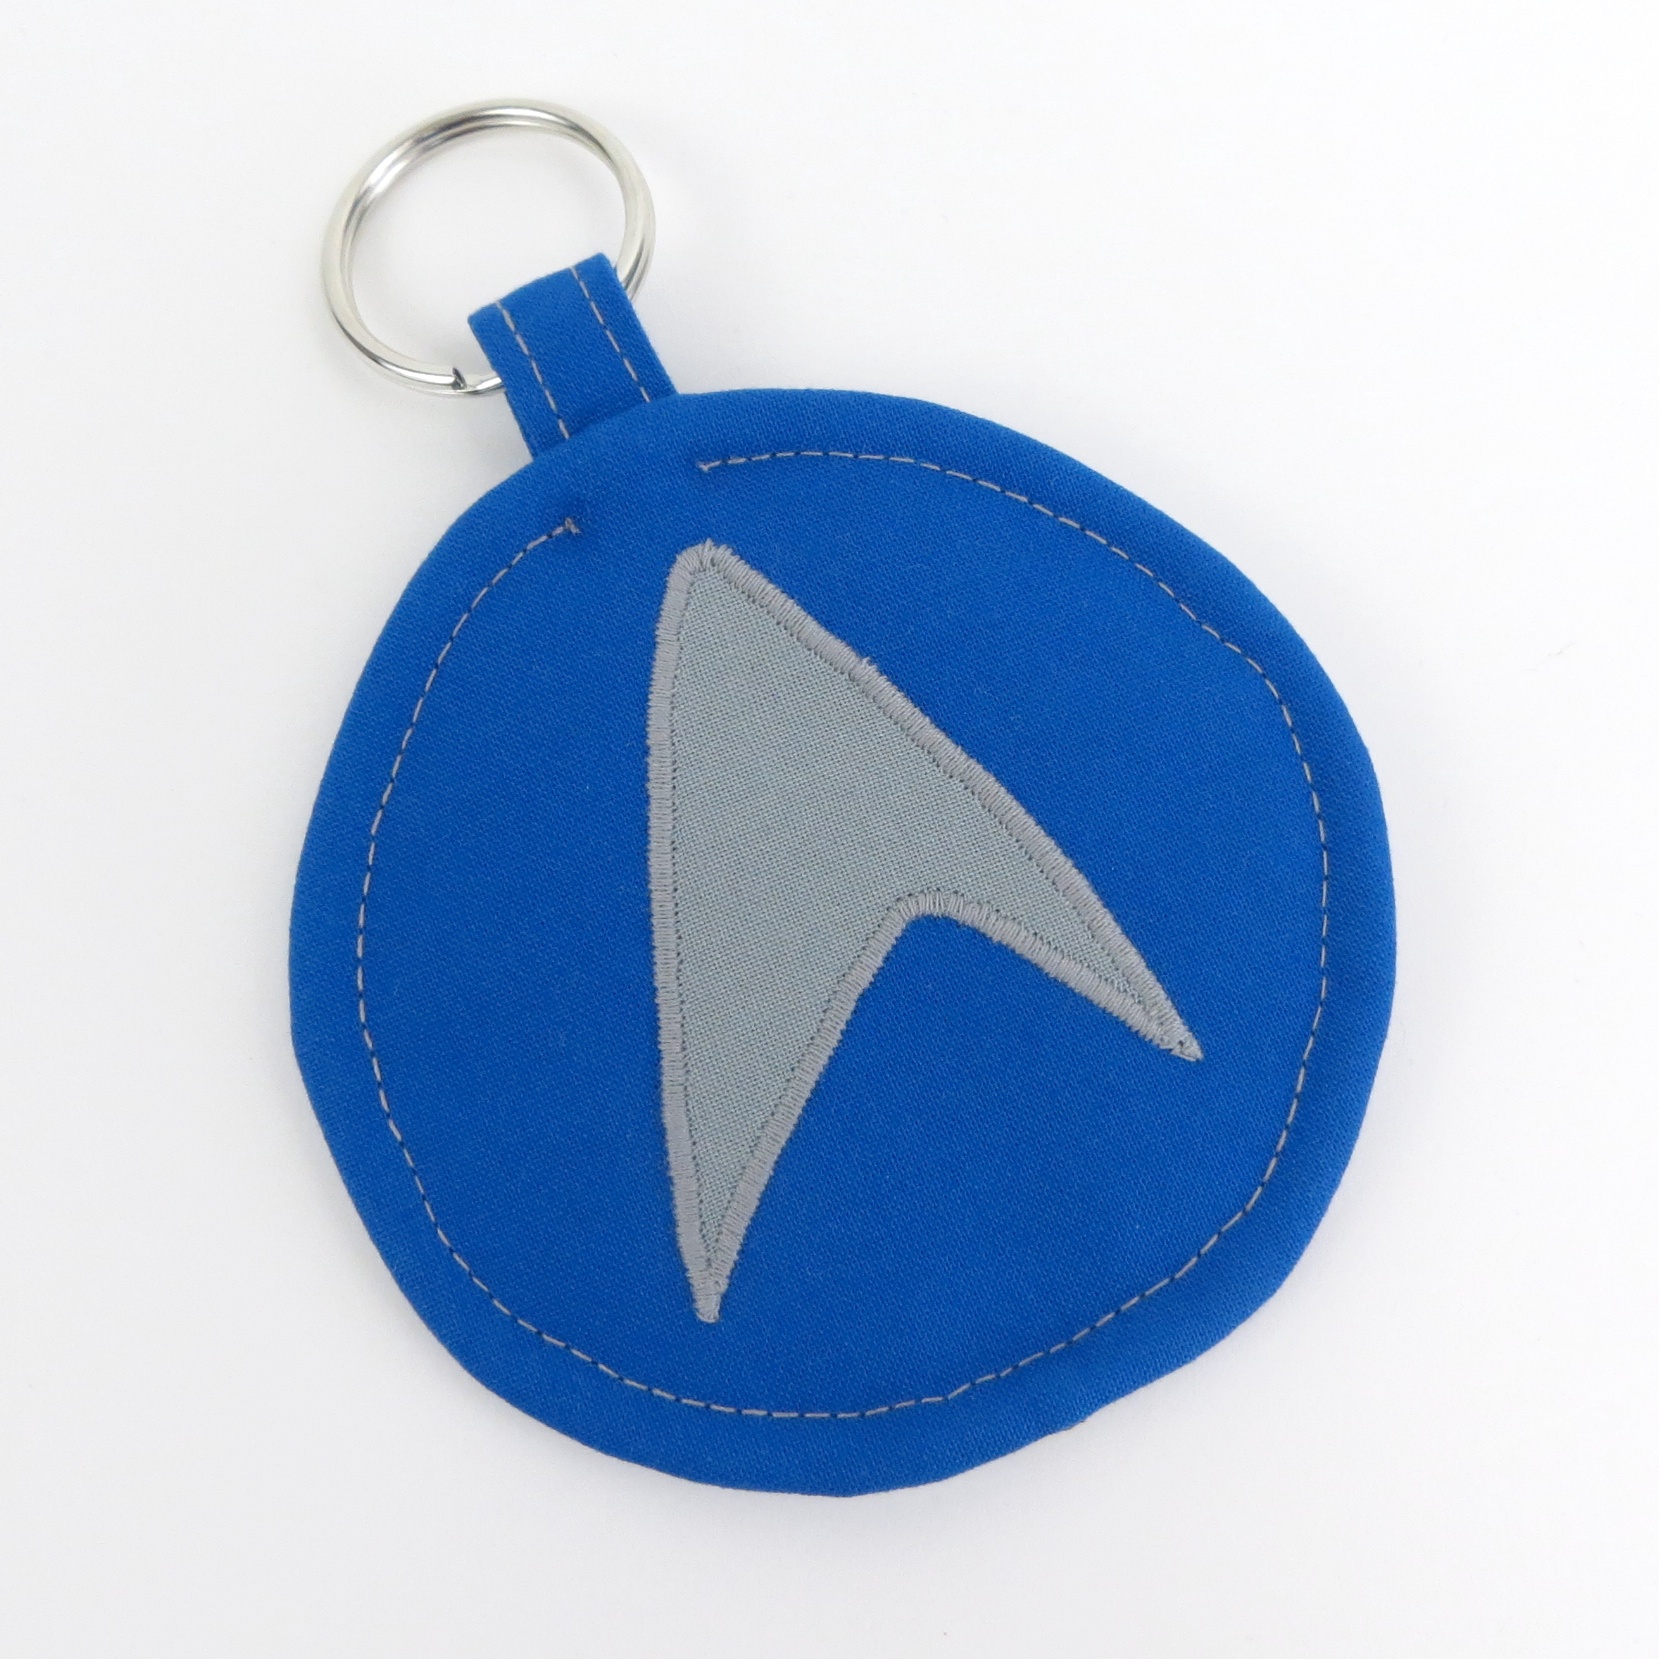
 Peel off the paper. You should now have a custom shaped applique with the glue on the back.
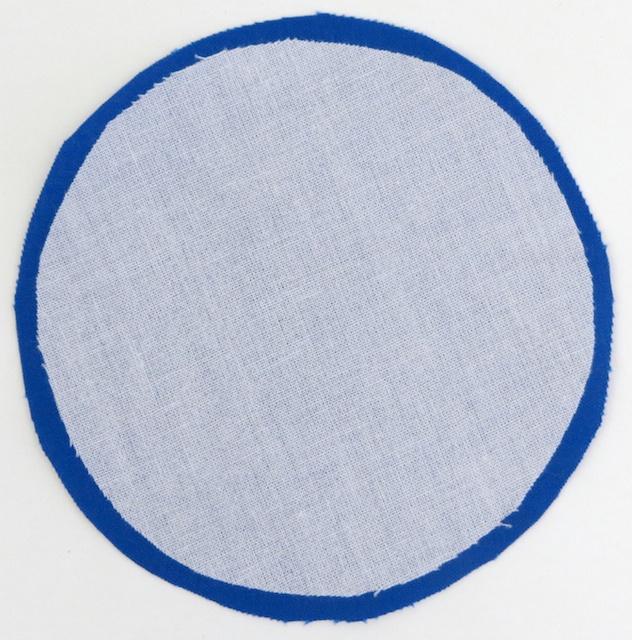
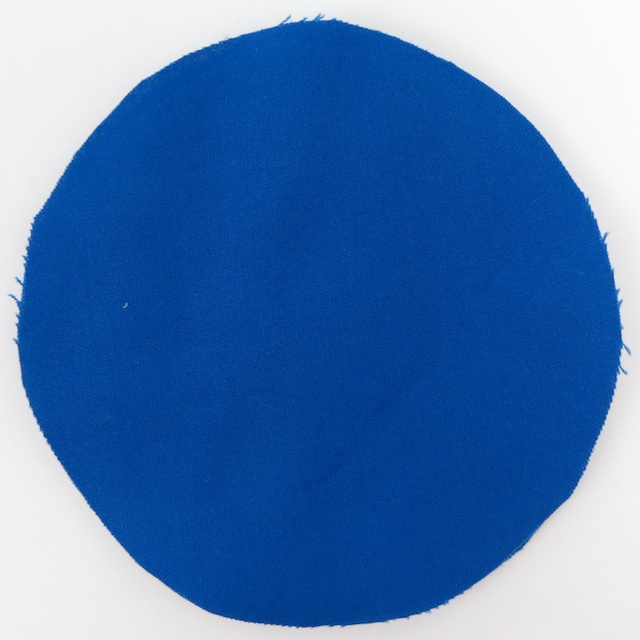
 Apply the circle of fusible interfacing to the wrong side of the exterior back piece.
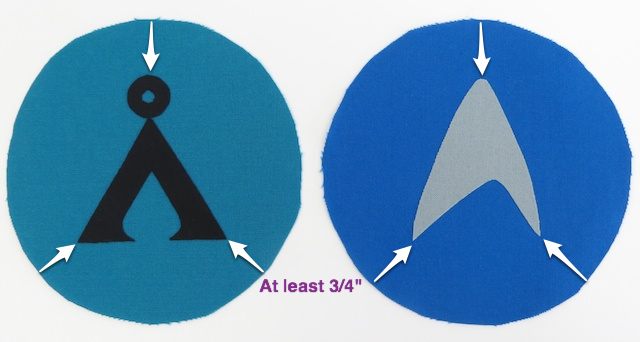
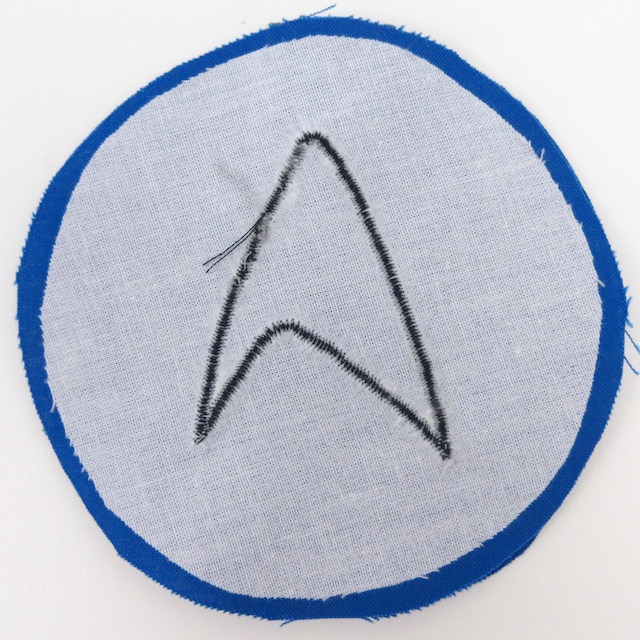
 Center the applique design and place it glue side down on the exterior back piece. Keep in mind that you need a 3/8″ seam allowance and then you will topstitch, so make sure each corner is 3/4″ away from the edge to allow for this.
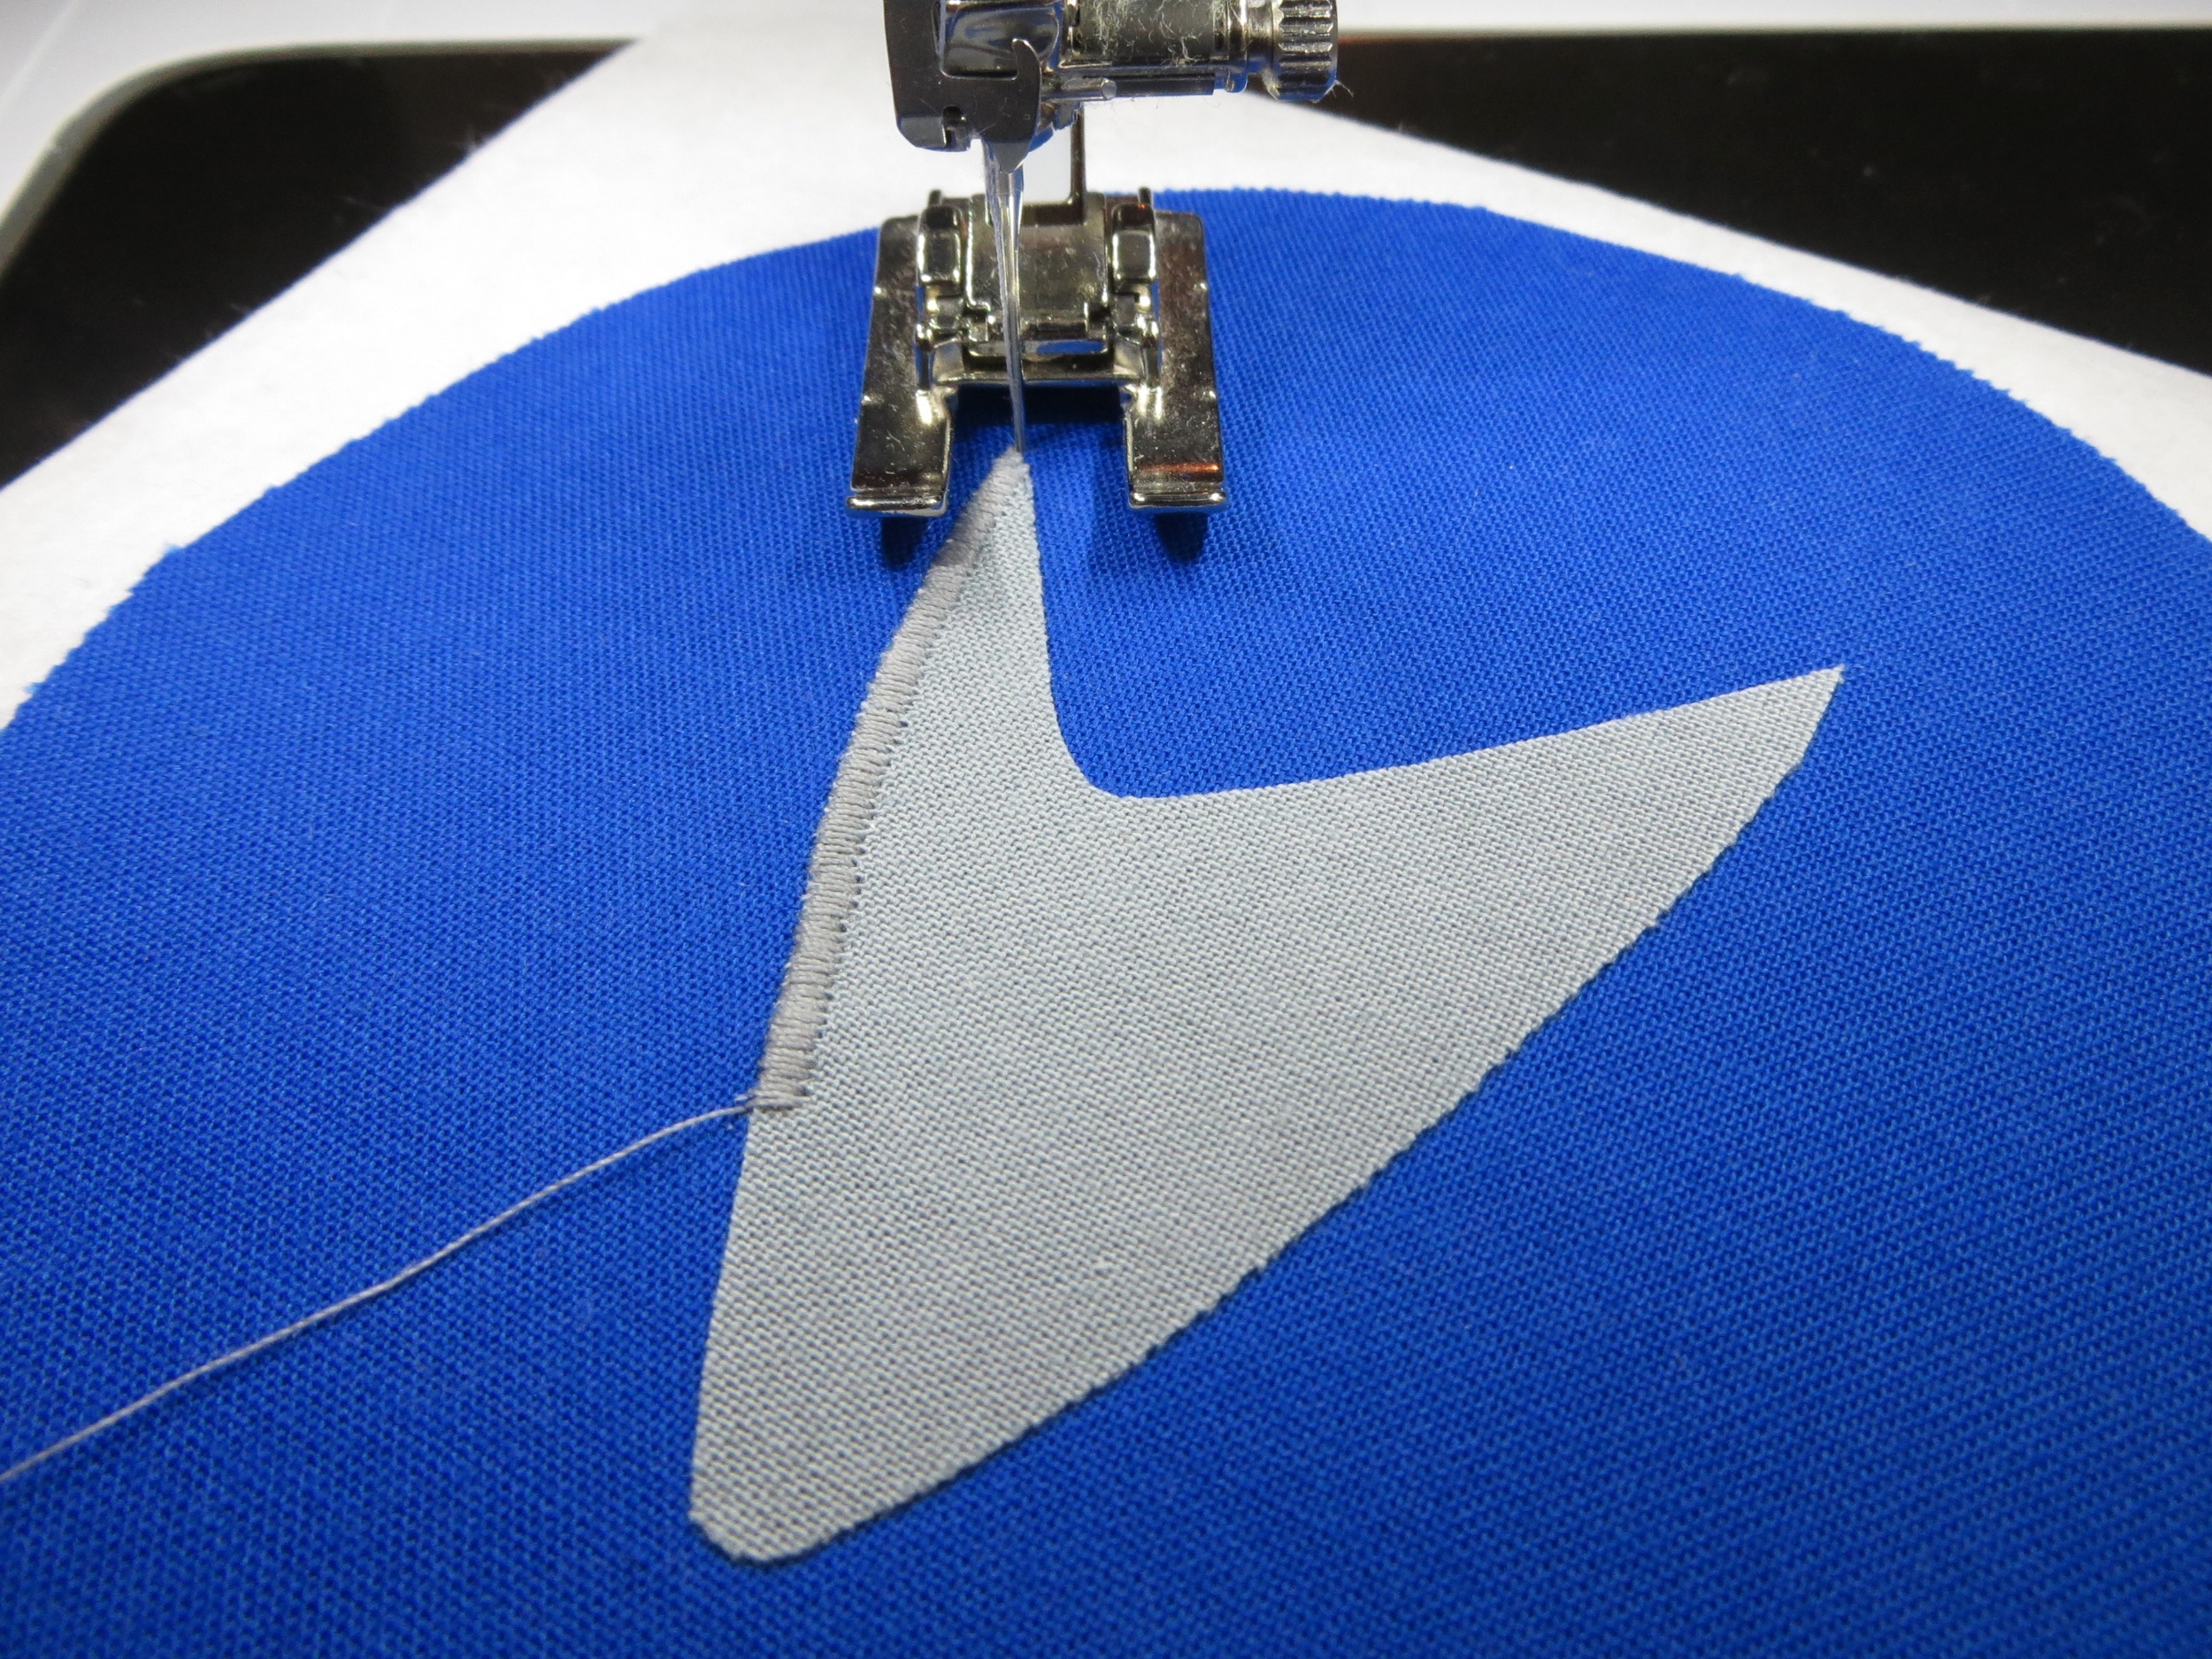
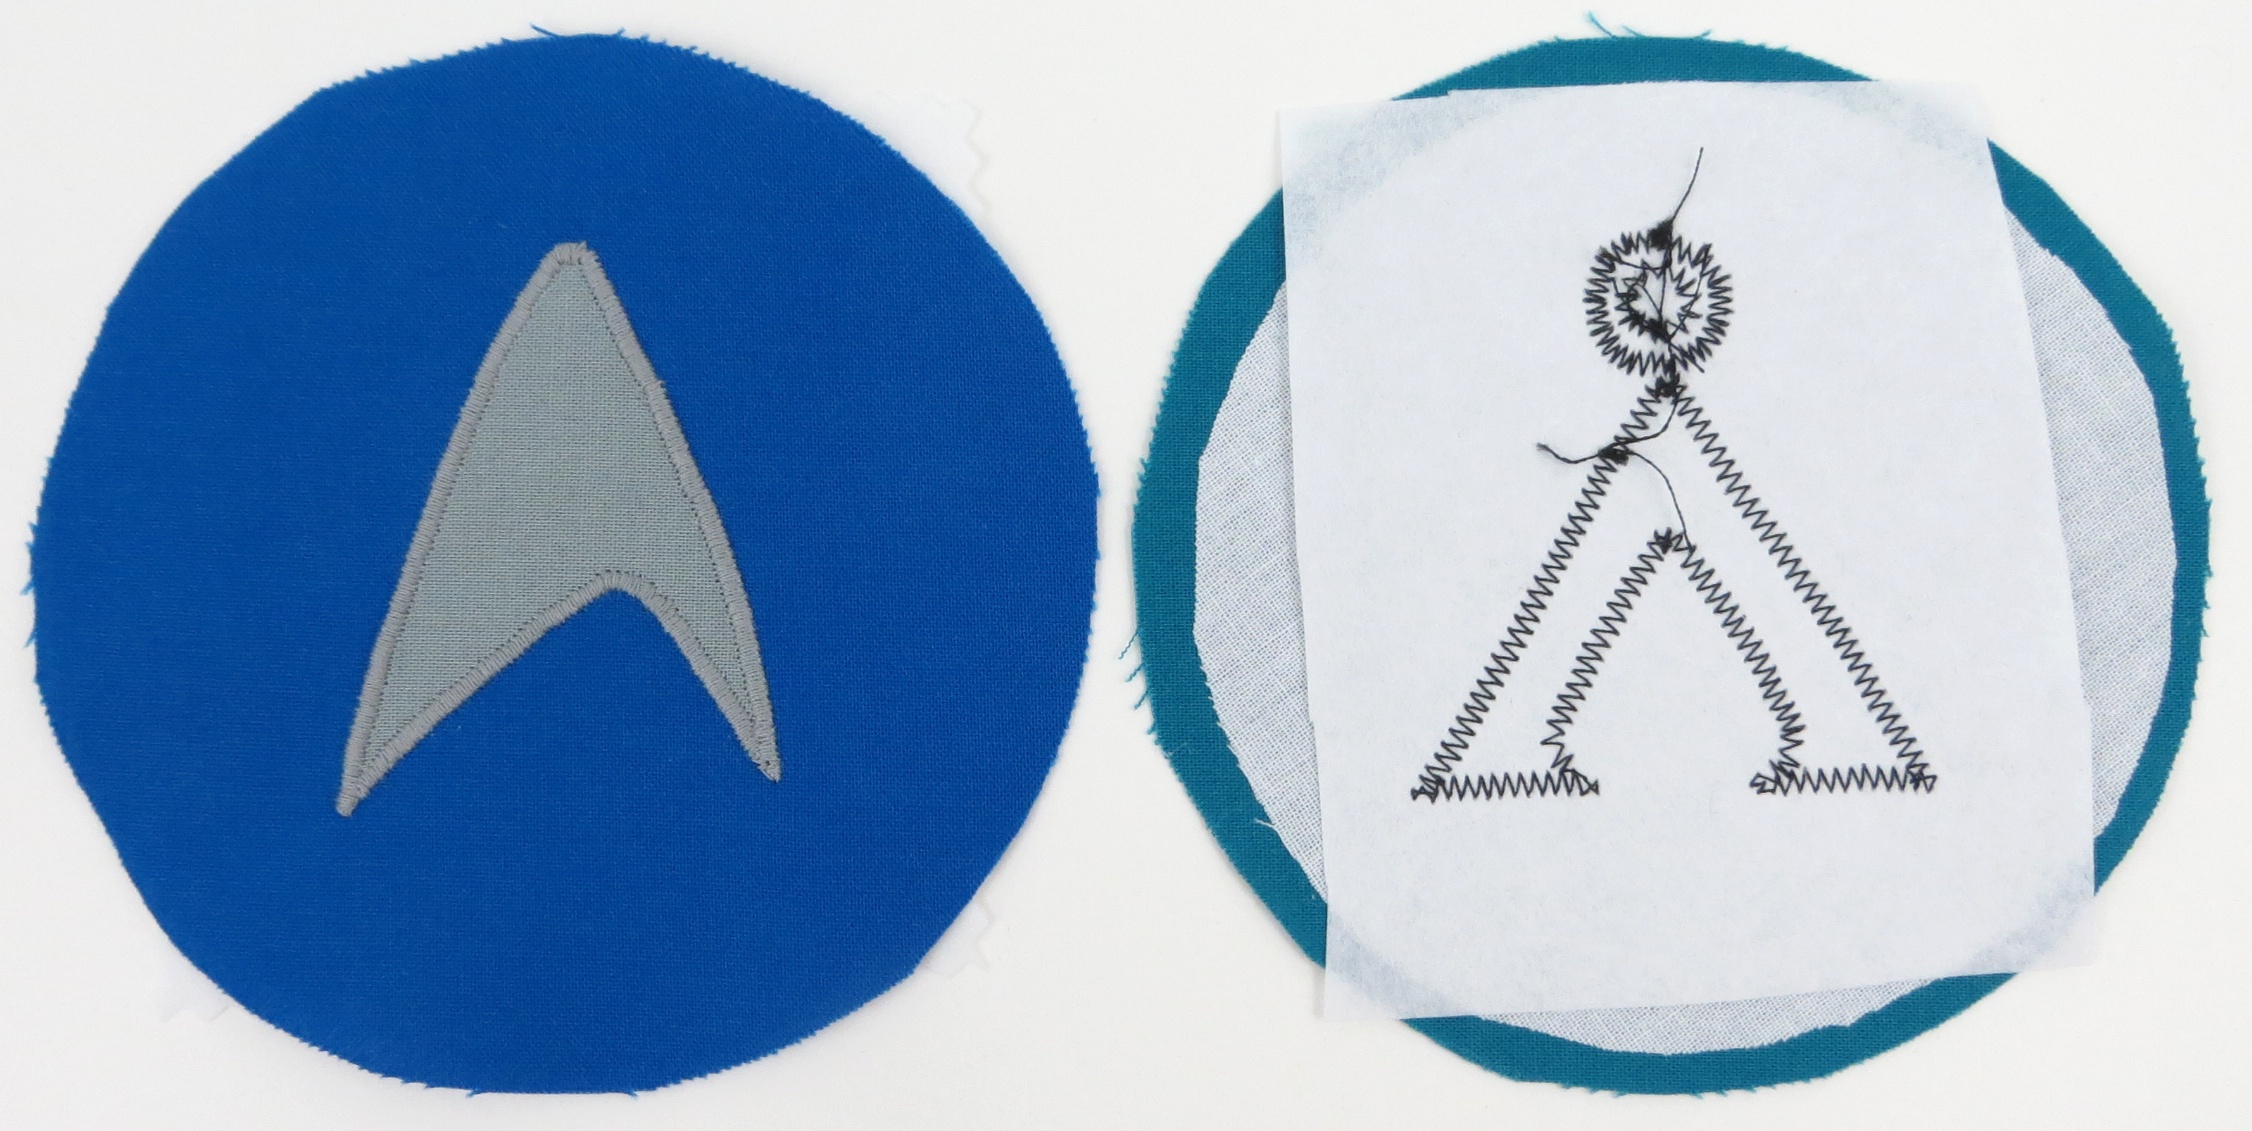
If you have tear away embroidery stabilizer, place a square behind the fabric. Use a sharp needle like a Microtex 80/12 or an embroidery needle for this. I always go for a thread color that matches the applique. You don’t have to but it will stand out if you don’t, so you’ll need to be more careful. My second choice would be an accent color, rather than matching the background fabric color. I like to use a narrow, short zigzag stitch. You could use a satin stitch or a blanket stitch too. The important thing is that you cover most of the raw edges of the design. A good zigzag stitch length is between .3 and .8 with a width of 2.5.)
Start with the needle in the right side position, and lower it down right where the edge of the design meets the fabric. Start sewing slowly and go all the way around, pivoting and the corners. (Click to enlarge.)


Taper your stitches to the edge by narrowing the stitch width. Hand crank the last few stitches just to make sure they are where you want them. Stitch all the way back around to where you started and overlap 2-3 stitches. Pull all of your threads to the back and tie them off.
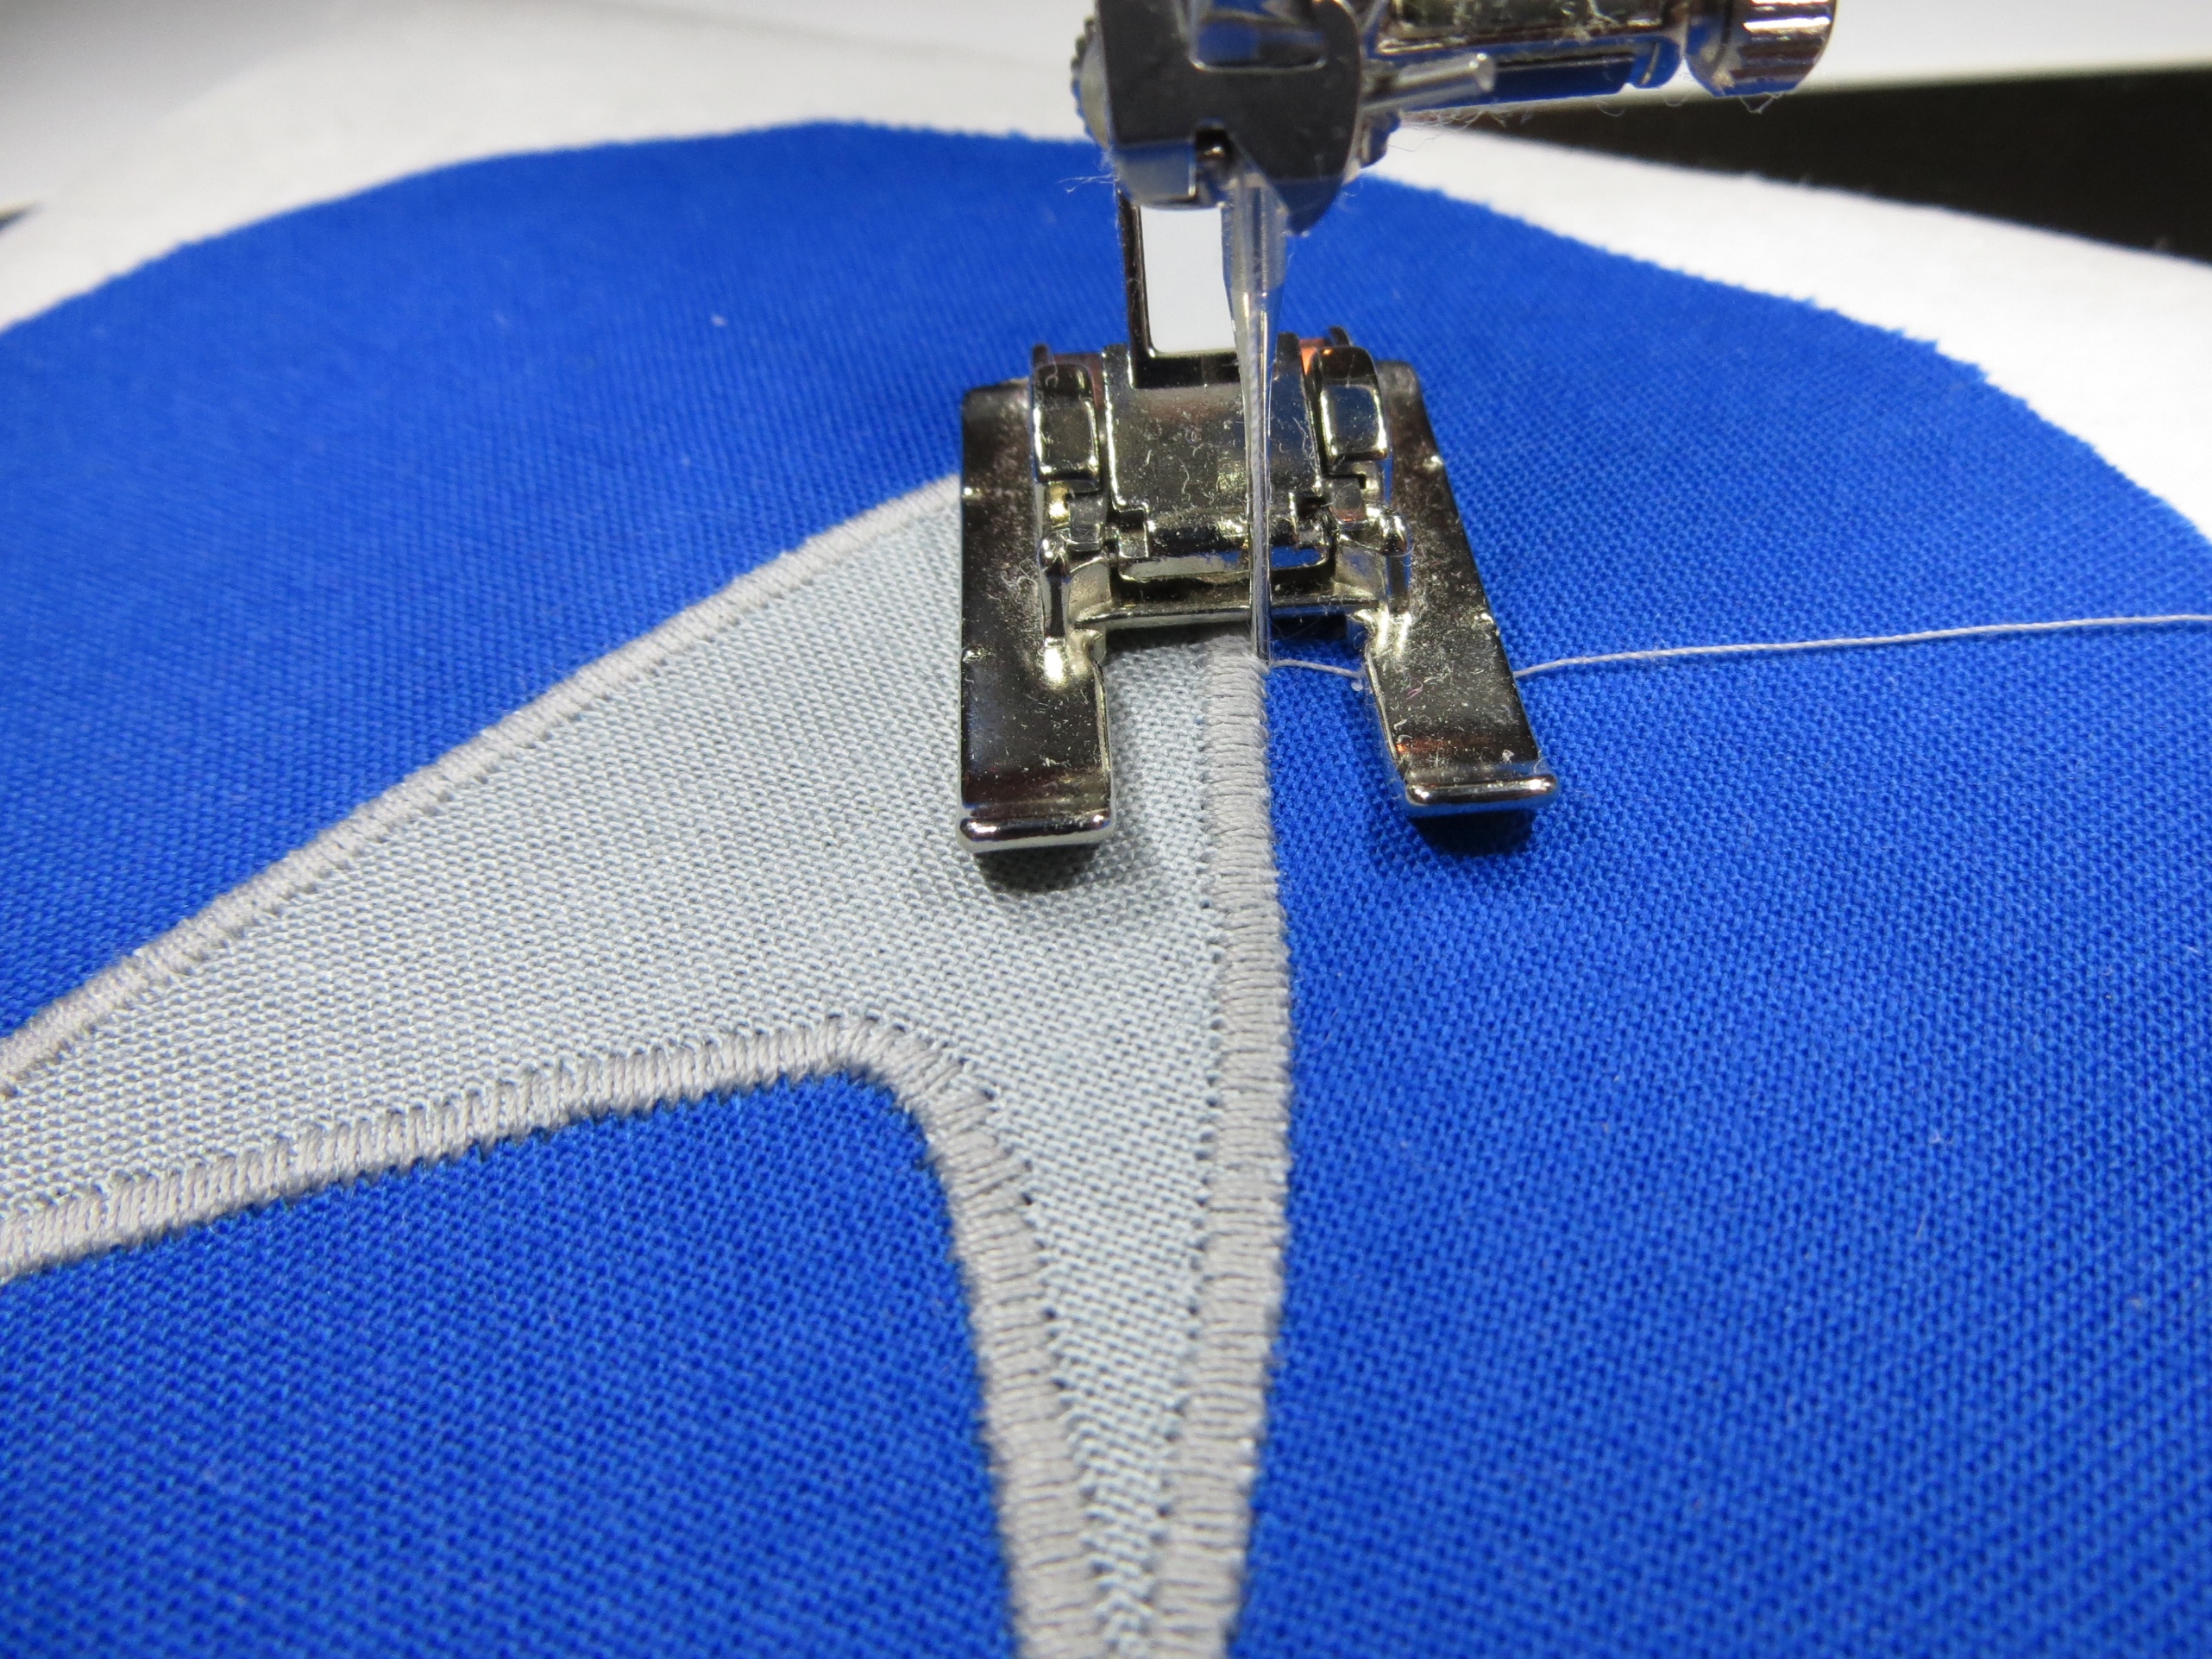
You can see how I used a shorter stitch length for the one on the left, and a longer stitch length for the one on the right, but the same stitch width. Now you can tear away the stabilizer if you used it.
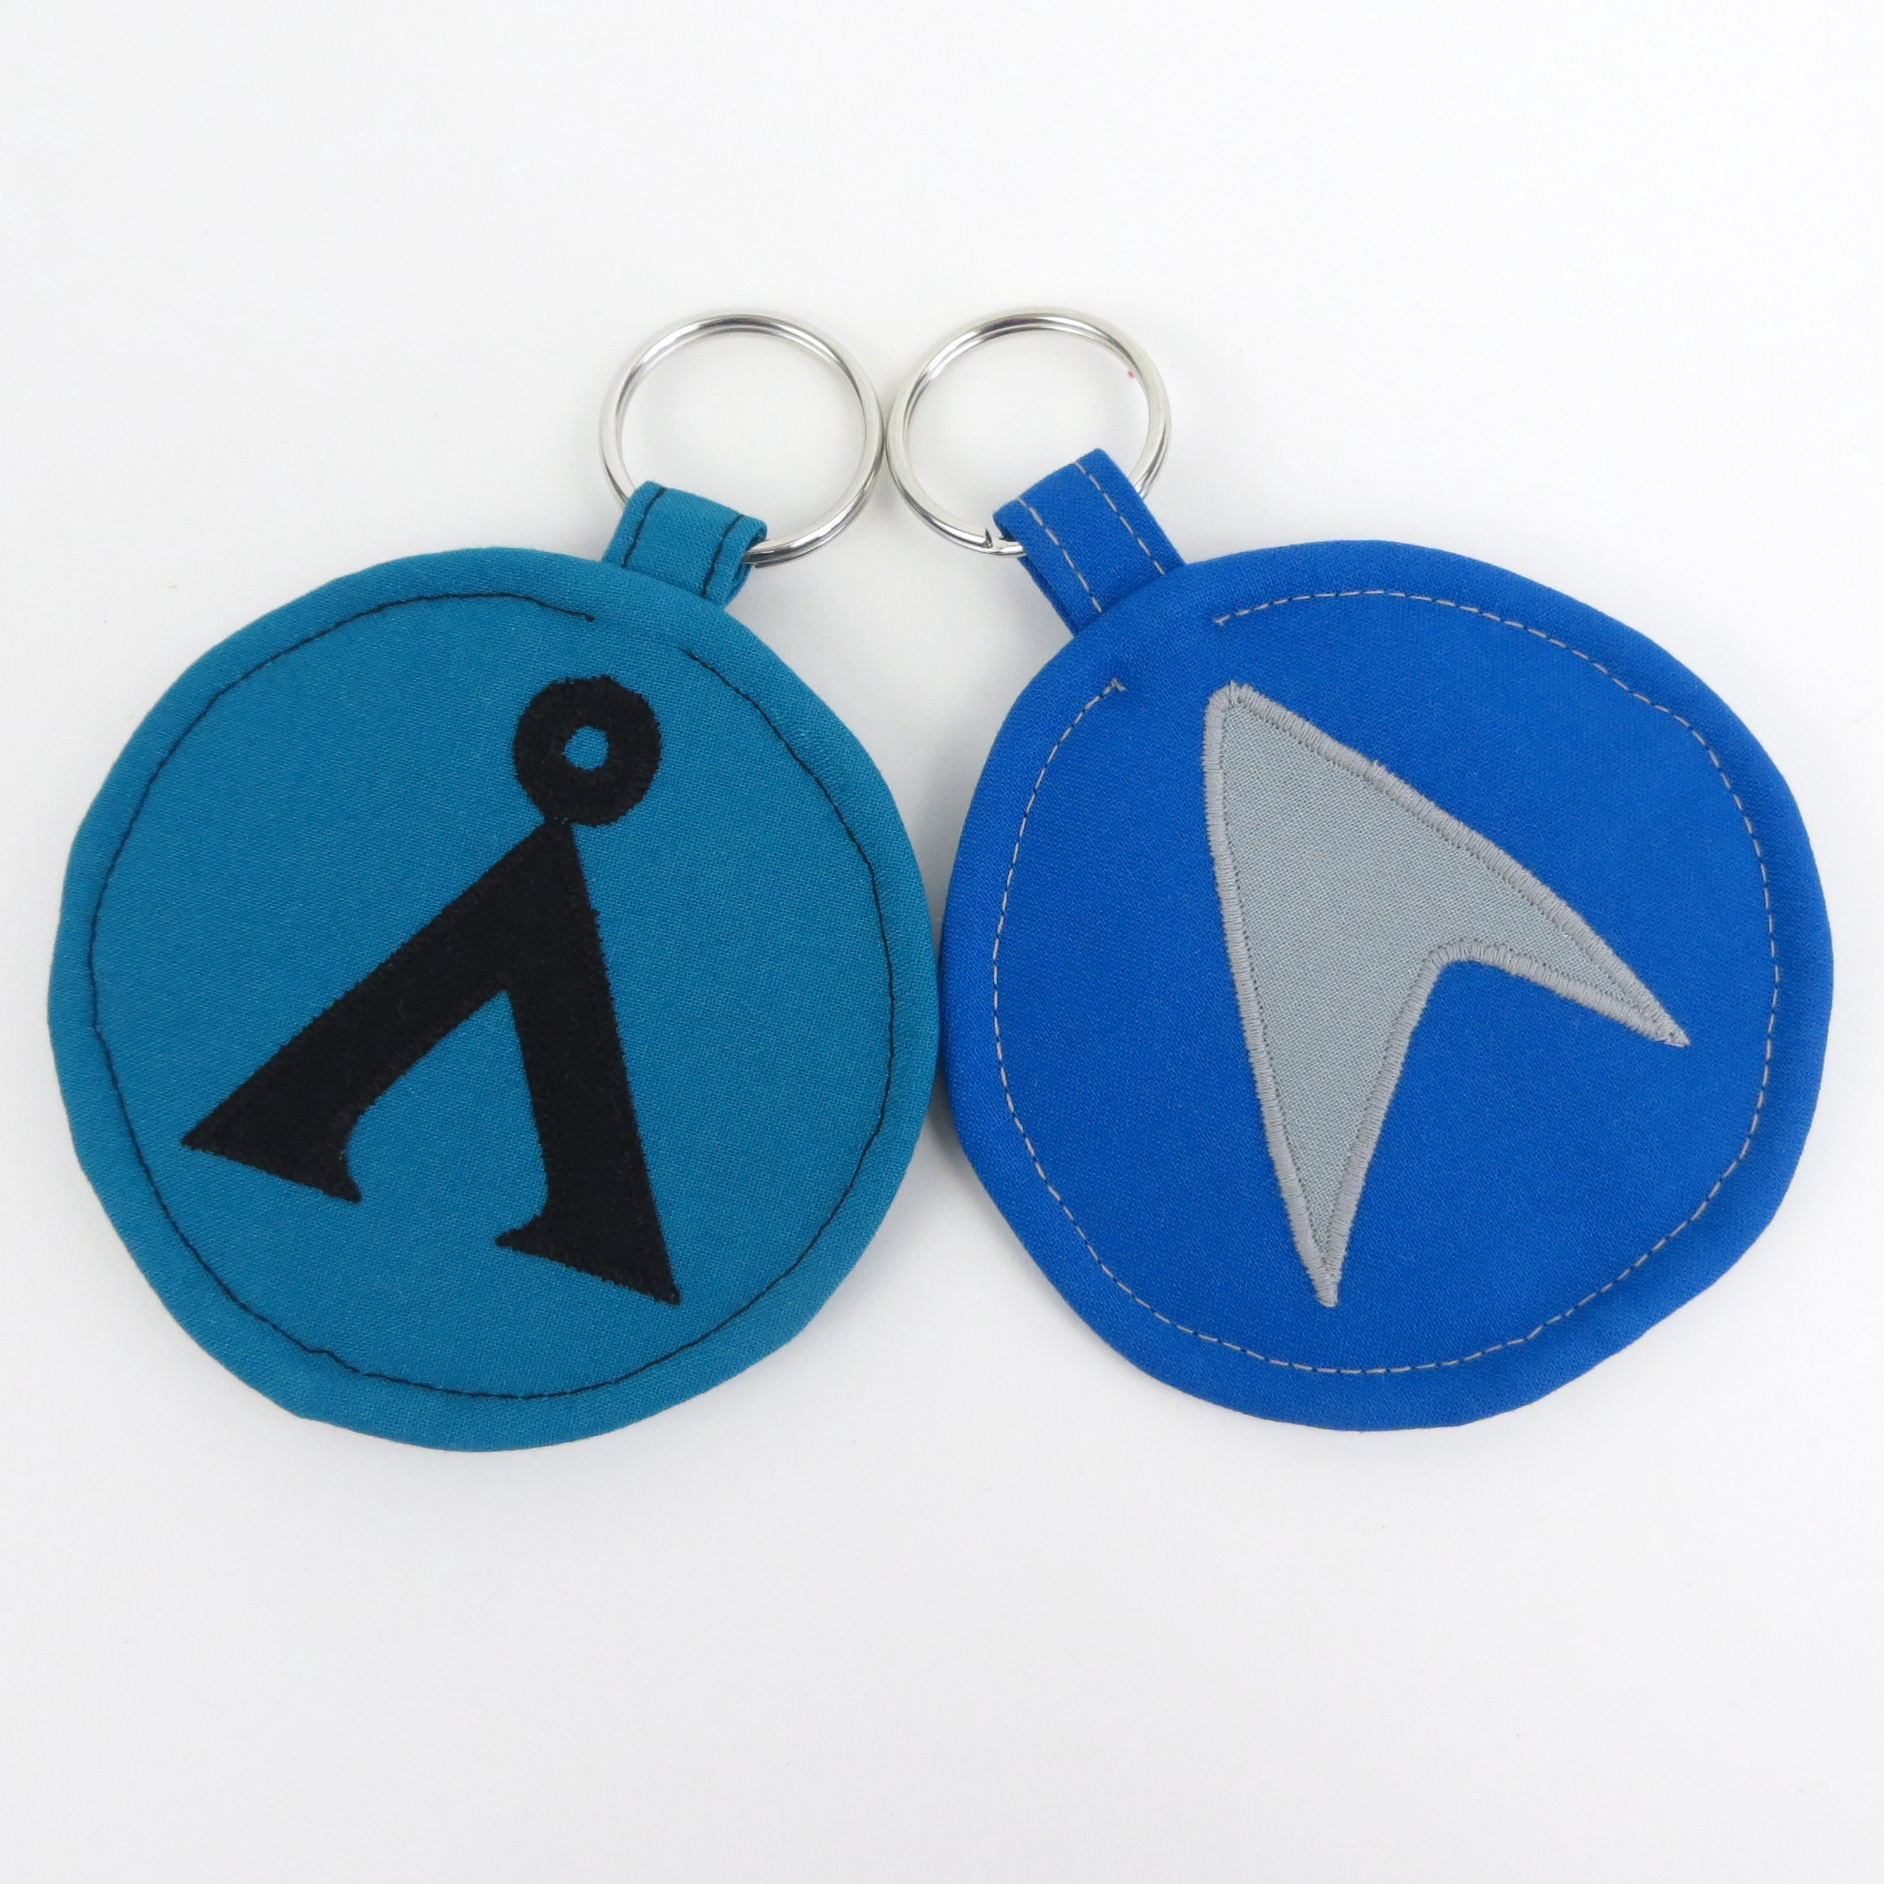
To stack them so the symbol is right side up when it’s hanging from the loop, assemble with the tab at the top. Layer with the appliquéd piece right sides together with the zipper, cover with batting and then place the lining piece right side up on top.
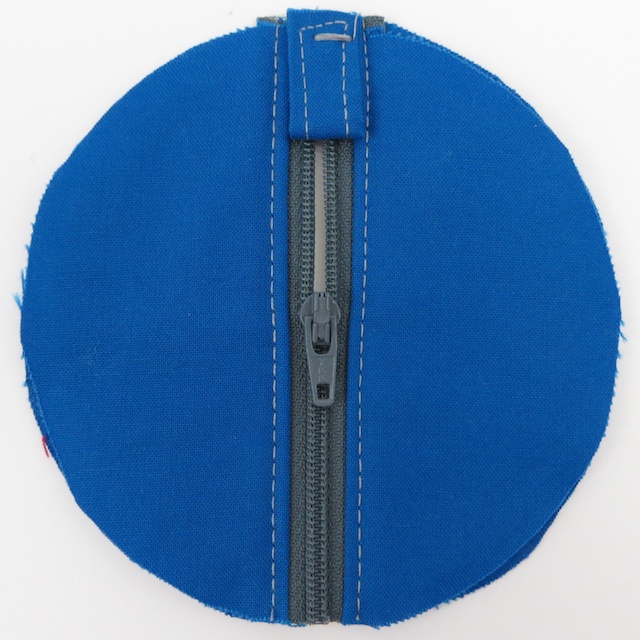

Make sure you topstitch outside of the applique. Clip on your bag and go!

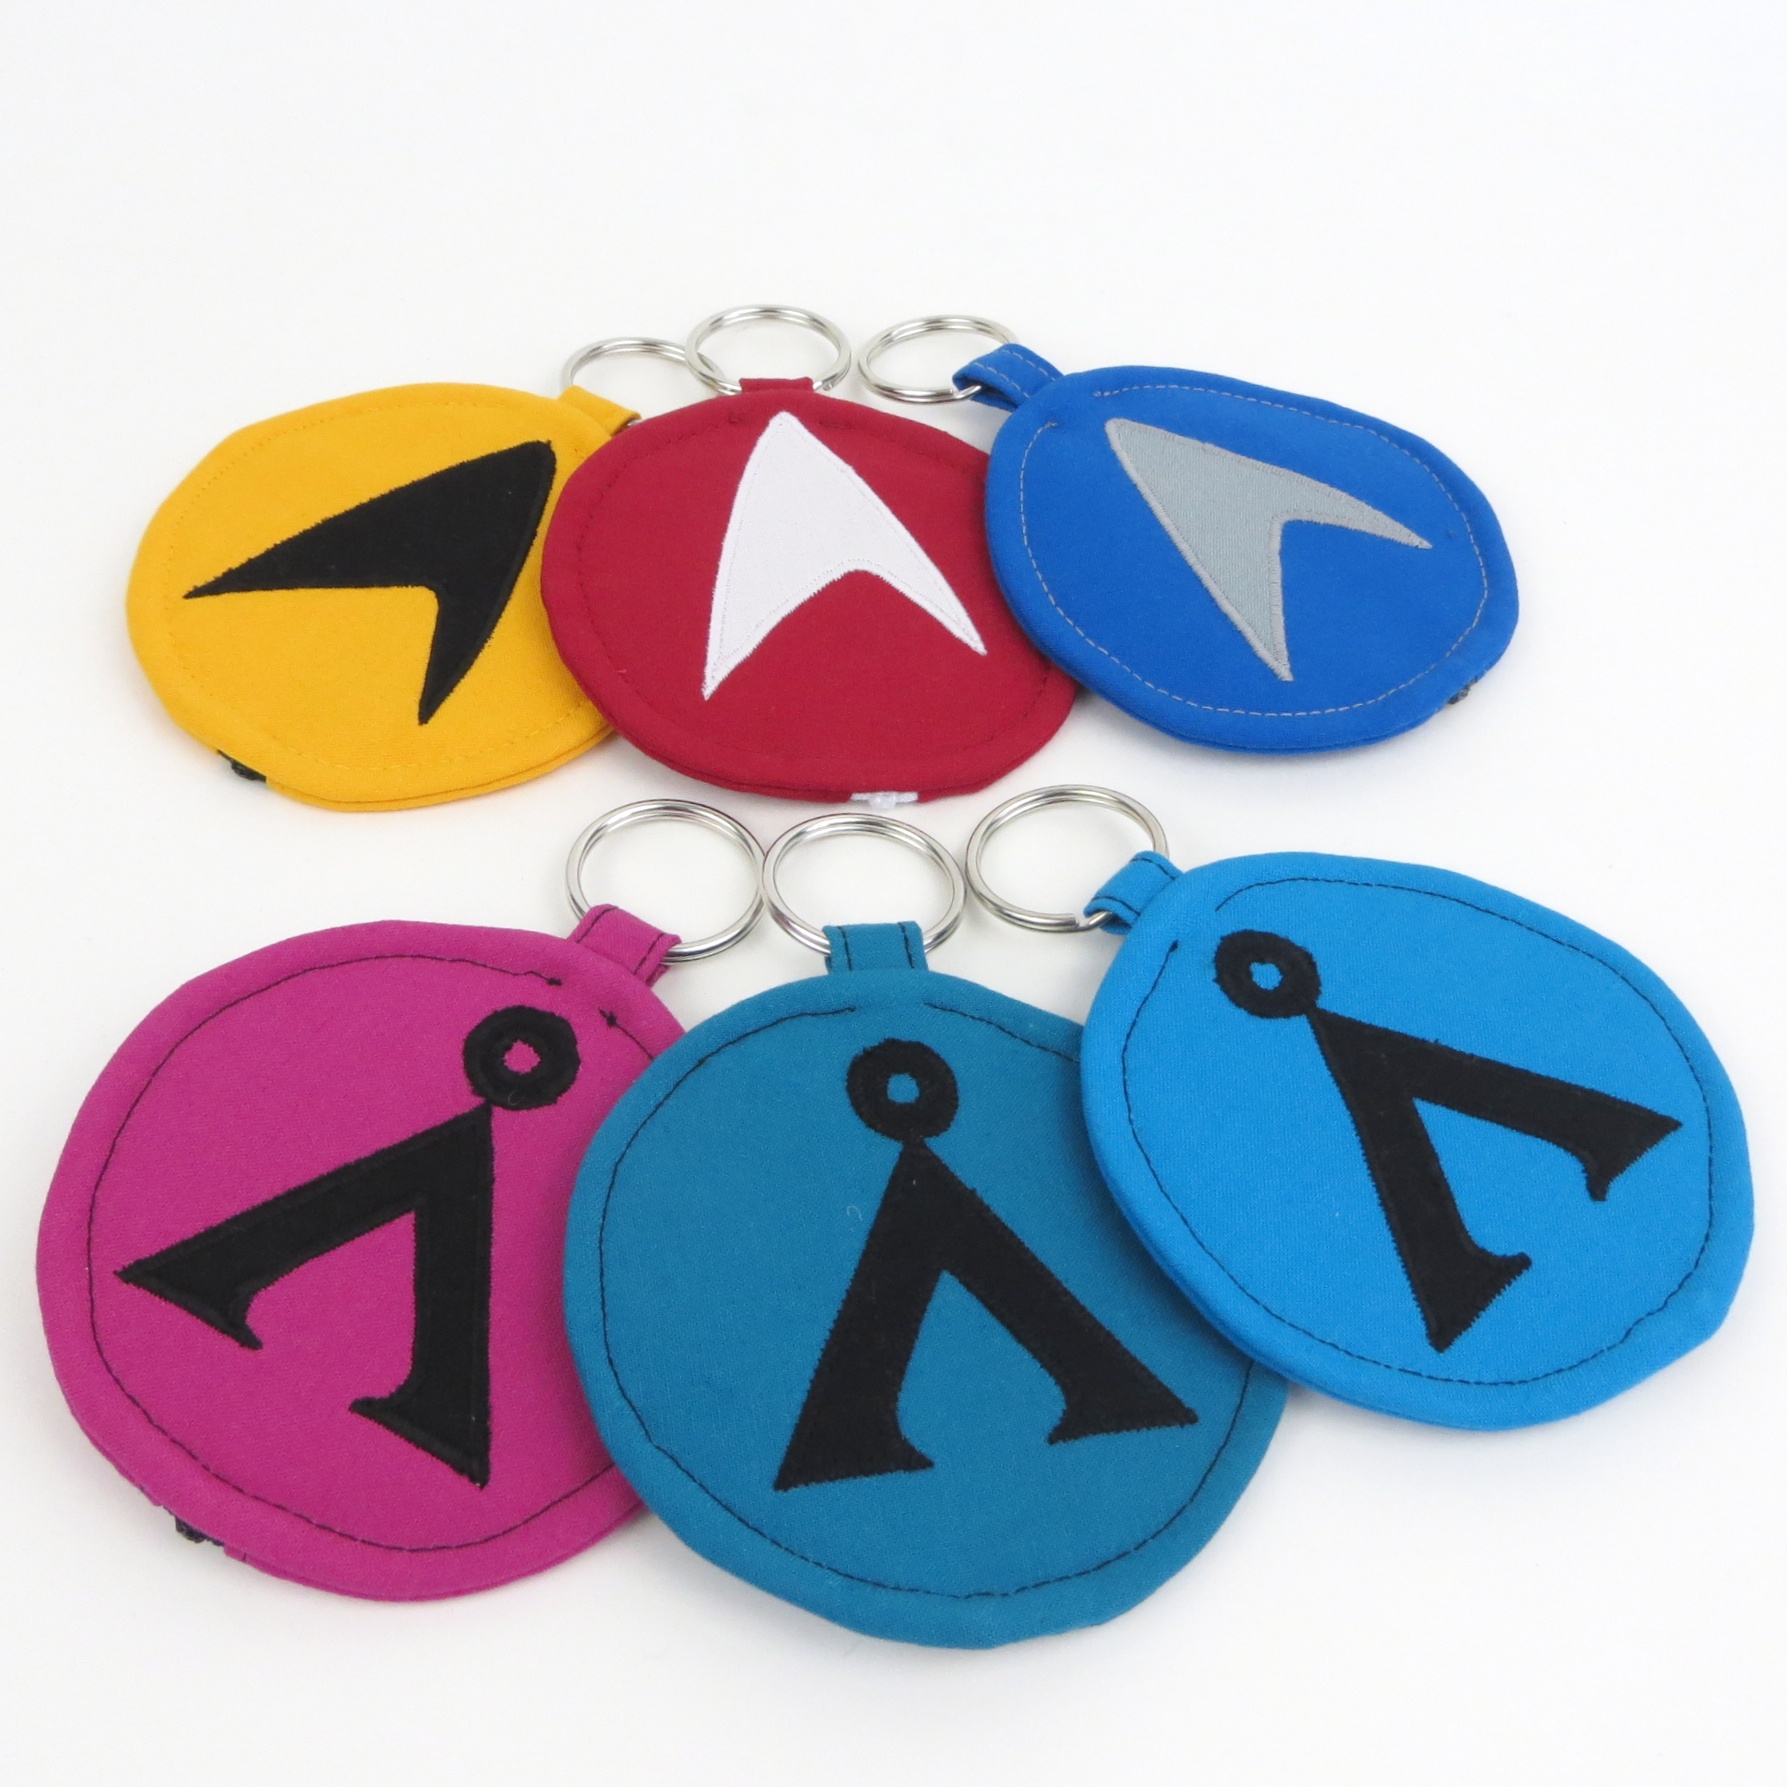
The two on the right are mine. :D
Very fun! For Sanctuary, you could just do a wine glass, or a mustache… :)
Oh yes totally a mustache. But no one will get it. Mini fanged mustache? ;)
Thanks – I need to make some of these for my husband!
Oh my goodness these are awesome. I made a regular earbud case using your other tutorial a few months ago, but I don’t really like how it turned out just because I picked probably the worst fabrics to work with ever. Now I think I might have to make a Stargate one… and a Star Trek one… probably even the aforementioned Sanctuary one…
Now I need to work out a Deathly Hallows symbol.
Awesome … would also work for some religious symbols … I’m pagan and i can totally see a trigram, pentacle/pentagram, triple goddess moons, horned god … very nice tutorial gonna have to try ideas out and if work buy the license to sell them
I know, I know, I’m a little bit late to comment, but I just found your amazing blog. Thank you very much for this tutorial and the pattern of the earbud pouch.
As a huge spock fan, my choice would also be the sciences. I’m happy to see that there are other sewing nerds in space. :D
Greetings from Germany and – of course – live long and prosper!
The link to the templates are not working.
2 May 2019
Hi Wendy! Sorry that one must not have updated when we moved the website. It’s fixed now. :)