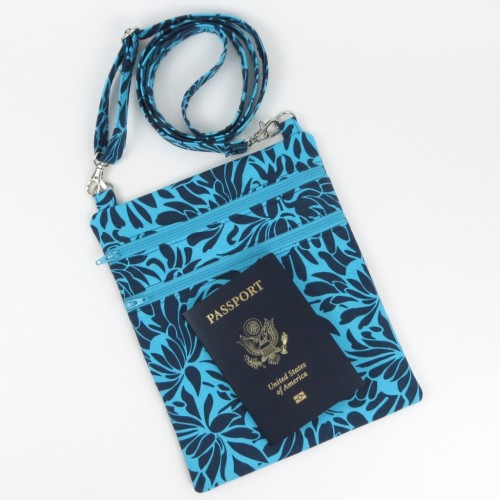
I designed the Essential Wristlet to hold a passport, phone, cash & cards. The Zip and Go is a slightly bigger, handsfree bag with the same thing in mind, so I figured you might want to add a passport pocket to the Zip and Go, too!
When I travel I like to keep my passport on me. Leaving it in a hotel room isn’t the best idea and if you need ID while you are out for the day, a foreign driver’s license may get funny looks (so will a passport, but it’s better than trying to explain a safe driver renewal sticker…) You could always tuck a Zip and Go into a larger tote bag if you’re carrying one, but then grab it when you just run out for coffee.
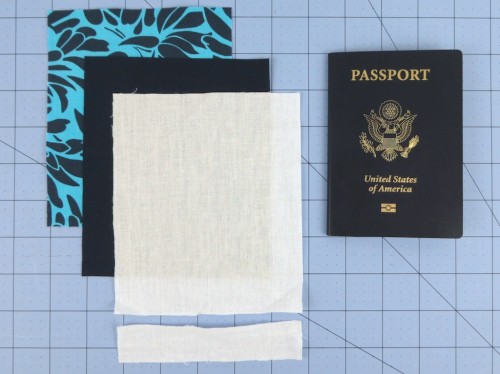
You need a main fabric and lining piece 5″ wide x 6″ tall + a 5″ x 6″ piece of fusible interfacing.
I also like to add a 1″ tall strip of interfacing to the top of the lining piece.
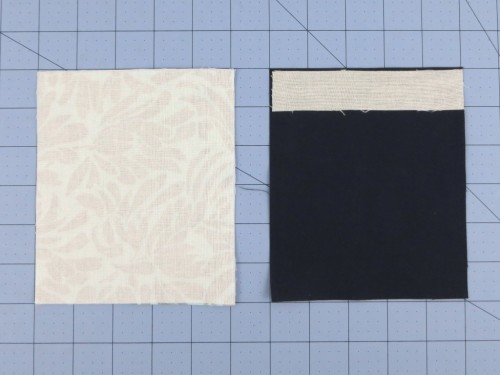
Fuse interfacing to the wrong side of the fabrics.
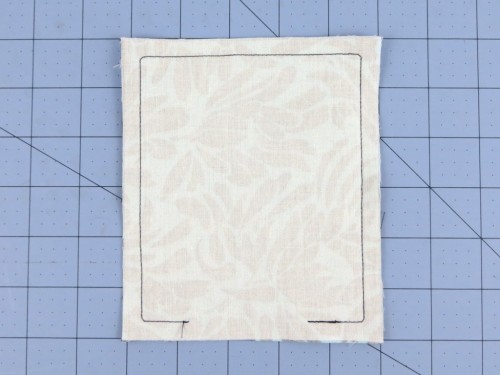
Place the main fabric and lining right sides together, then sew with a 3/8″ seam allowance,
leaving a gap on the bottom of the pocket for turning.
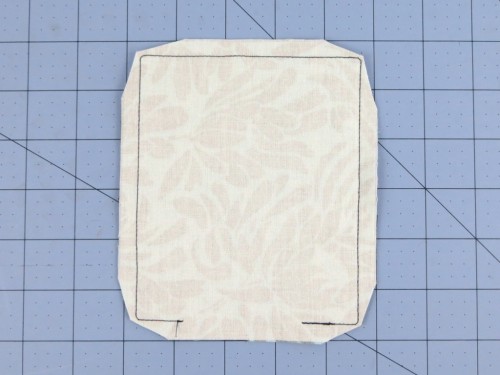
Clip corners.
Turn the pocket right sides out, gently poke out the corners, turn under the opening, press well, and topstitch across the top (the one without the opening) 1/4″ away from the edge.
I use a longer stitch length (3.5-4) when I topstitch.
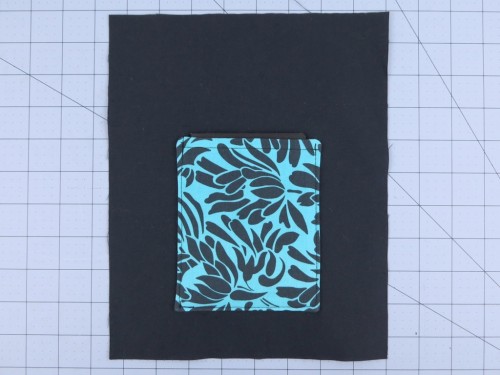
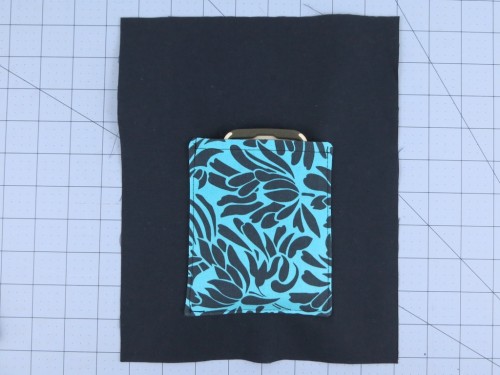
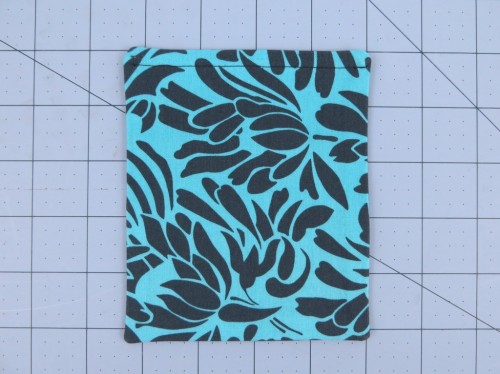 Now place the pocket (topstitched end up) on top of the lining of your bag and edge stitch around the sides and bottom, reinforcing the top corners. (I did this right before Step 9 for the Zip and Go,
and placed it 1.5″ from the bottom of the lining fabric.)
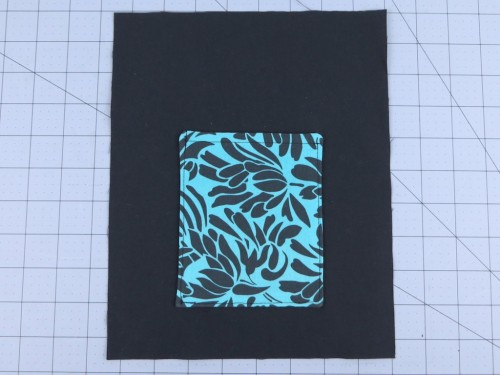
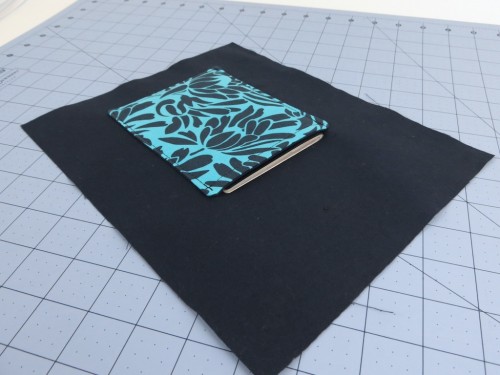
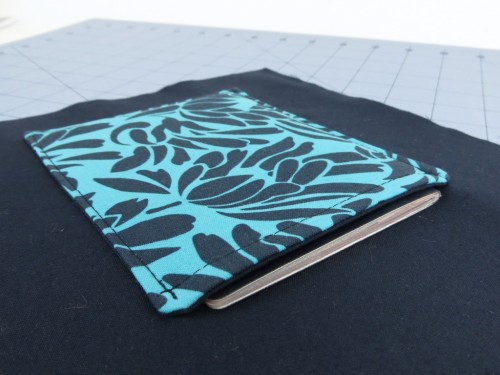
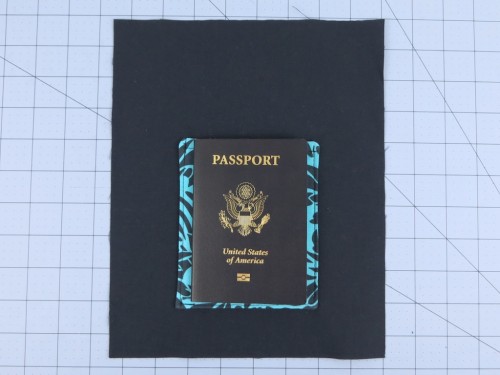
Add a passport to your pocket (once the bag is assembled, obviously :P)
Perfect size!
As we learned with the wristlet, iPhones and passports are similar sizes. :)
Add a passport pocket to any bag!

Awesome! And very timely information…I have a trip coming up and so does my daughter! I just love your ideas….thanks for sharing them!
[…] […]
Useful pocket making DIY project. Helped me a lot.