
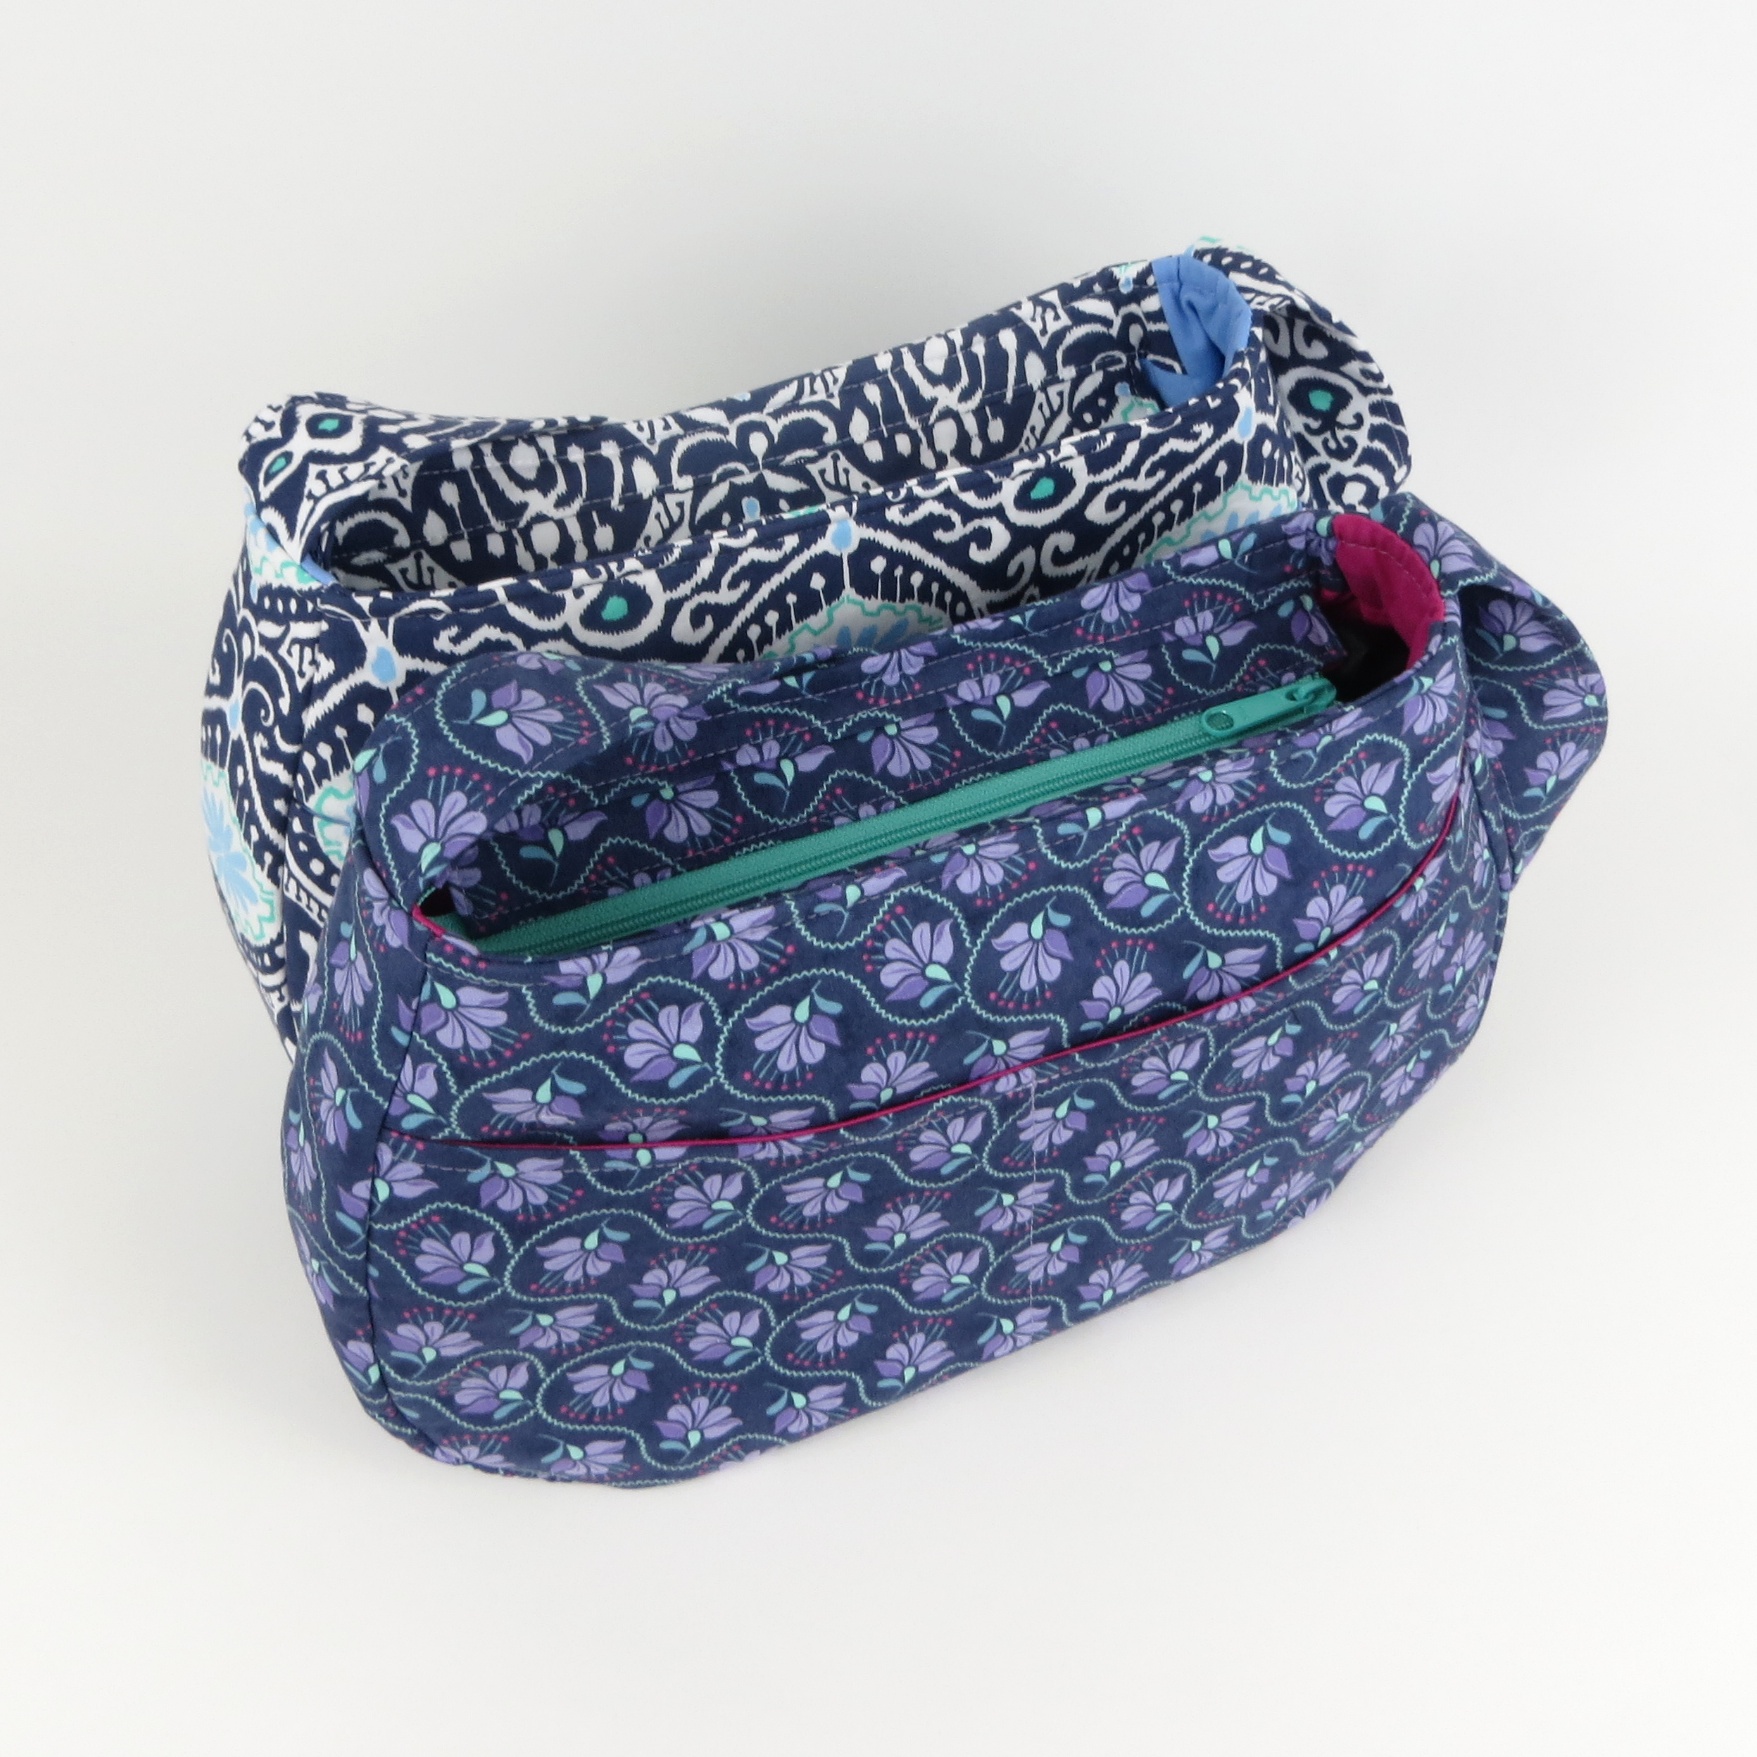
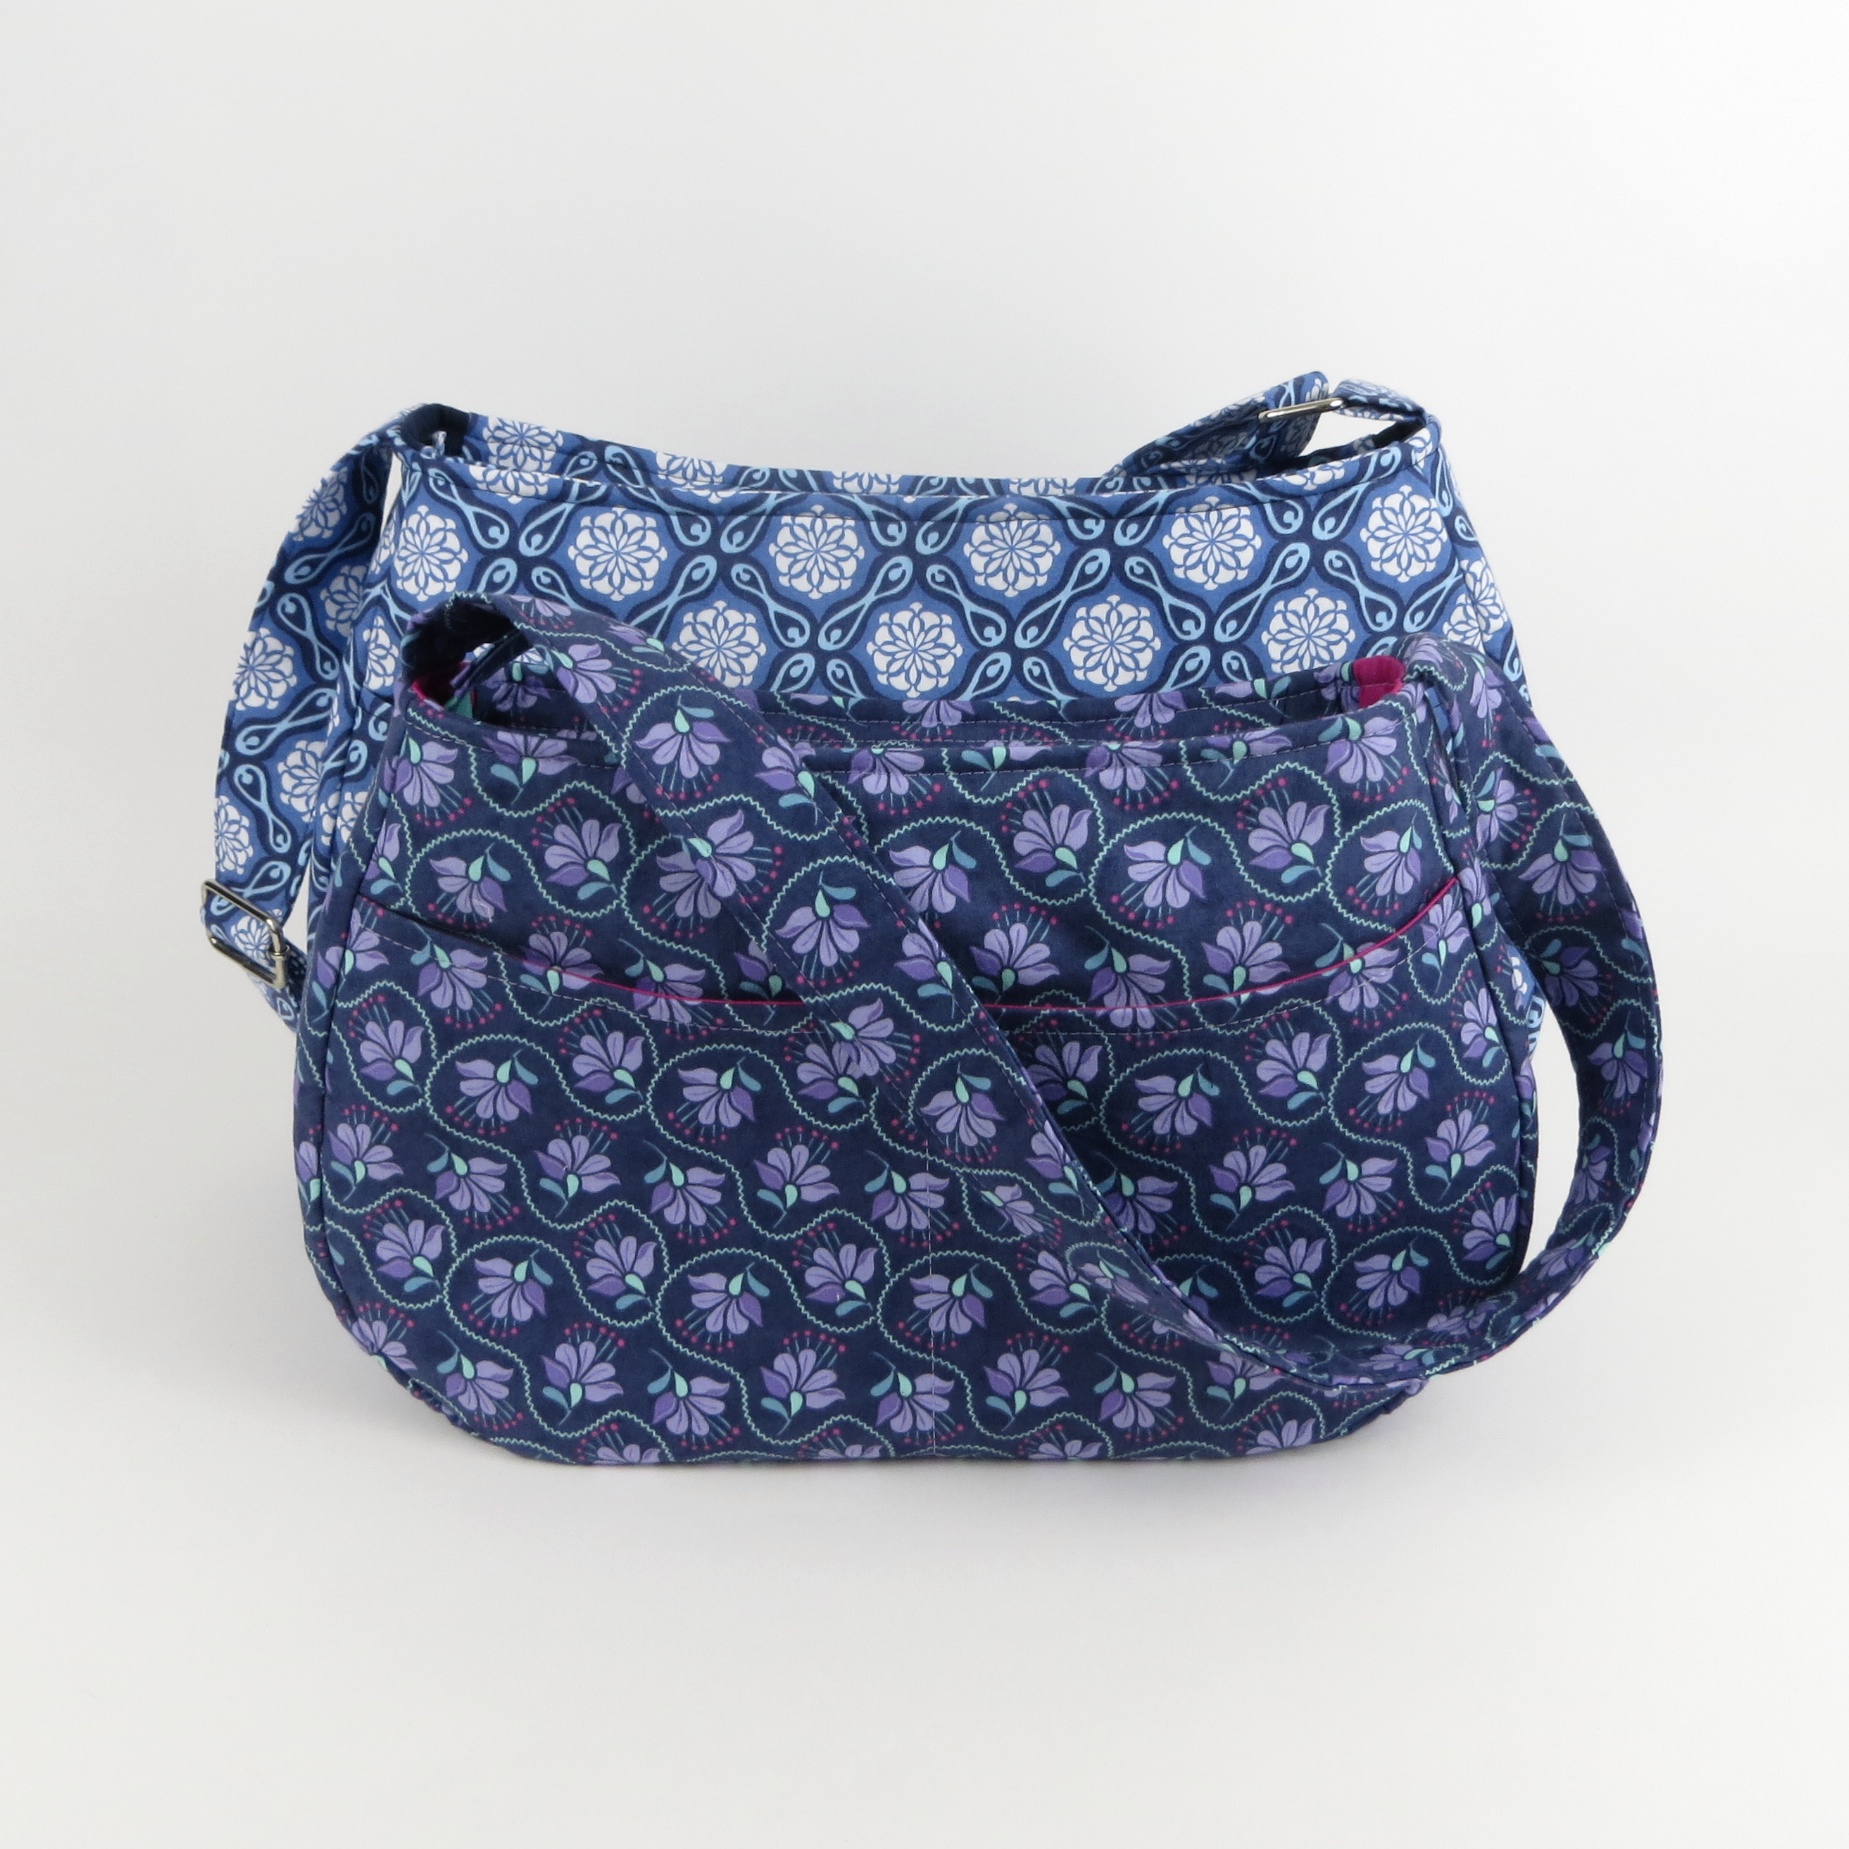
Lots of you have asked for a purse sized version for the Daytripper. I think this is a really great size!

Mini and Full Size Daytripper
There aren’t many modifications, so you should be able to make this without making the big version first. :)
Finished size: Approx. 13″ x 9″ x 3″
You can get away with 14″ zips and less fabric (one yard of each).
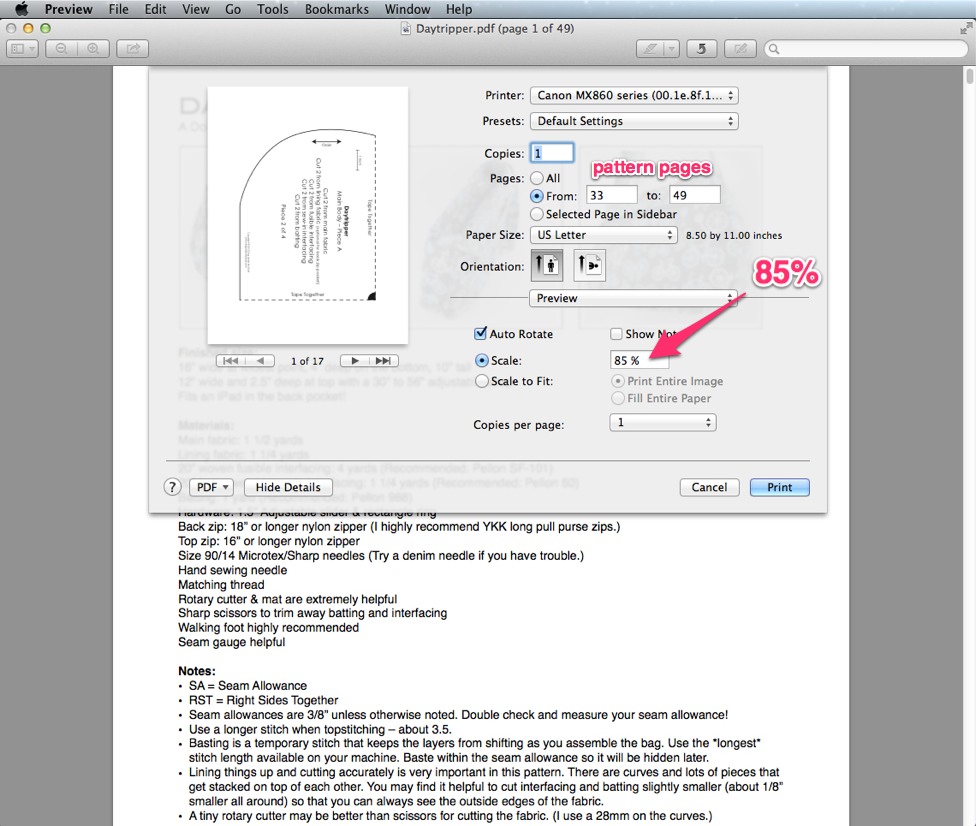
Print the pattern pieces at 85% (click to enlarge):
Slice 1/4″ off one end of the 85% Zipper Gusset (Piece H):


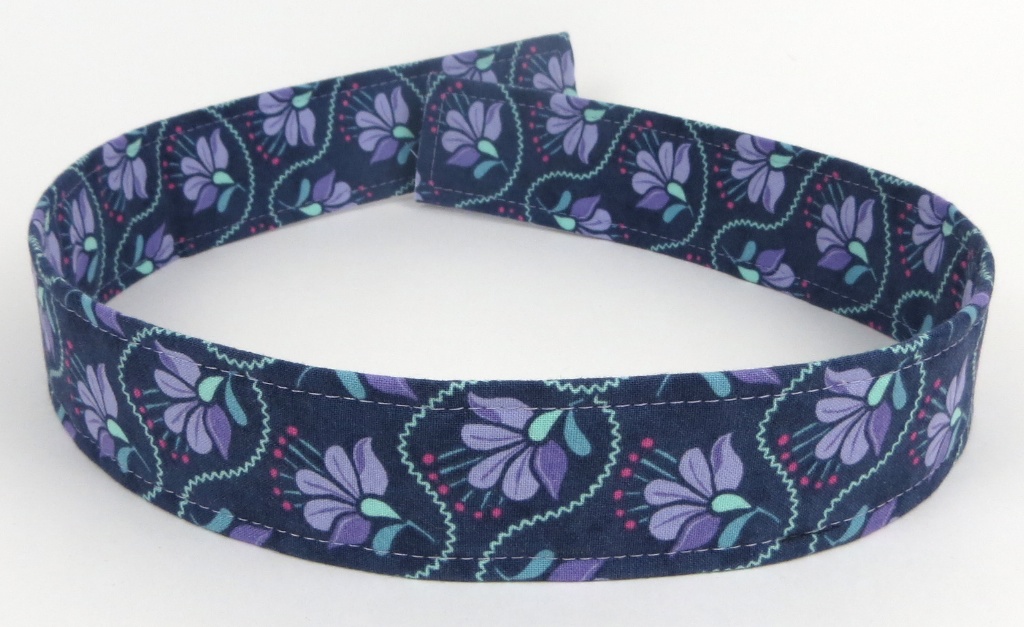
If you don’t want an adjustable strap, cut the strap 6″ wide by 27″ long:
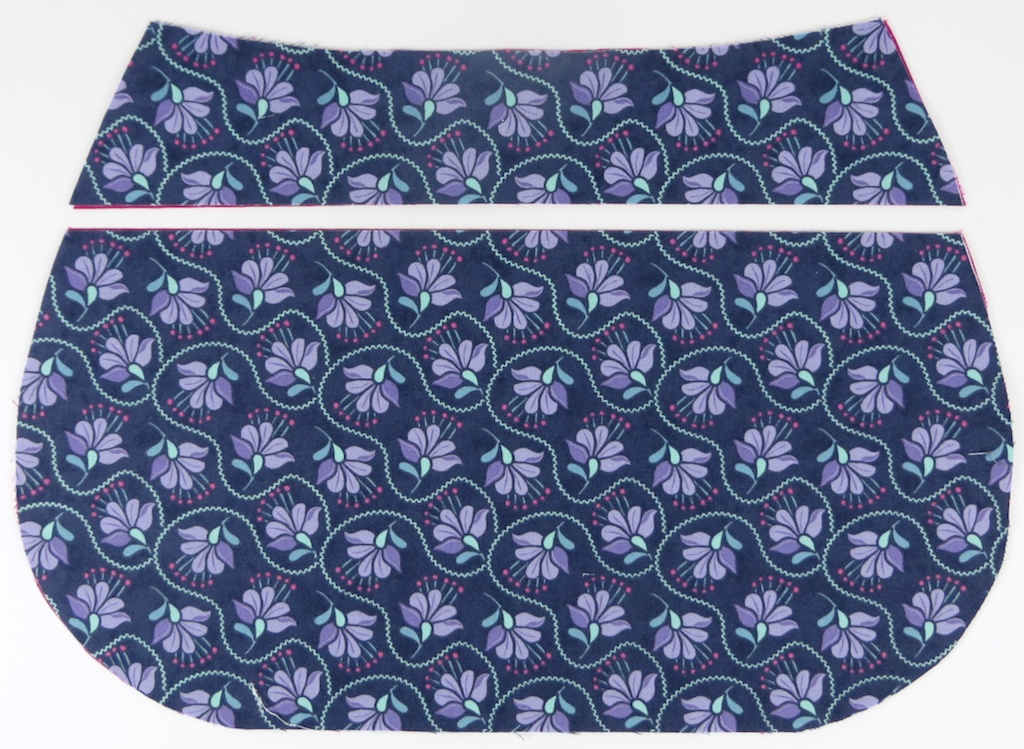
Slice the back piece 2.25″ down (follow the rest of the instructions):

Cut the zipper gusset to 3″ wide instead of 3.5″
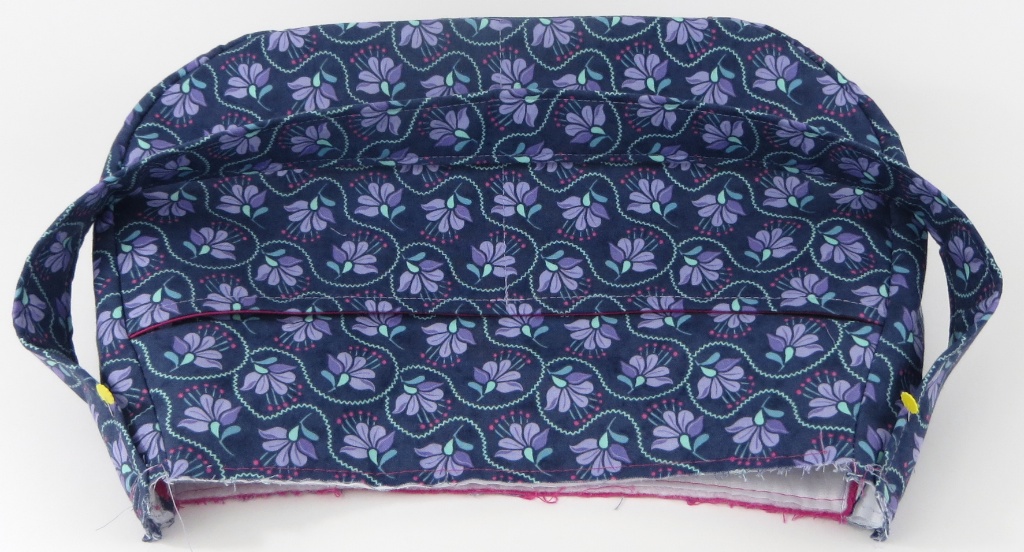
I offset the pen pocket in the middle the same way as the big one. The first line of stitching is 5″ from the left instead of 6″.

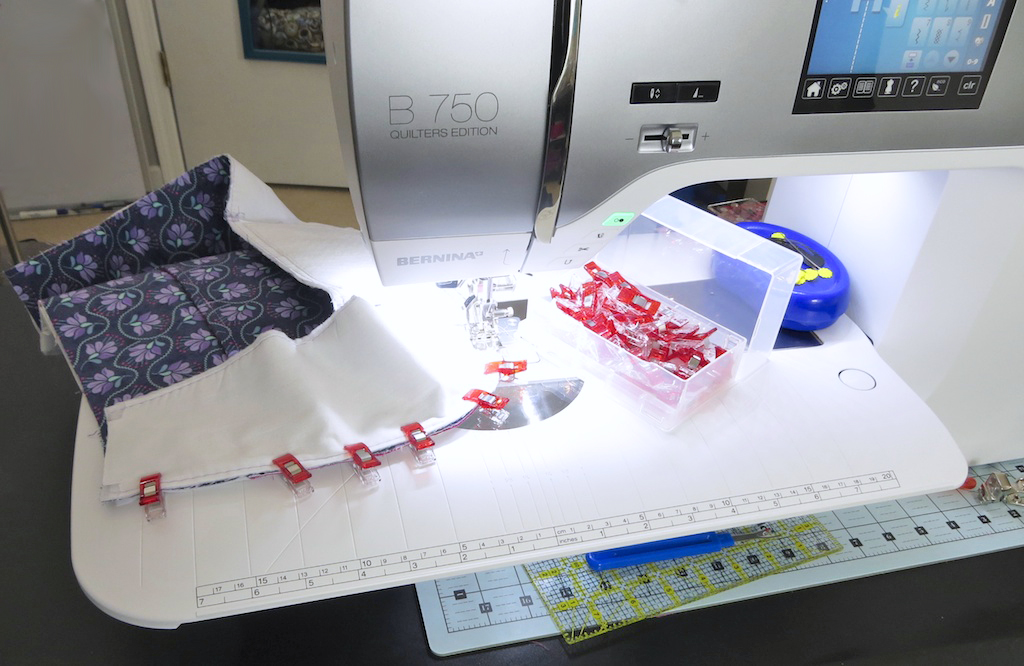
Clover Wonder Quilt Clips
Everyone has been telling me to try out these Clover Wonder Quilt Clips. I checked the last few times I was at the fabric store and didn’t see them, so I put them in my Amazon shopping cart for later. Anyway, I popped onto Amazon one day and it said the price had been lowered to $13.60. Um, sold! They are back up to $18ish now but I hear that’s still a good deal. Anyway, they are flat on the bottom and work really well for clipping the bulky layers together. I still like my crazy “just wing it” technique that i explain in the pattern, but this is a close second! :D
Interfacing
A few of you have said that you wished the pockets had more interfacing. That’s fine! I almost always add more interfacing than a pattern calls for. But, I also remember having a very basic machine that couldn’t sew through 8 layers even with a denim needle. I’ve made a dozen versions of this bag, using every different kind of interfacing I could find. One of the main things I want to do with my patterns is teach you how to make something and have it be a success and not a frustration that you give up on. I eliminated as much interfacing as I could while still allowing the bag to have a light structure. Feel free to add as much as your machine will allow. A good place to start is by adding a layer to the pocket linings. Patterns are guidelines (in my case, overly-detailed ones!) and interfacing is very much personal preference.
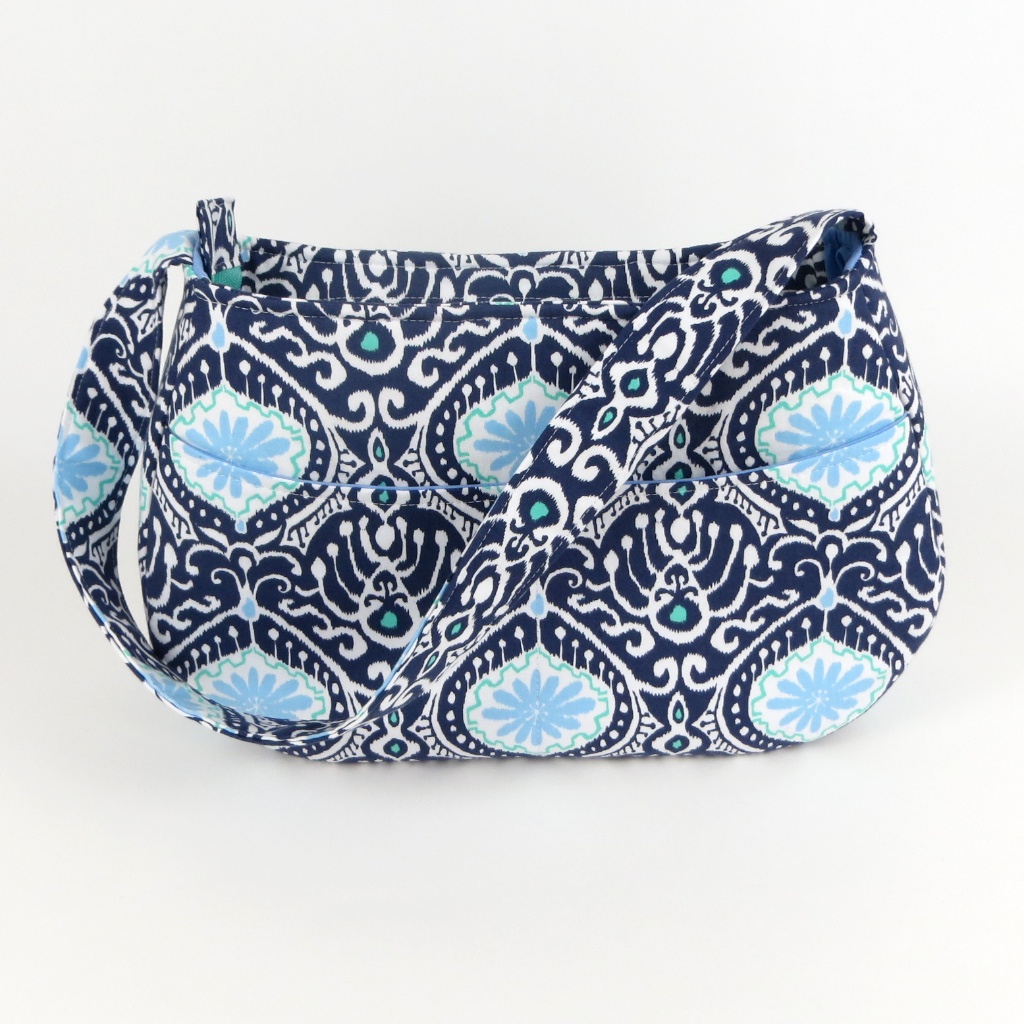
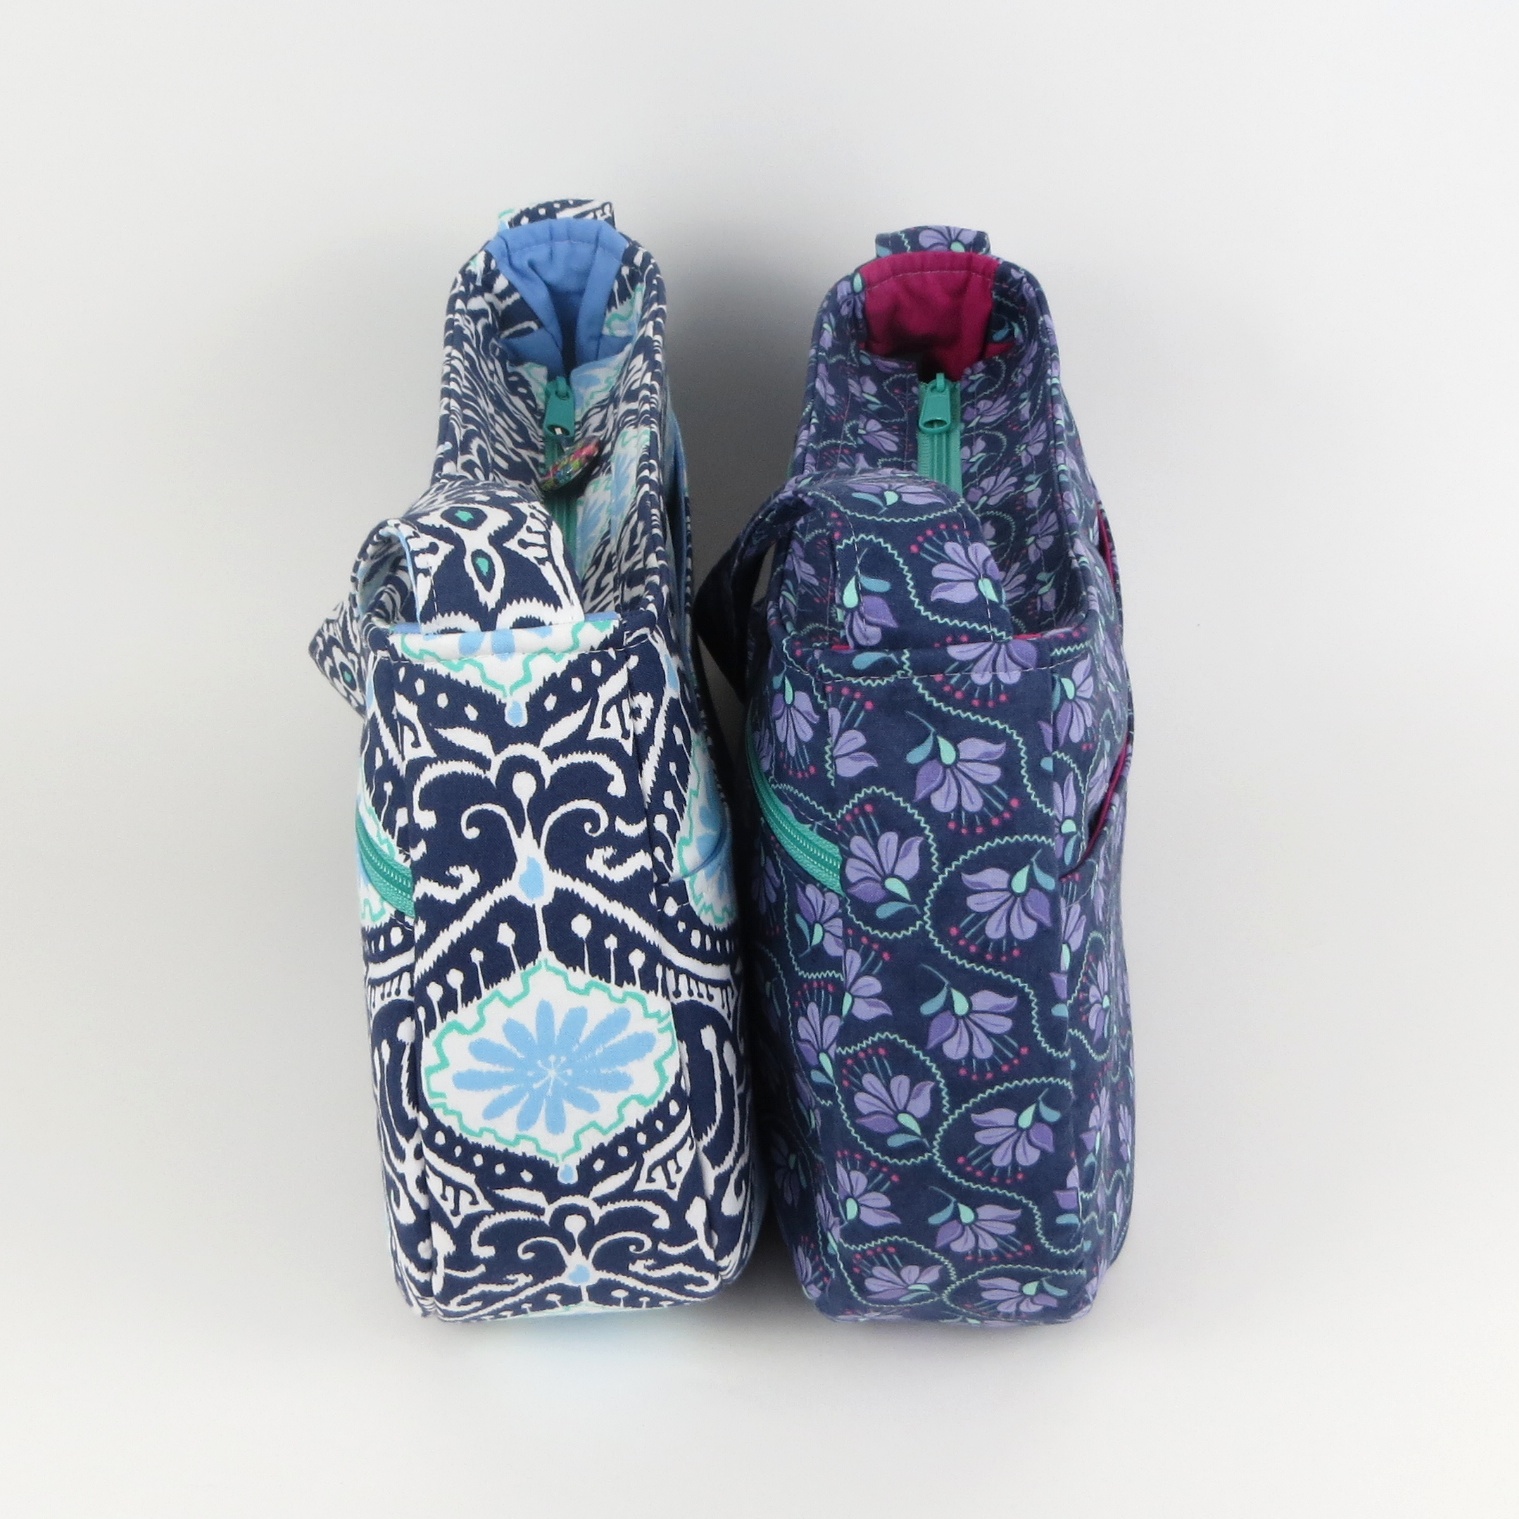
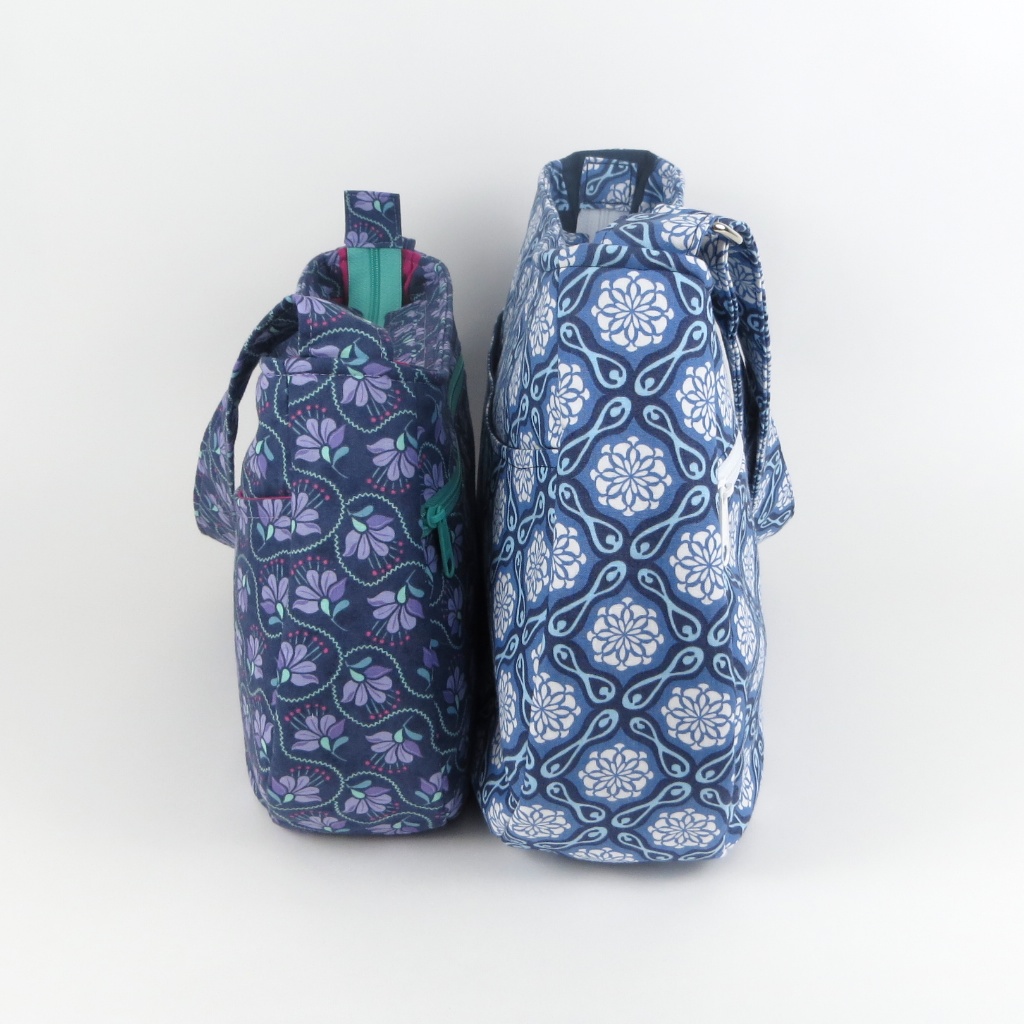
For example, I made the one blue one with Soft and Stable. It’s very stiff. It has a great look to it and sewed fine on my fancy machine, but it’s thick and very foam-y. If you like the not-crushable, stands up open and empty look, this is for you. I have used it for gadget cases that need to be padded and I think I prefer that use for it. The purple one stands up fine, too –>
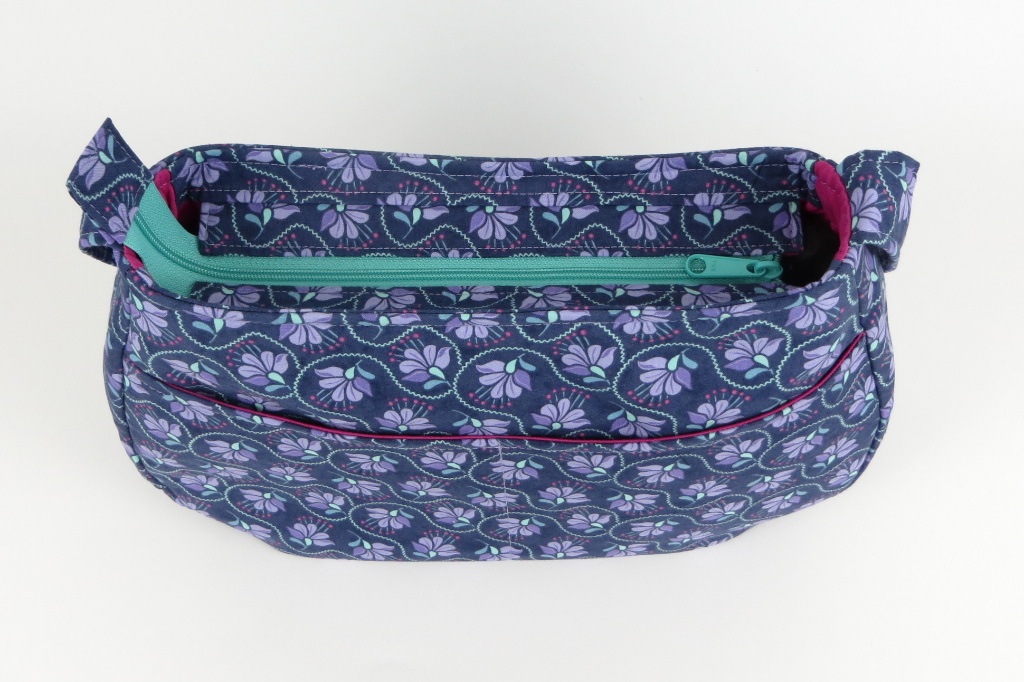
For the purple one I used Pellon SF785 woven sew-in with the 988 batting instead of the Pellon 50 non-woven, just to try it. I love the feel of it because it’s not stiff or heavy but it has shape. I’ll be playing with this again – I like it and I’ll always choose a woven over a non-woven!

What do you think? Will you make a mini?
I’m loving my purple one. I think this will be my new every day purse for a while.
Super cute! :)
Thanks! It’s totally the fabric. :D
Oh yes, it’s all the fabric and has nothing to do with your mad sewing skills. :)
Erin, I absolutely love your pattern writing skills. I have to tell you I just finished another pattern that was not yours, and the directions were horrible. Keep up the great patterns. I just posted a daytripper picture to Flicker.
Oh wow, thank you!
Thanks for the update!! I think this has a great size. Will you send an update or we just come and check this in your blog??
Just here, for now. It’s not easy to decide which would be less confusing. I’ve already had a couple people email me about how exactly to print, but at the same time, adding 17 MORE pages of pattern pieces to an already giant pattern isn’t the best idea either. Since there are very few changes, I think I’ll let you overachievers come find it here :)
Thank You Erin! Now I can work on my mini. I had everything already cut out and ready to go. Now I just need to make the needed modifications and sew. (Okay, it sounds quick on my end but I’ve been lazy for a few days. It will get done one day). Again, thank you for making this available. This size will now be my everyday bag for a while too.
I’m very interested to hear what you think of the size after using it for a little while! Let me know!
I am looking forward to making my Mini! :)
I hope you like it! I really do :)
Thank you for posting these modifications! I actually bought the pattern after seeing your mini and was going to wing it, because I really wanted a purse sized version :) I never carry enough stuff for the big one, but this looks perfect!
I’m jealous that you don’t carry around enough stuff to need the big one :) But happy that this helps!!
I wanted to add my voice to the conversation because I love your Daytripper pattern. After a crazy month, I looked forward to Easter weekend when i could live the life of a hermit (well, with my dog), and sew all weekend (only breaking for Doctor Who and Easter services). I made the regular size Daytripper and it was such a wonderful, easy pattern to follow. At one point I made a mistake, but the clear photos showed it to me before I moved on to the next step so I could easily fix the problem (over-exhaustion on my part, not a problem with the pattern).
This weekend I’m heading out to pick up fabric and plan to start the mini version. The regular size is my new go to bag for travel or those times when you just need to pack a few extra things.
Great pattern. Easy to follow.
And I love the photos of your dog (my dog was a bit jealous over my awwws).
I was wondering why do you prefer woven over non-woven?
Hi Erin. I made a mini-mini bag (printed at 75%) for my sister in law. She wanted a handbag size not a tardis. Also she particularly wanted a flap too. I managed to adapt your pattern very easily making the top straight instead of curved, and the flap, which is half the length of the bag, fitted beautifully. I also embroidered a motif on the flap which turned out well. I do want to make myself one of your bags next, probably the 85% size and no flap. Thank you Erin for such a great pattern.
I’m wondering what the finished dimensions are for the mini?
I usually carry a small purse (maybe the size of your date night bag) and would like to make this one to be about that size. I’m not good enough with adjusting patterns to figure out how to resize this one without having something be askew.