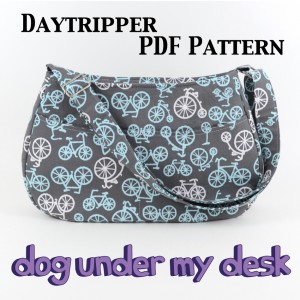
Introducing the Daytripper!
I know some of you (at least one of you, anyway) were actively refreshing the pattern page waiting for this! This is literally the end of a pattern writing marathon. You’ve all been endlessly supportive and the fact that you’ve known this pattern by name before it was even available is truly amazing to me. So, here is it!
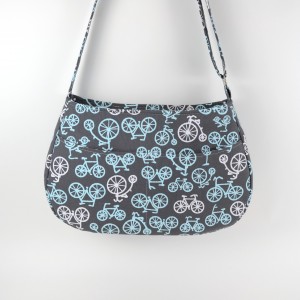
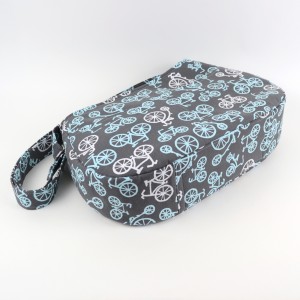
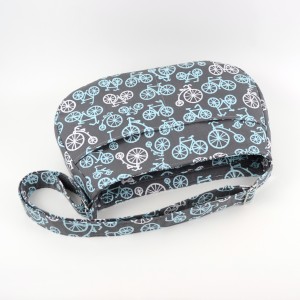
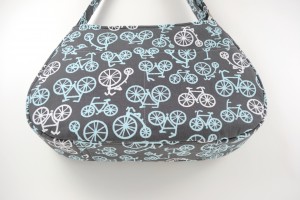
This is a big bag. The finished dimensions are:
16” wide at widest point, 4” deep on the bottom, 10” tall
12” wide and 2.5” deep at top with a 30” to 56” adjustable strap
Fits an iPad in the back pocket!
It’s designed to be an all-day bag. One of those carry-everything-you-need-for-the-whole-day kind of things. Your water bottle, jacket, a book… things you may not need in your every day purse but when taking an extra tote to leave in the car isn’t an option. I discovered, that even half-full, I totally love this bag as an every day purse! It’s big but it’s not *too big* meaning it’s about messenger bag size. Whether I have it stuffed (and you can really stuff it!) or not, it’s perfect! Also, I use this as my “personal item” for the plane and since it is still a purse, no one questions me.
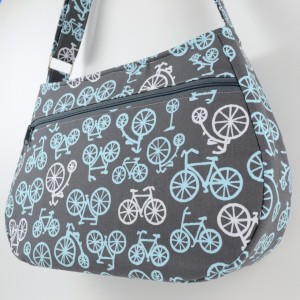
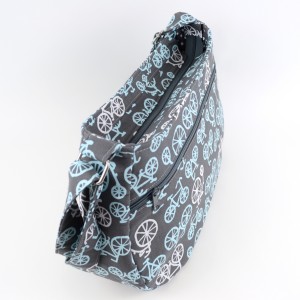
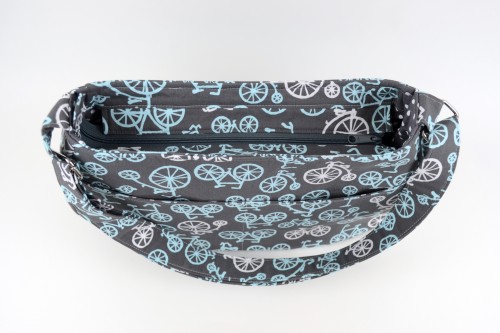
It features a back zipper (fully lined) and a top, zippered gusset. The back zipper is perfect for boarding passes, an Essential Wristlet, an iPad, a Kindle – anything you want very accessible but completely secure.
The front slip pockets are specifically designed for a phone on one side and keys the in the other (no scratches that way!). I love easily accessible keys and phone! Who wants to be shuffling through their bag with an armload of groceries? The front pockets are a great catchall for receipts and shopping lists so that they don’t get lost at the bottom of your bag. (To help with that problem, make one of my zippered pouches to keep all the little stuff in your purse in!)
The inside features the zippered gusset and a full length pocket on one side. I’ve left the other side without a pocket you so you can customize! Add a third zipper if you dare! Or add another lining pocket. Or a smaller, patch pocket for your phone or your kindle. My little 11” MacBook Air (in a small slip sleeve) *does* fit inside with the bag zipped. I carry it around with me all the time. (That’s part of the reason you all think I am always “here” :) The MBA is the perfect purse laptop! Well. here is the purse for it!)
I’ve given extra structure to the bottom of the bag. You don’t need the removable bag base unless you want to put heavy stuff inside, but if you do, the bag base will help prevent that saggy bag look. :)
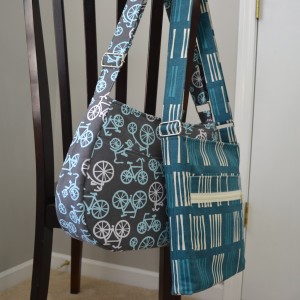
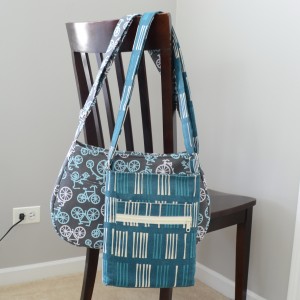
Here is the size comparison with the Two Zip Hipster, which a lot of you are familiar with. I’ve also included some photos in the gallery with some gadgets that show size. I’ll try to get some “model” pics this week.
Some of my friends have said it is a great “Mommy Bag” for that post-diaper bag stage where you are still carrying all the kids’ stuff. One of my pattern testers, Natasha, has claimed her back zippered pocket has hers alone! No kid stuff allowed! :D
This pattern is a bit different than my others. My main goal of course is to make sure that you come out with a great bag and a successful and happy bag making experience. With this bag being so curvy, it really is an intermediate bag. Since I’m assuming you have a tiny bit more experience when making this, I focus on the actual construction of *this* bag, rather than *any* bag. No one step in particular makes it so difficult, but the curves and the bulk, if you are not used to sewing bulky things, makes it a little bit more difficult. Plus, does take time to cut out and it uses quite a lot of fabric, so it is not the ideal first ever bag to make. That is not to say I don’t totally hold your hand the entire way. There are 150 photos and 32 pages of instructions.
Materials list – See the full materials list here
Main fabric: 1 1/2 yards
Lining fabric: 1 1/4 yards
20” woven fusible interfacing: 4 yards (Recommended: Pellon SF-101)
20” heavyweight sew-in interfacing: 1 1/4 yards (Recommended: Pellon 50)
Batting: 1 yard (Recommended: Pellon 988)
Hardware: 1.5” Adjustable slider & rectangle ring – Available here from Tantalizing Stitches
One 16” and one 18” Zipper – I recommend ZipIt Zippers long pull purse zippers
Stats for #patternwritingmarathon
6000+ words
150 instructional photos
4 layout diagrams
20 steps
32 pages
8 patten pieces on 17 pages
Total 49 pages
First “Daytripper” made Feb 2010
7+ prototypes with dozens of pattern piece revisions
15+ days of actual photography and writing
9000+ miles of travel and airport wifi
5-6 hours of sleep a night for 2 weeks + I started drinking coffee.
I LOVE ALL OF YOU PEOPLE – Can you tell?
I officially declare this #patternwritingmarathon complete! Let’s start making bags! I already have one review post to share with you tomorrow! I’m so excited!


[…] Interfacing the Daytripper December 4, 2012 By Erin Erickson This needed a post separate from the introduction. […]
I love this bag, but I don’t need one that big. Will you be doing a smaller version?
Thank you! Yes, I am. As soon as I get home from vacation I have this cut out waiting for me: https://instagram.com/p/SpebRfhUTx/
I printed it at 85% and I think it’s going to be the right size for a purse. I might also try 90% just for fun. Once I make sure the pattern pieces fit I’ll post all the details!
Here’s another one with a size comparison: https://instagram.com/p/Ro5KovBUTQ/
Hey Erin!!!
I can’t wait to make this!!!! Love it!!!
Eeek!!! I was at my brother’s house watching my nieces today, with poor internet connection and missed this… YAY!!! Congrats on this fabulous pattern, Erin!
Darn tootin’ I won’t be puttting kiddie stuff in that back pocket – and so far, no one has infiltrated it! LOL! Erin, this is beautifully designed and easy to sew up! Thank you so much for being so invested in making great patterns!
Love the Daytripper! Thanks Erin, your patterns are always fantastic.
Erin, I really adore your patterns. You made everything look so effortless! I’ll have to try this one for sure! Thanks for all your hard work!
Sabs
Erin, this bag is gorgeous! Did you figure out whether the pattern is scaleable? I’m going to cut down an eBay rescue messenger bag, and I’m not confident that I can fit a 16″ pattern piece with enough seam allowance. Thanks!
Yep! The post is right here: https://dogundermydesk.com/2013/01/mini-daytripper/ The widest part on the mini is about 14.5″. That should work better! (Keep in mind while the final bag size is 16″ wide, the pattern piece is more like 17″) Let me know if you need any help!
Oh, thank you! That size will work out much better. The messenger bag fabric is laminated cotton and laminated satin, so I’m hoping I can get away without adding any interfacing or batting (I don’t mind so much if it’s slouchy.) Fingers crossed!